
How to Filter Contacts by Date Range in ChatDaddy
Narrow your contact list to a specific time period using the Date Filter — filter by Incoming Message Date or Last Contact Date, then pick a start and end date.
ChatDaddy lets you narrow your contact list to a specific time period using the Date Filter. This is useful when you want to focus on contacts you have engaged with recently — for example, everyone you last spoke to in the past two weeks, or contacts who messaged you within a chosen date range.
📅 You can filter contacts by two kinds of dates: the date a contact last sent you a message (Incoming Message Date) or the date of your most recent interaction with them (Last Contact Date).
Step 1: Open the Contacts page and click Filter
From the left sidebar, open the Contacts page. At the top-left of the contact list, click the Filter button to open the filter menu.
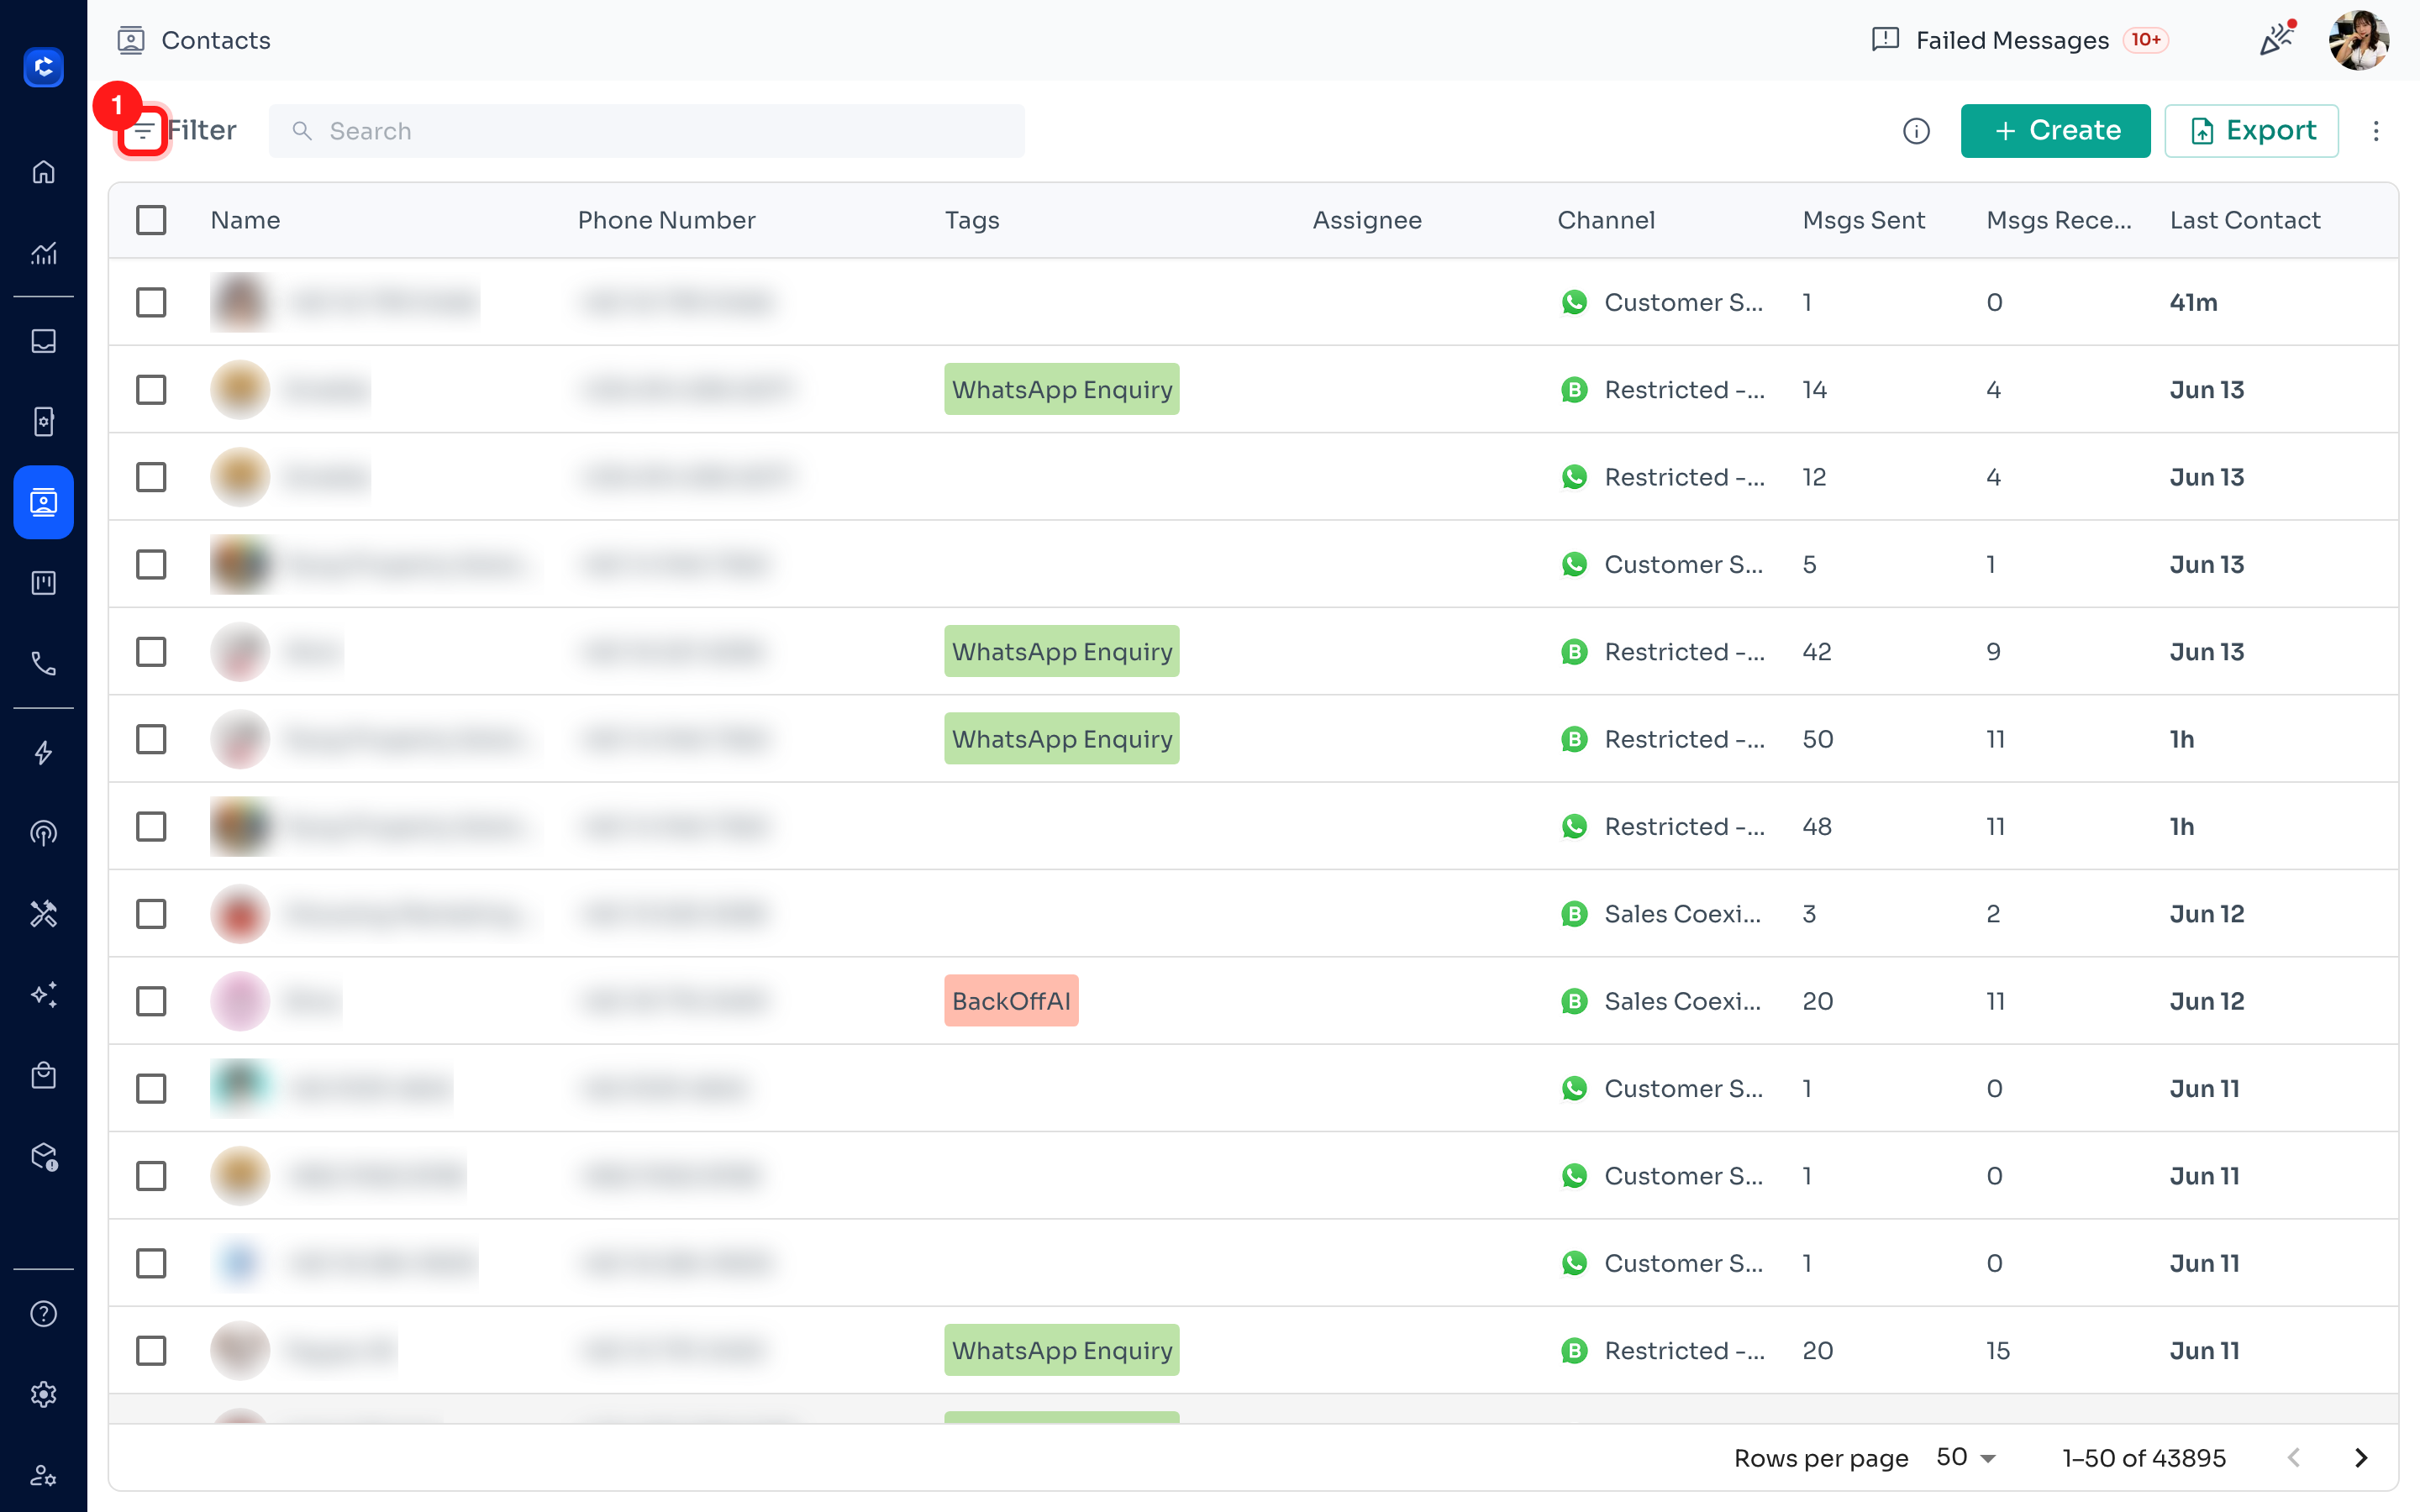
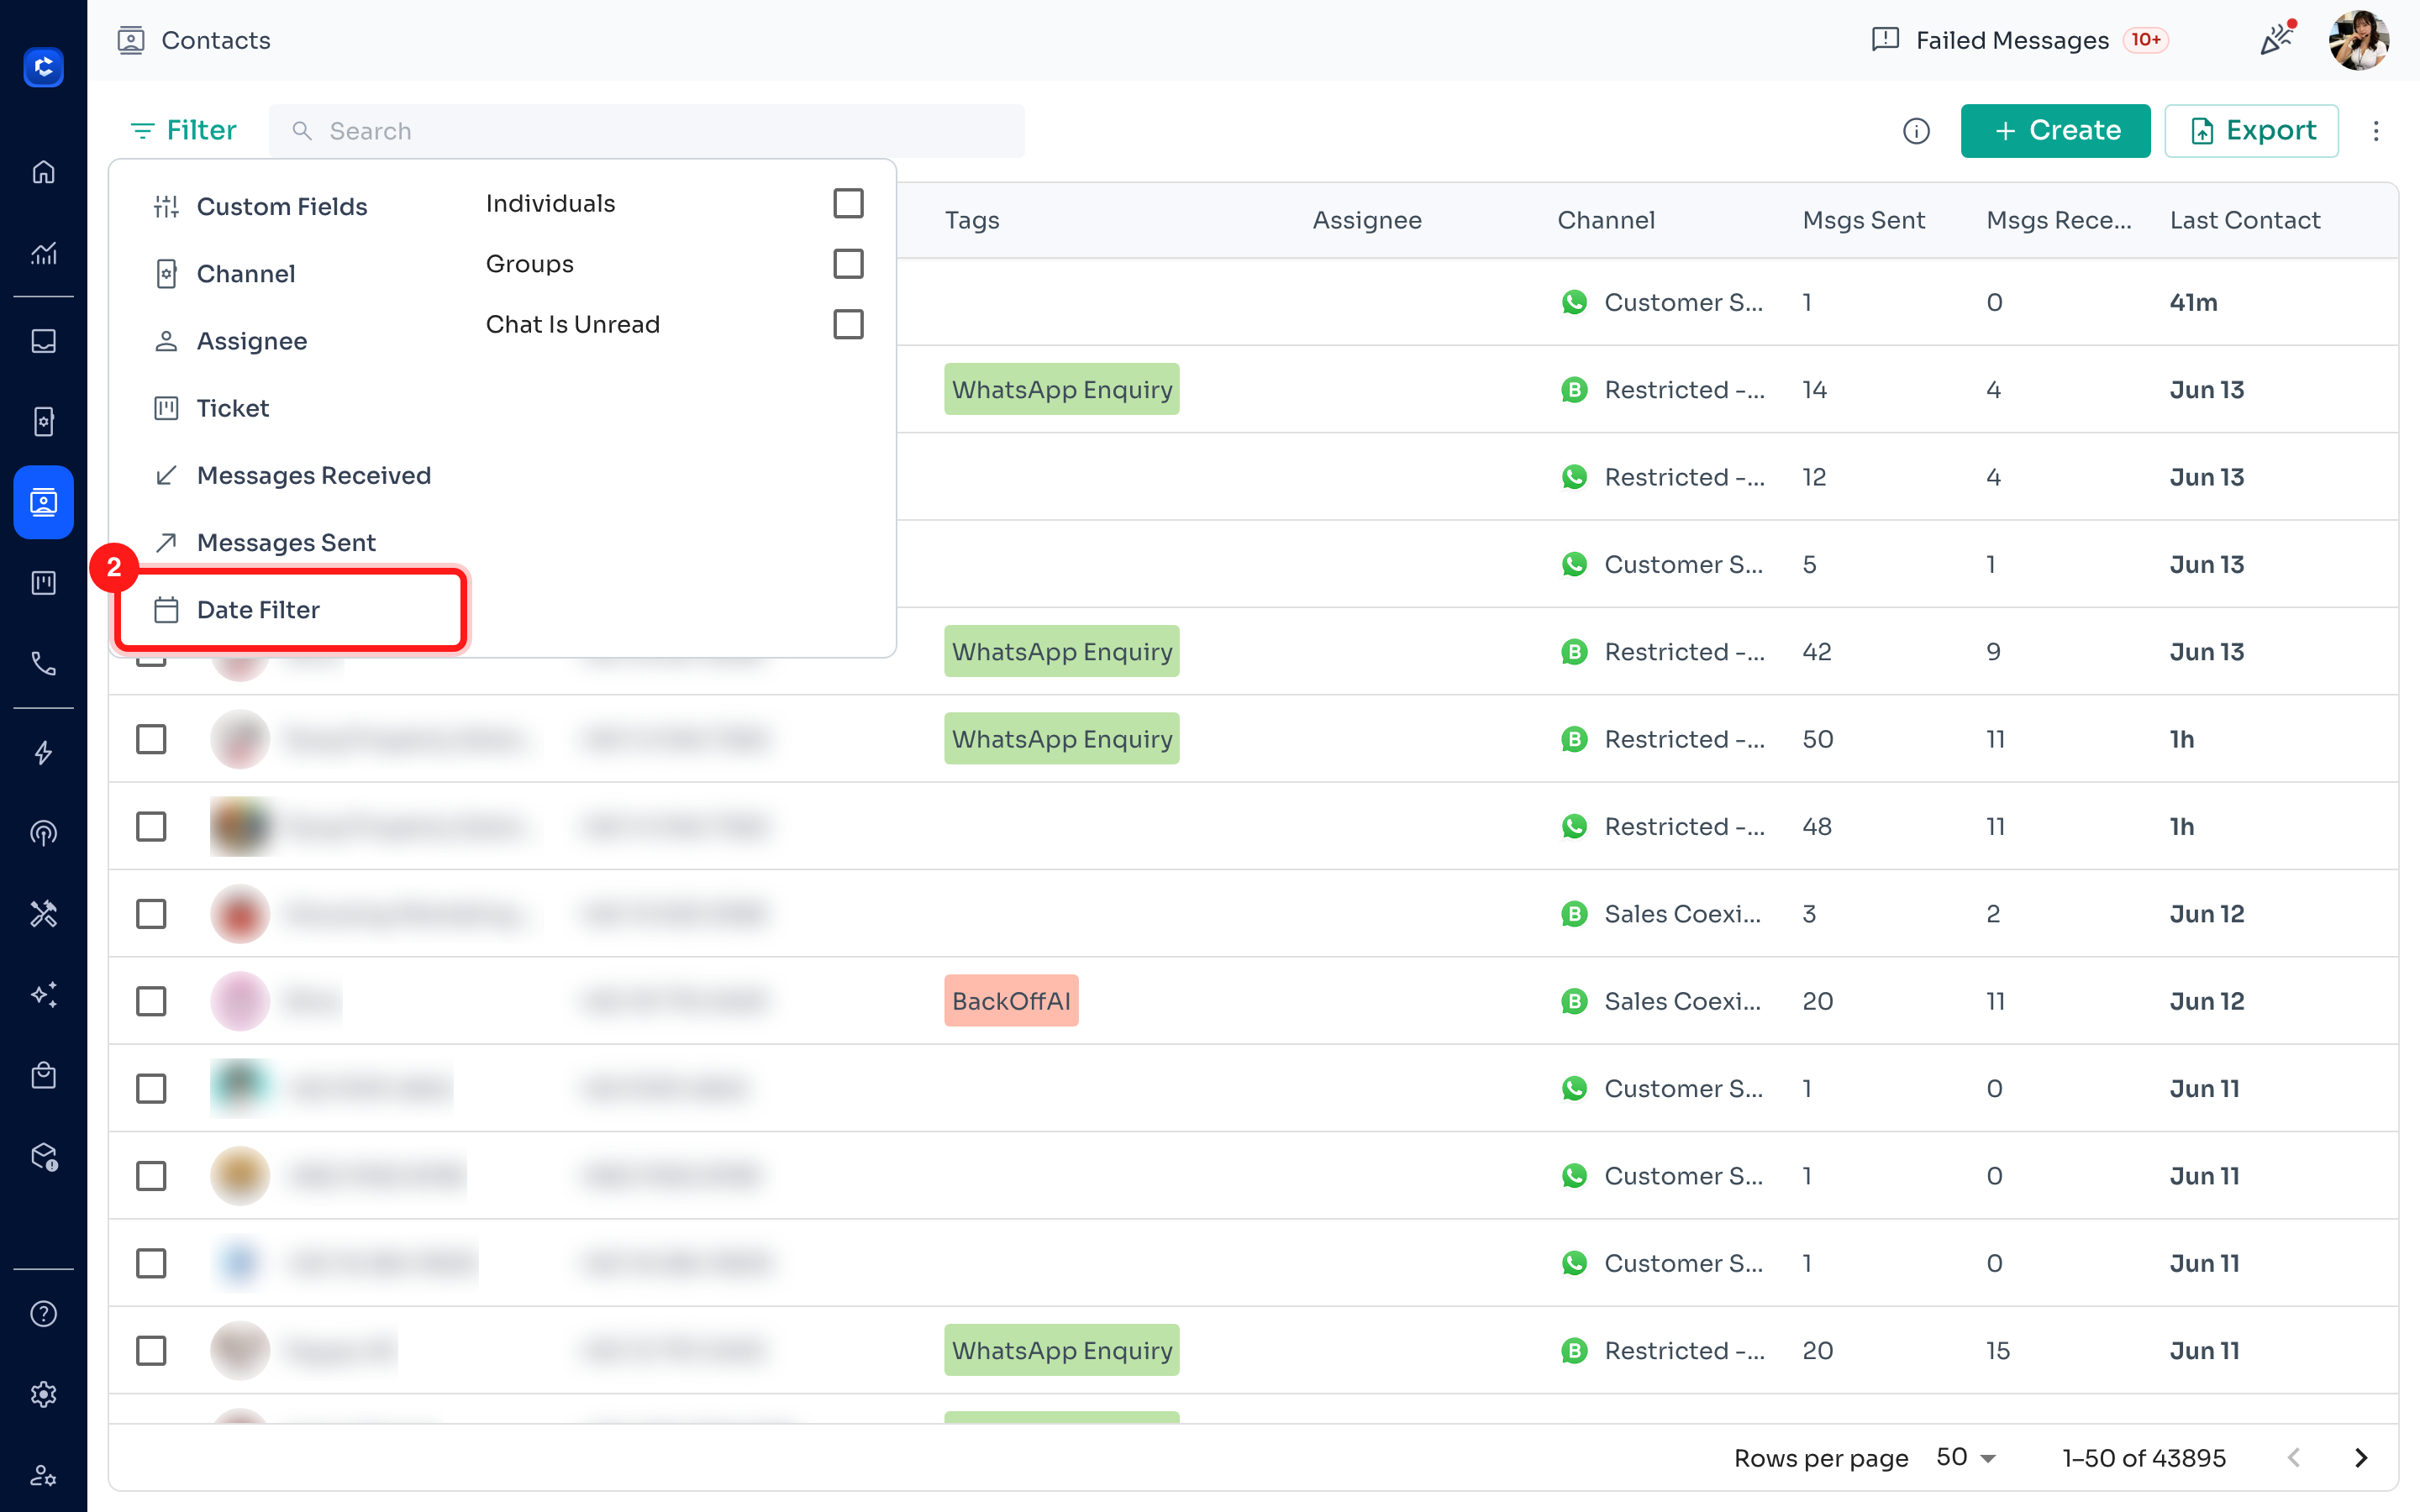
Step 2: Select the Date Filter
In the filter menu, scroll down the list of filter types and click Date Filter (the option with the calendar icon).
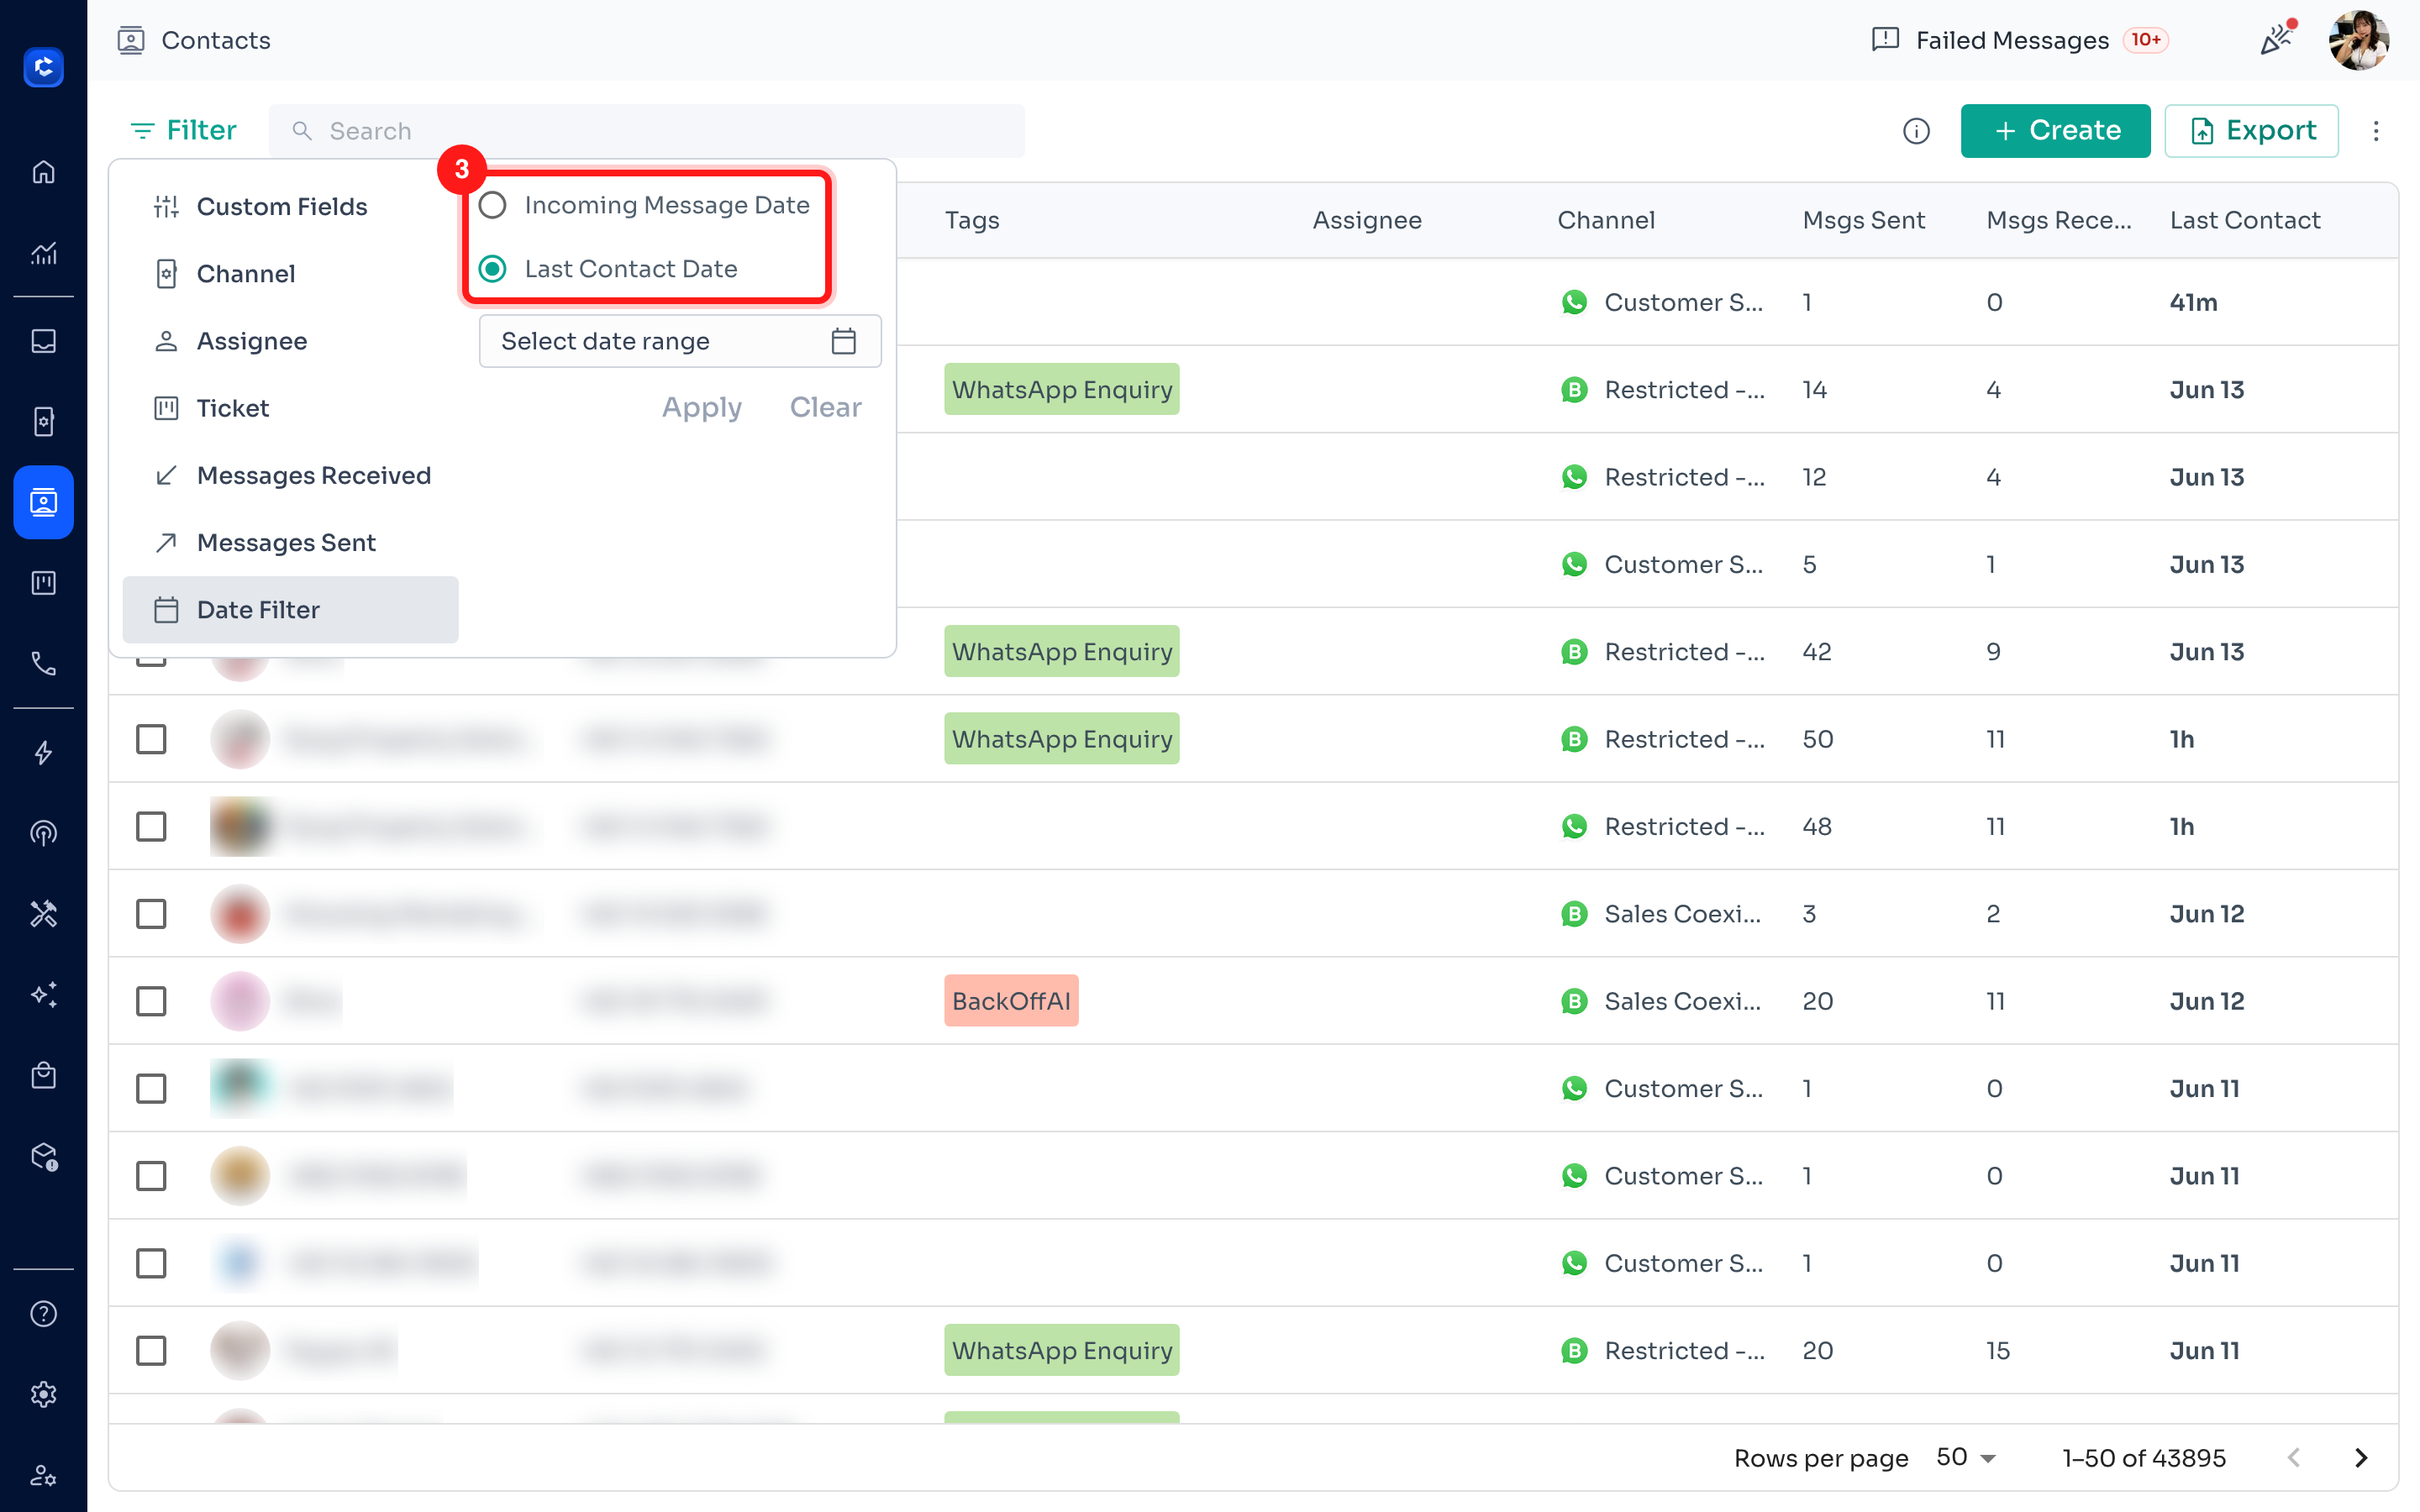
Step 3: Choose which date to filter by
Pick the type of date you want to filter on:
-
Incoming Message Date — filter by when the contact last sent you a message.
-
Last Contact Date — filter by the date of your most recent interaction with the contact.
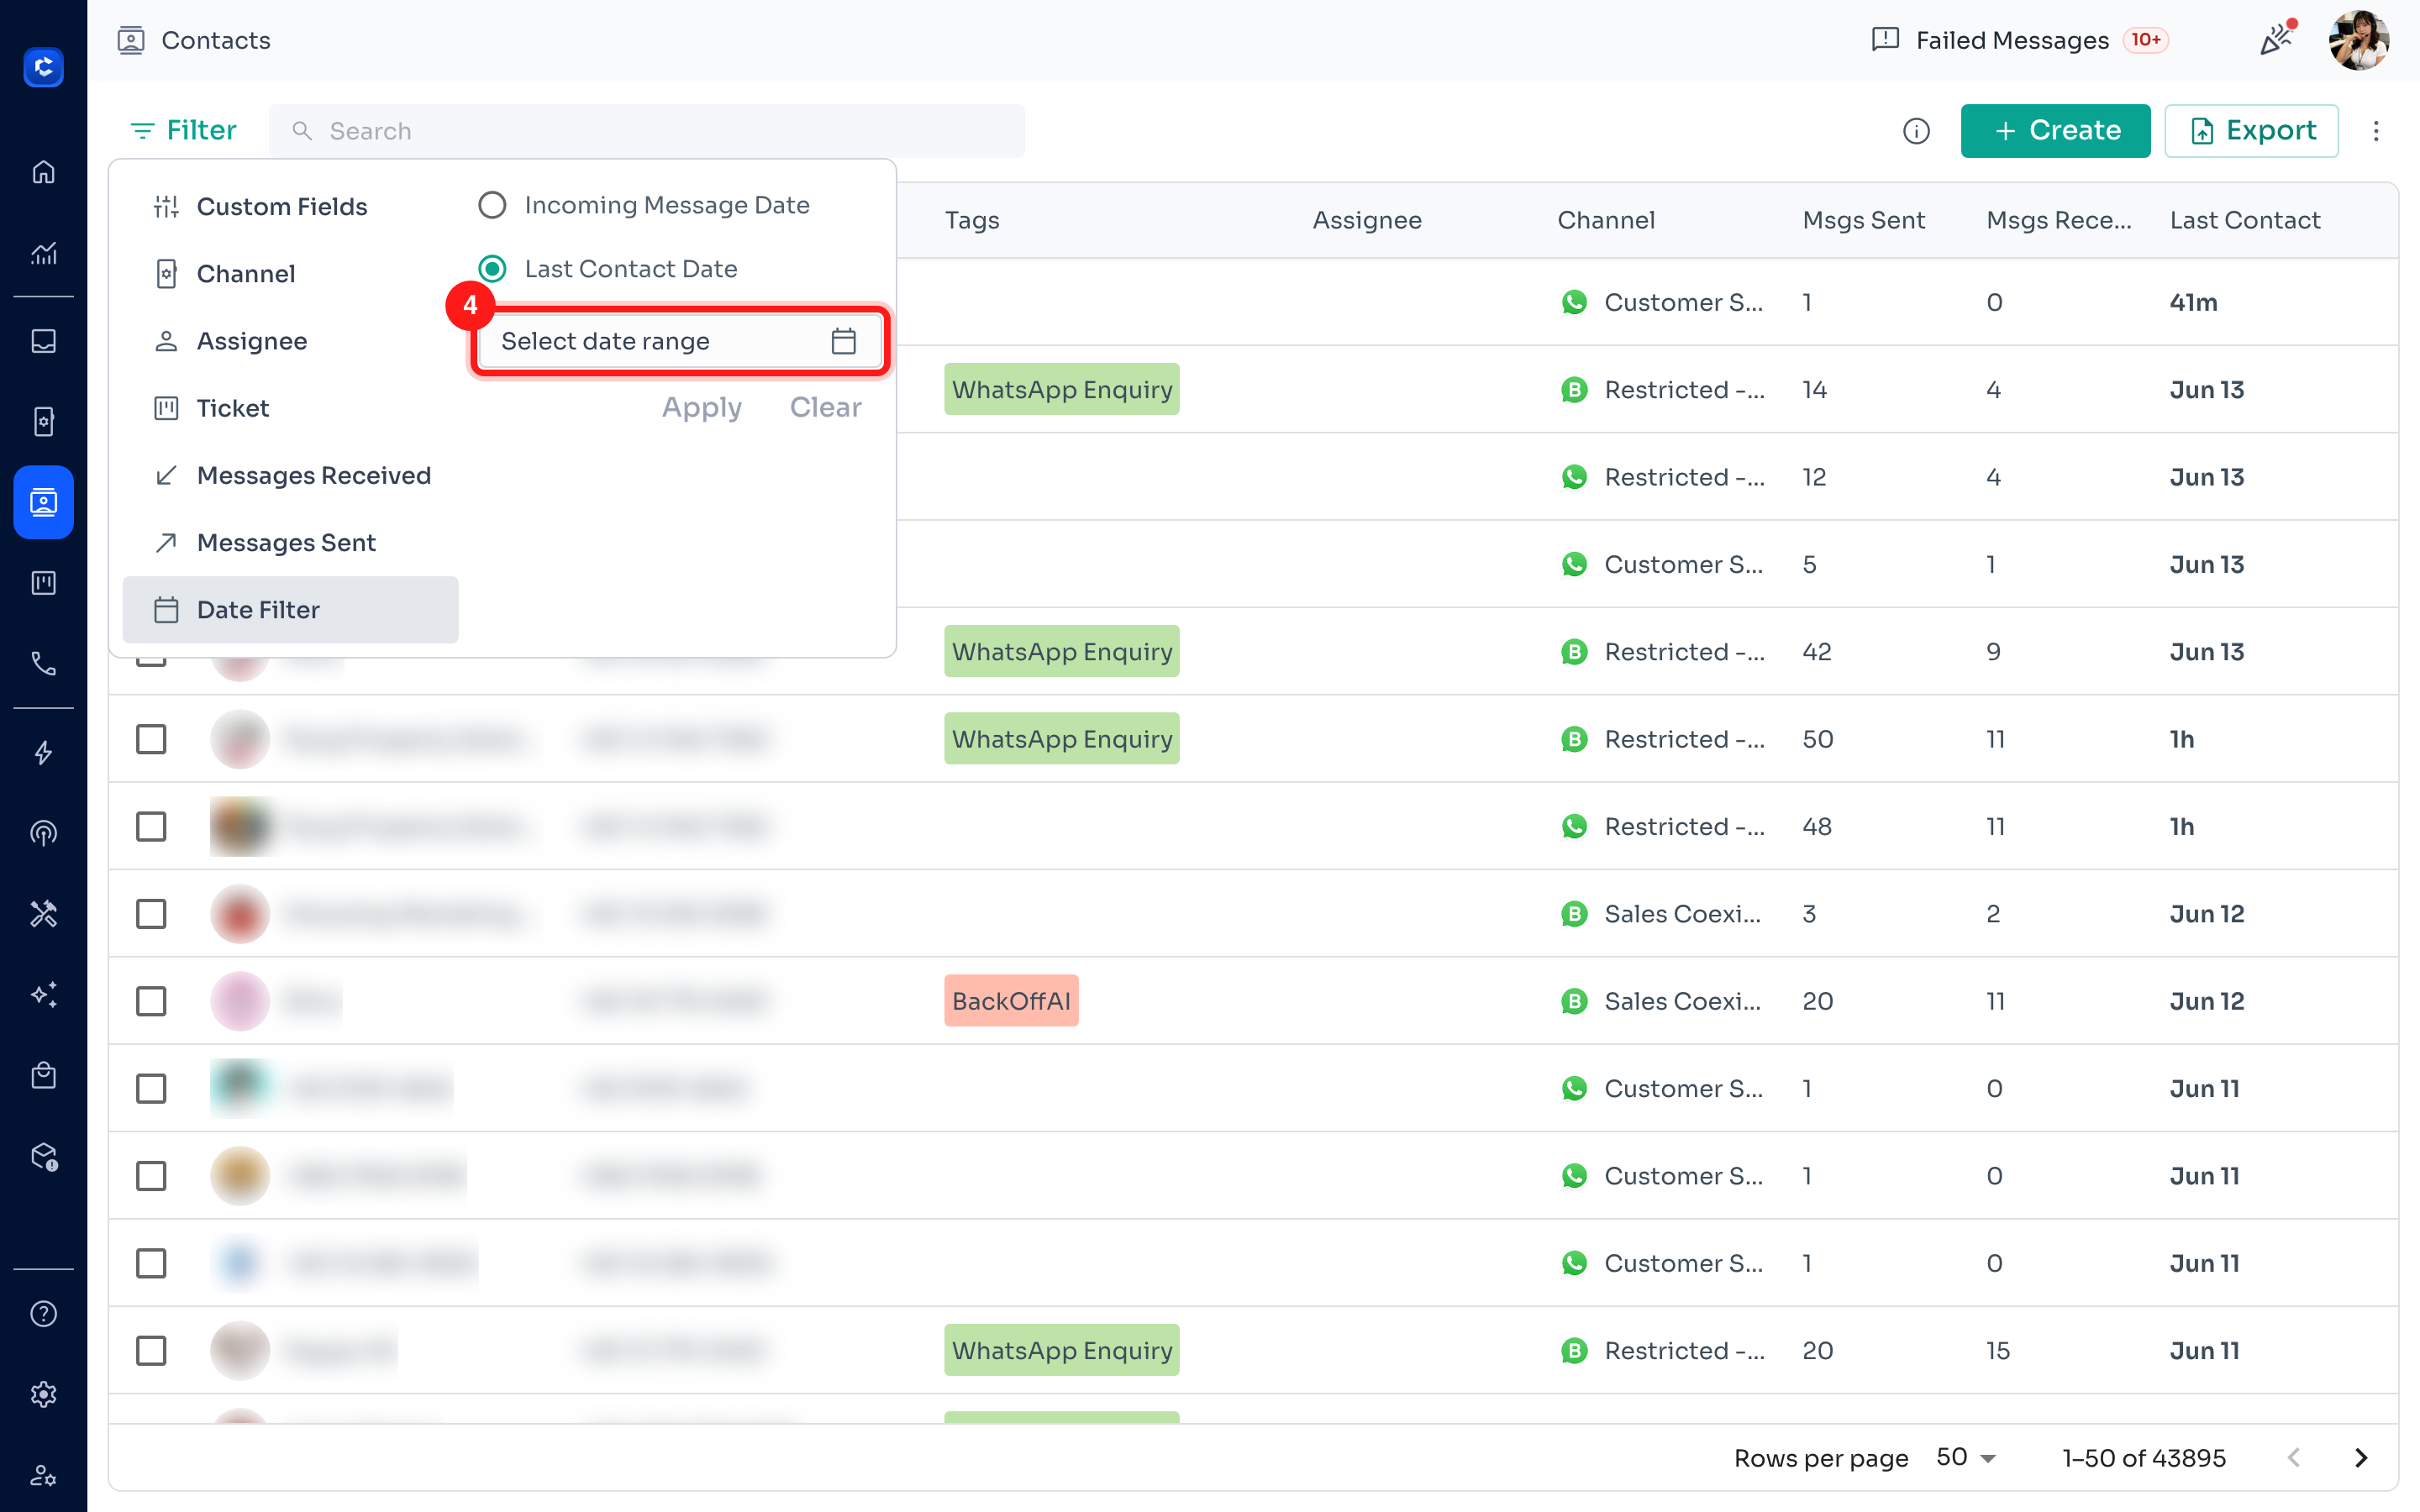
Step 4: Open the date range picker
Click the Select date range field to open the calendar.
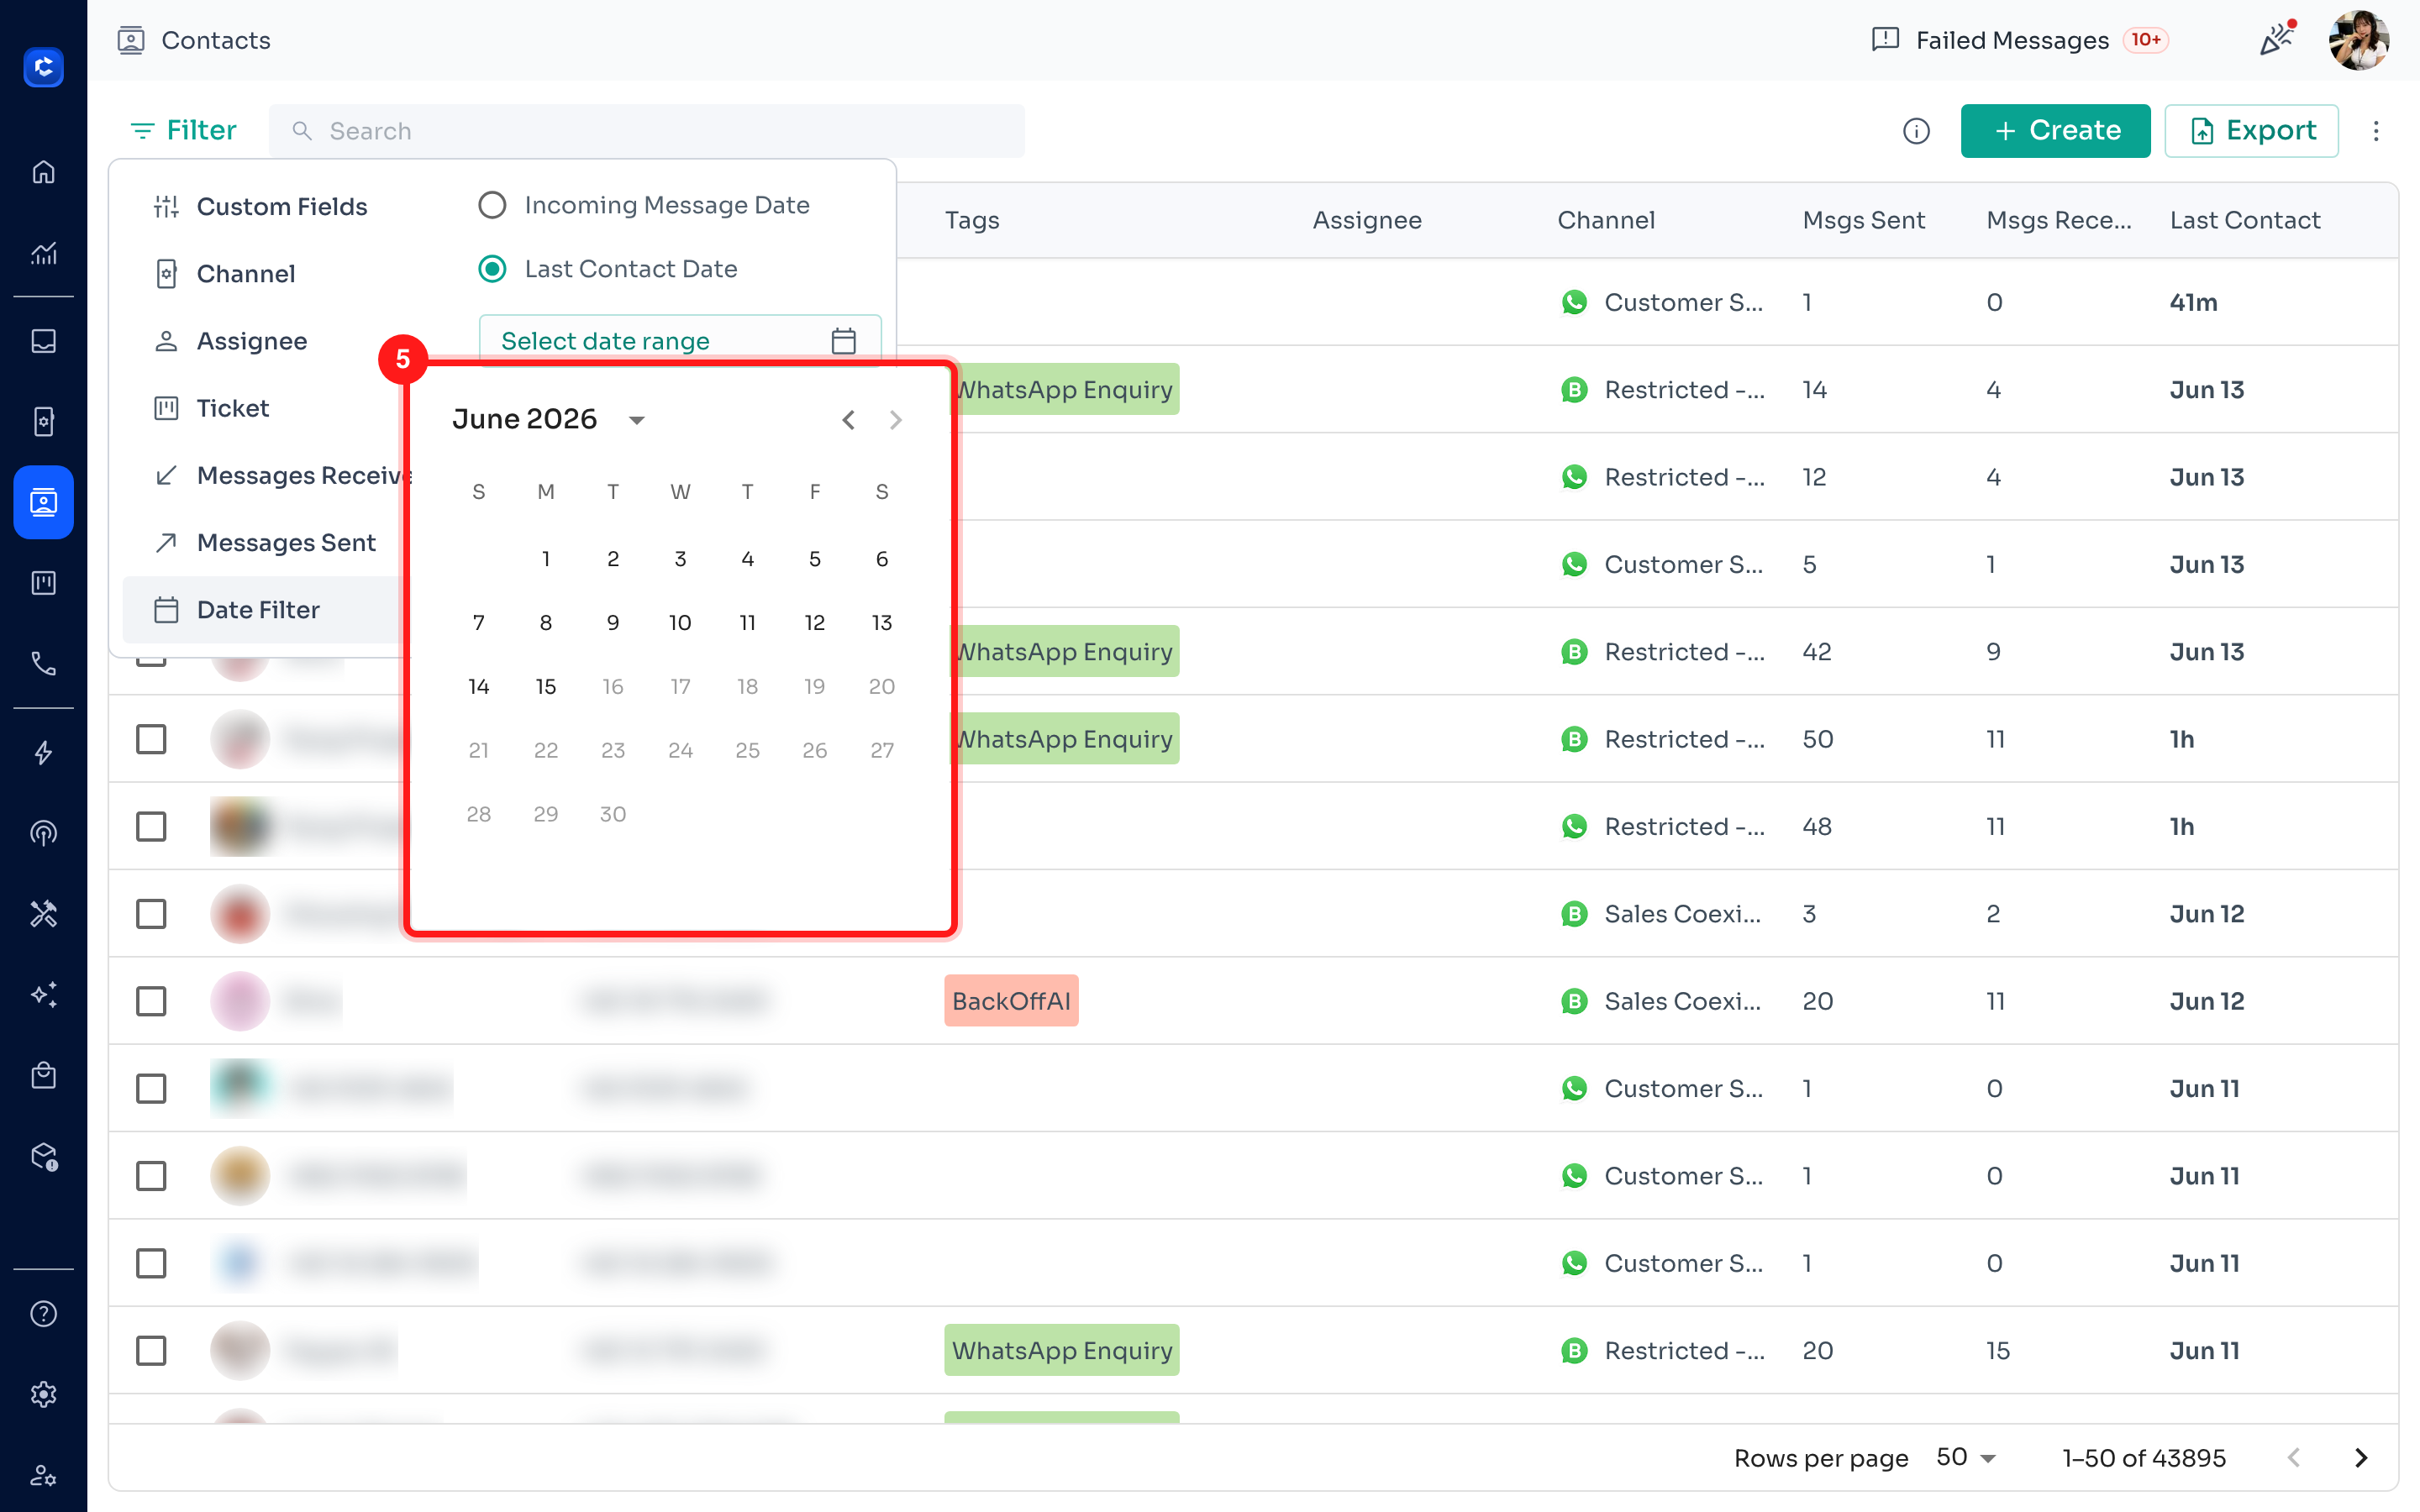
Step 5: Pick your start and end dates
In the calendar, click your start date, then click your end date to define the range. Use the arrows at the top to move between months. The selected period will appear in the date range field.
Step 6: Apply the filter
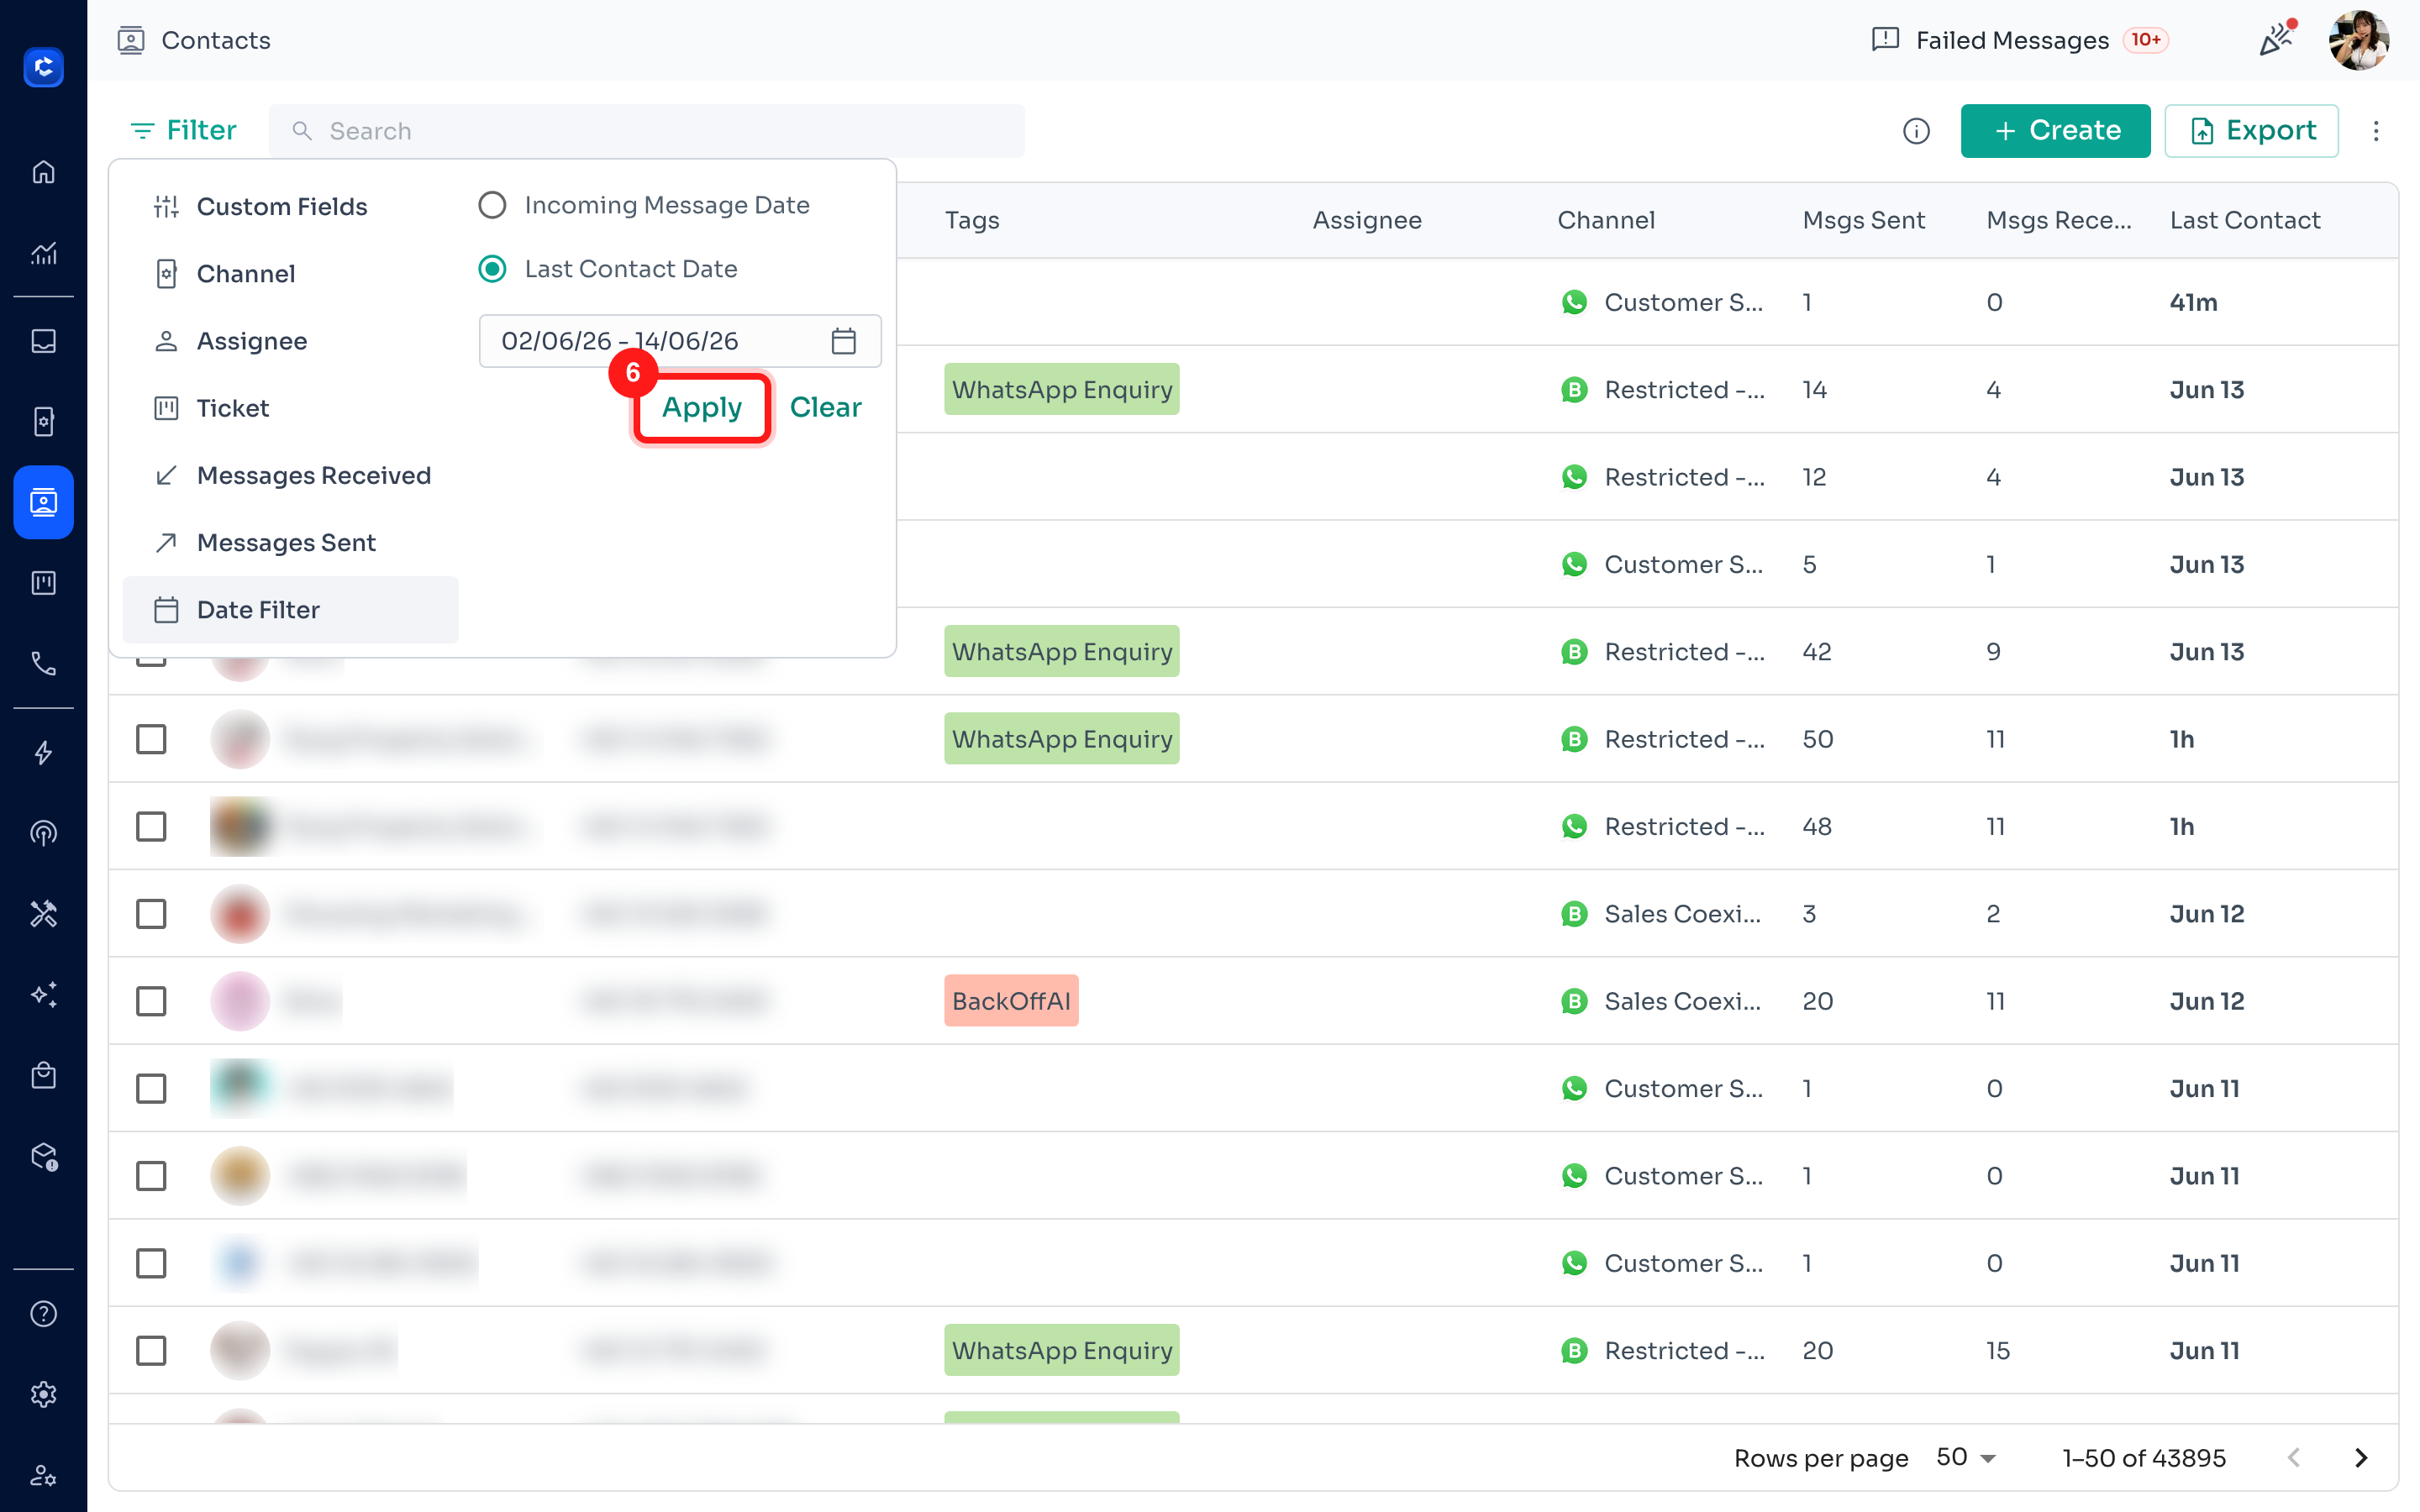
Once your date range is set (for example, 02/06/26 – 14/06/26), click Apply to filter the contact list.
Step 7: Review your filtered contacts
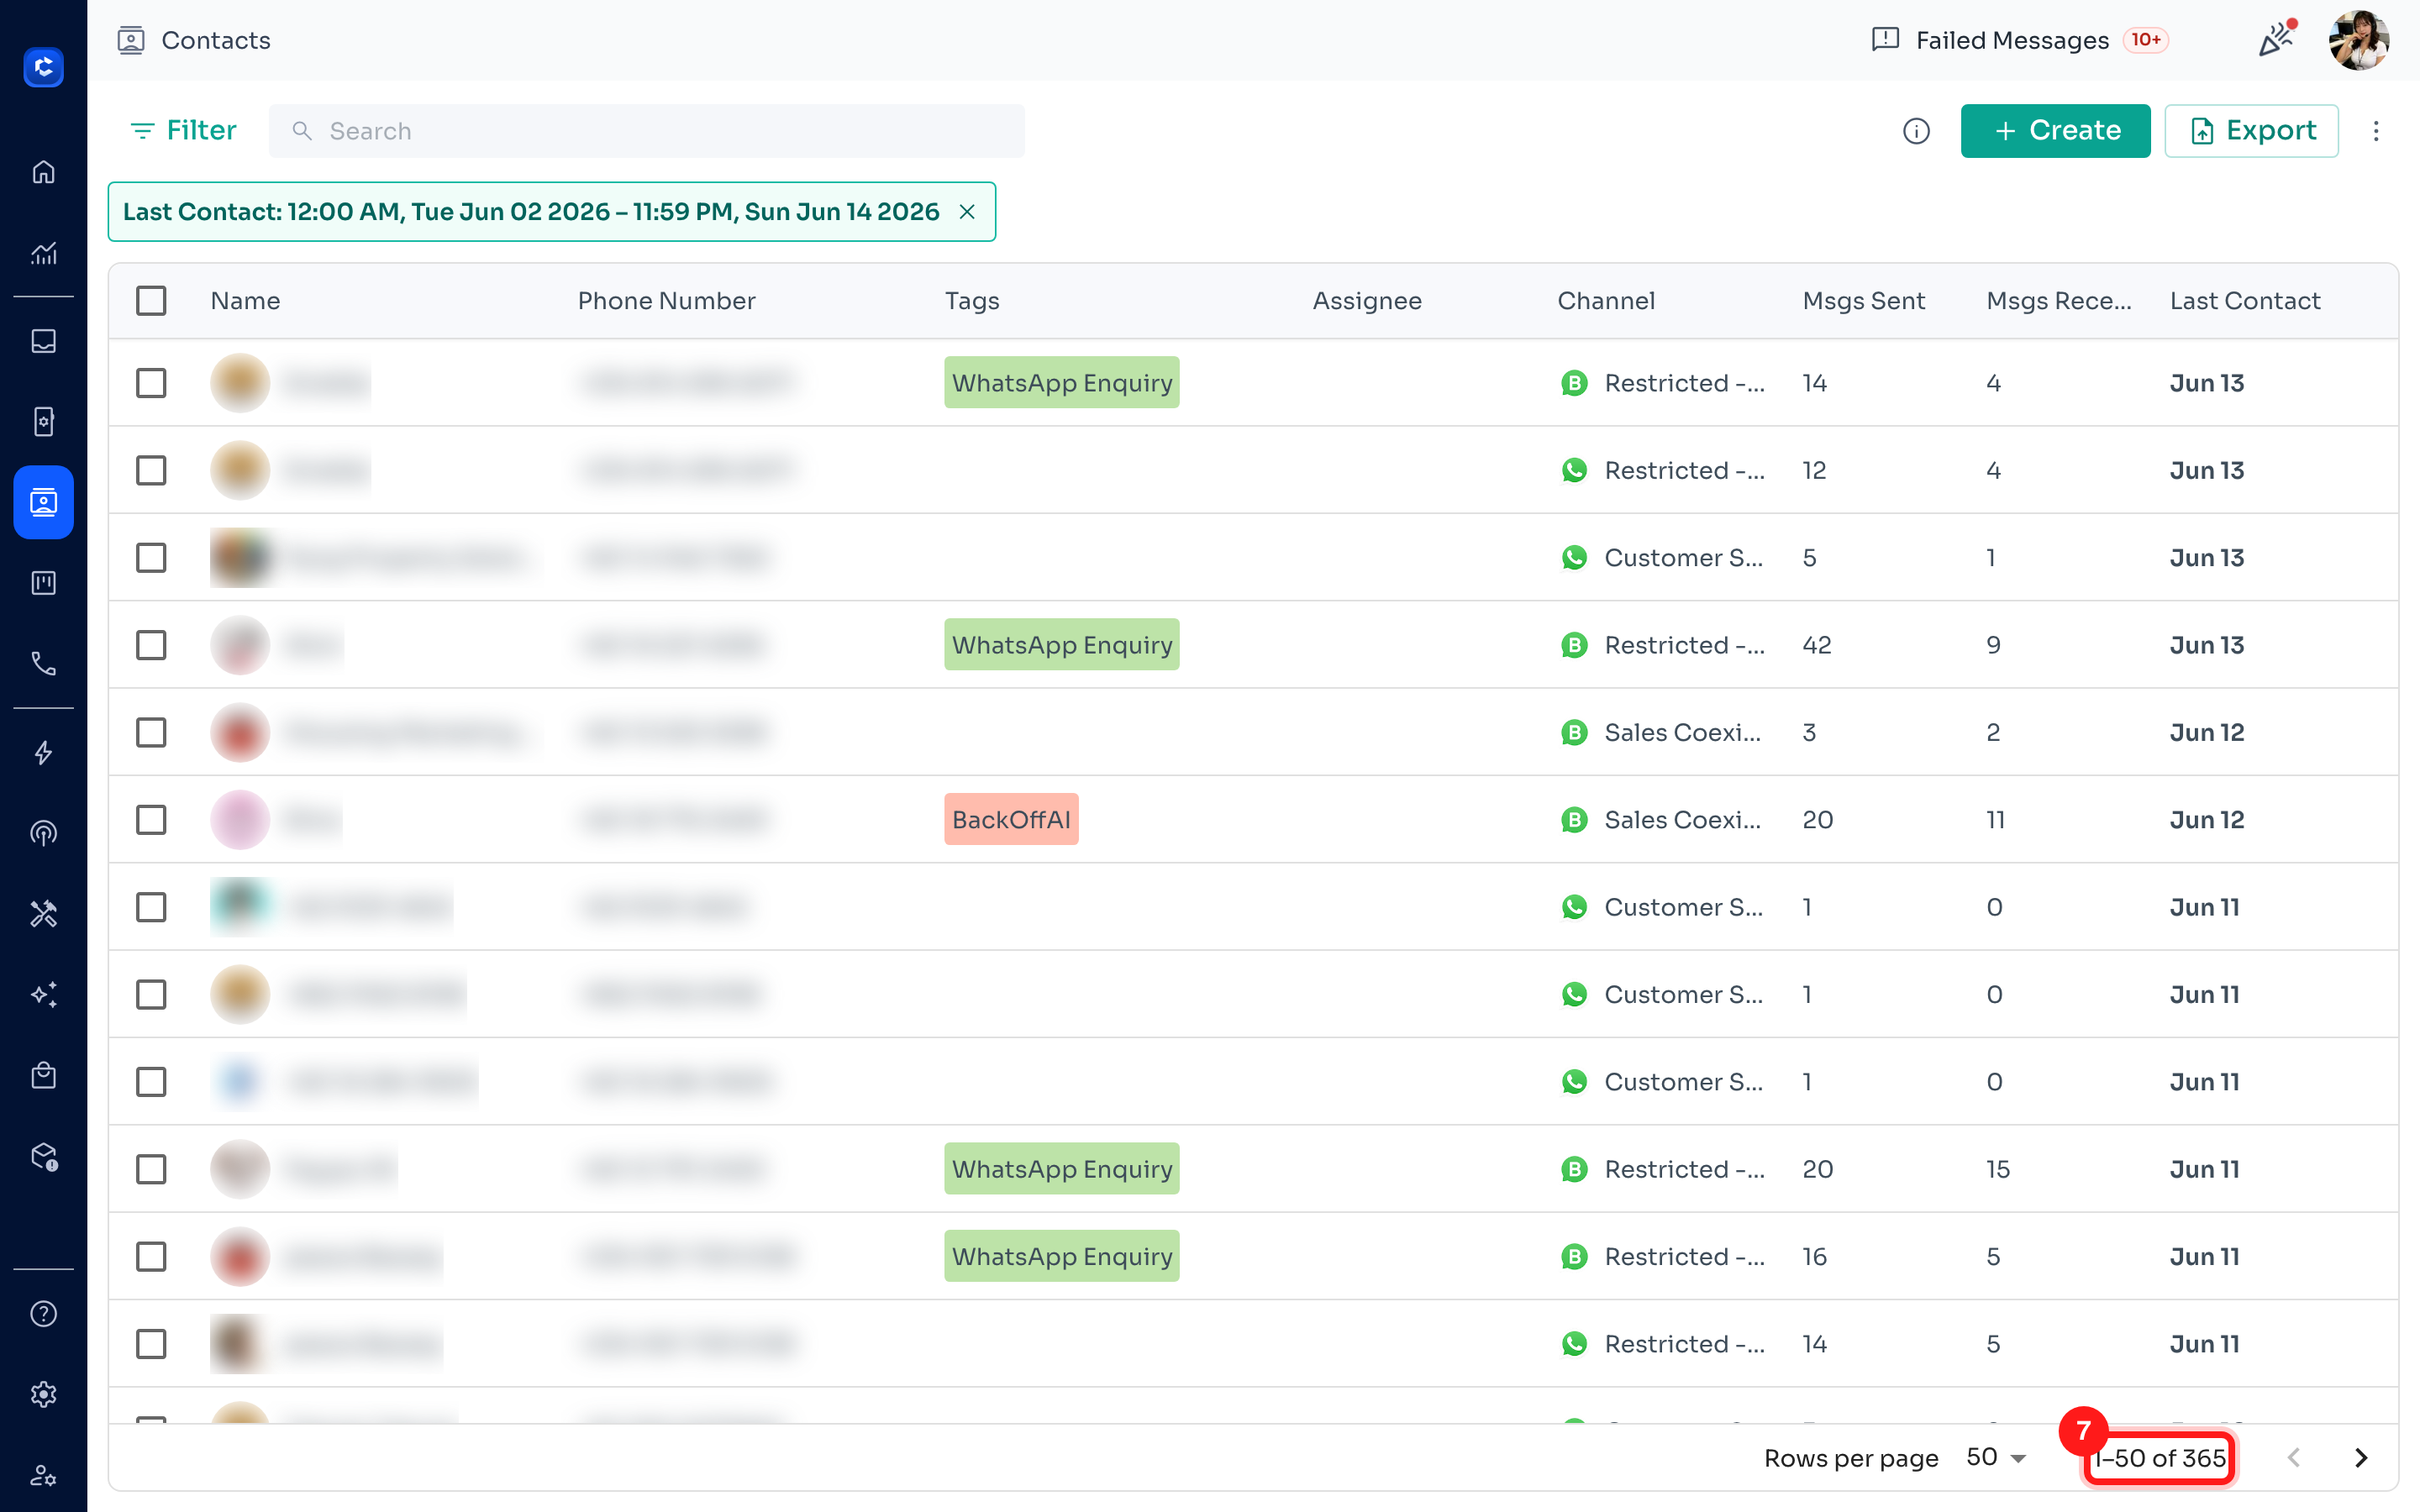
Your contact list now shows only the contacts that match the selected date range. An active filter chip appears at the top showing the applied range, and the contact count at the bottom-right updates accordingly.
Removing or changing the filter
To clear the date filter, open the Date Filter again and click Clear, or click the × on the active filter chip at the top of the contact list. You can also adjust the range at any time by selecting new dates and clicking Apply again.