How to install Shopage
Go to ChatDaddy notifications(https://app.chatdaddy.tech/shop/notifications)
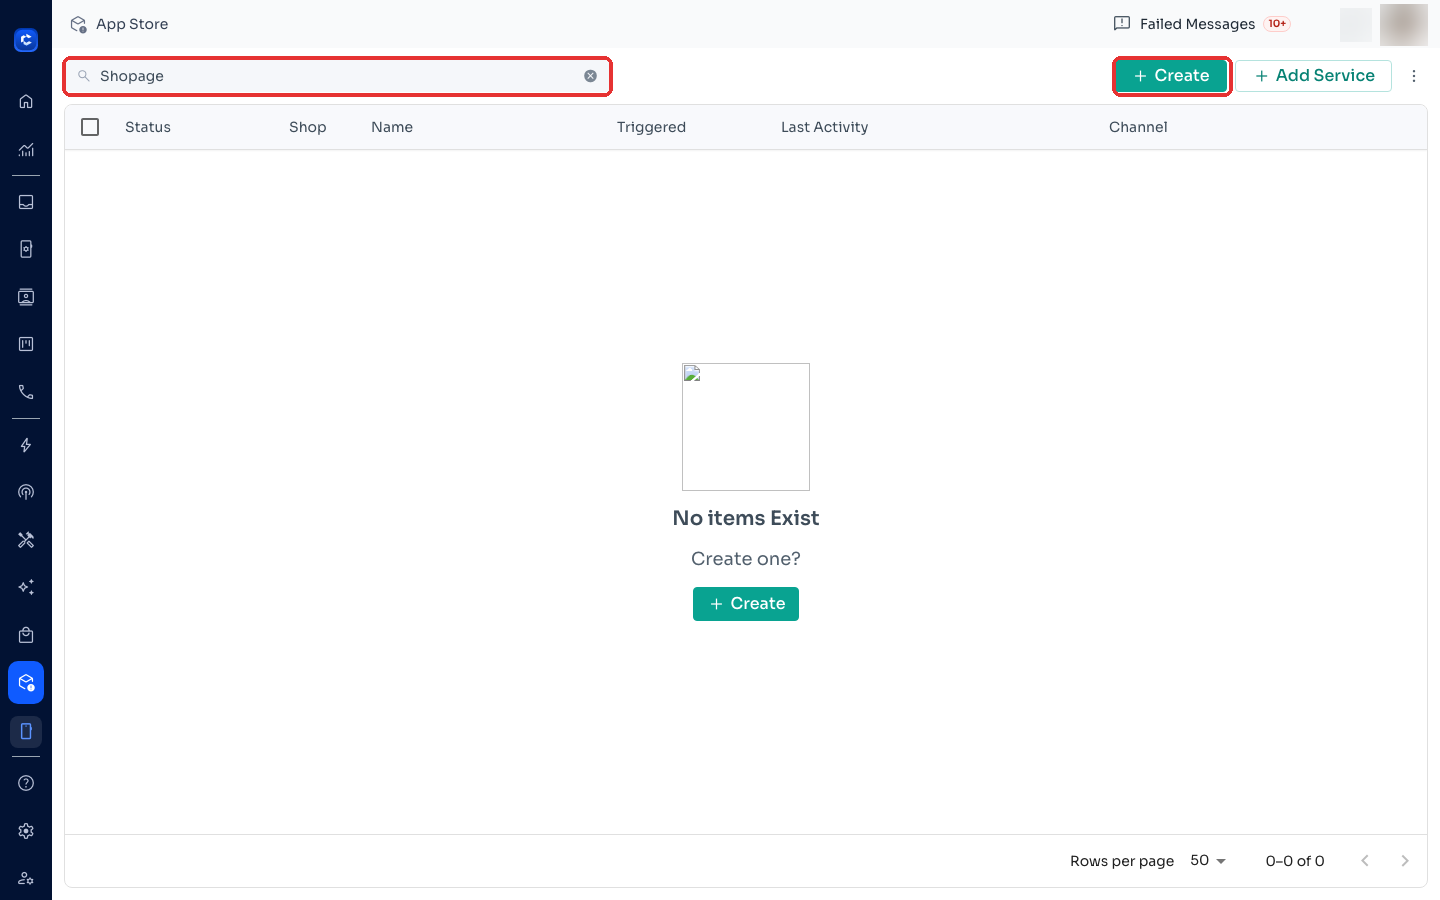
Step 1:
Go to ChatDaddy notifications(https://app.chatdaddy.tech/shop/notifications)
Click "Shopage" in the pop-up window
Step 2:
Enter your credentials
Shopage login username
Shopage login password
Notice: If you change your Shopage username and password later, you'll need to integrate again
Step 3:
You may click the arrow next to each type of notification (eg. Payment Reminder Notification) to check your trigger settings
tep 4:
You could change or edit your message template content here (optional)
Step 5:
List of Conditions - Used to set up the conditions that will trigger the message based on your e-commerce platform
Step 6:
Notification Limit Settings - The maximum amount of times you wish for this trigger to fire. Leave unset to have no limit
Step 7:
Notification Delay Settings - How long after the event is fired do you want to wait before sending your message flow (used to delay triggered message)
Delay Type - Used to set up the condition of the delay
Simple
- This function is to send the notification even if the condition is not met.
- Example : if the “payment reminder” trigger is set to notify the client in 4 days, it will send even if the condition of the order status is “delivered”
Stale
- This function is to send the notification when the condition is met.
- Example : if the “payment reminder” trigger is set to notify the client in 4 days, it will not send if the condition is anything other than “payment reminder” After done checking for the trigger you may click Continue.
Step 8:
Repeat Step 4 to Step 7 for each trigger settings.
Step 9:
Check Notification Settings and click Continue
「Channel」 - To choose which device to send message from
After done checking for all triggers, click Save and integration is successfully installed!
More Information
What are all this buttons?
「Add Custom Trigger」- Used to self design trigger with own message template and conditions
「Add Default Trigger」- Used to add trigger messages templates that is made by Chatdaddy
How to enable testing mode
「Output Testing」- This is used to enable testing or send to different receiver’s phone number
Here you can also set it up if you want to send all messages to which type of recipient
Where to click