How to install WooCommerce
Please note that WooCommerce has to be patch 5.1.0 and above for the integration to work
Please note that WooCommerce has to be patch 5.1.0 and above for the integration to work
**Usually Woo Commerce sends us the data for orders in anywhere from 1-5 minutes or so. But occasionally, they do not send the webhook data for hours or even more.
Please note that this is a known issue on Woo Commerce’s side, please reach out to their support team with your webhook data for this**
Step 1:
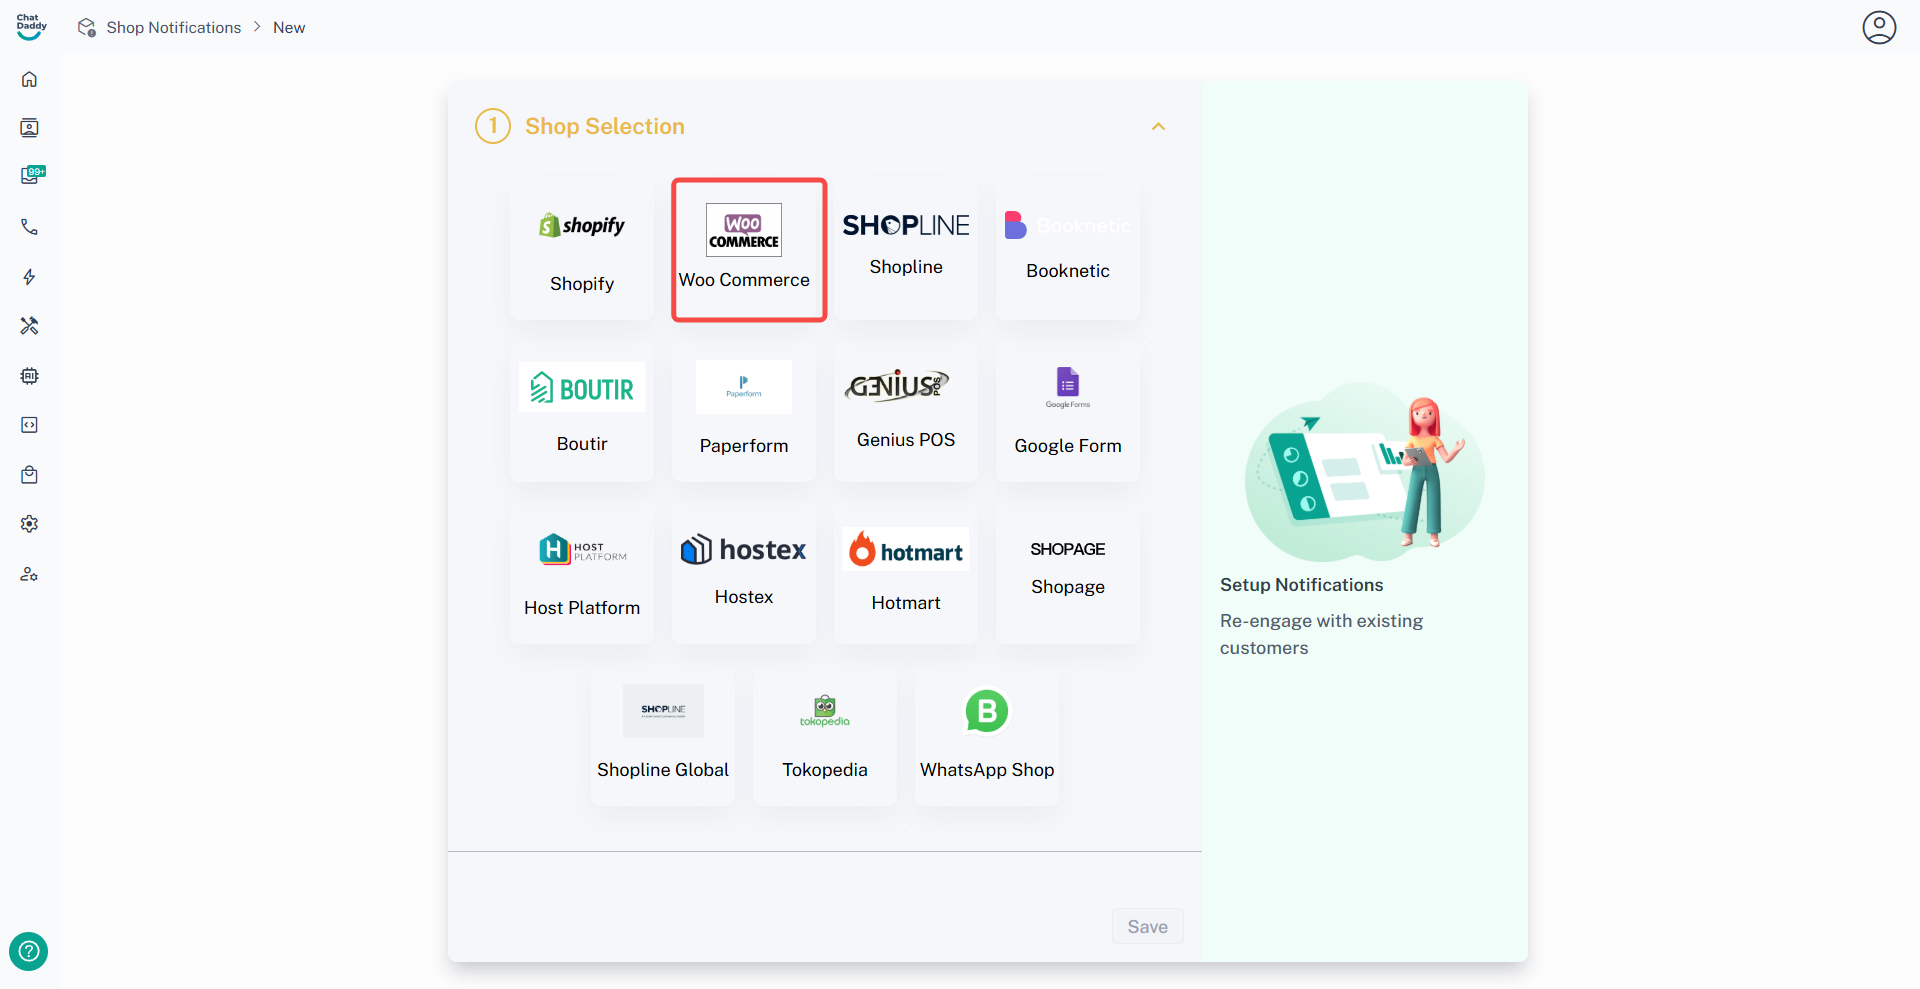
Go to ChatDaddy notifications (https://www.app.chatdaddy.tech/automation/notifications)
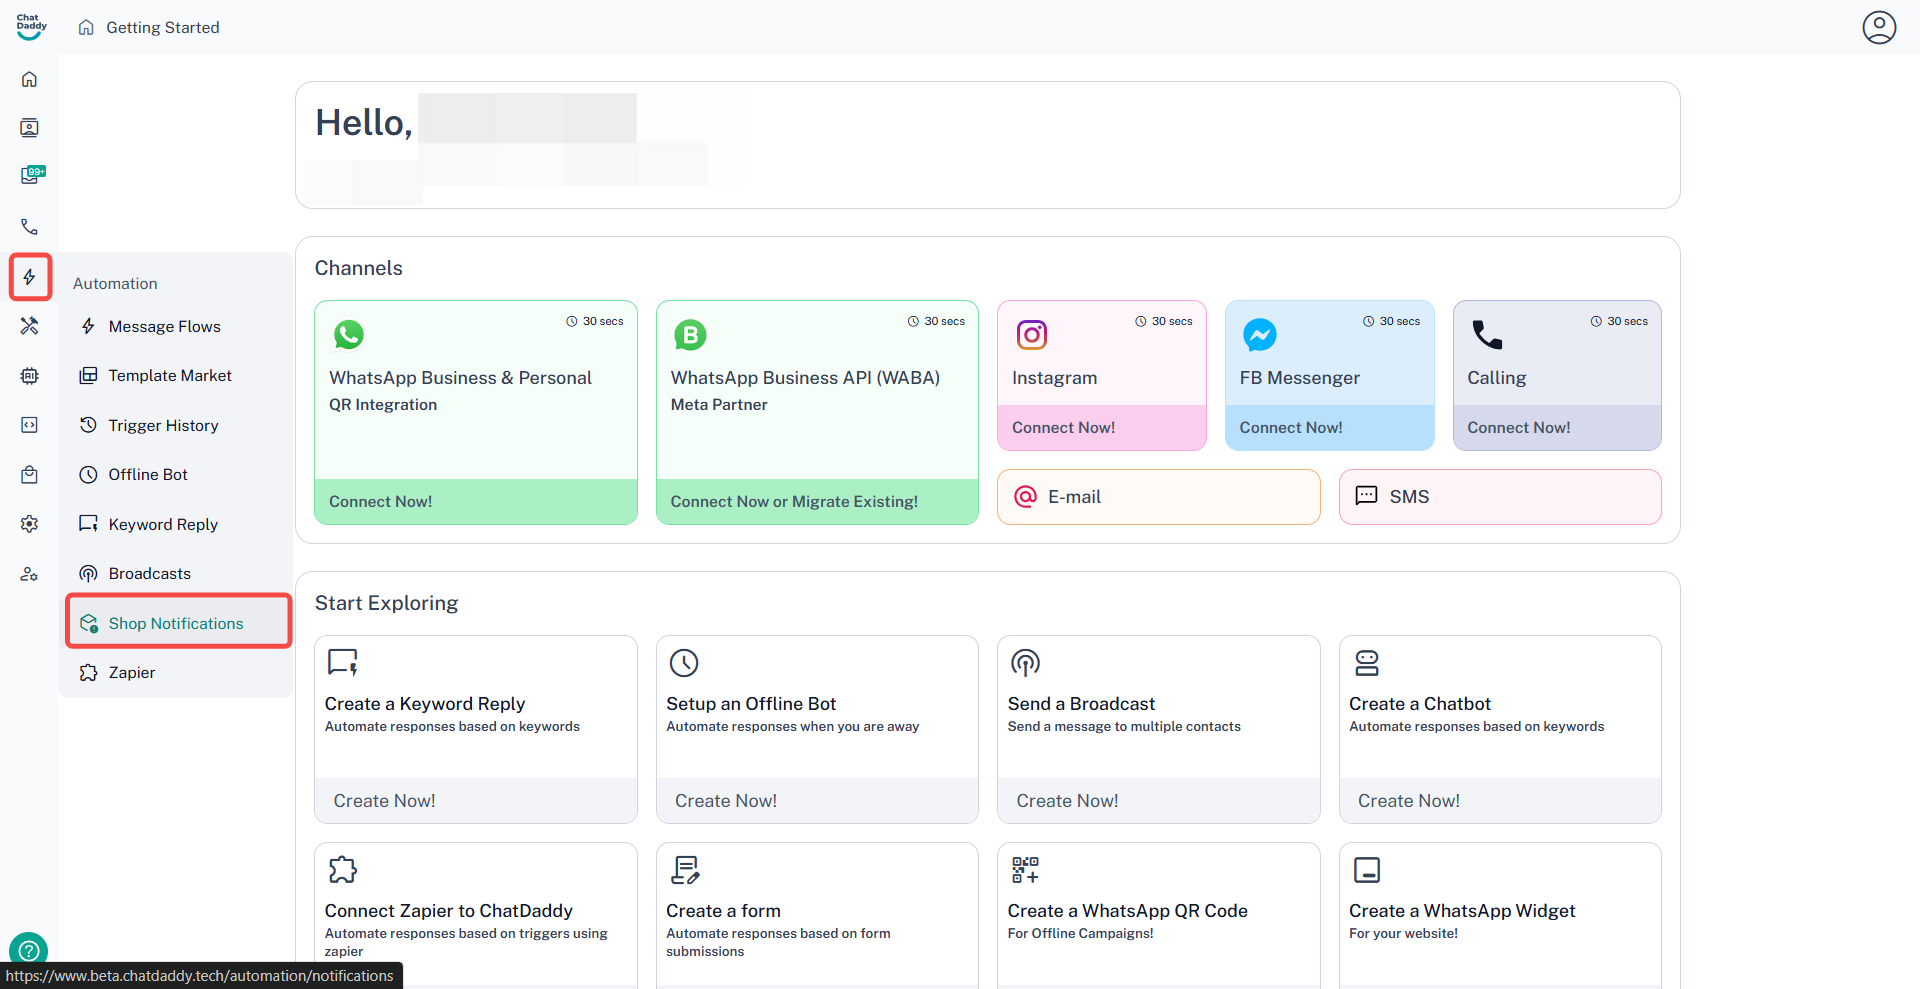
Click on Create button on the top right then click "WooCommerce"
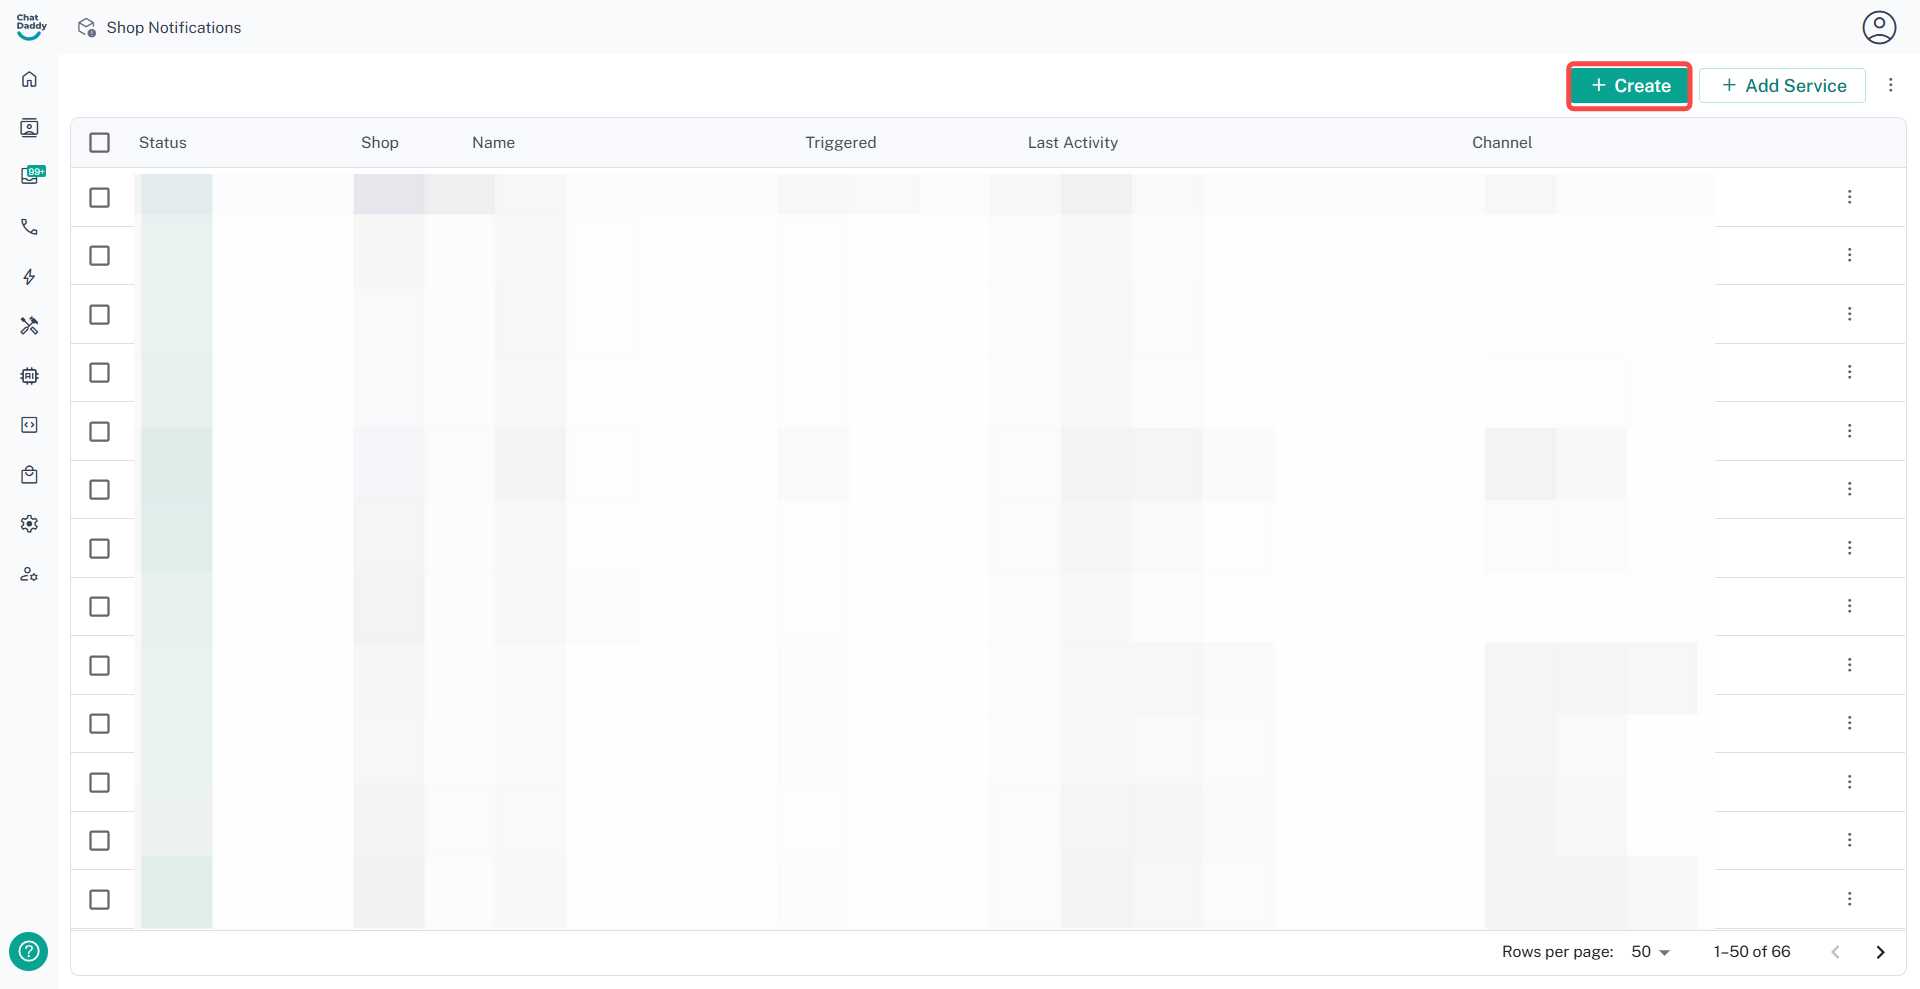
Step 2:
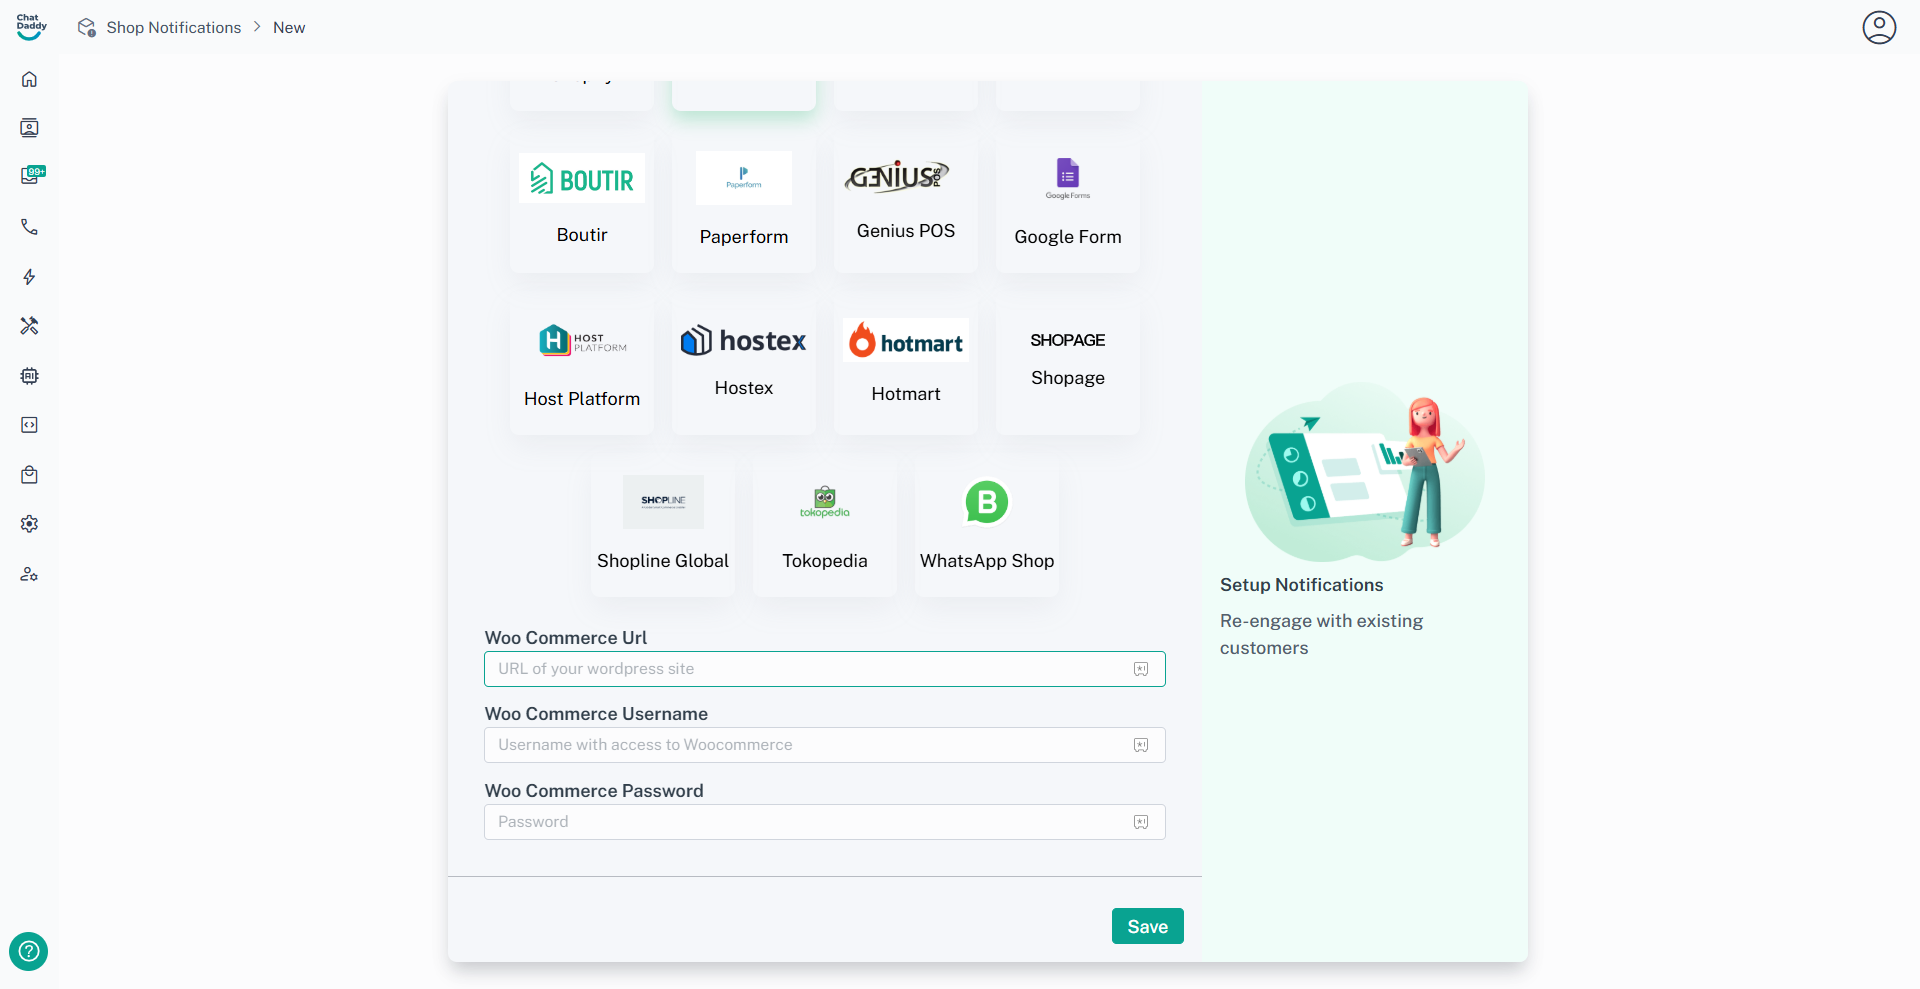
Keep empty for Url, Username and Password, and Click Save
Step 3:
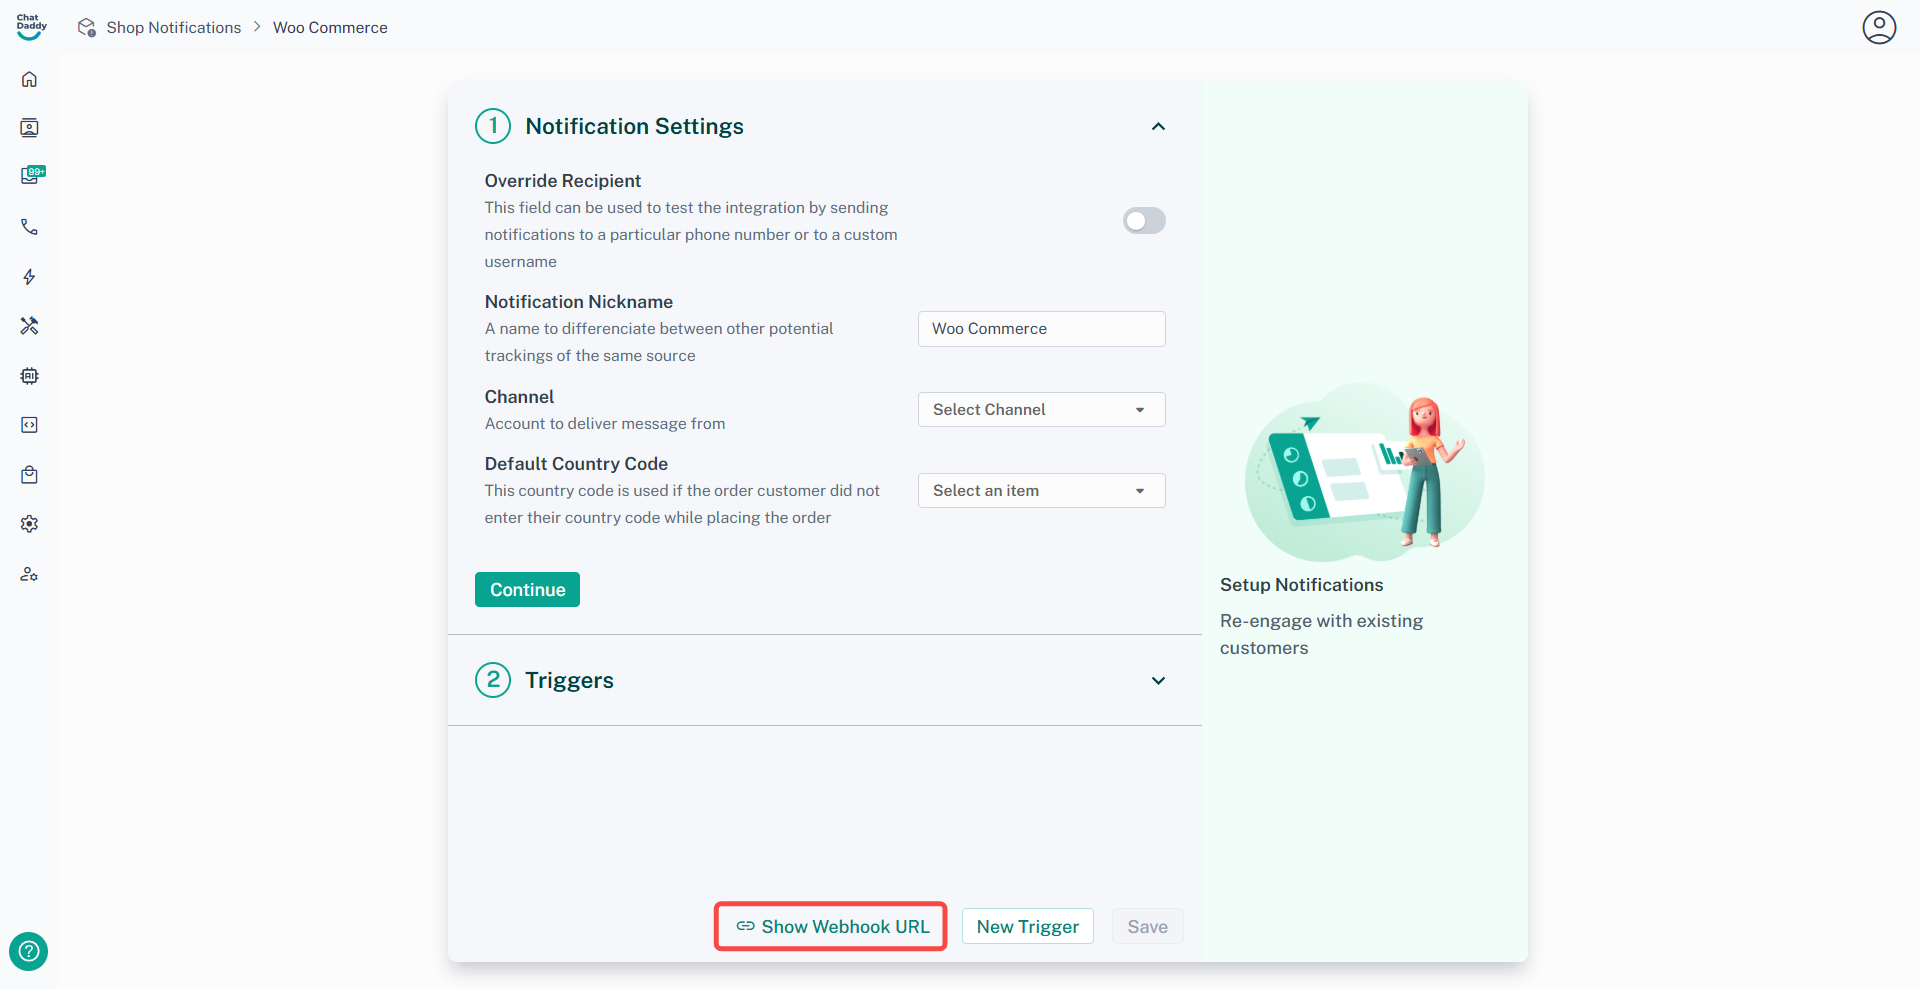
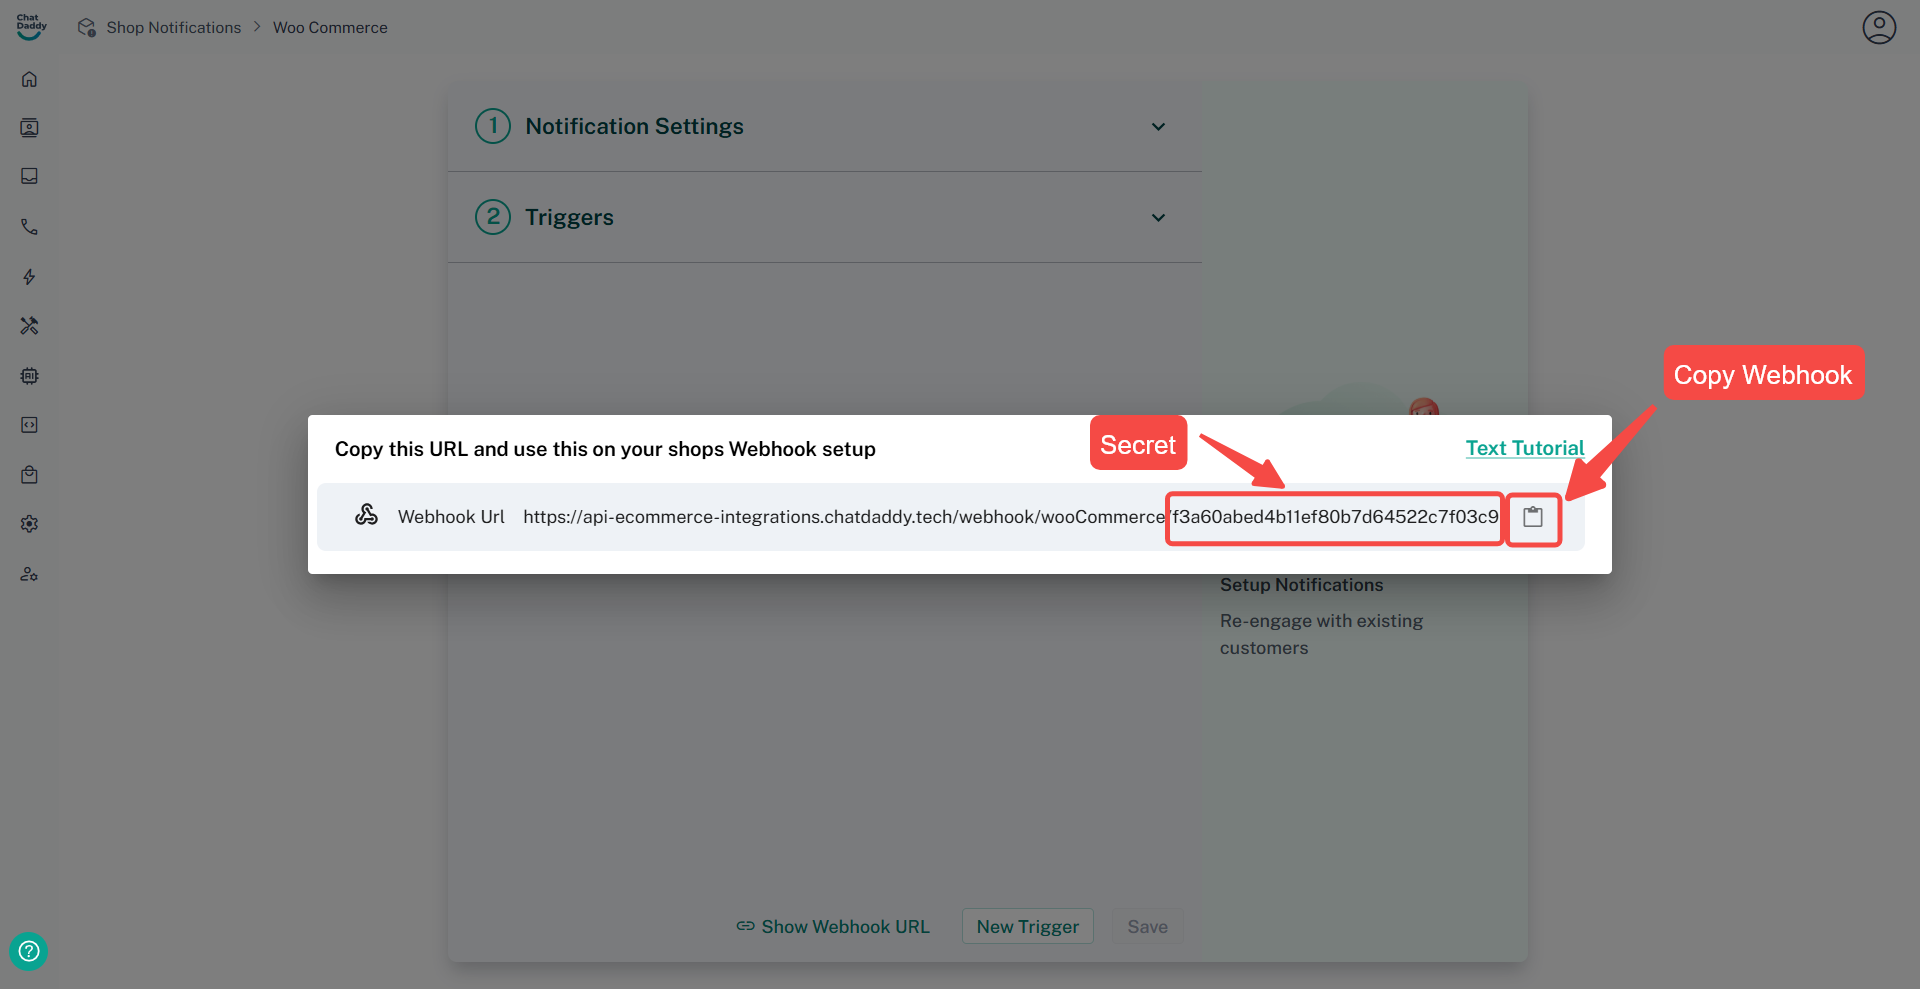
Click on Show Webhook URL Button
Step 4:
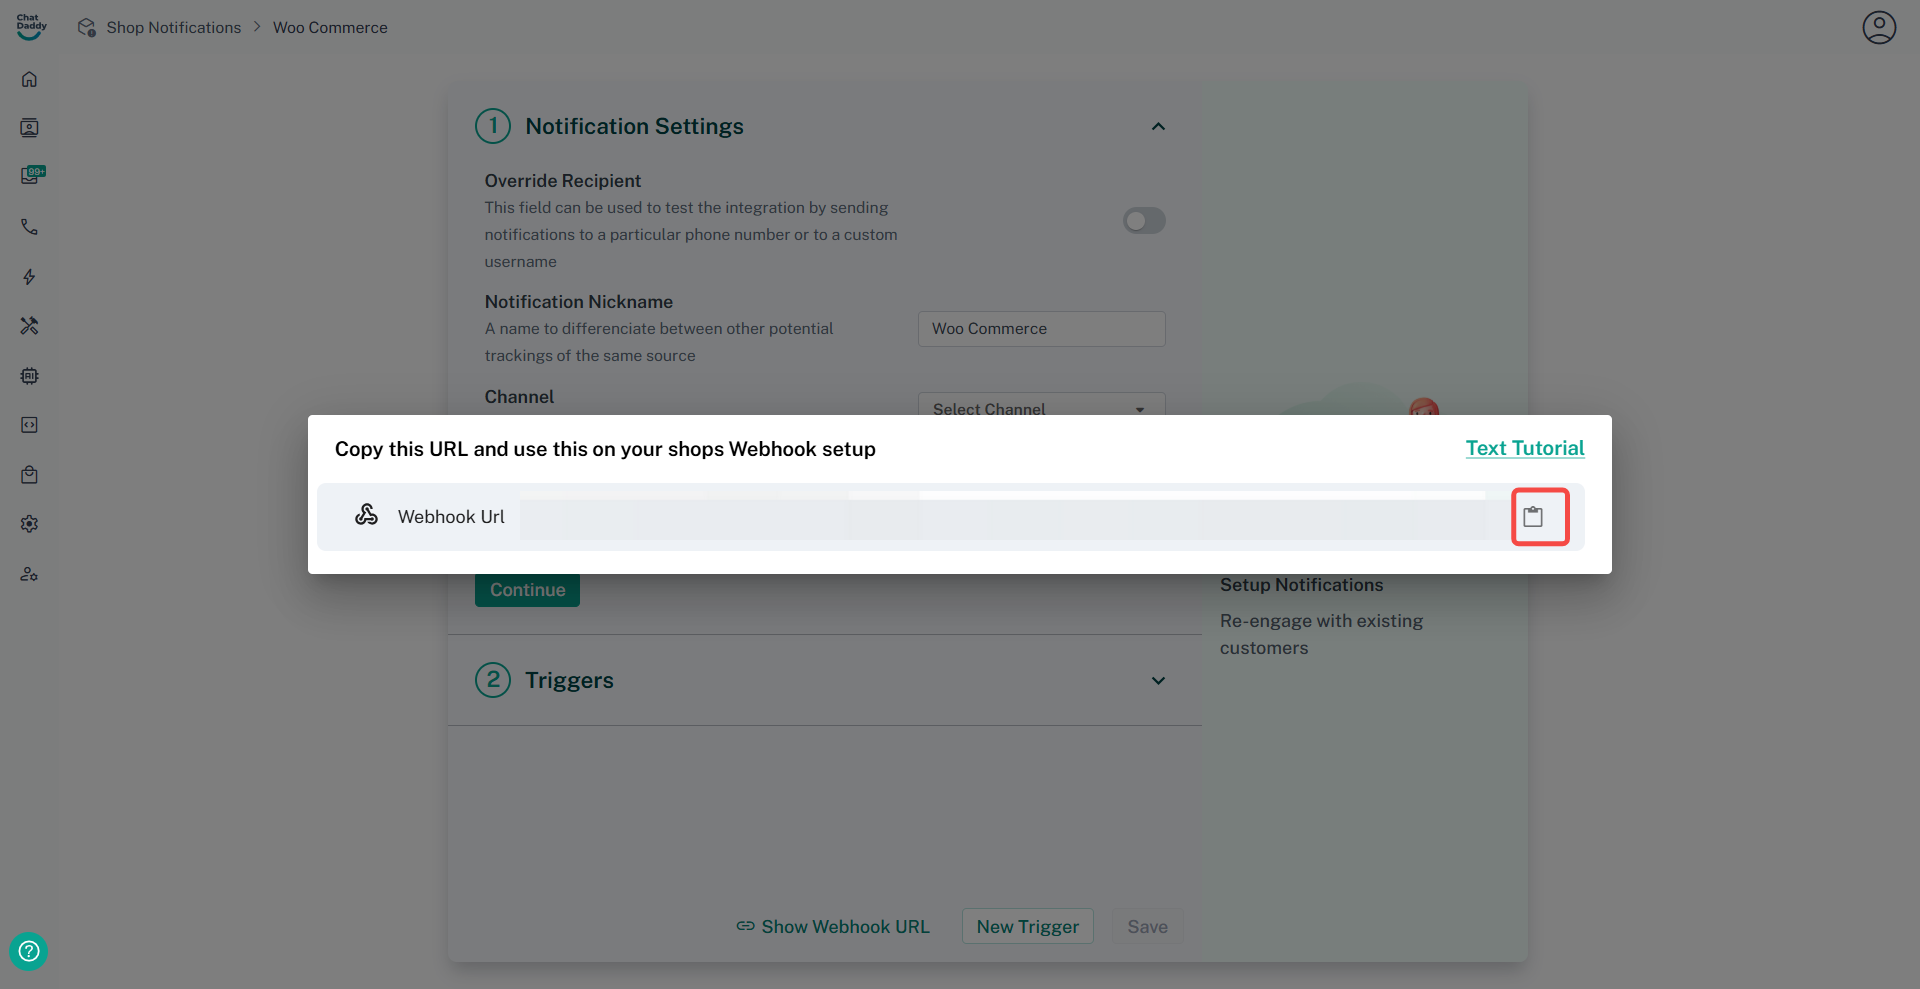
Copy the webhook URL
Step 5:
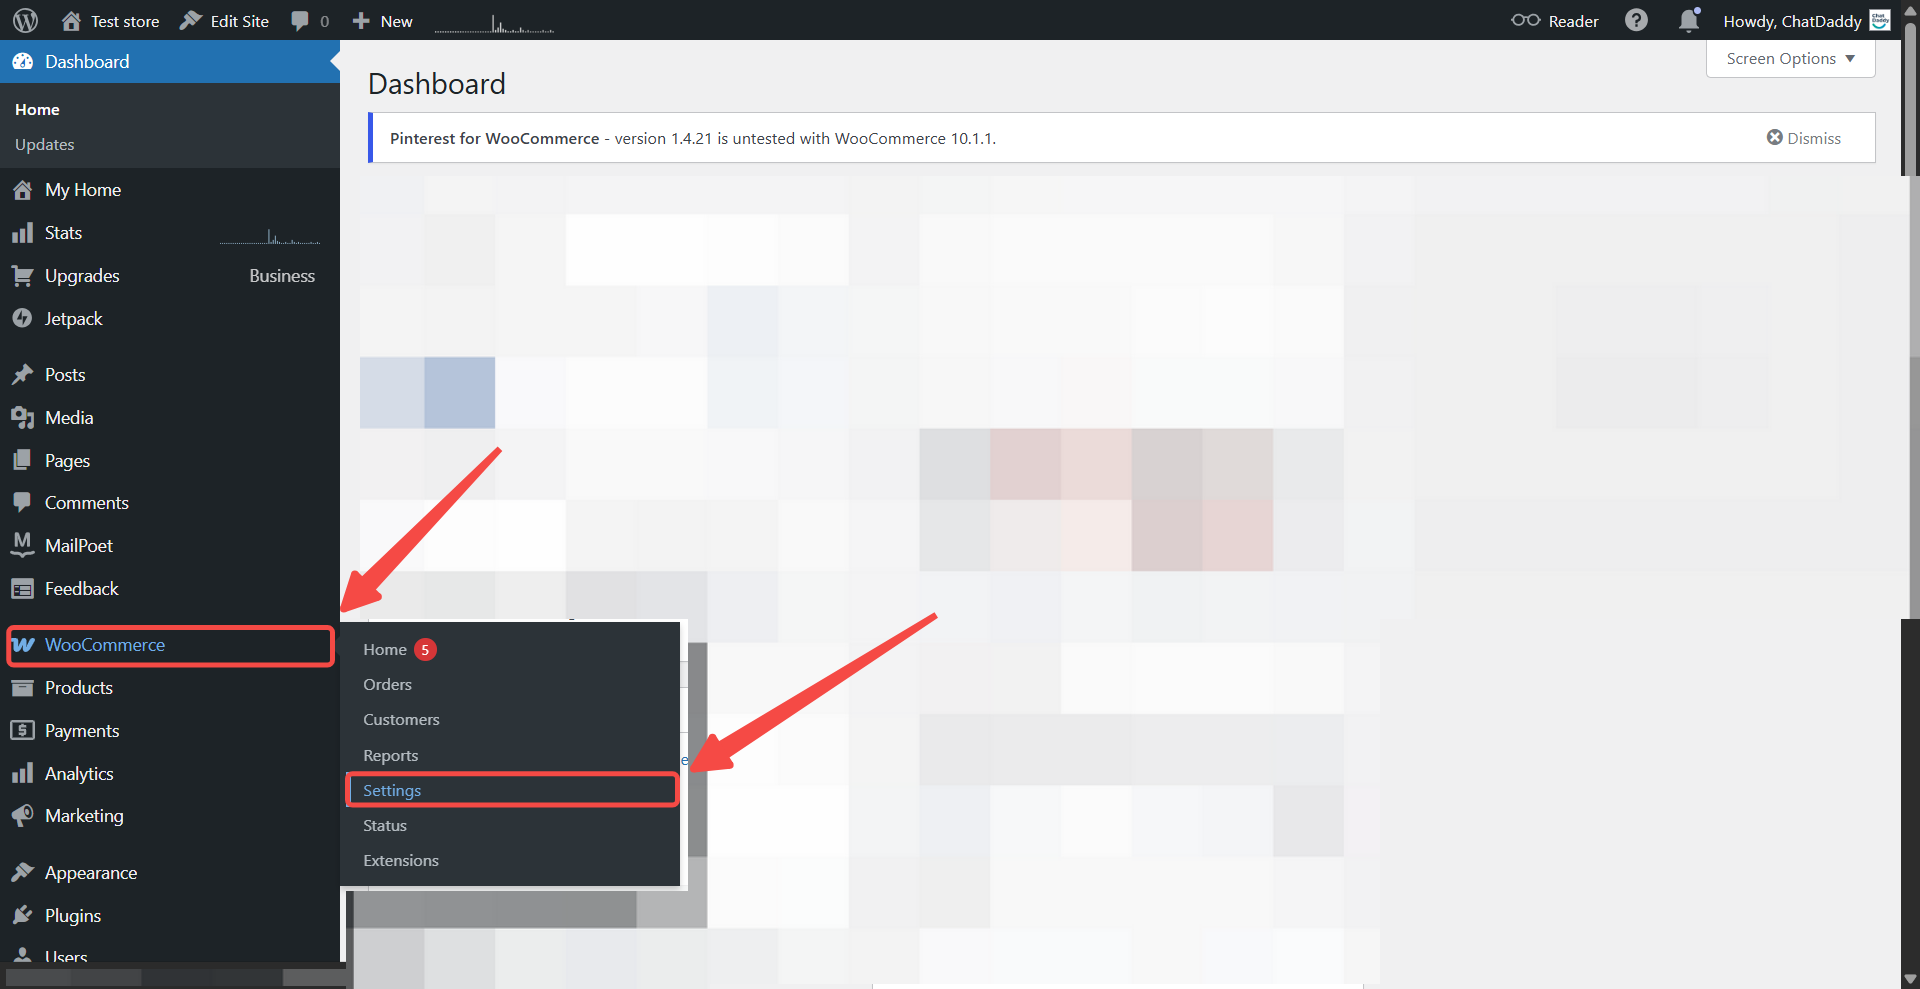
Login to your WordPress account. Head to the WP admin panel, and click on Settings WooCommerce bar.
Step 6:
-
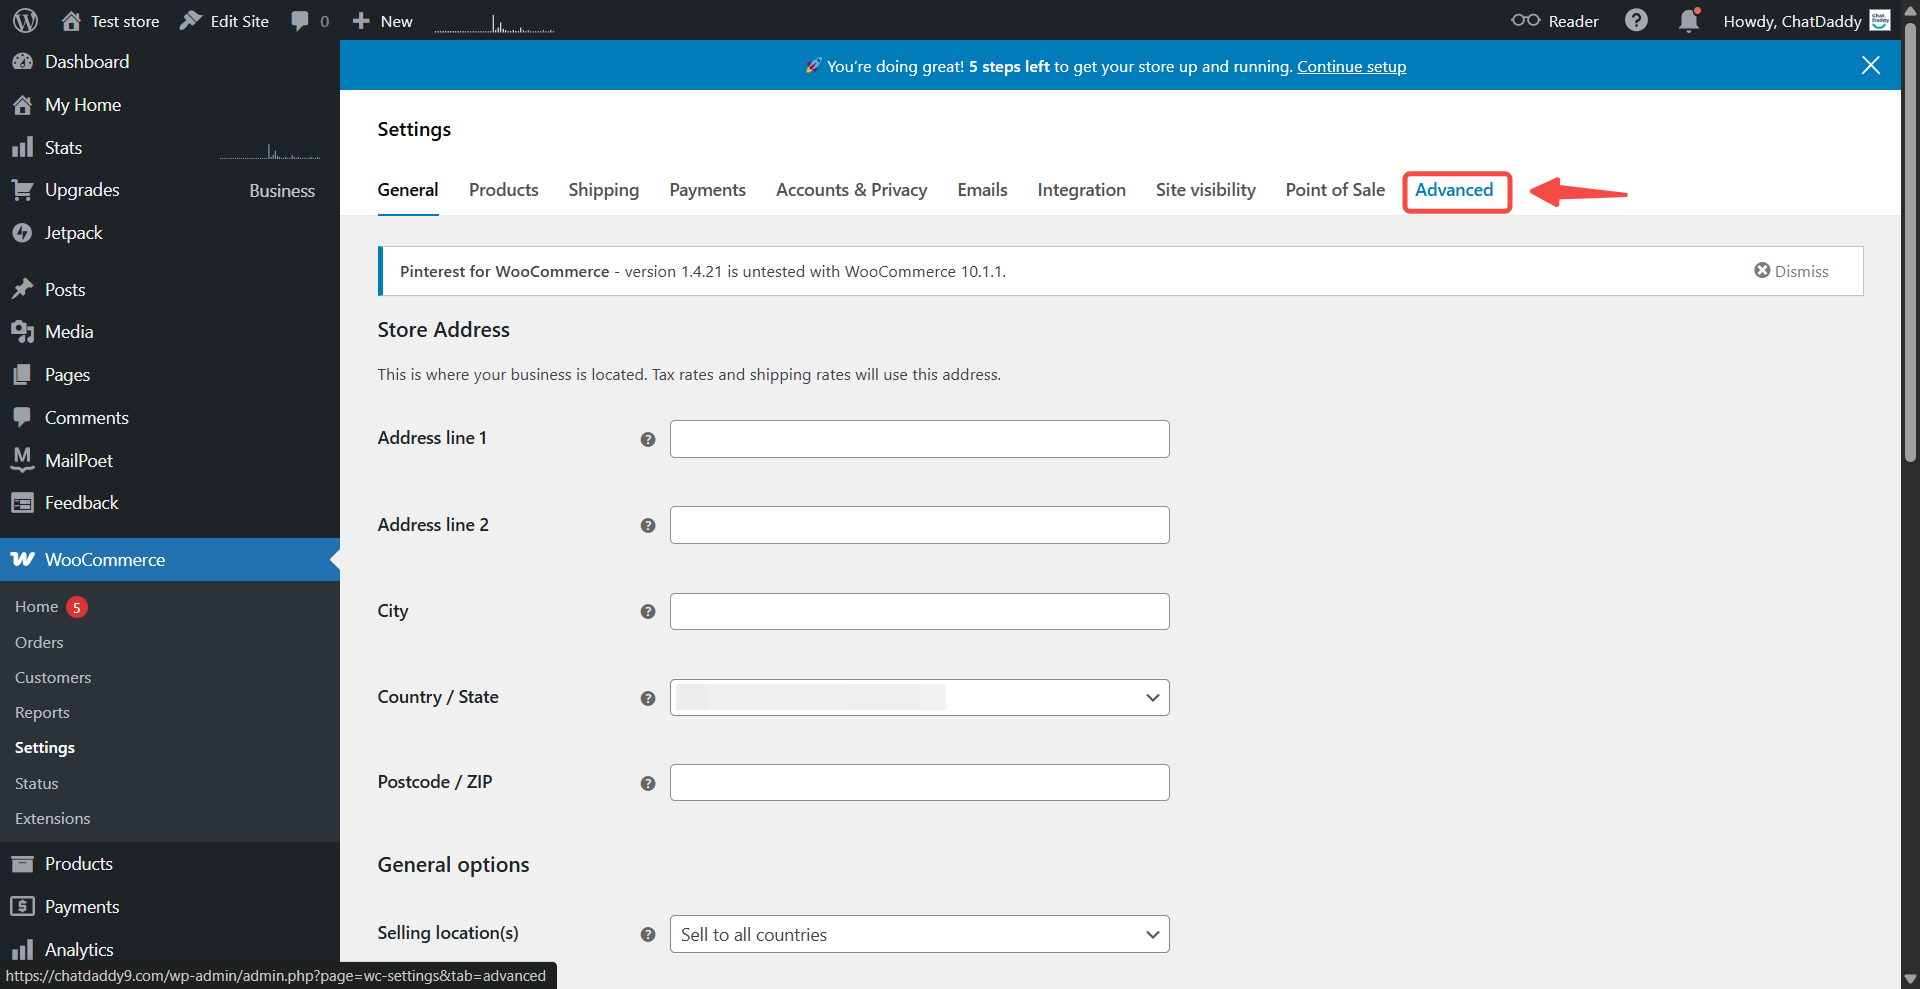
Click on Advanced.
-
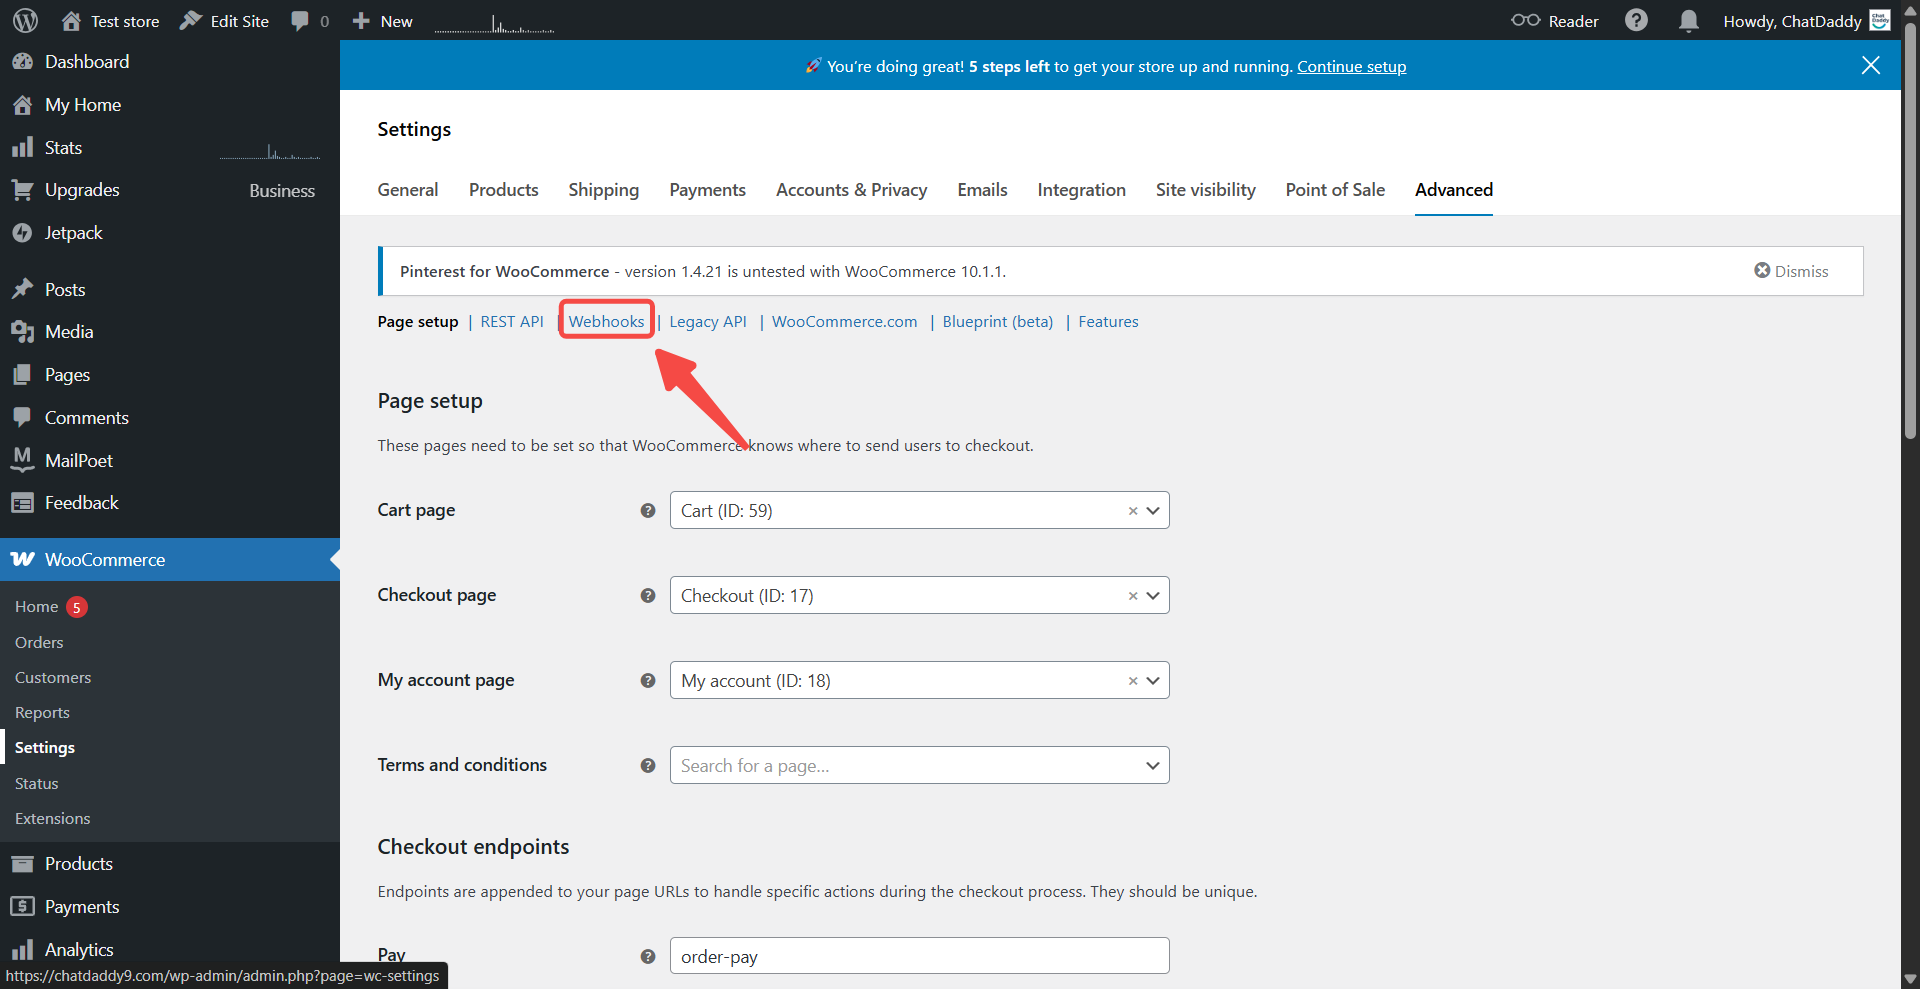
Click on Webhook Button.
-
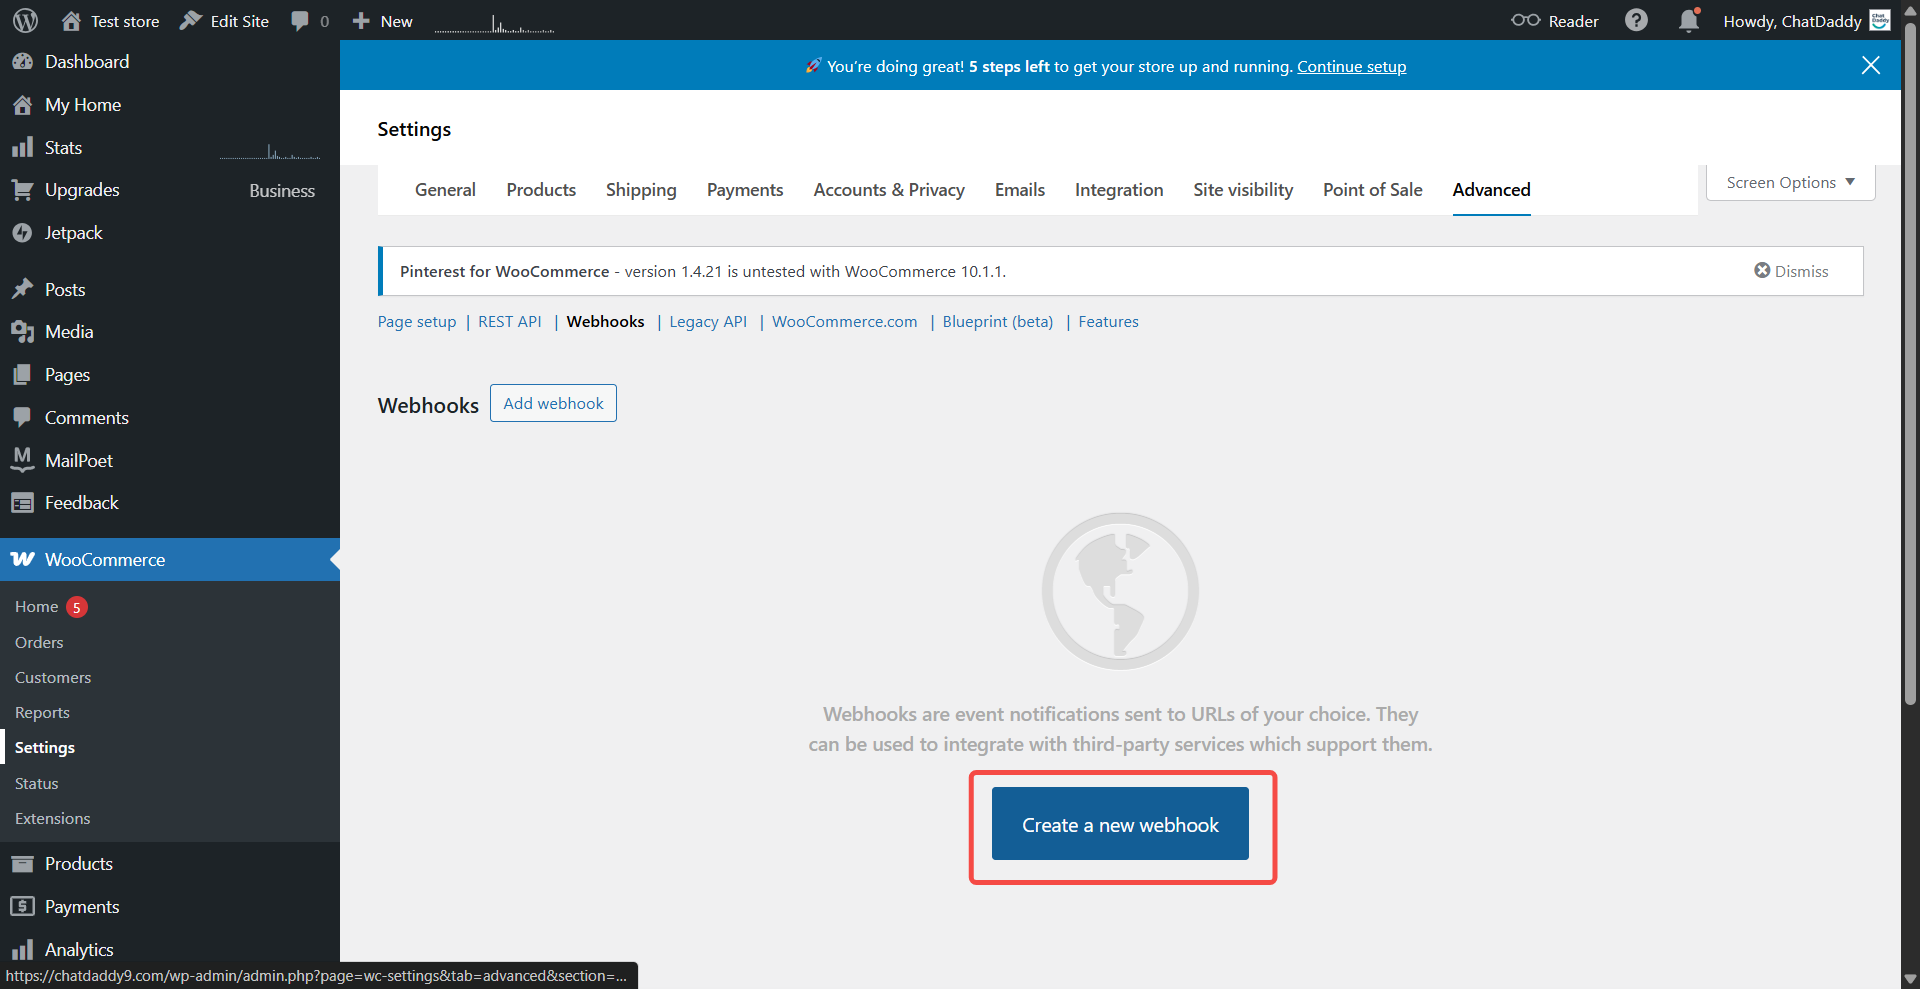
Click on Create a new Webhook
Step 7:
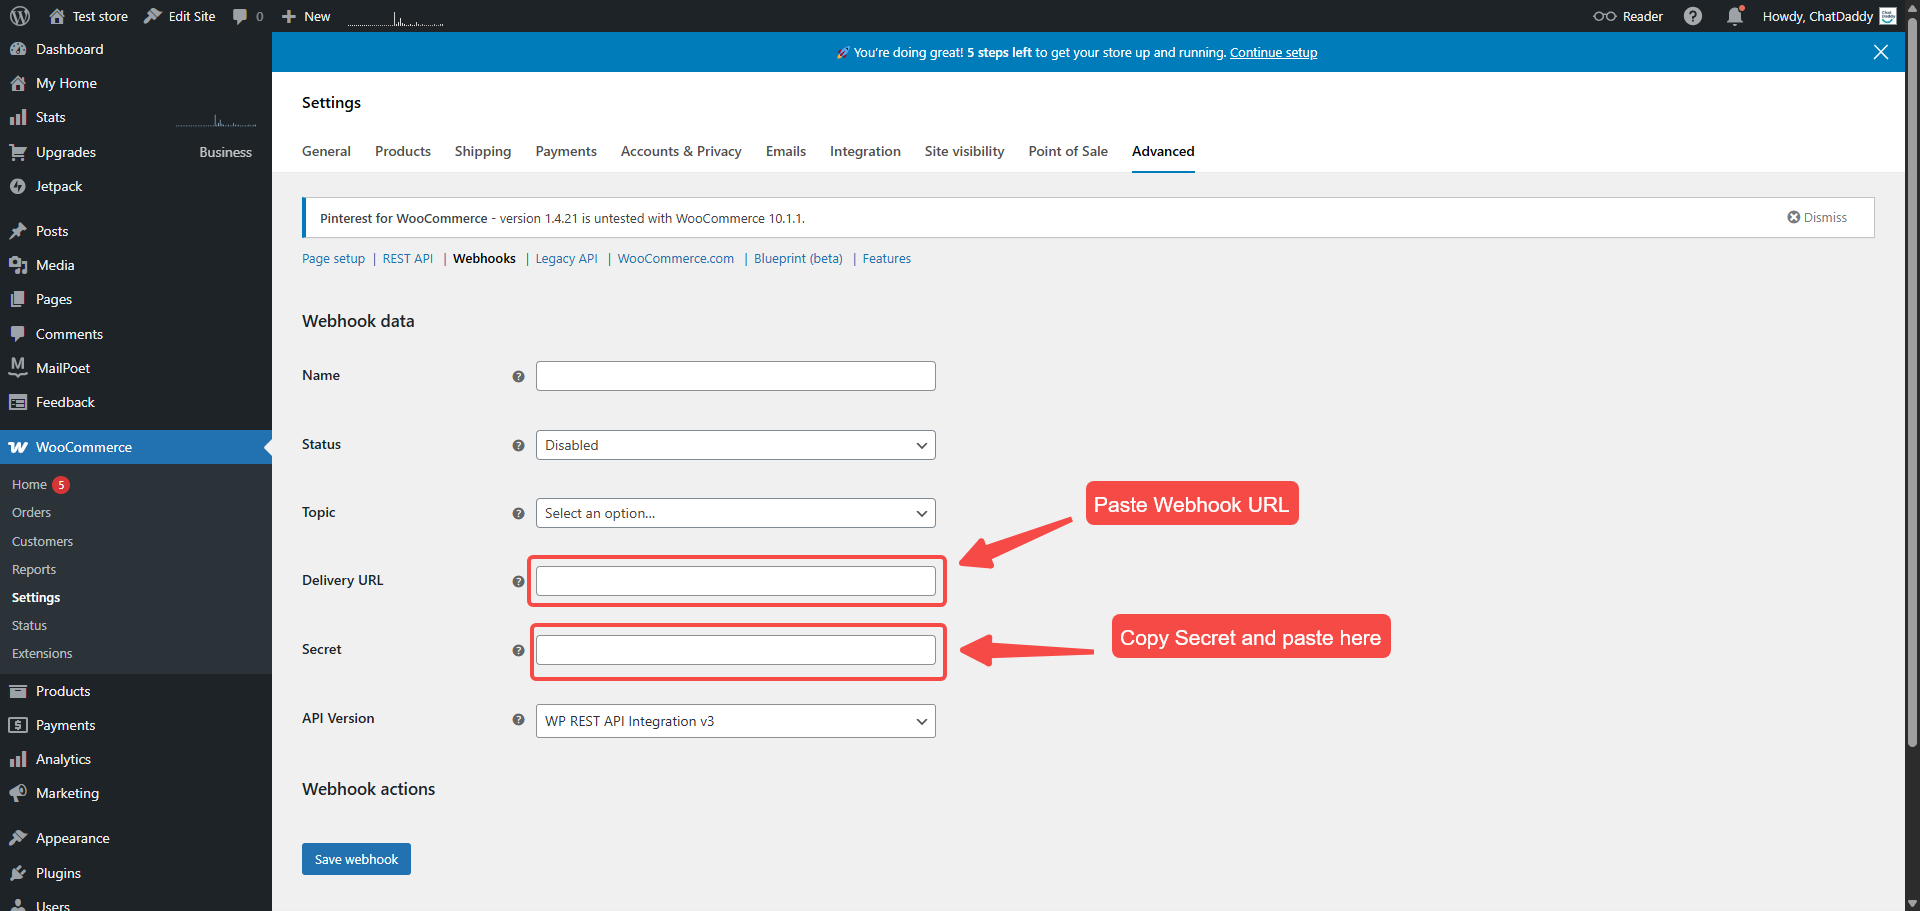
- Give a Name
- Select the status
- Select a Topic, Available Topics are : "Order Created", "Order Updated", "Order Deleted”
- Paste the copied webhook Url from Step 4 on Delivery URL.
- Paste the copied webhook Suffix on Secret.
- For API Version, select WP REST API Integration v3
- Click on Save Webhook button Note: You also need to add 2 more webhook for Order Updated and Order Deleted. Keep the webhook URL and Secret same.
Step 8:
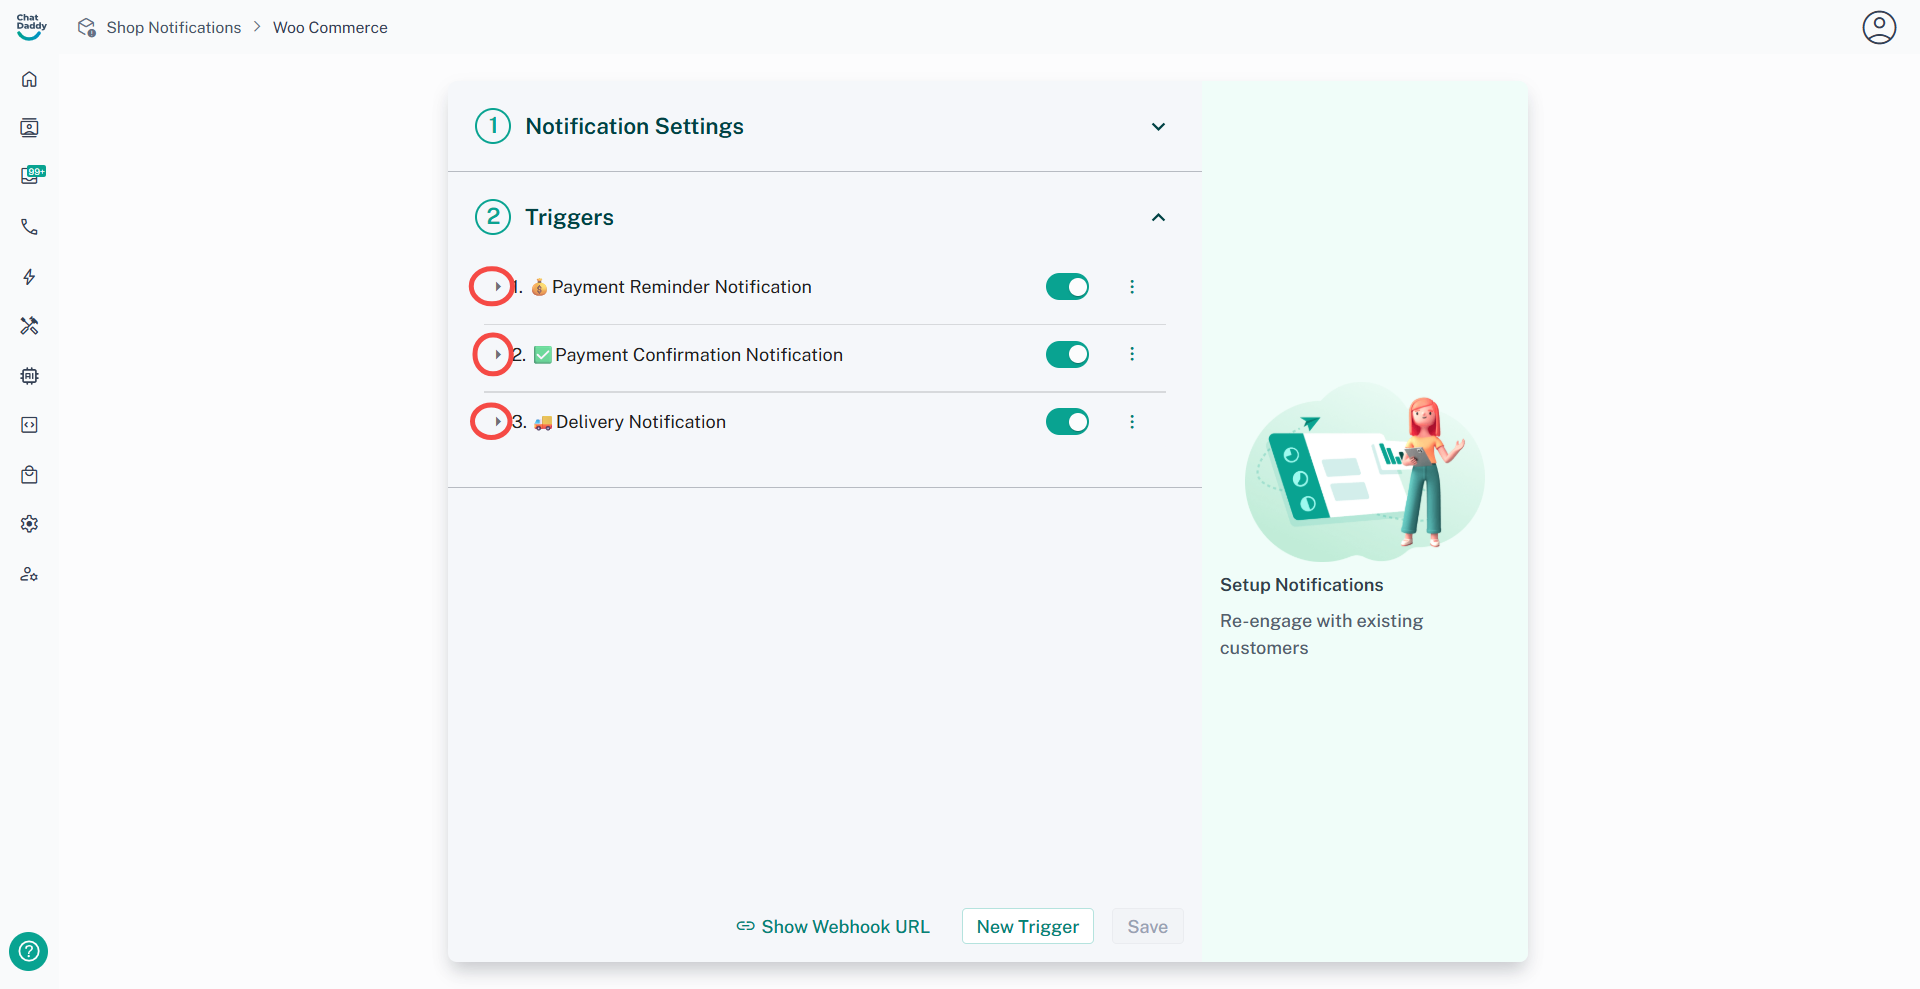
In ChatDaddy, you may click the arrow next to each type of notification (eg. Payment Reminder Notification) to check your trigger settings
Step 9:
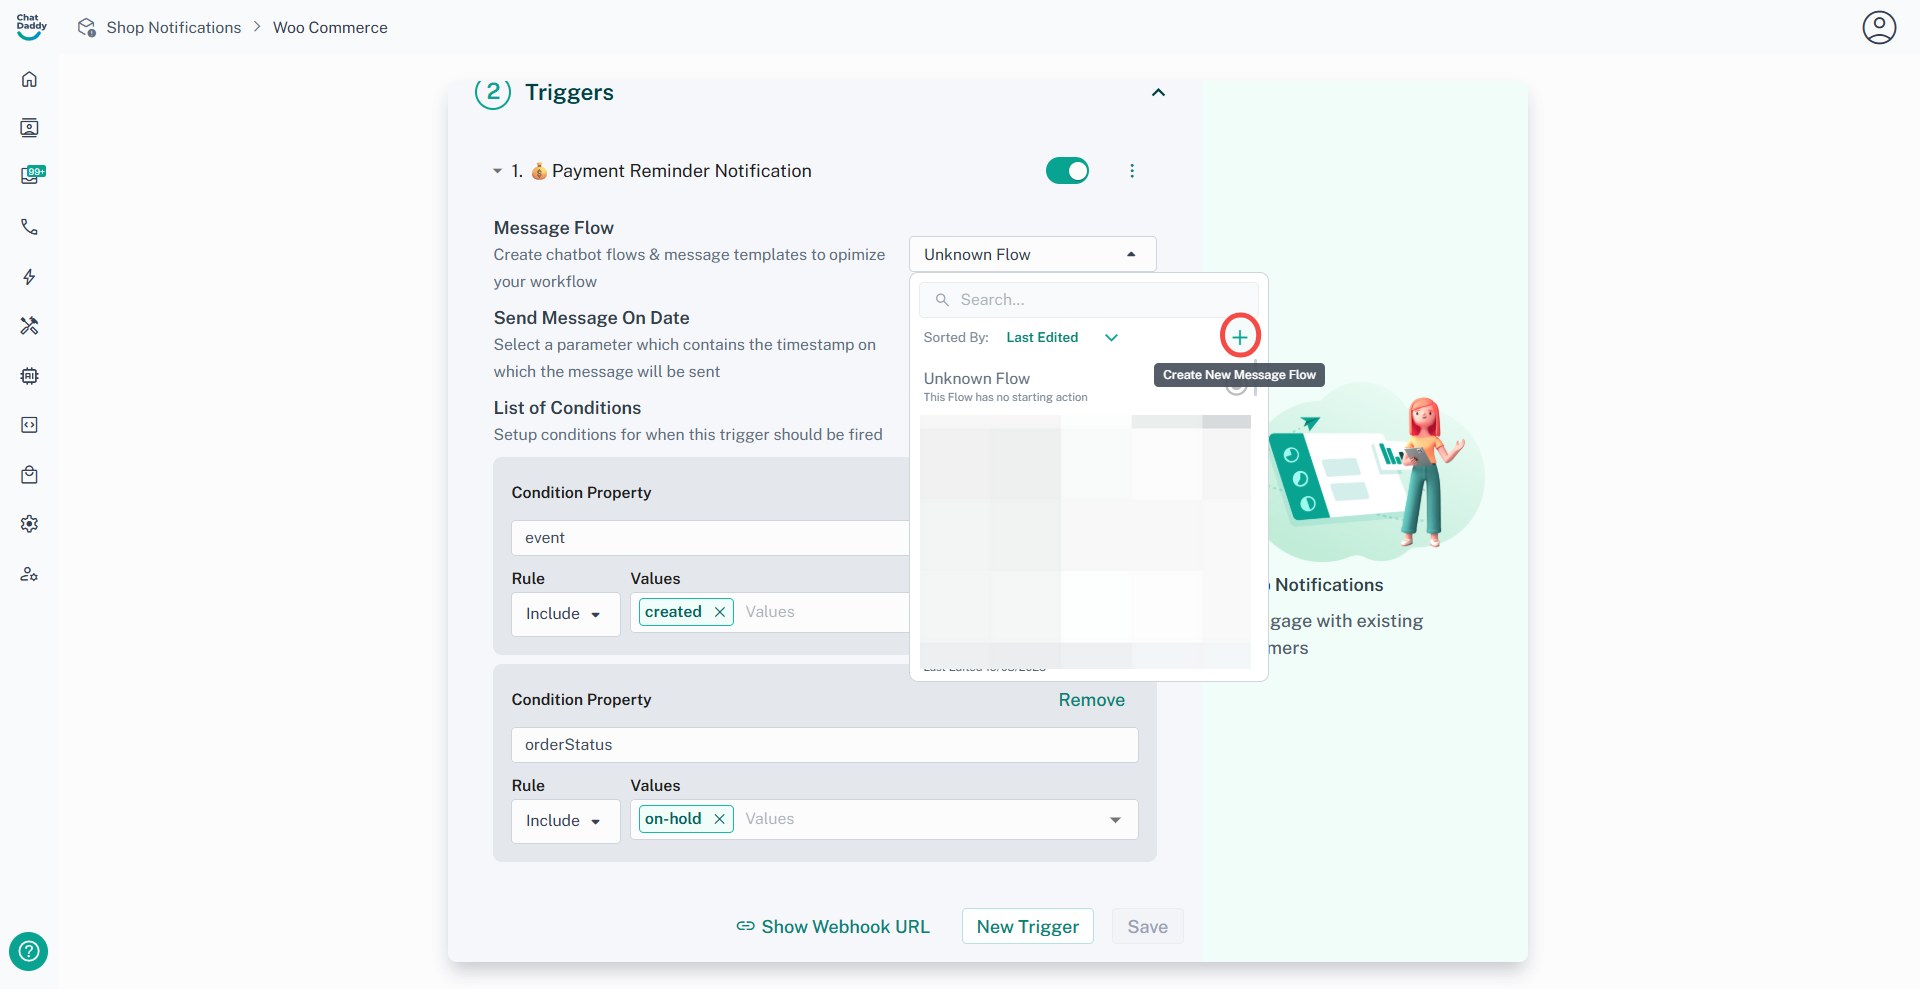
You could change or edit your message template content here (optional)
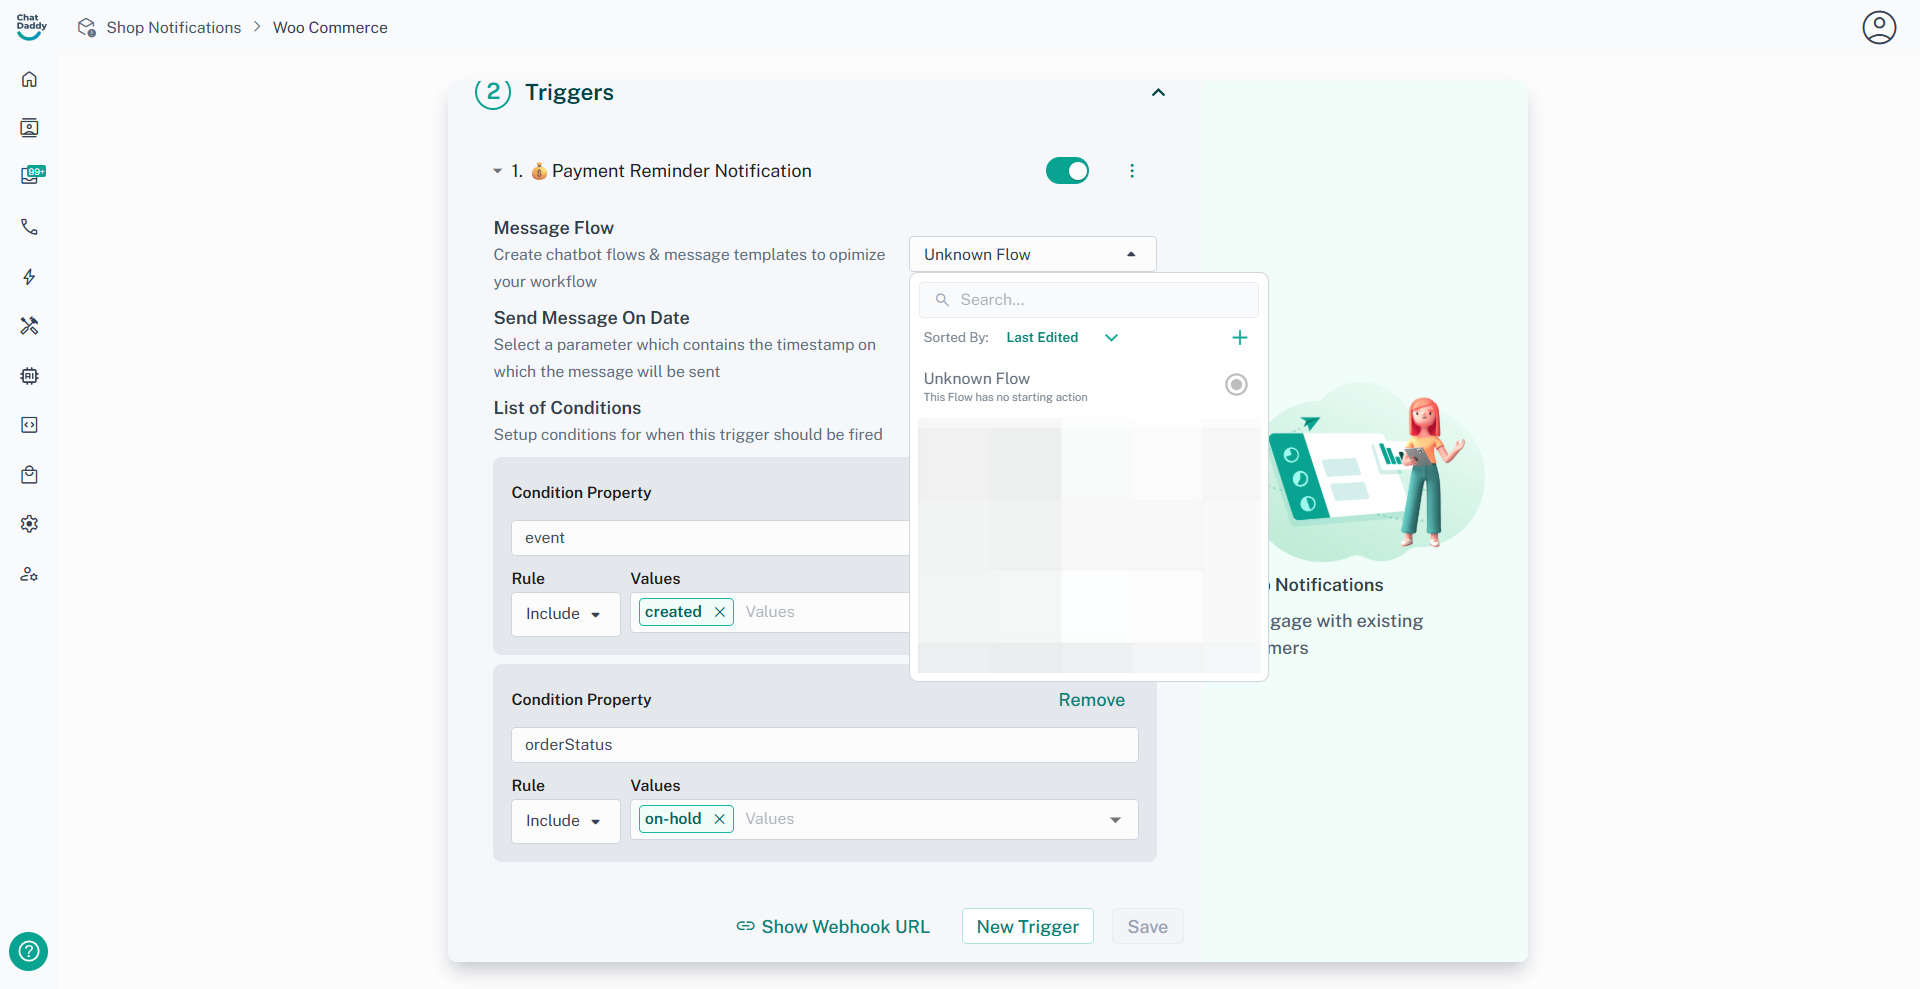
You may create a new flow or use an existing flow:
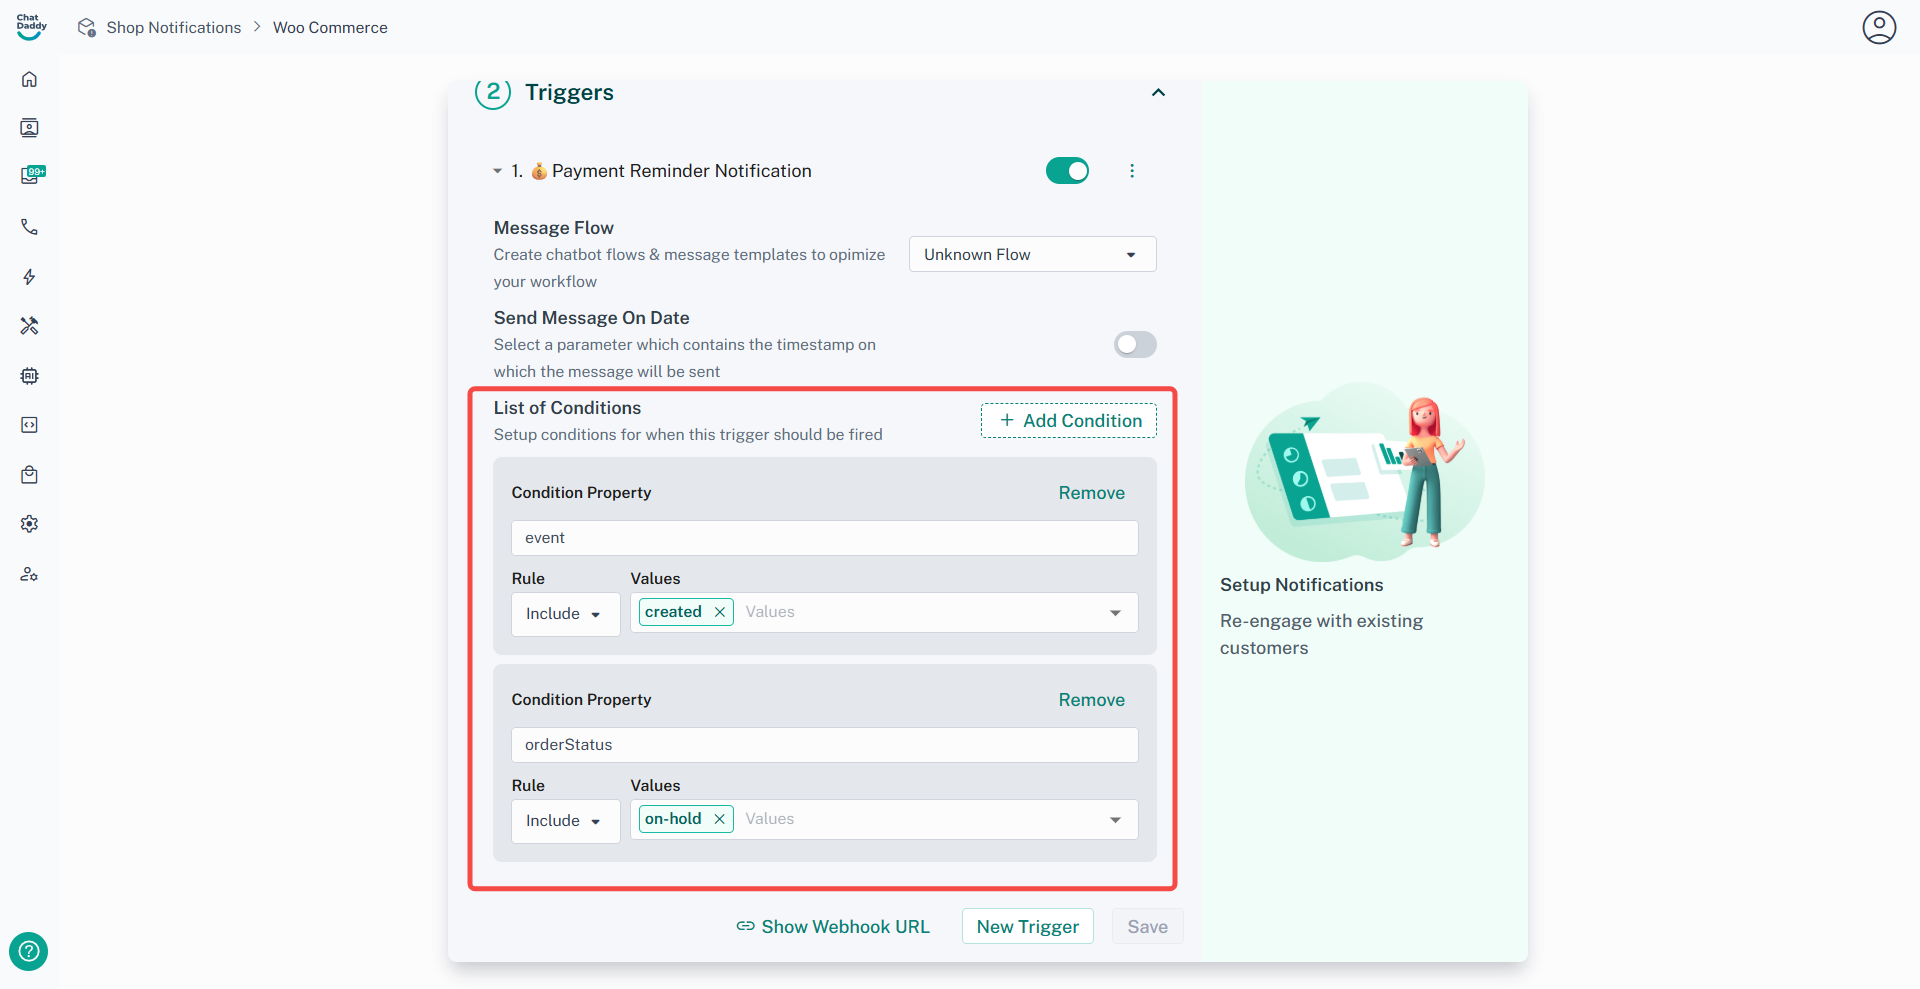
Step 10:
List of Conditions - Used to set up the conditions that will trigger the message based on your e-commerce platform.
Step 11:
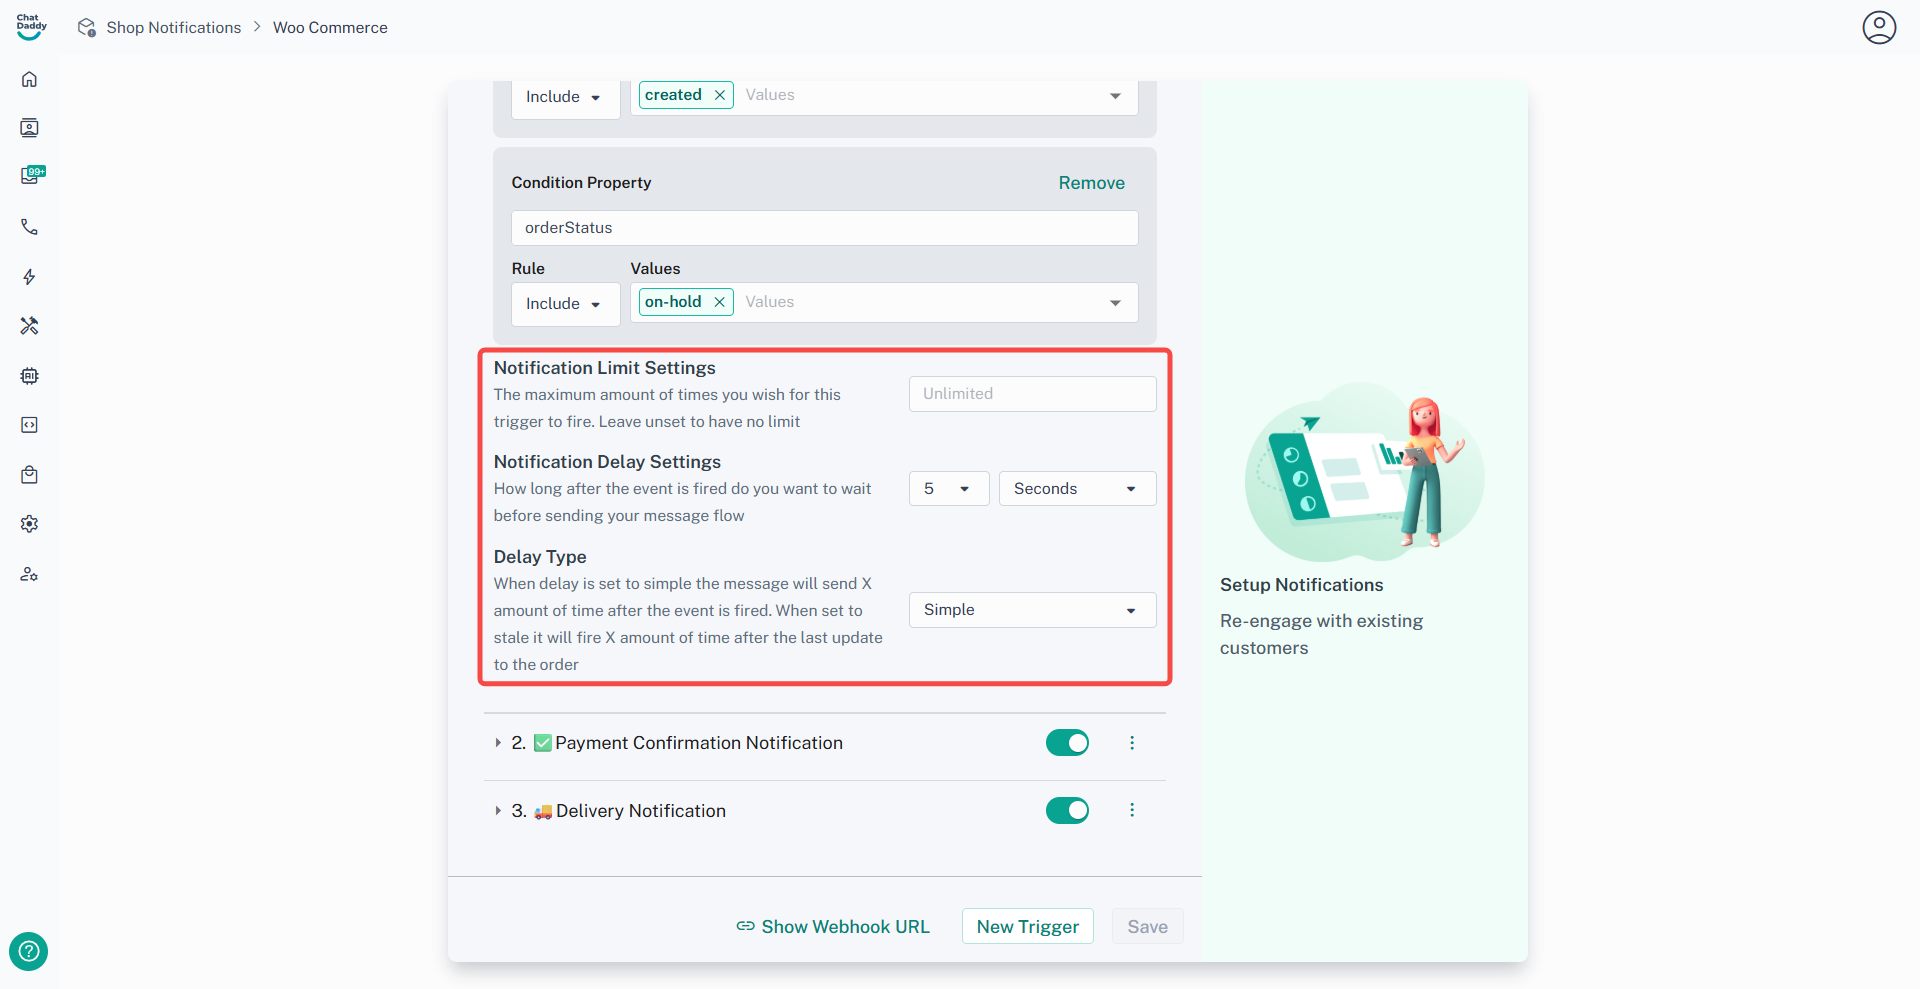
Notification Limit Settings - The maximum amount of times you wish for this trigger to fire. Leave unset to have no limit.
Step 12:
Notification Delay Settings - How long after the event is fired do you want to wait before sending your message flow (used to delay triggered message)
Delay Type - Used to set up the condition of the delay
- Simple This function is to send the notification even if the condition is not met.
Example: if the “payment reminder” trigger is set to notify the client in 4 days, it will send even if the condition of the order status is “delivered”
- Stale This function is to send a notification when the condition is met.
Example: if the “payment reminder” trigger is set to notify the client in 4 days, it will not send if the condition is anything other than “payment reminder”
After done checking for the trigger you may click Continue.
Step 13:
Repeat Step 4 to Step 7 for each trigger setting.
Step 14:
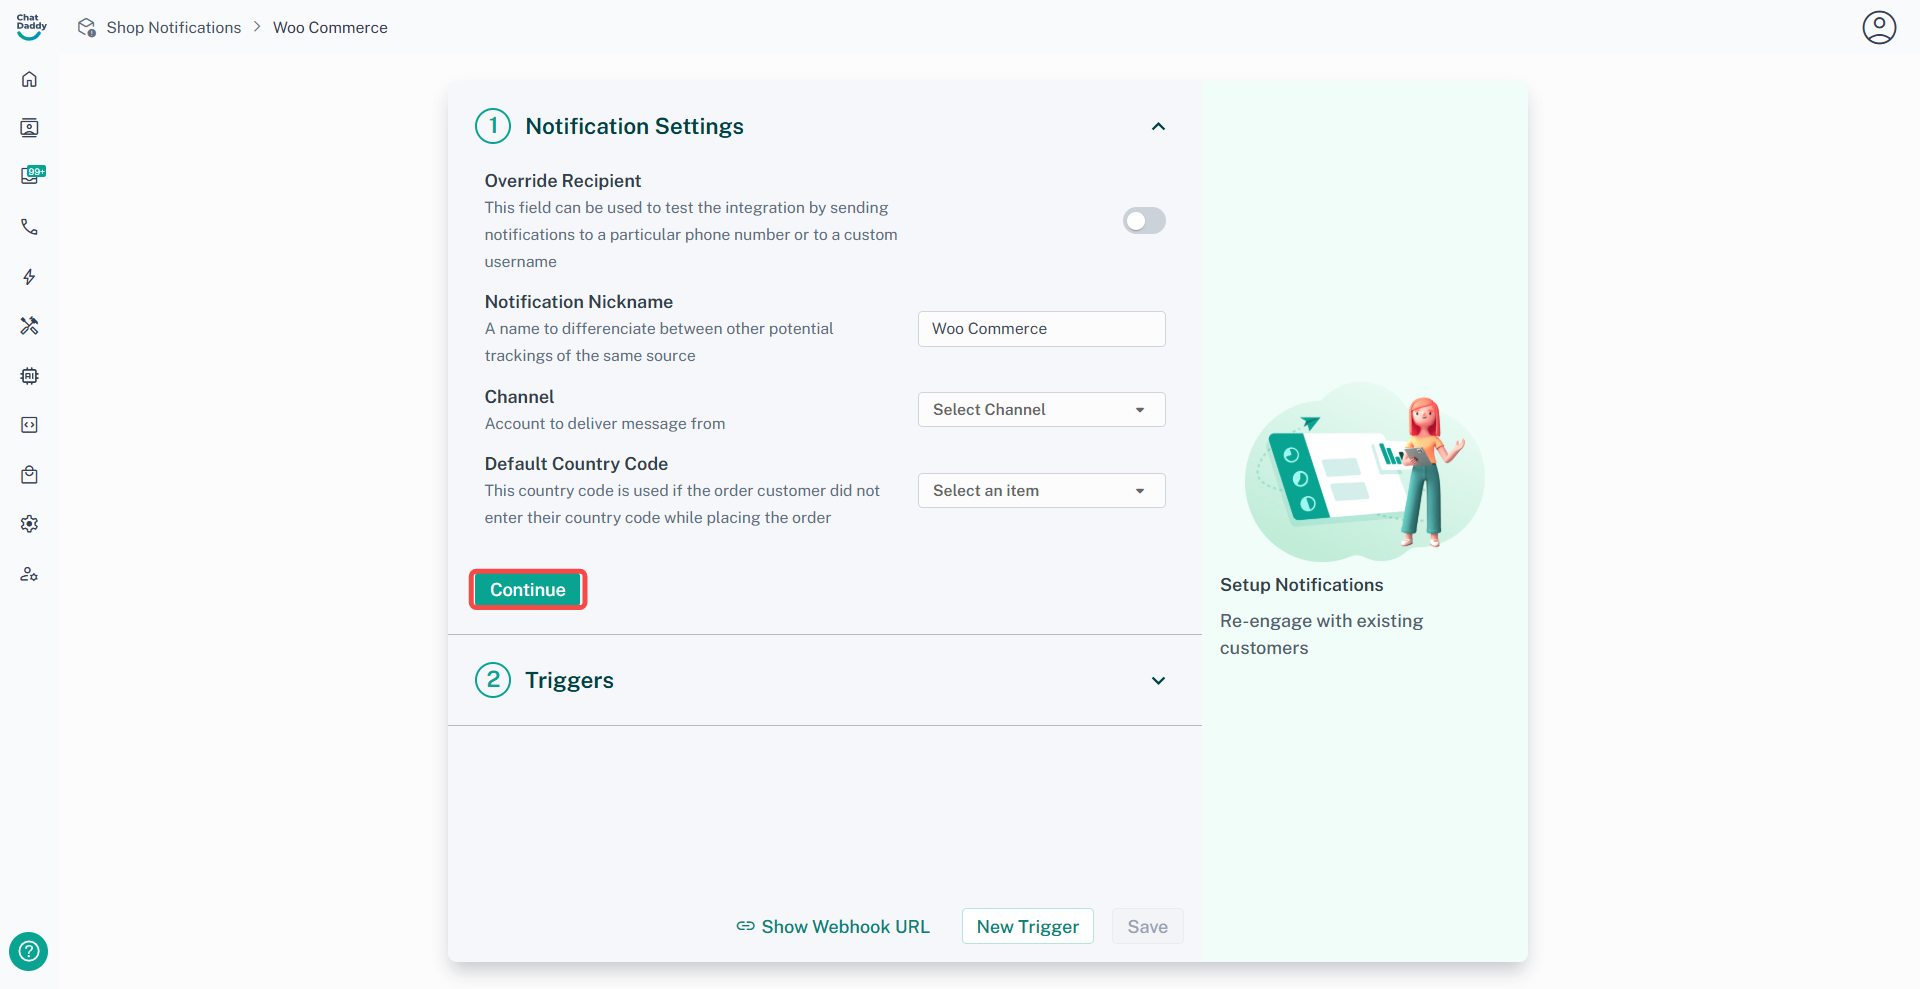
Check Notification Settings and click Continue [Channel] - To choose which device to send a message from.
After checking for all triggers, click Save and integration is successfully installed!
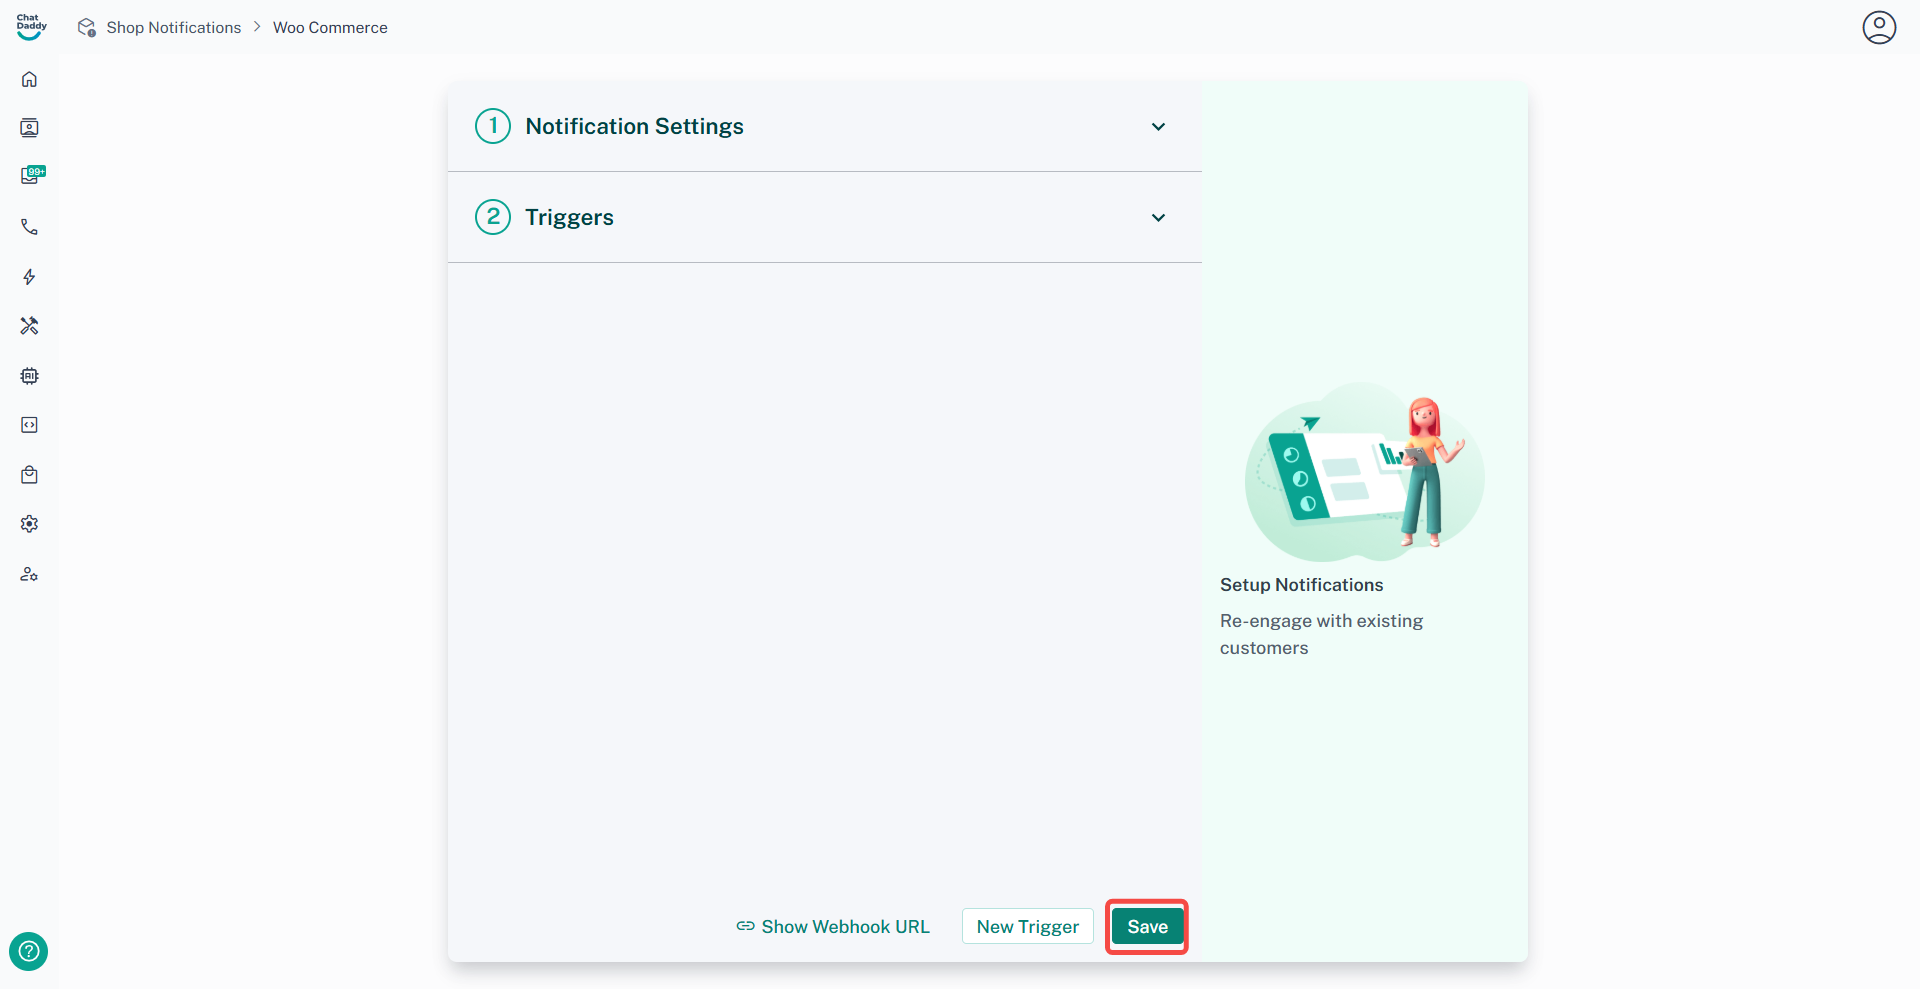
What are all these buttons?
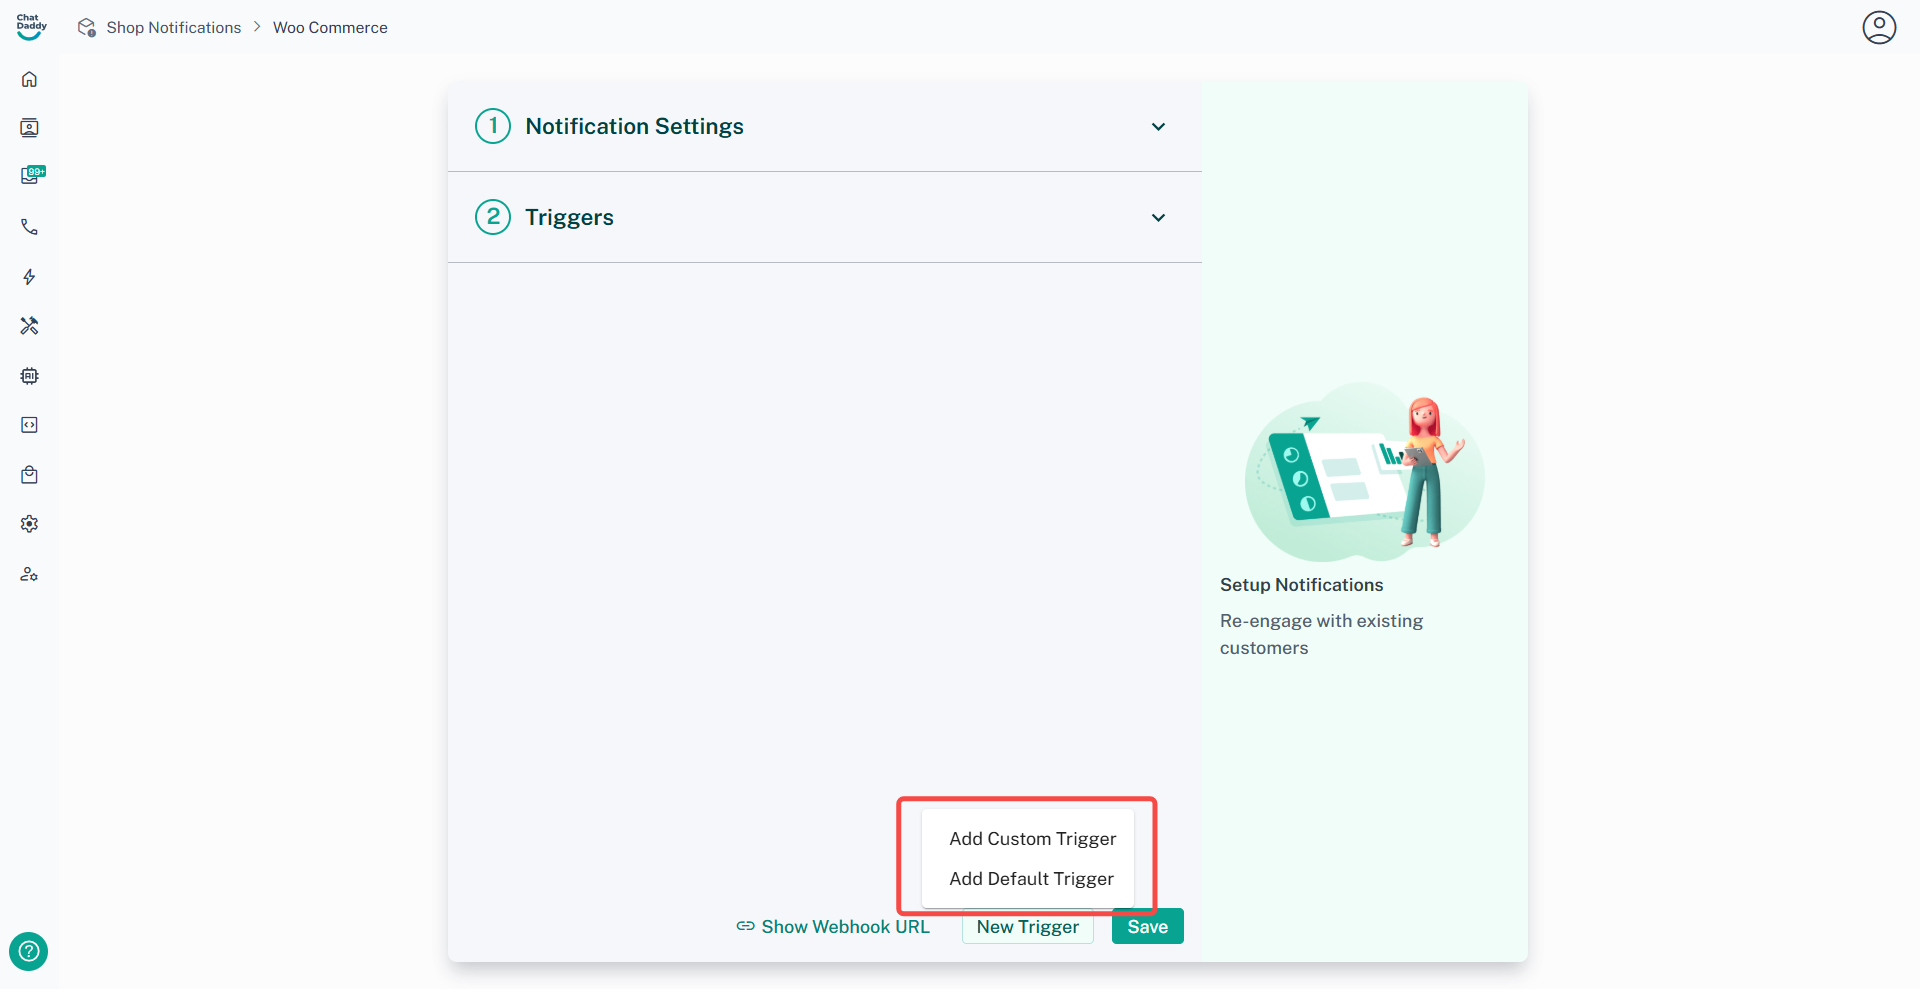
[Add Custom Trigger] - Used to self-design trigger with own message template and conditions.
[Add Default Trigger] - Used to add trigger message templates that are made by Chatdaddy.
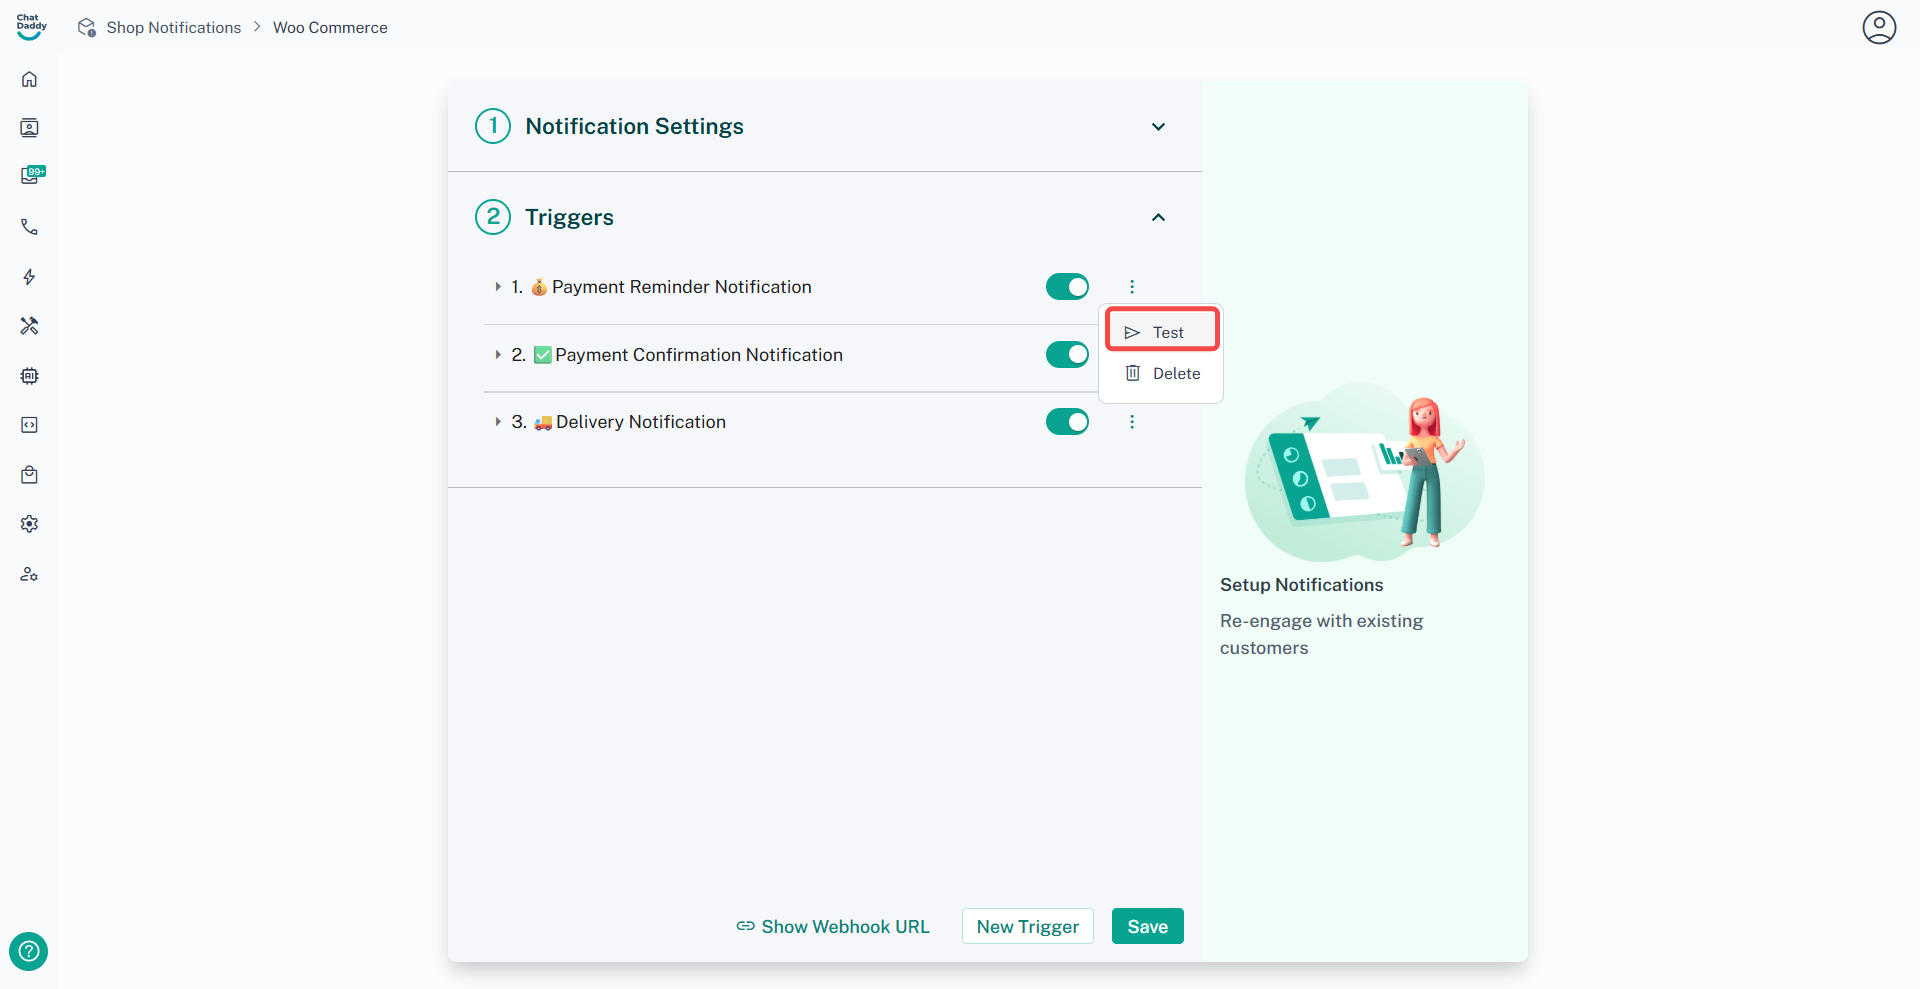
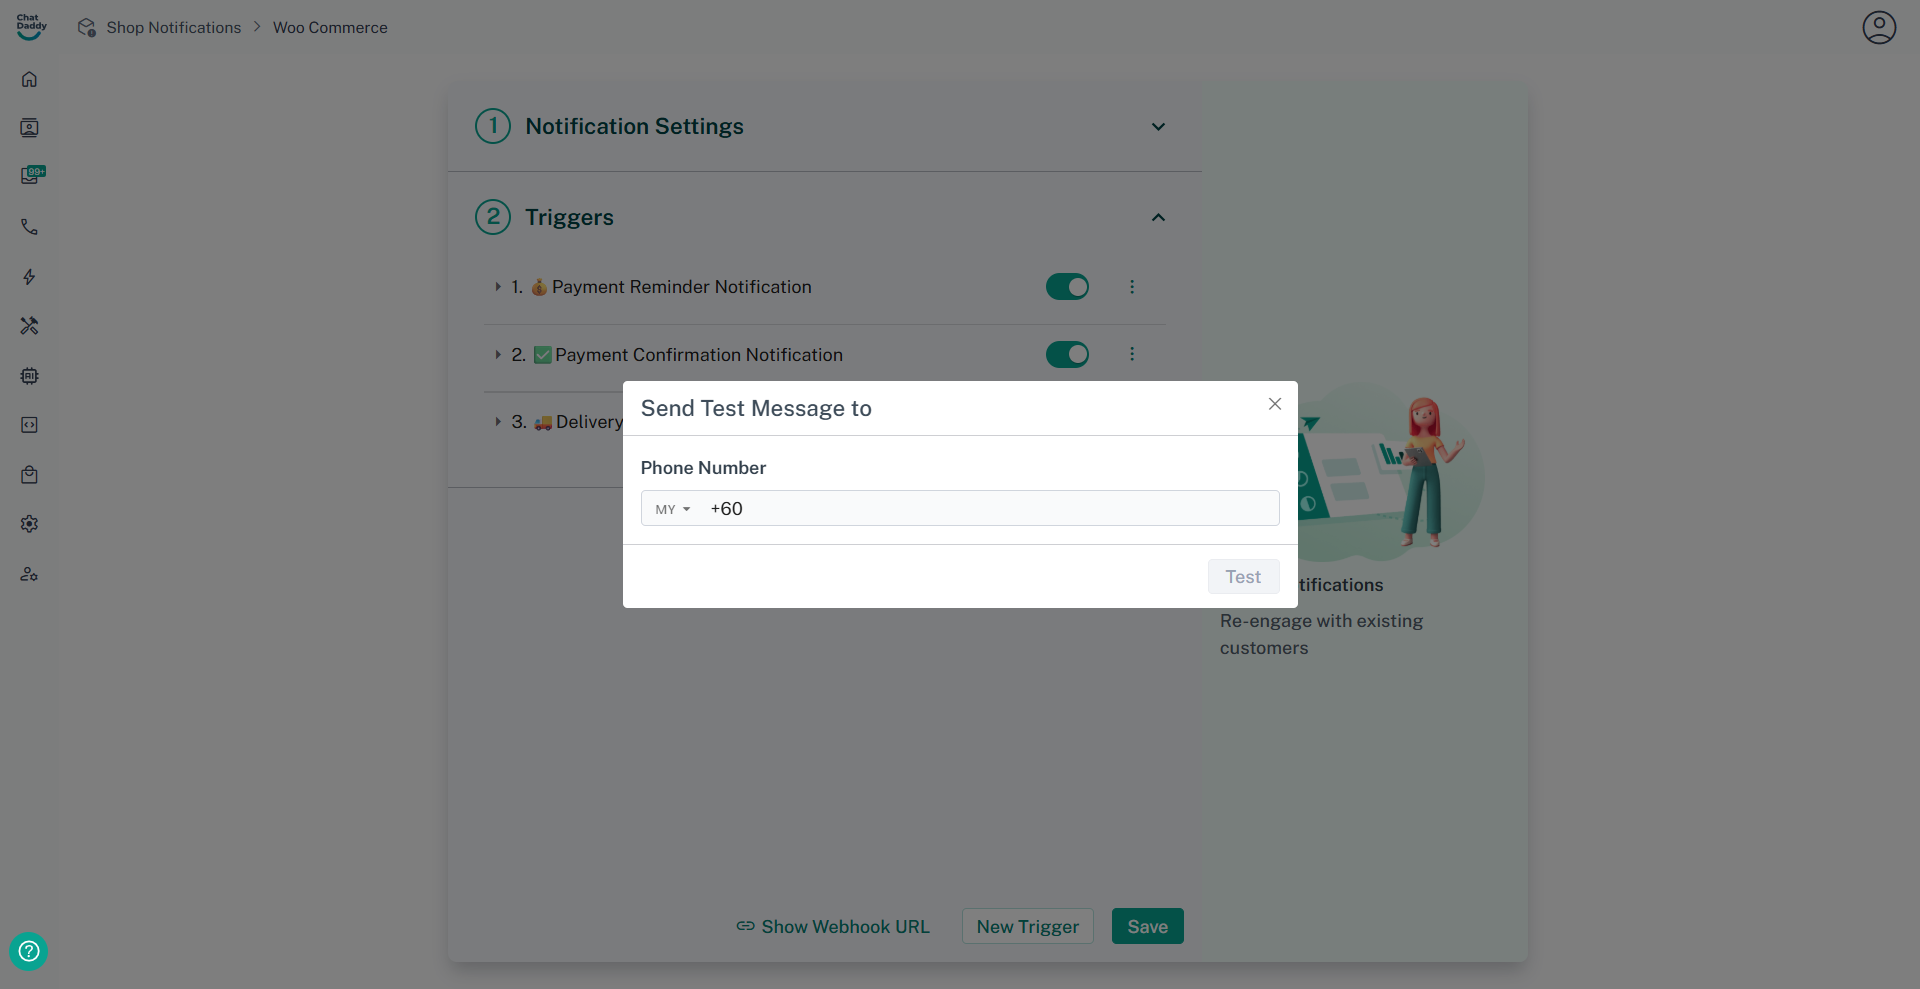
How to enable the testing mode
This is used to enable testing or send to a different receiver’s phone number.