ChatDaddy
Automation & Message Flows

Intro to Variables

Let’s start with an example, you want to broadcast to your customers, but want to personalise it with at least their name. So instead of saying just: “Hi there, we’re running a 20%…

Updated Apr 15, 2026

Let’s start with an example, you want to broadcast to your customers, but want to personalise it with at least their name.

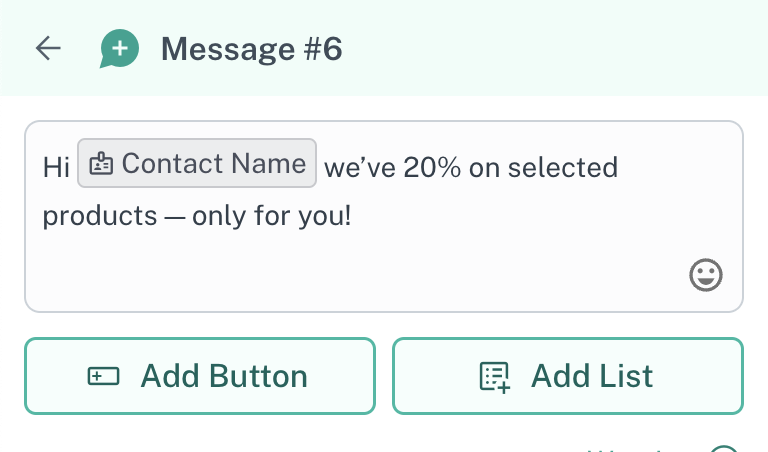
So instead of saying just: “Hi there, we’re running a 20% sale — limited time offer”, we’d want to say “Hi Robin, we’ve 20% on selected products — only for you!”

The second option would have a lot more appeal to the end customer, since it seems targeted directly to them. We obviously don’t want to create a 1000 different flows for each customer, that’d be a waste of time for all of us! Instead, we achieve this using variables in message flows. Let’s see how:

  1. Create a message flow. Not sure how to? See our quick 5 minute guide here

  2. Once we have a message node, let’s start editing

Image

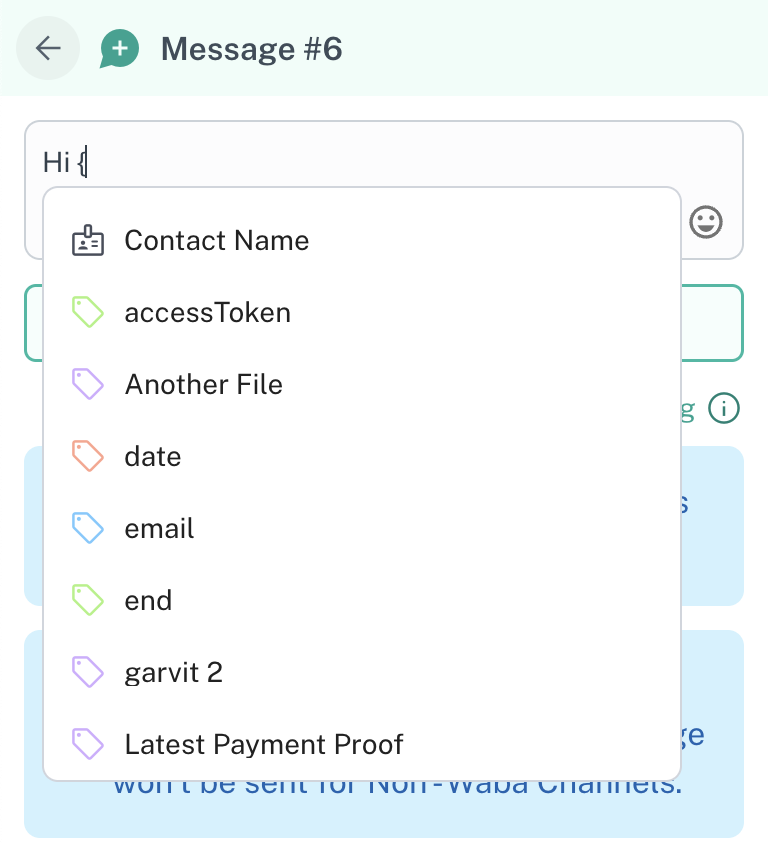
  1. As we start typing out, place a curly brace ({) where you’d like to place the customer’s name, and immediately you’ll see a dropdown open. This dropdown will show you all the variables you can use

Image

  1. At the top of the list, you’ll see “contact name” — that’s the variable for the name of the contact this message will be sent to. Click the down arrow on your system to highlight this & press enter to add it to your text

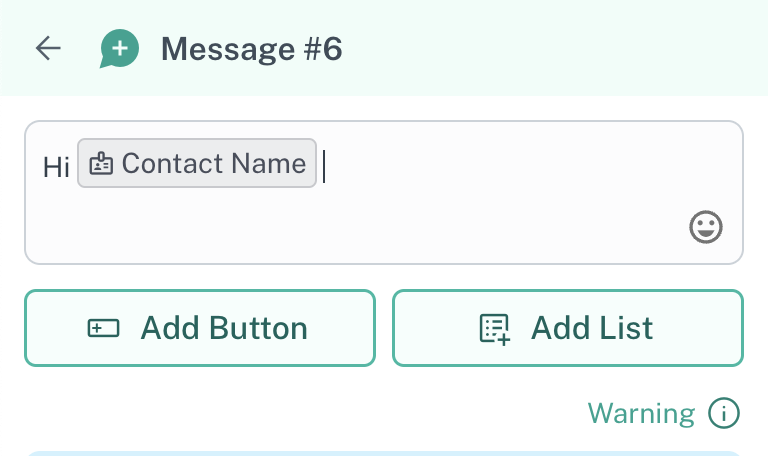
  2. Voila! The variable has been added to the message. Now, whoever receives this message will see their own name being sent. A space will have automatically been added after the variable — you can start typing the rest of the message

Image

Image

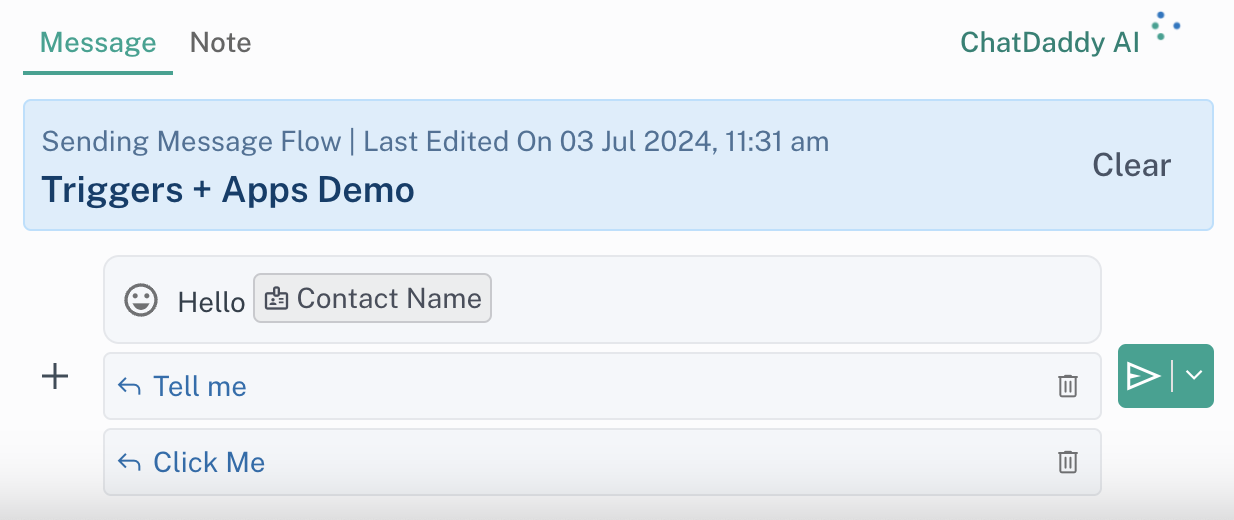
  1. Let’s try sending this message to a customer now, you can do so in many ways:

  2. Inbox, keyword reply, broadcast

1. Ensure your message is set as the starting message to do this!
  1. A trigger or following from another node, right inside message flows

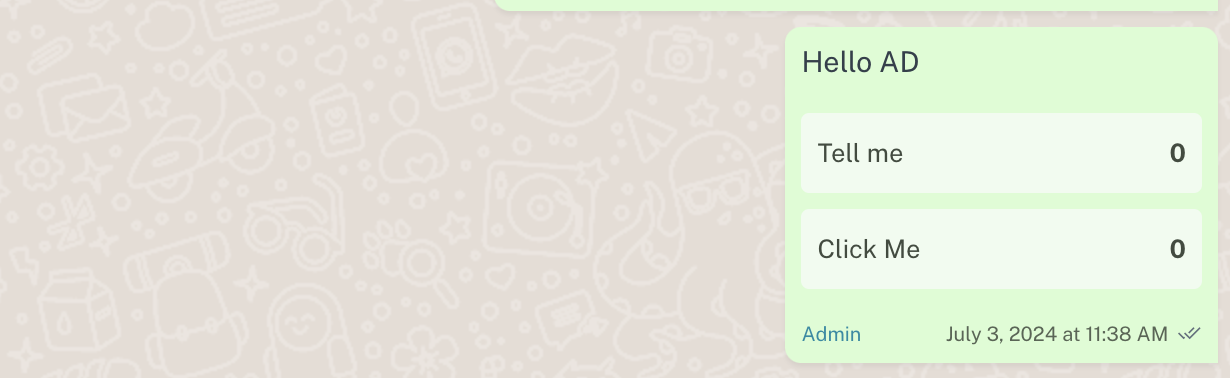
  2. We’ll send this via Inbox by pressing the / key. And as you can see below, the name got replaced with the contact’s name (which was set as “AD”)

Image

Image

And there you have it — a simple & effective way to reduce toil and personalise your flows!

FAQ

  1. What if the variable I use is empty? For example — if I use the name variable, and the contact doesn’t have a name set?

In such a case, we replace the variable with the default value — typically blank text. Here is the default value for different channels:

  • WhatsApp Business API (WABA): “N/A”

    • Eg. “Hello {{name}}!” will become “Hello N/A”
  • All Other Channels: “” (blank text)

    • Eg. “Hello {{name}}!” will become “Hello ”
  1. The variable list is too long, can I search for variables?

Yes you can! Just start typing the name of the variable you’re looking for and once you find it — either click it or use the keyboard to select it

Image

  1. Can I use variables directly from the inbox?

Yes, you can! Just press the { anywhere in your message to see what variables are available to you

Image

Select the one you need, and continue typing your message!

  1. When using the webhook, or HTTP request — we don’t see the variables outputted from there in the dropdown list. How can I add a custom variable absent from the list?

No worries, you can add a custom variable absent from the list by typing the variable you need in double curly braces. Once you add the final curly brace — the variable will get detected as one and get formatted.

Image

Image

To learn more about the advanced usage of variables, read our “Advanced Usage” doc.

  1. When I send a date/timestamp variable — what timezone will it use?

We use your team’s timezone to format the timestamp.

  1. Can I customise the format of the date when sending a timestamp variable?

No, this is not possible at the moment. The format being used right now is:

M/D/YYYY, H:mm:SS A . For eg. 7/3/2024, 1:21:54 PM

Available Variables

The list is constantly growing! However, this document will cover the variables available at the time of writing, and how to access them.

Note: the variables available to you vary with whether you’re using an app/conditions or sending a message

Variables in Messages

  1. From the contact, you can use the:
  • name

  • phone number

  • custom fields

  1. If the message follows a trigger, or an app — you can use the data outputted from there as well. In the example below, we use the output from the AI chatbot app to power the response message

Image

Variables in Apps/Conditions

  1. Apps & conditions can access the following properties in the contact:

  2. Name

  3. Phone number

  4. Messages sent/received

  5. Assignee

  6. Tags

  7. Ticket stages, details

  8. Custom fields

  9. Can also access the output from the previous app. Here you see the output of the AI chatbot feeding into a condition node to check whether the chatbot successfully answered the question & then conditionally changing the answer it returns.

Image

Image

  1. Can also access flow variables. You can read about flow variables here. In the example below we check if the assignee messaging us has been assigned to the person referenced in the flow variable “CS Member1”

Image

Feedback
Was this article helpful?

Related articles