
How to Find the Message Flow That Assigned a Chat (from the Inbox)
When a Message Flow assigns a chat to a teammate, the Inbox shows an assignment note with a clickable link. Learn how to jump from that note directly to the Message Flow that triggered the assignment.
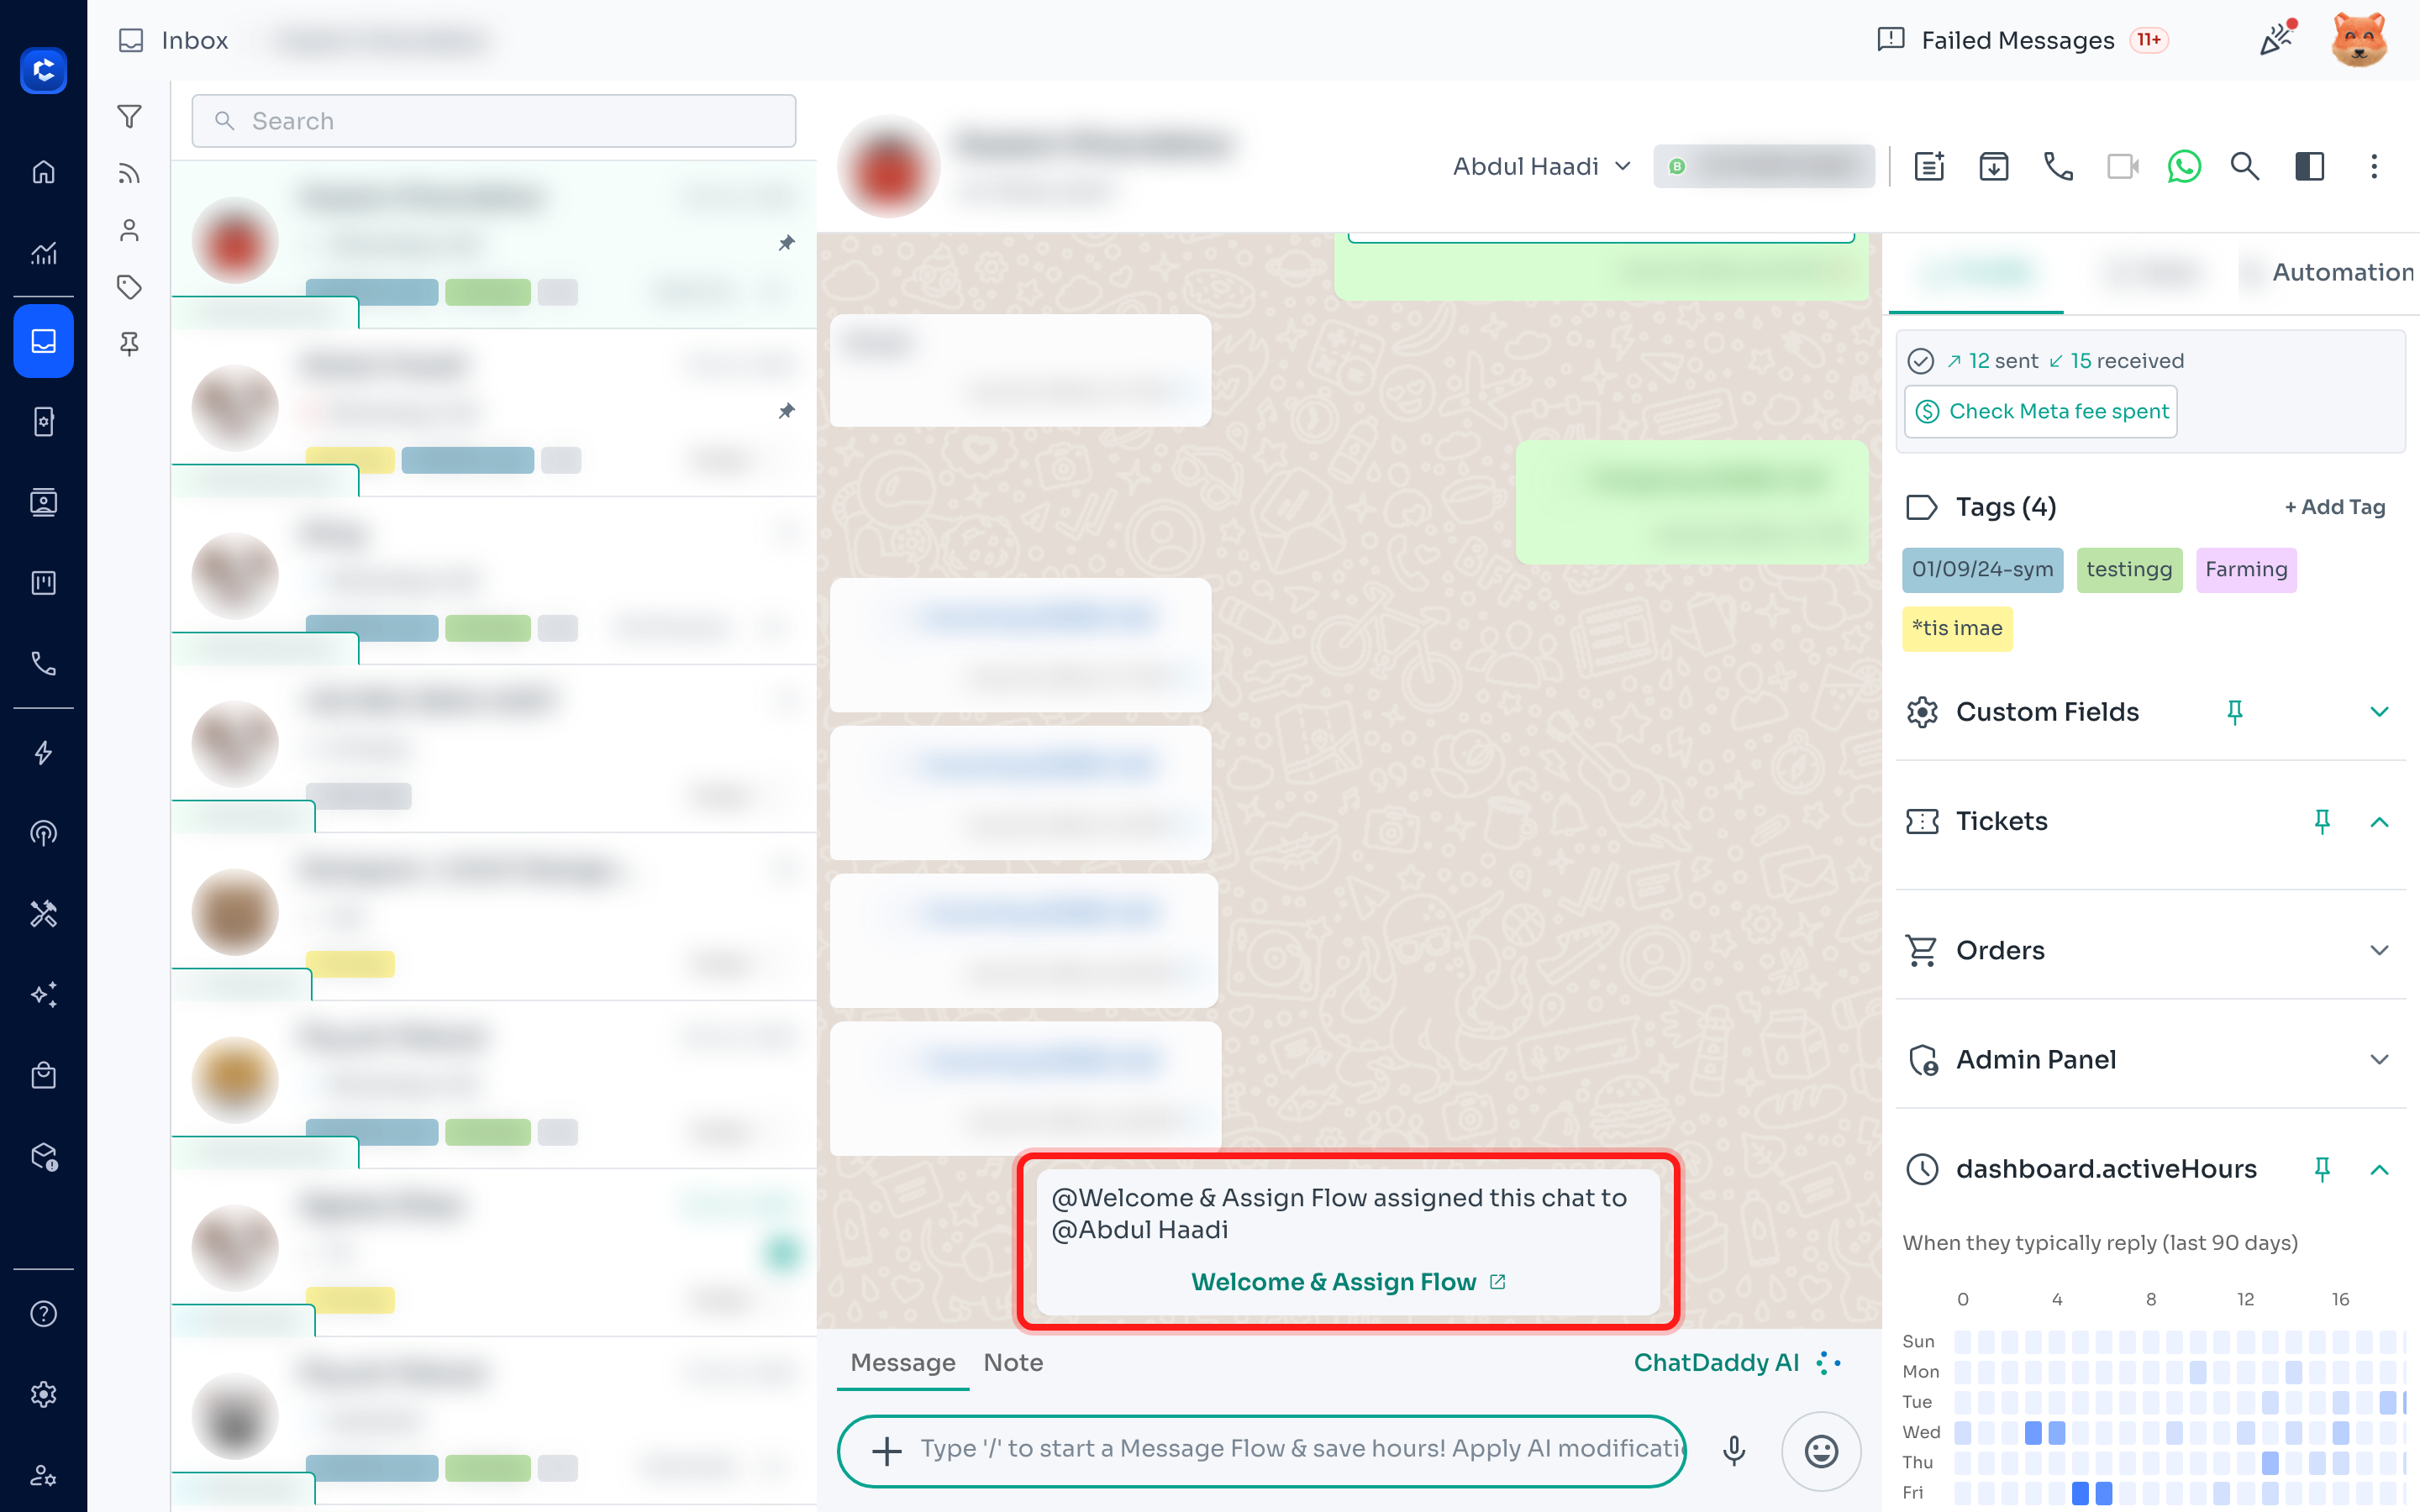
📌 When a Message Flow automatically assigns (redirects) a chat to a teammate, the Inbox conversation shows an assignment note. That note includes a clickable link to the exact Message Flow that made the assignment — so you can jump straight to the flow to review or edit how the chat was routed.
This is useful when you want to know WHY a chat was assigned to a particular teammate: open the chat, read the assignment note, and click through to the flow behind it.
Step 1 — Open the chat and find the assignment note
Open the assigned chat in the Inbox and scroll the conversation to the assignment note. It reads "@
Step 2 — Click the Message Flow link on the note
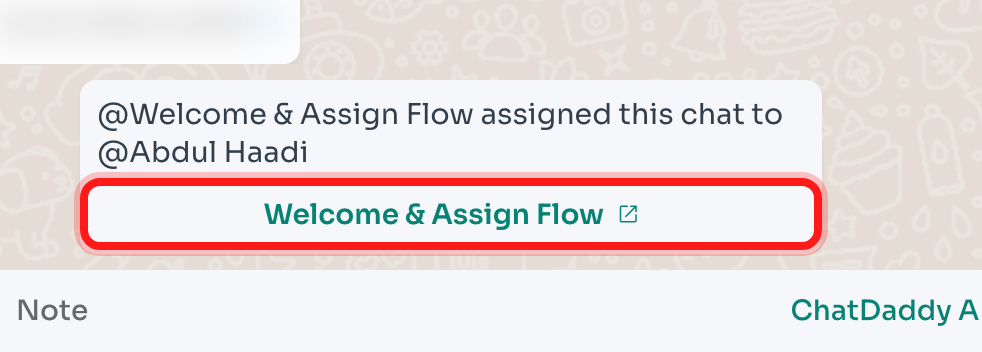
On the assignment note, click the Message Flow name shown in green with the open-in-new (↗) icon. This is the redirect link added by this feature.
Step 3 — You land on the Message Flow that assigned the chat
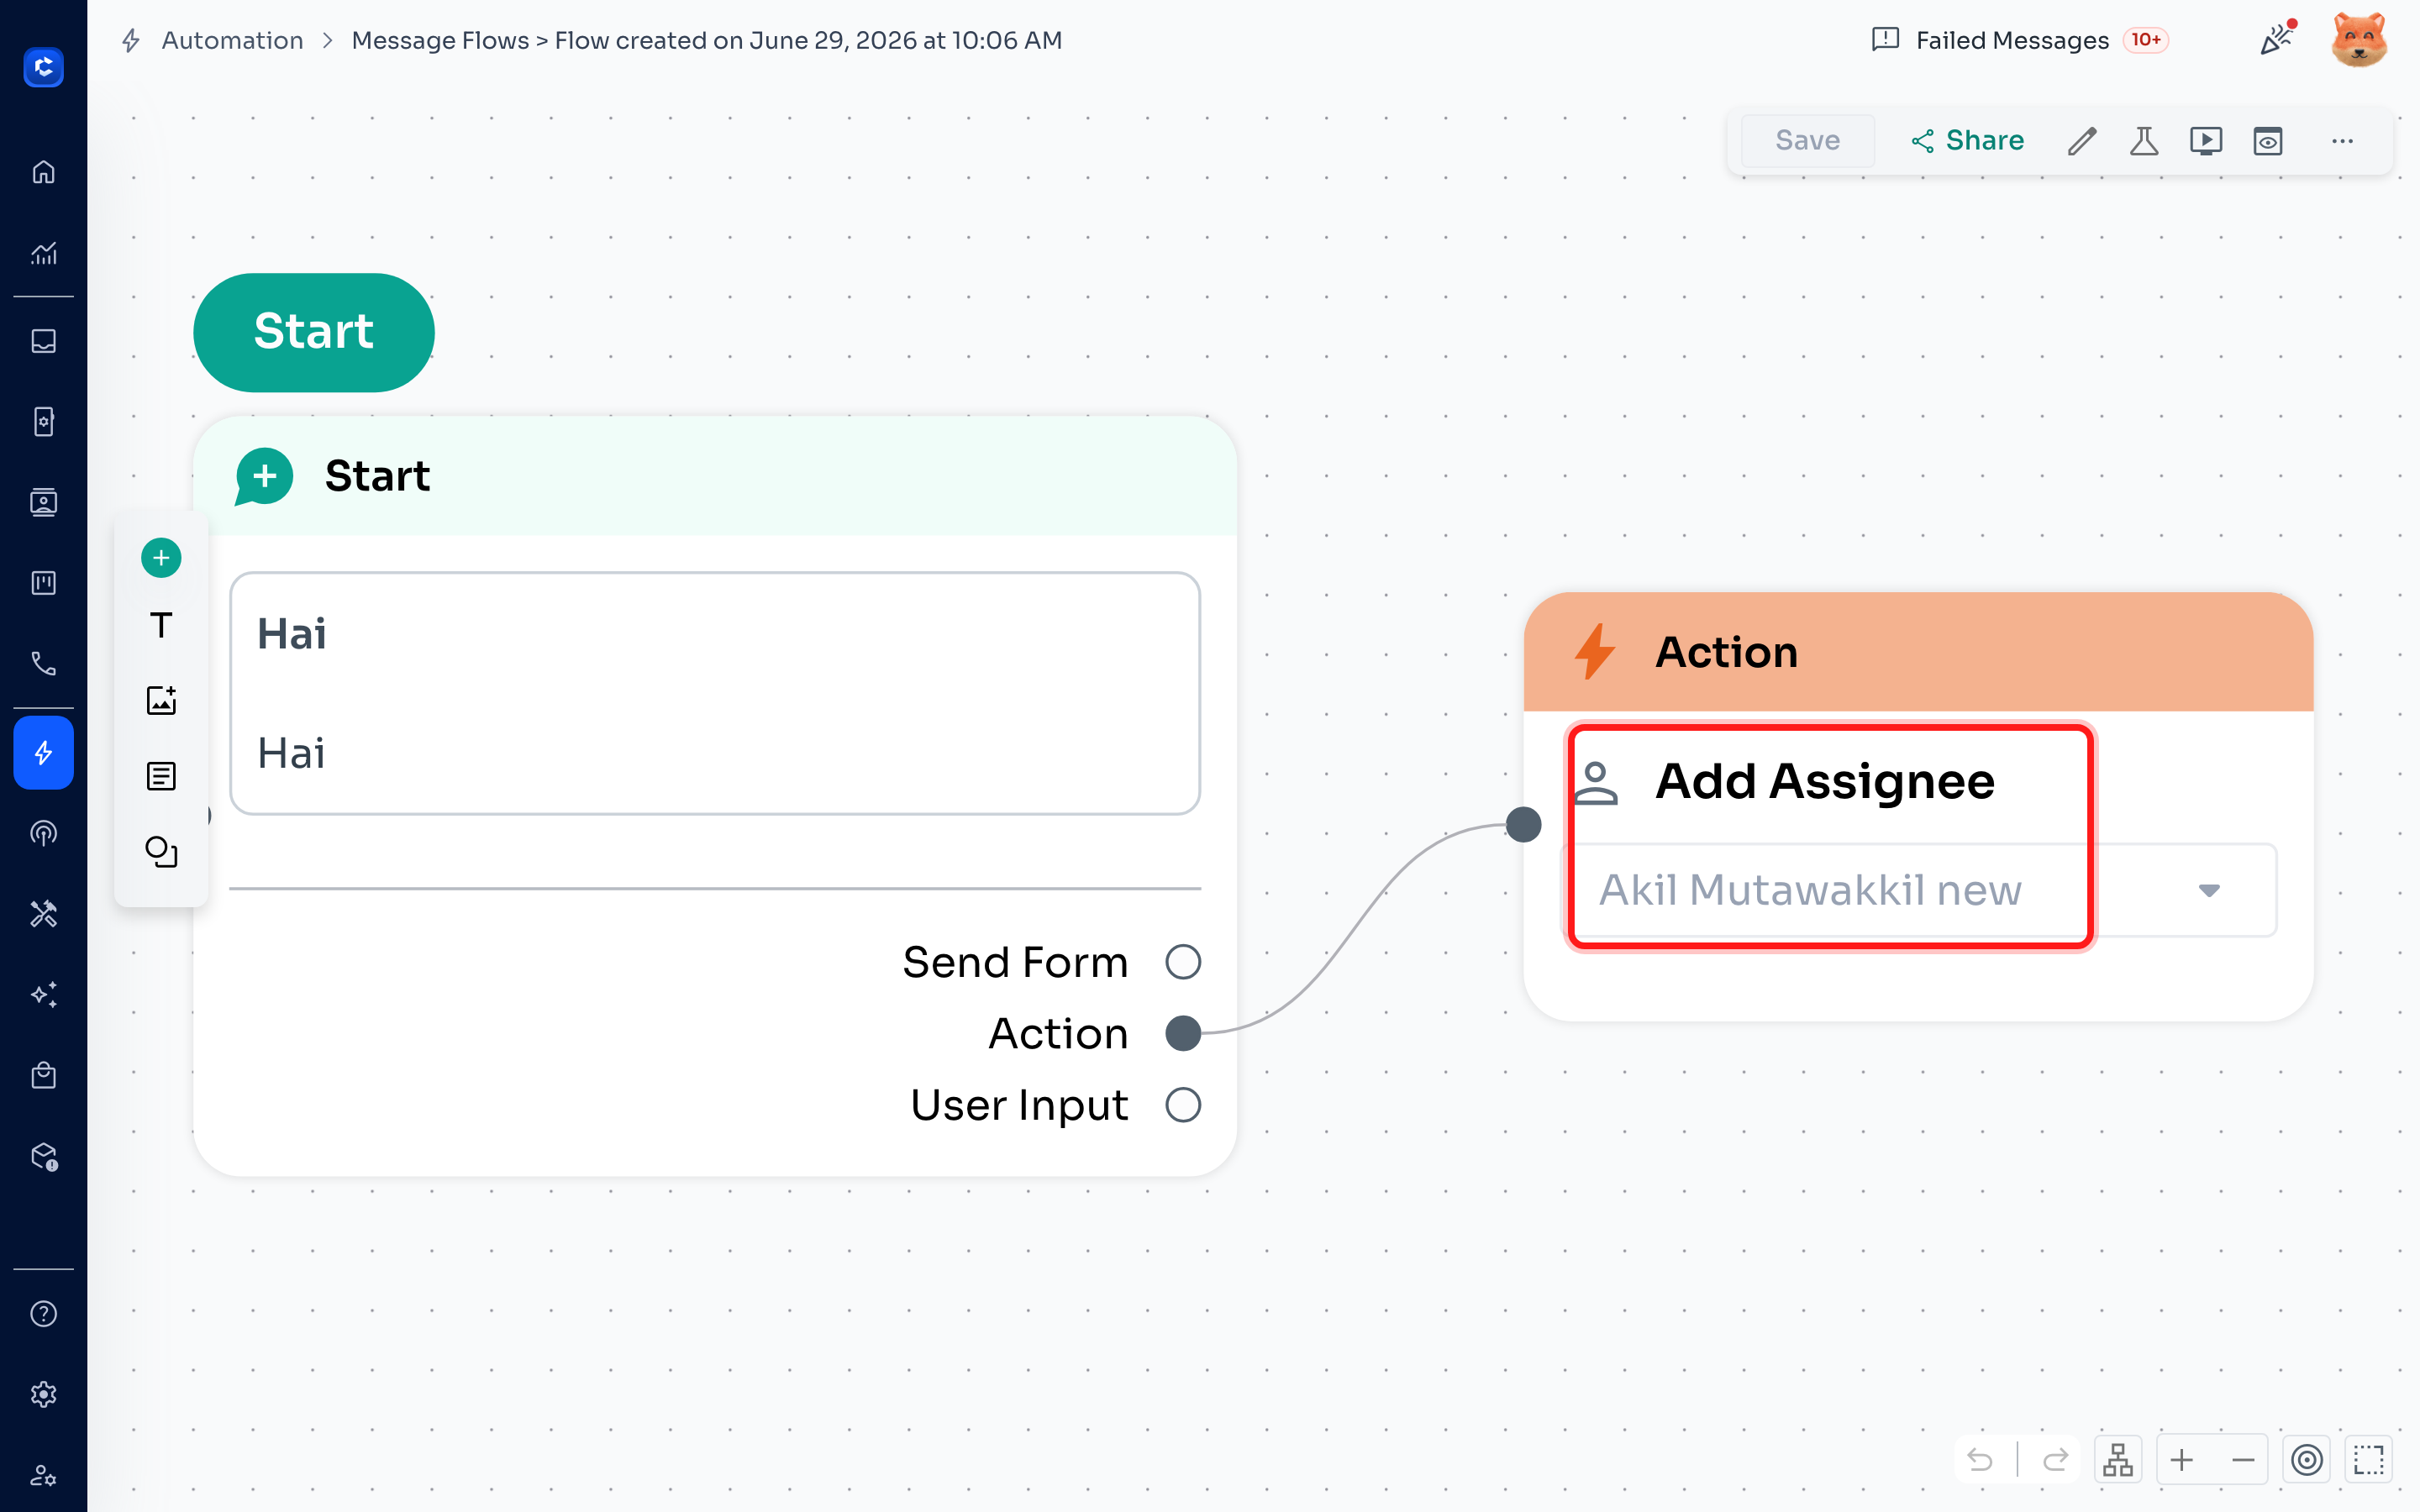
ChatDaddy takes you straight to that Message Flow. Here you can review the Action step's "Add Assignee" effect — the part of the flow that redirected the chat to the teammate — and edit it if needed.
Good to know — where assignees appear in the Inbox
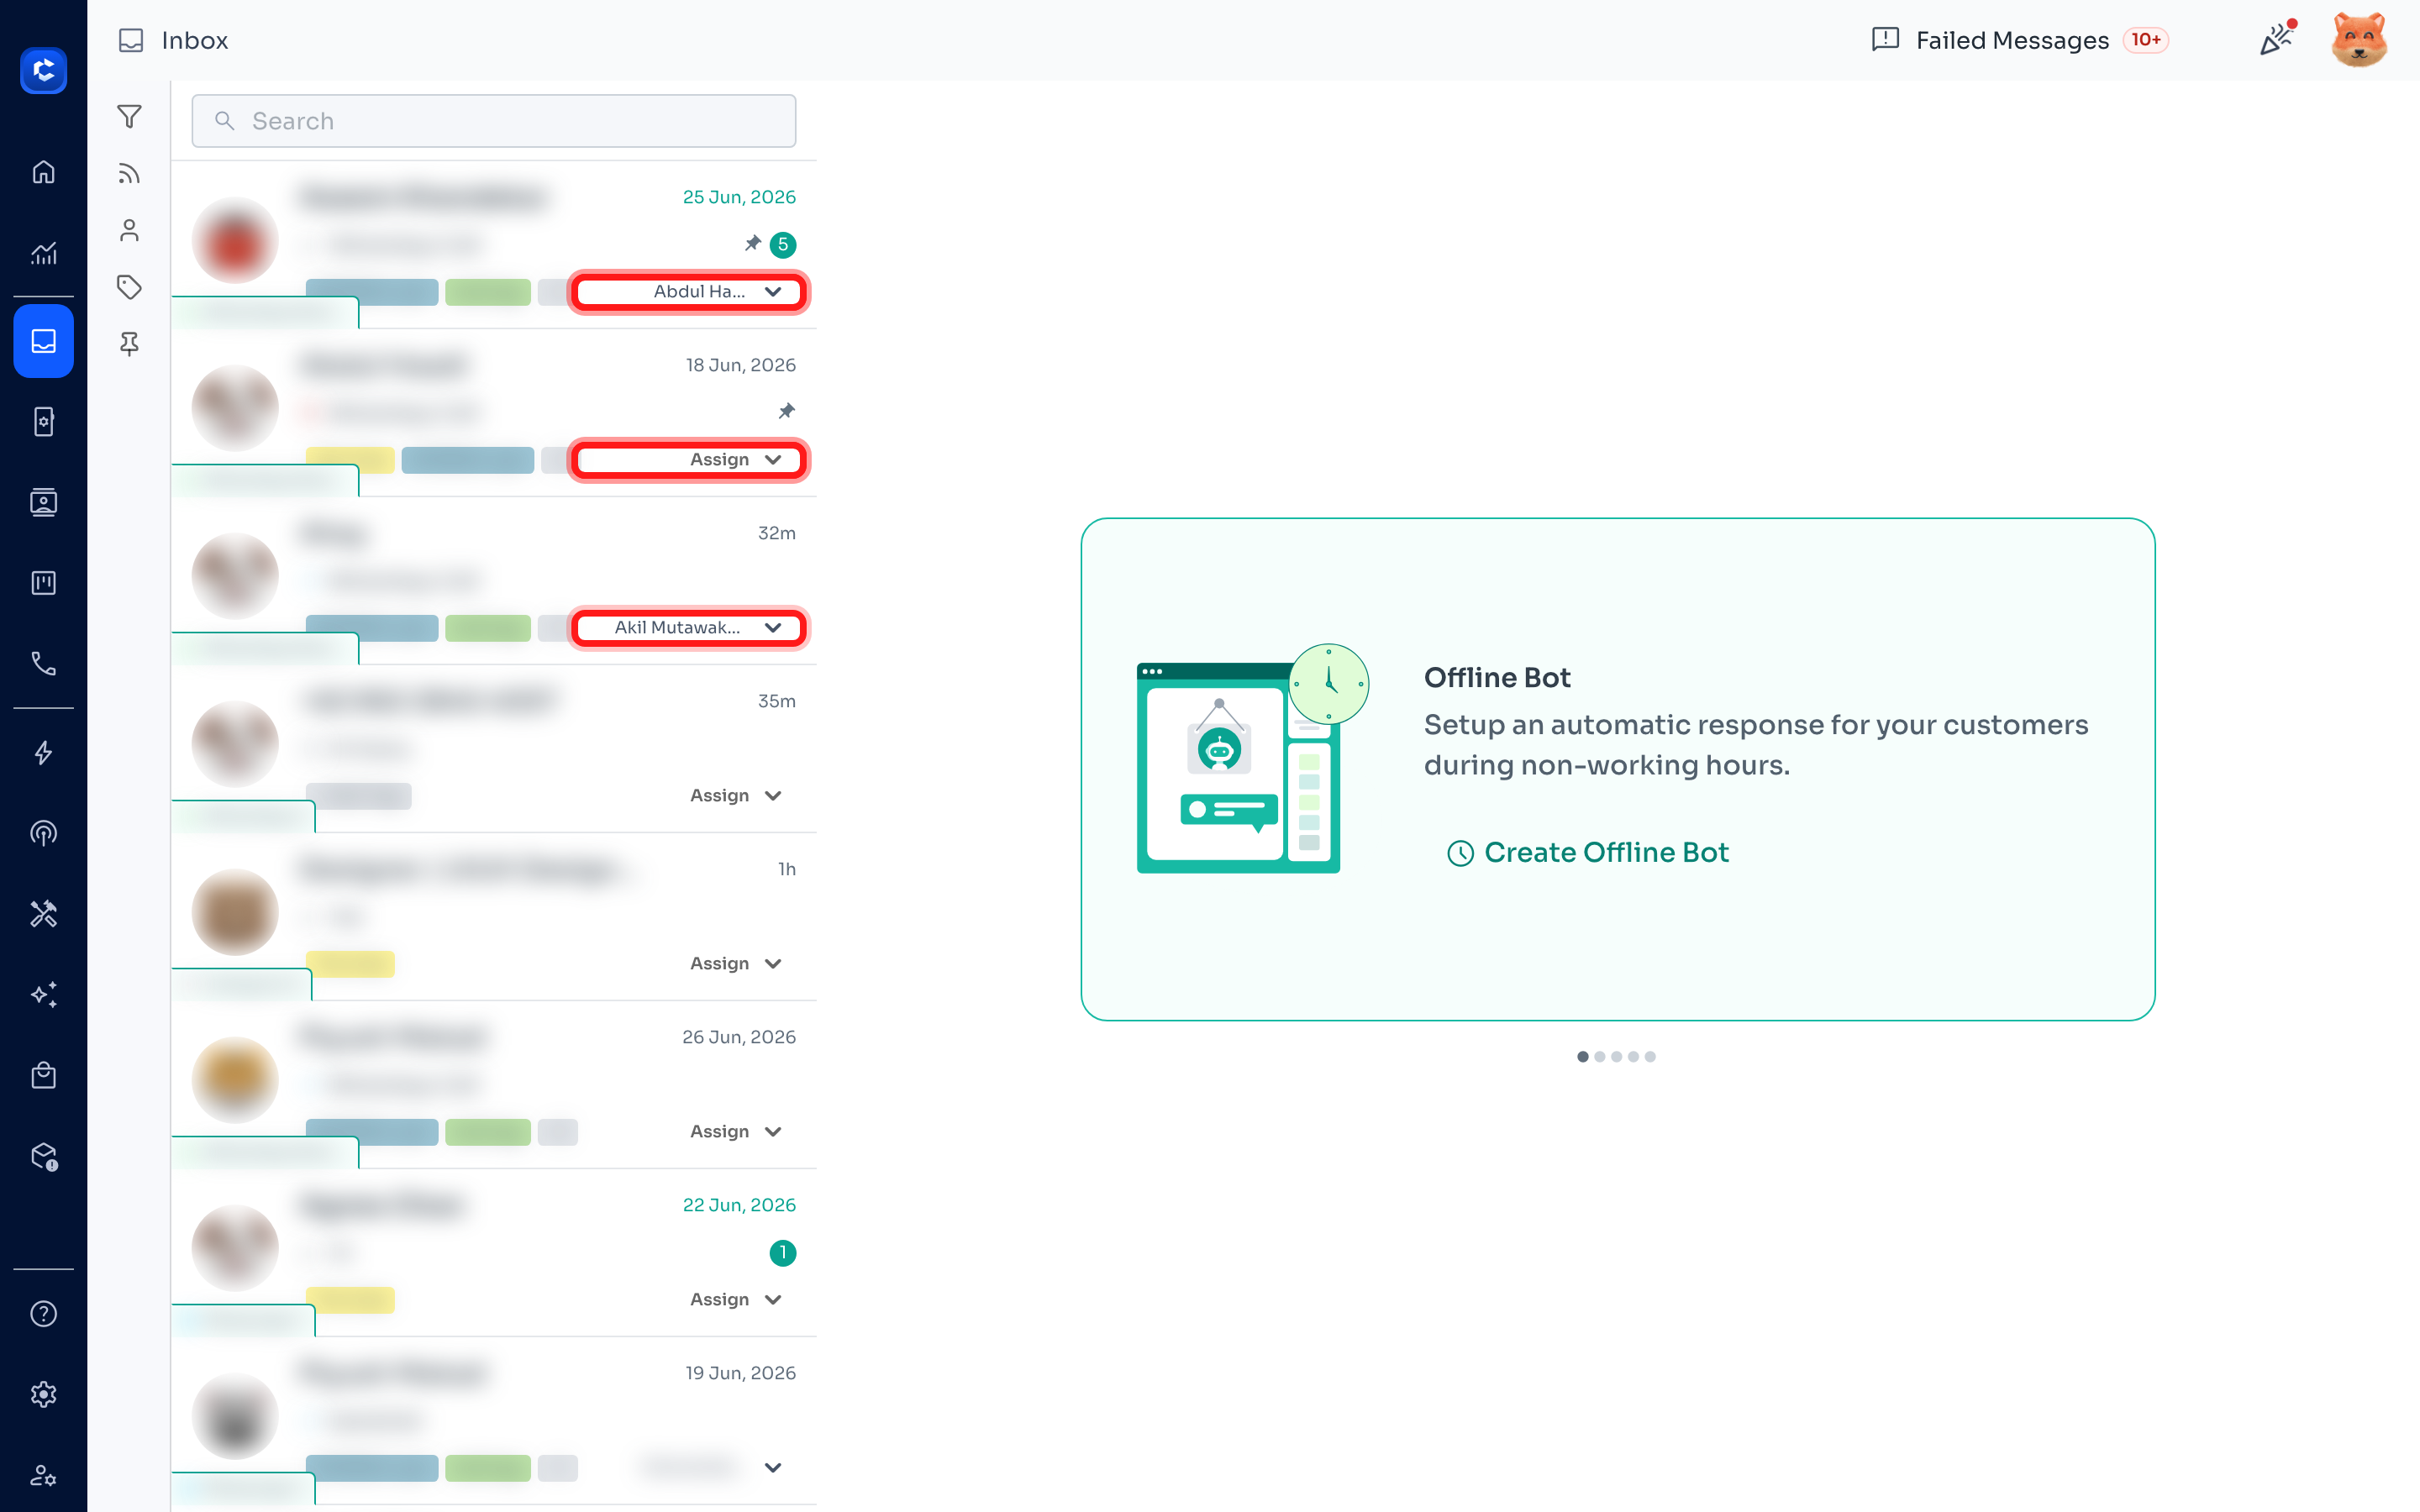
Once a chat is assigned (by a flow or manually), you can see and manage that assignee throughout the Inbox:
-
On every chat row in the list, the assignee is shown on the right (or "Assign" if no one is assigned yet).
-
Open the Filter panel (funnel icon) to filter by assignee — Assigned to Me, Unassigned, or a specific teammate.
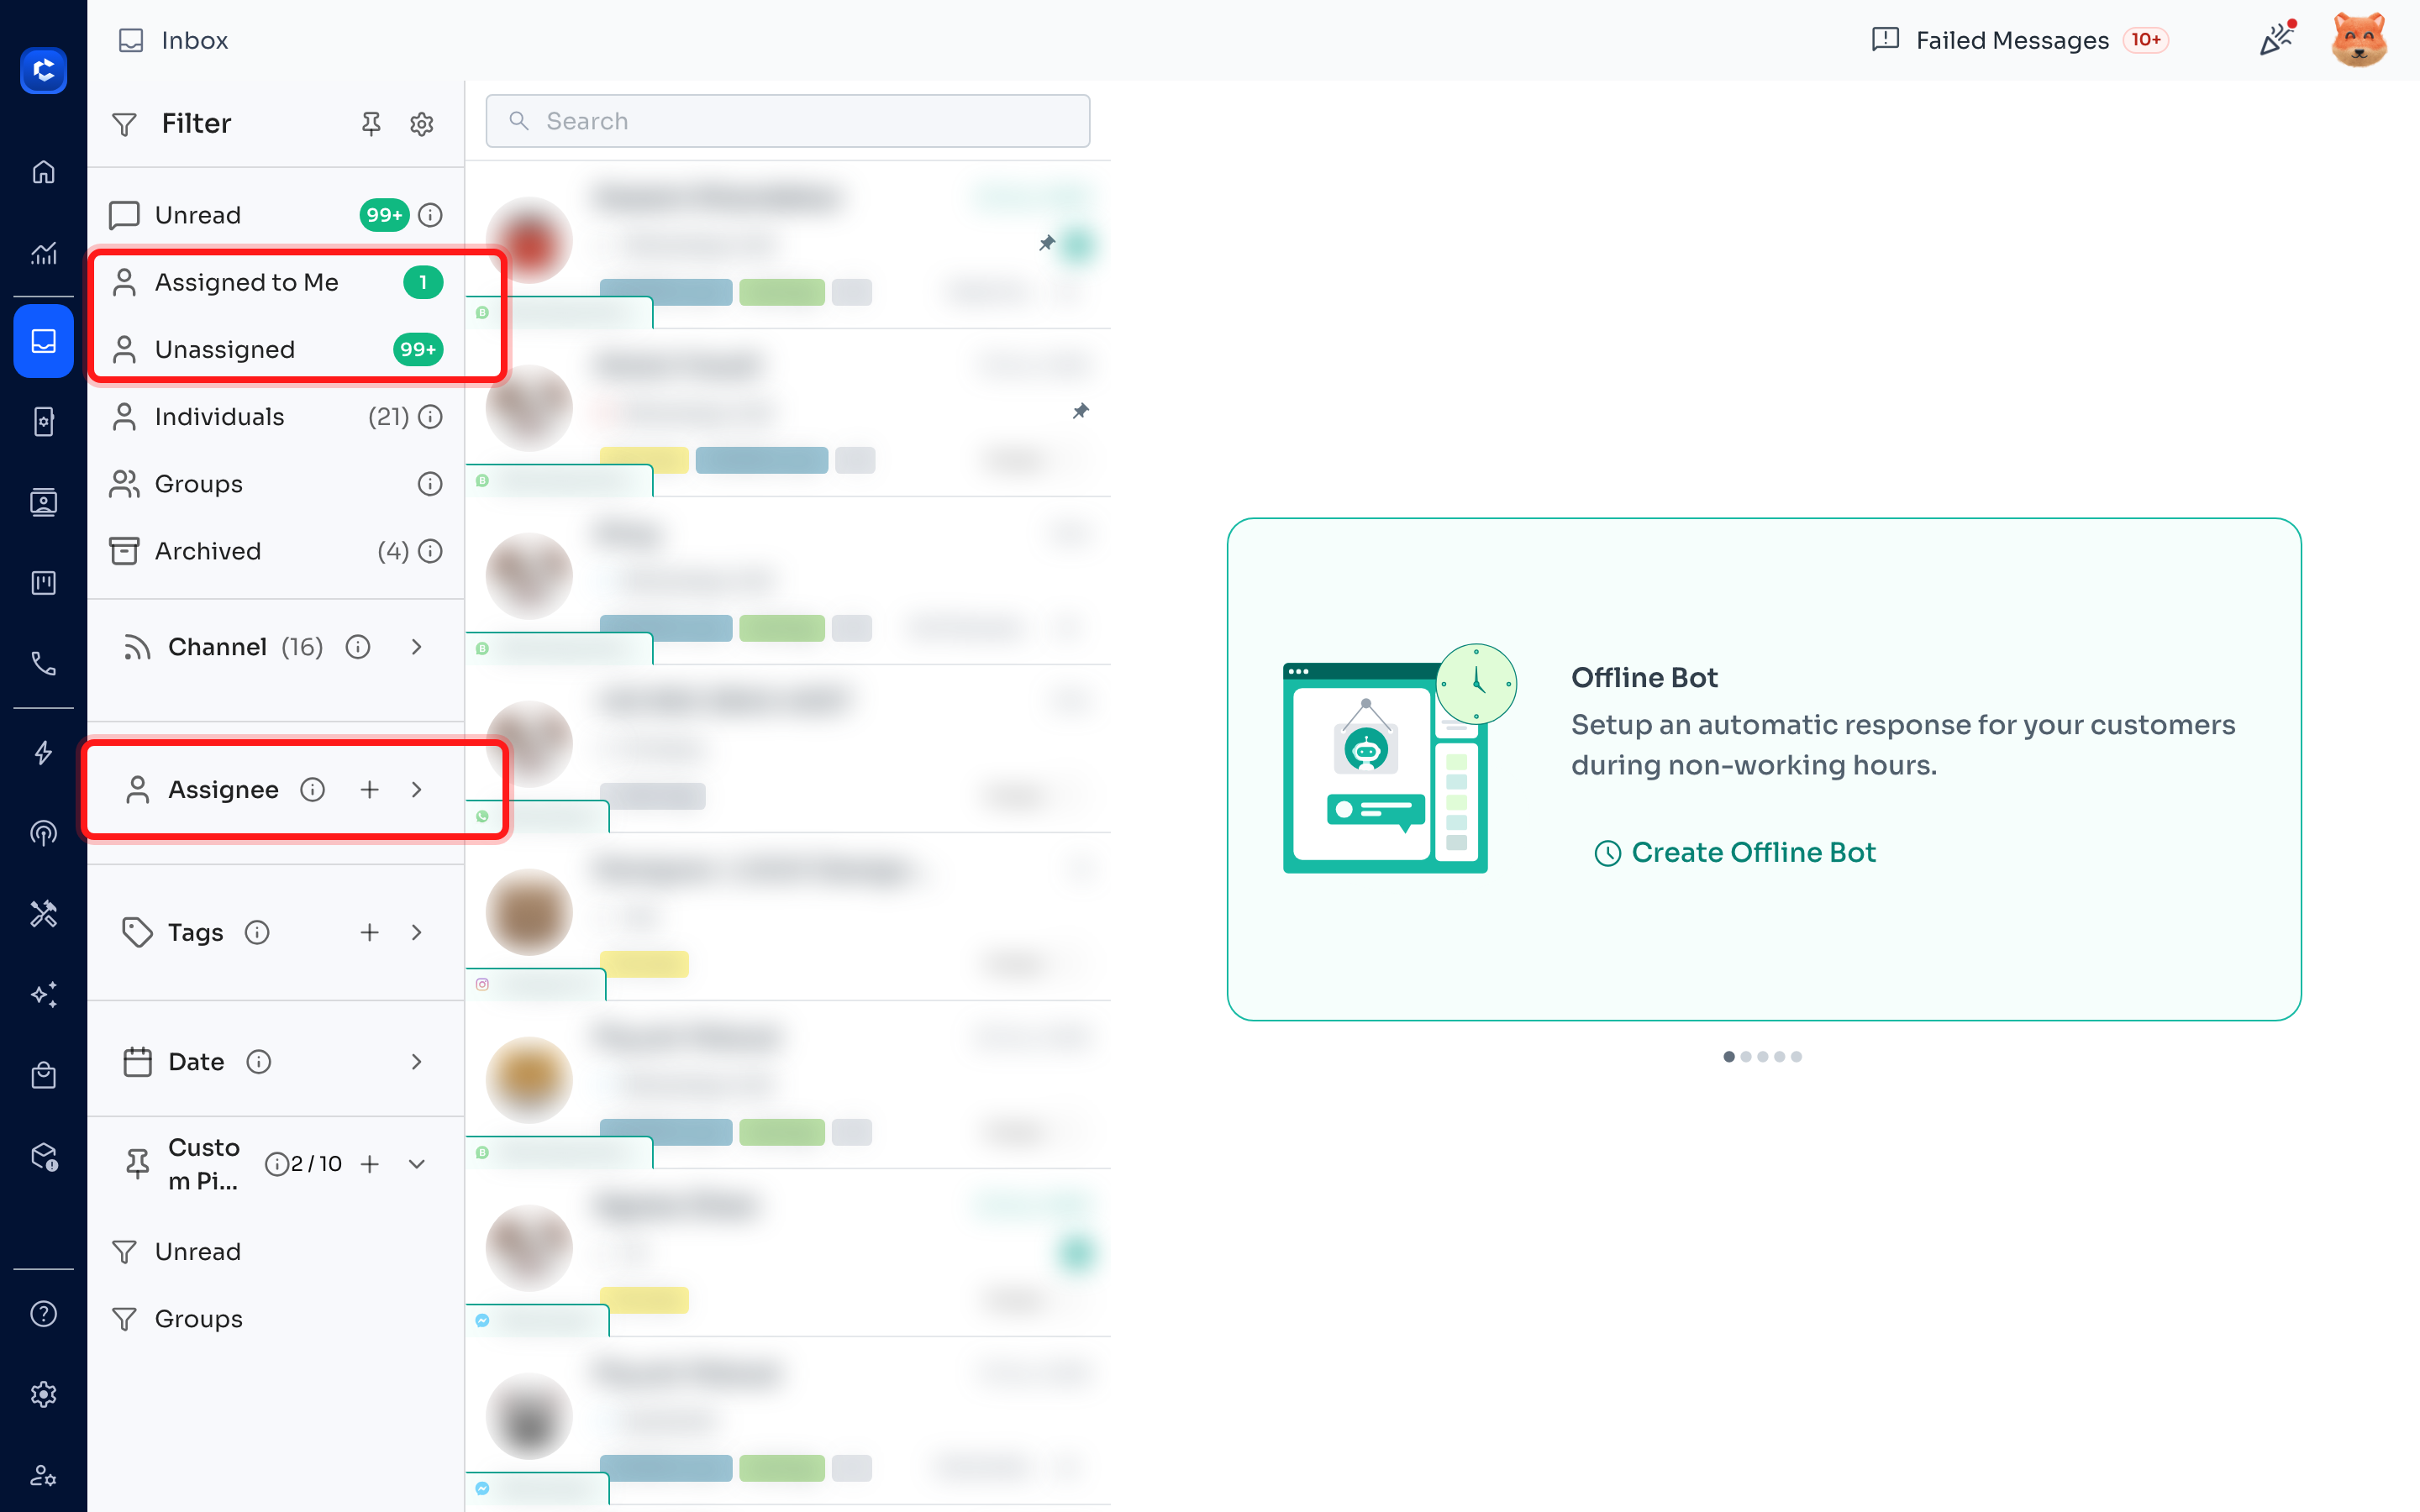
💡 Tip: pair a Message Flow's "Add Assignee" action with the Inbox "Unassigned" filter so every incoming conversation is routed to the right teammate — and use the flow link on each assignment note to quickly check or adjust the routing.