
ChatDaddy Mobile App
Step-by-step guides for the ChatDaddy mobile app. Pick a topic below.
Step-by-step guides for the ChatDaddy mobile app. Pick a topic below.
Automations — called Flows in ChatDaddy — let you send a pre-built message or workflow to a contact in just a couple of taps, without typing anything. They're great for welcome messages, follow-ups, catalogs, and approved WhatsApp templates.
Follow the steps below to send one from inside a chat. (In each screenshot, the red box shows where to tap.)
Before you start: Flows are created and managed by your team on the ChatDaddy dashboard. Any flow your team has set up appears automatically in the app.
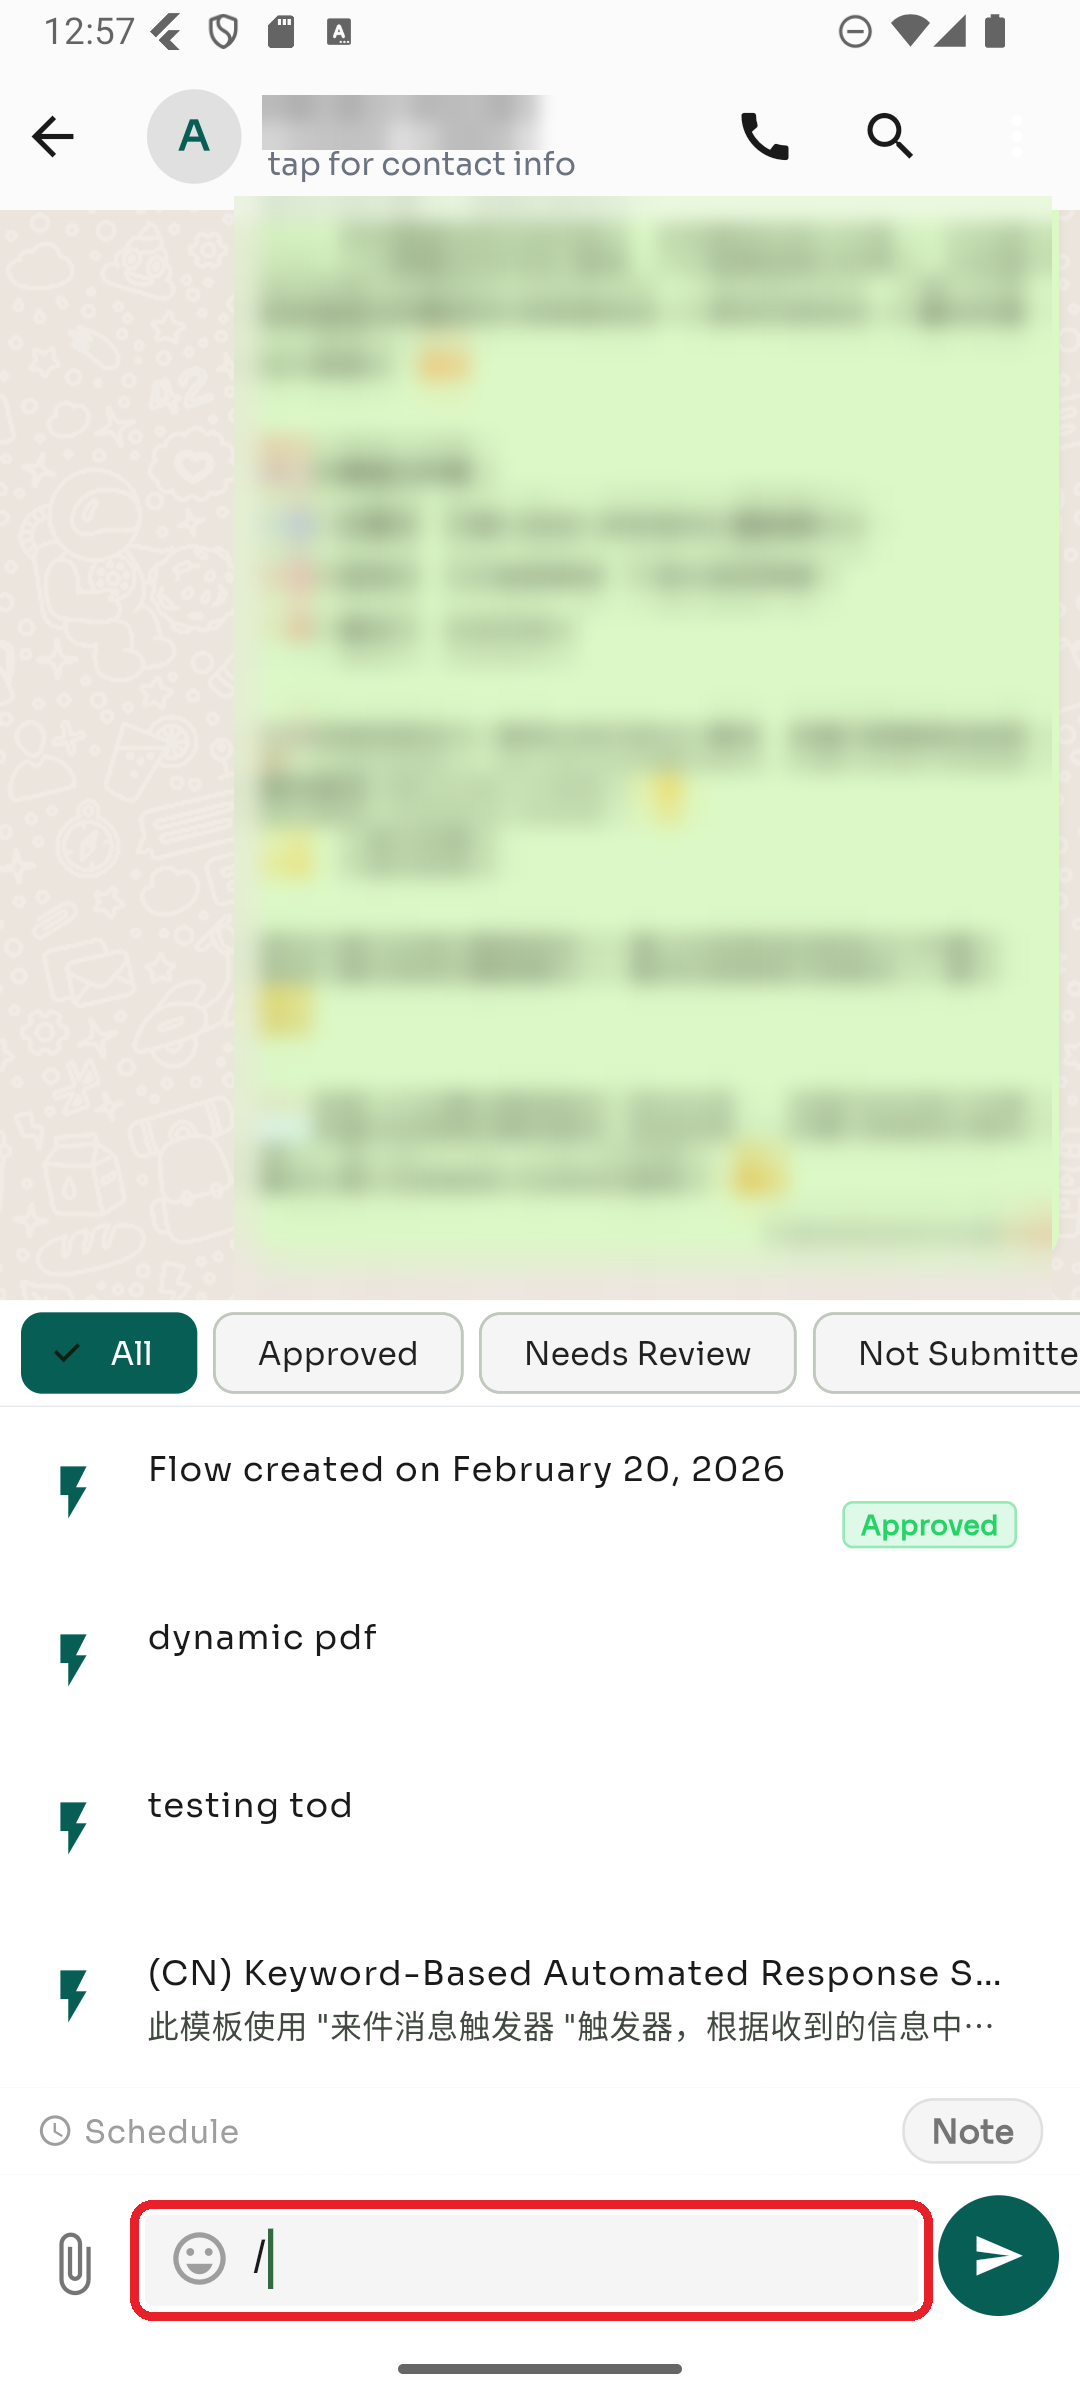
Step 1 — Open a chat and type /
Open a conversation, tap the message box ("Type a message…"), and type a forward slash /. The automations panel opens above the keyboard, listing every flow available to your team.
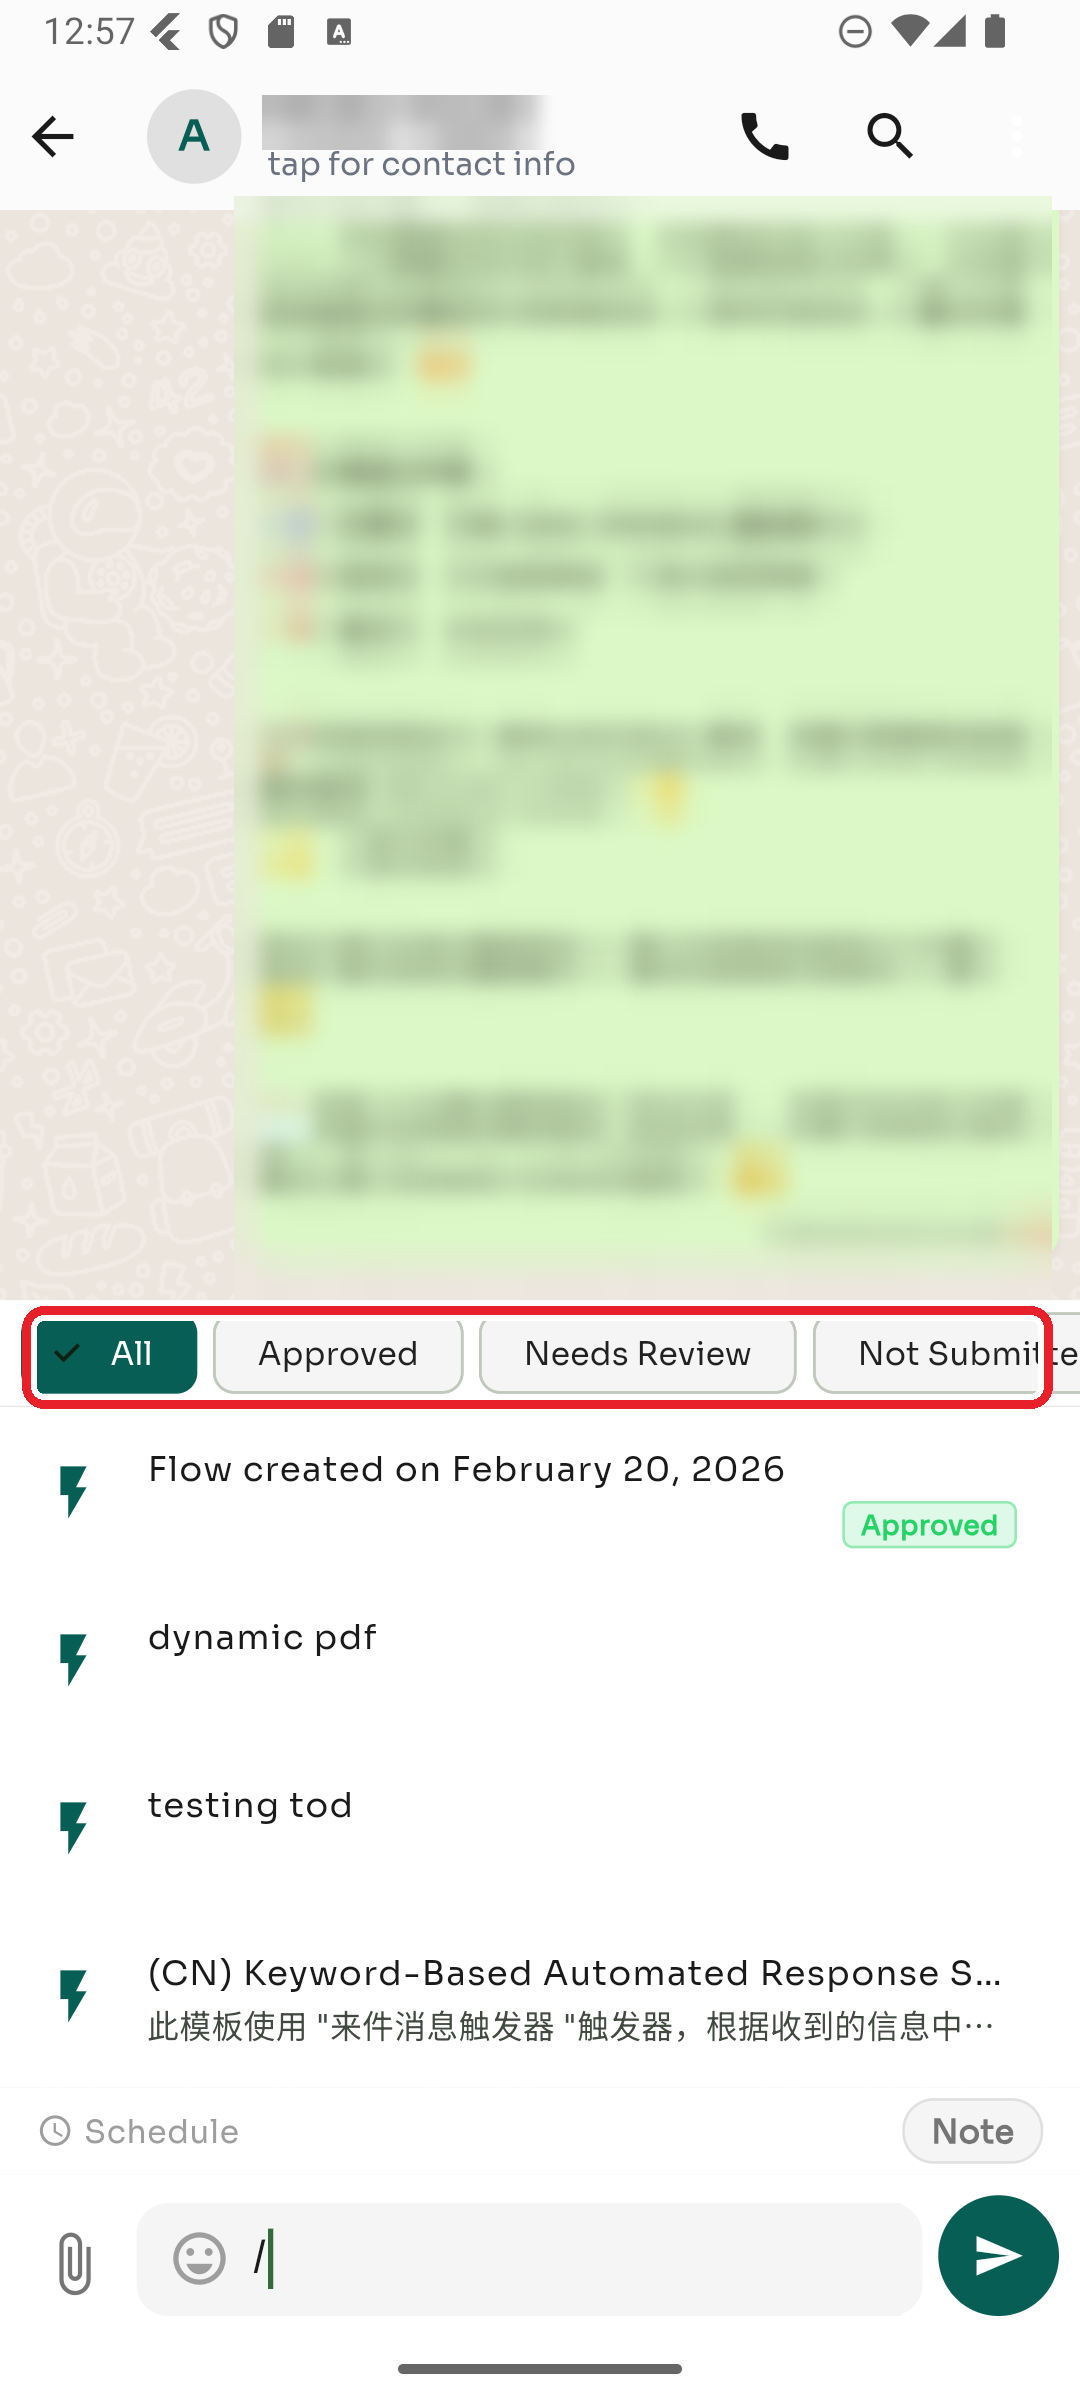
Step 2 — Filter the list (optional)
Use the status filters at the top — All, Approved, Needs Review, or Not Submitted — to narrow the list. You can also keep typing after the / to search by flow name.
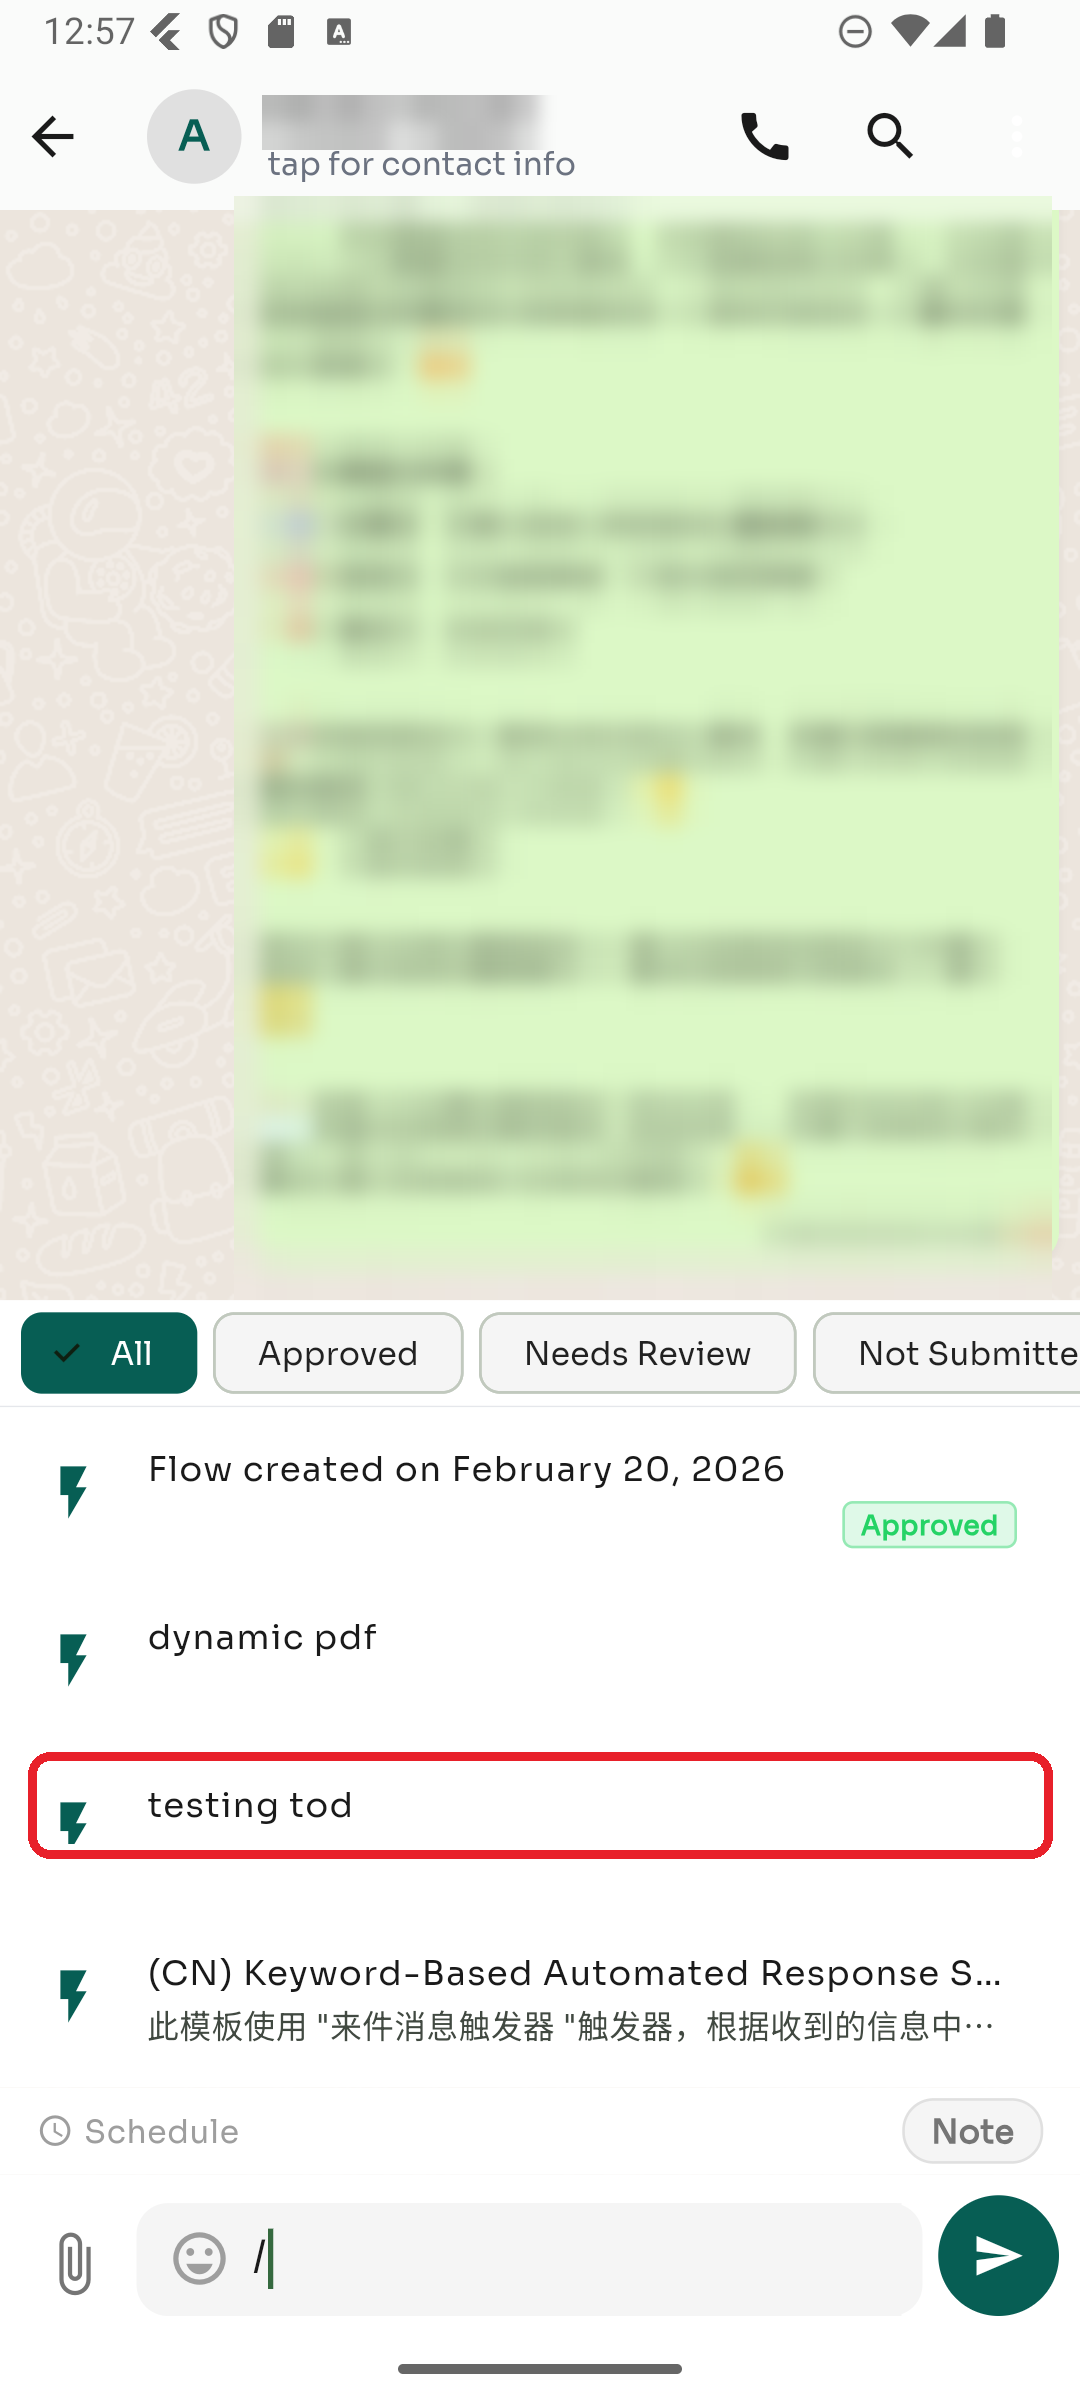
Step 3 — Tap the flow you want
Each flow shows a ⚡ icon, its name, and (for WhatsApp templates) a status badge. Tap the one you want to send.
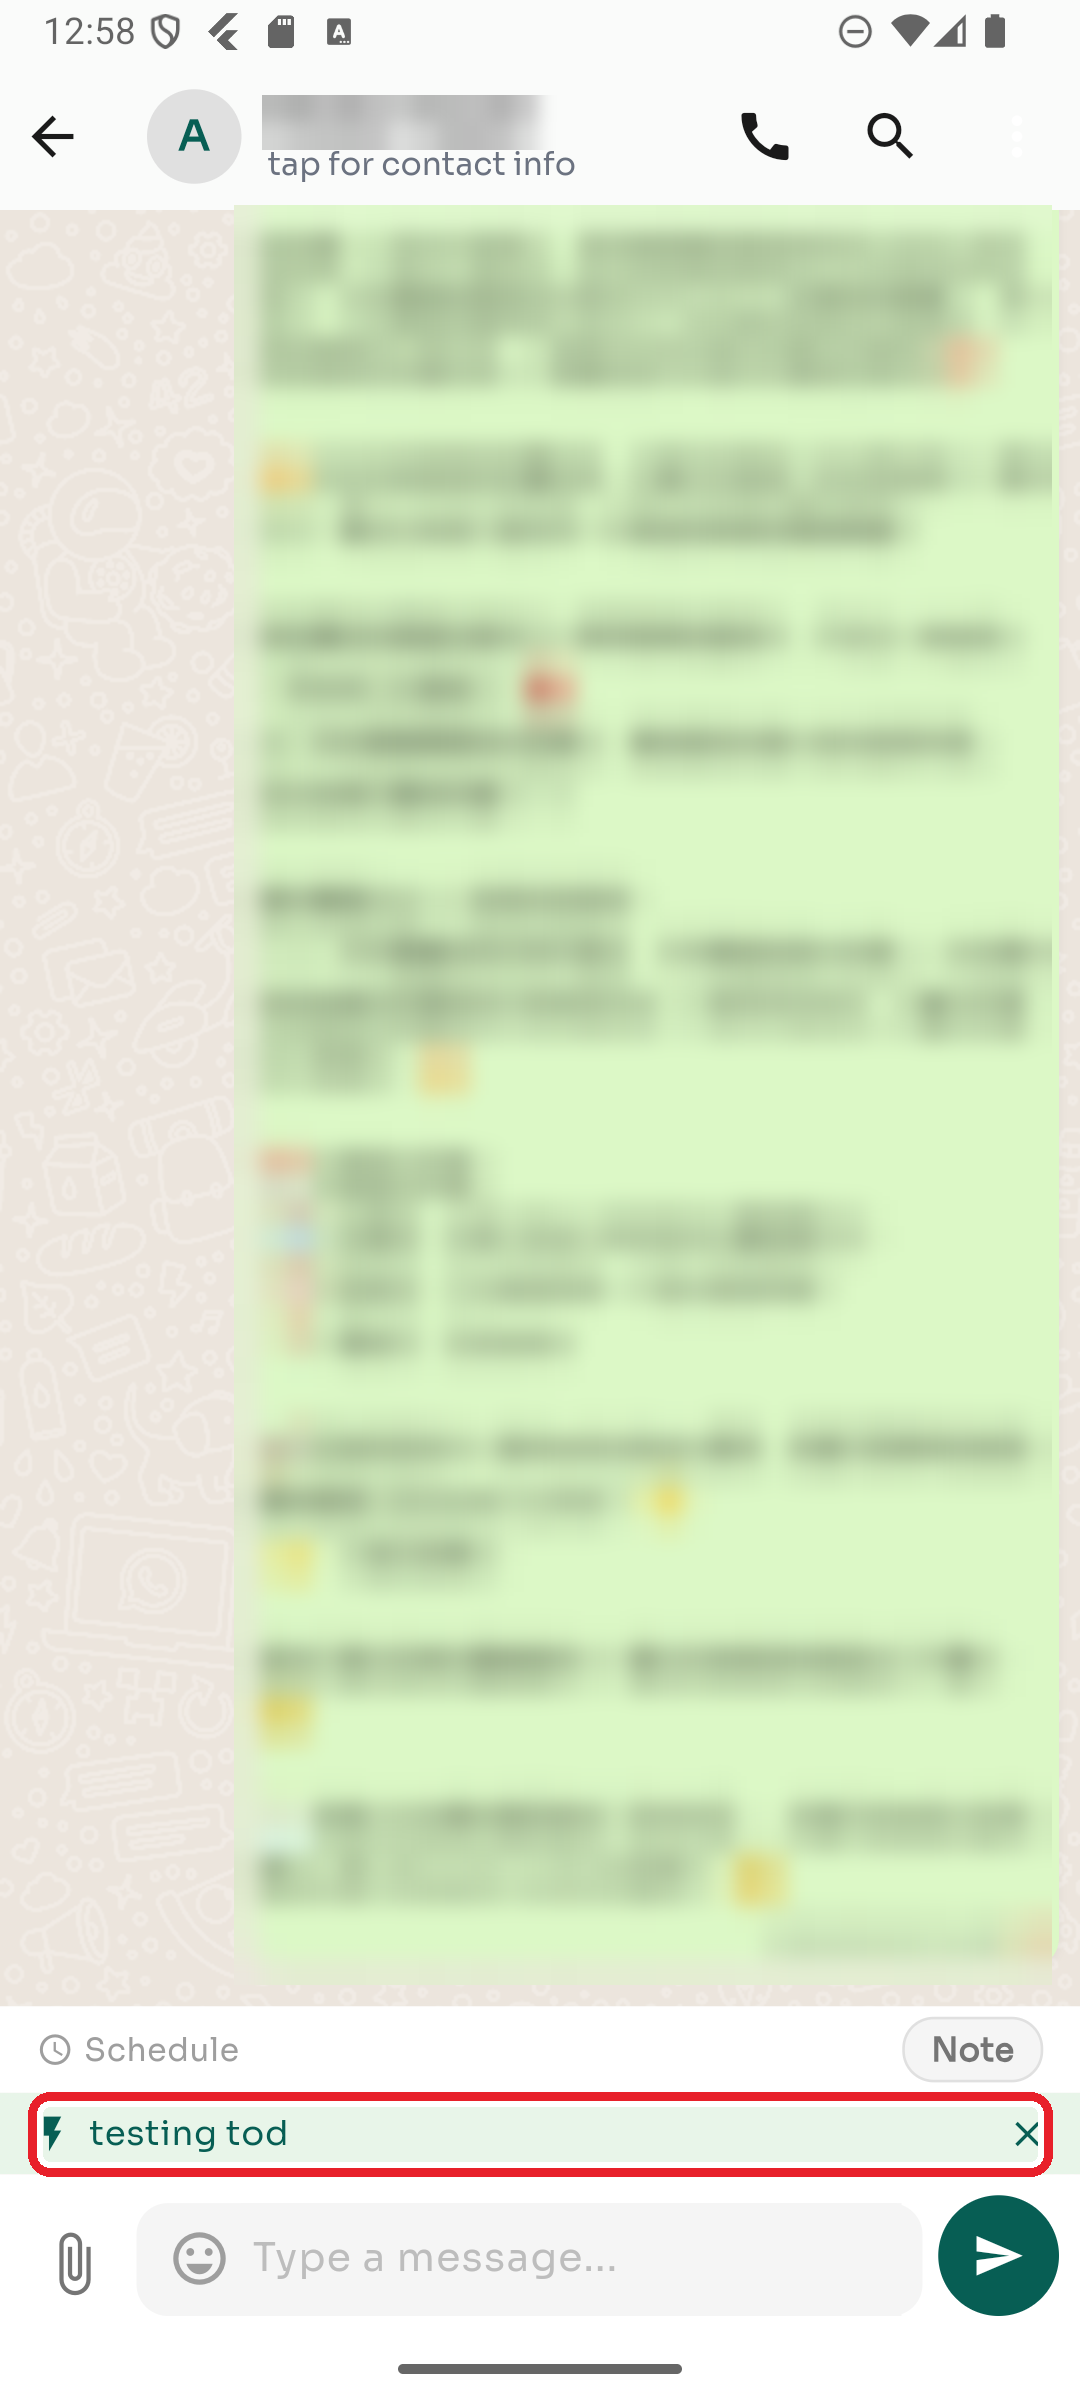
Step 4 — Check the green flow chip
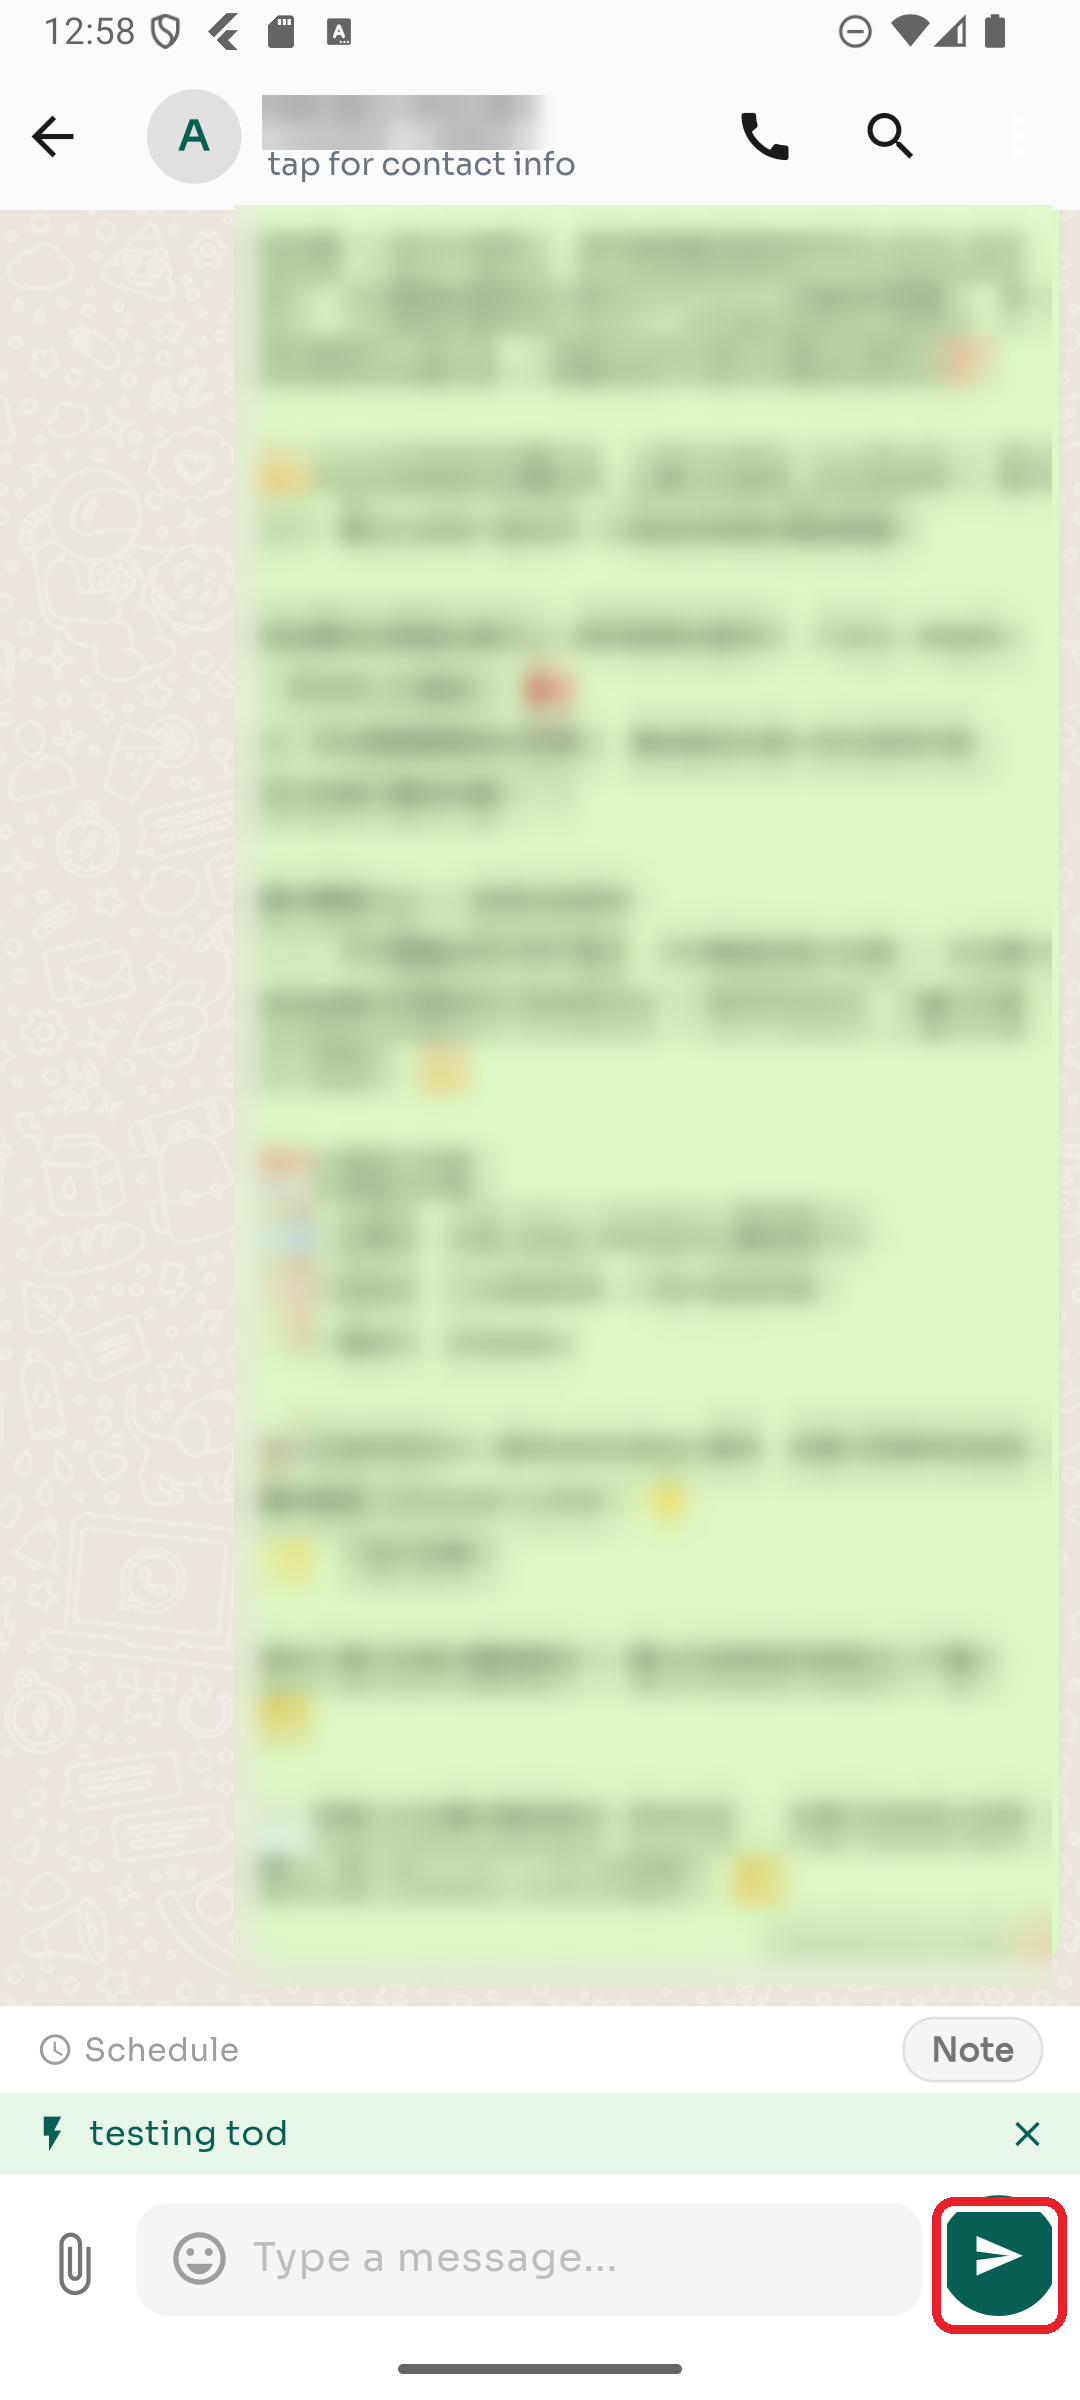
The flow attaches to the message box as a green chip showing its name, and the text field clears — the flow sends its own full message. To pick a different one, tap the ✕ on the chip.
Step 5 — Tap Send
Tap the Send button. ChatDaddy fires the automation to the contact, and the message appears in the conversation. 🎉
Tips & good to know
- No flows showing? Your team hasn't created any yet, or none match your filter. Try the All filter or ask your admin to build one on the dashboard.
- Status badges apply to WhatsApp template flows. Approved means it's cleared by WhatsApp and ready to send.
- Typing cancels automation mode. If you start typing a normal message after selecting a flow, the chip is removed. The Chats tab is your home base — every conversation from every connected channel, in one place. This guide walks you through it step by step. (In each screenshot, the red box shows where to tap.)
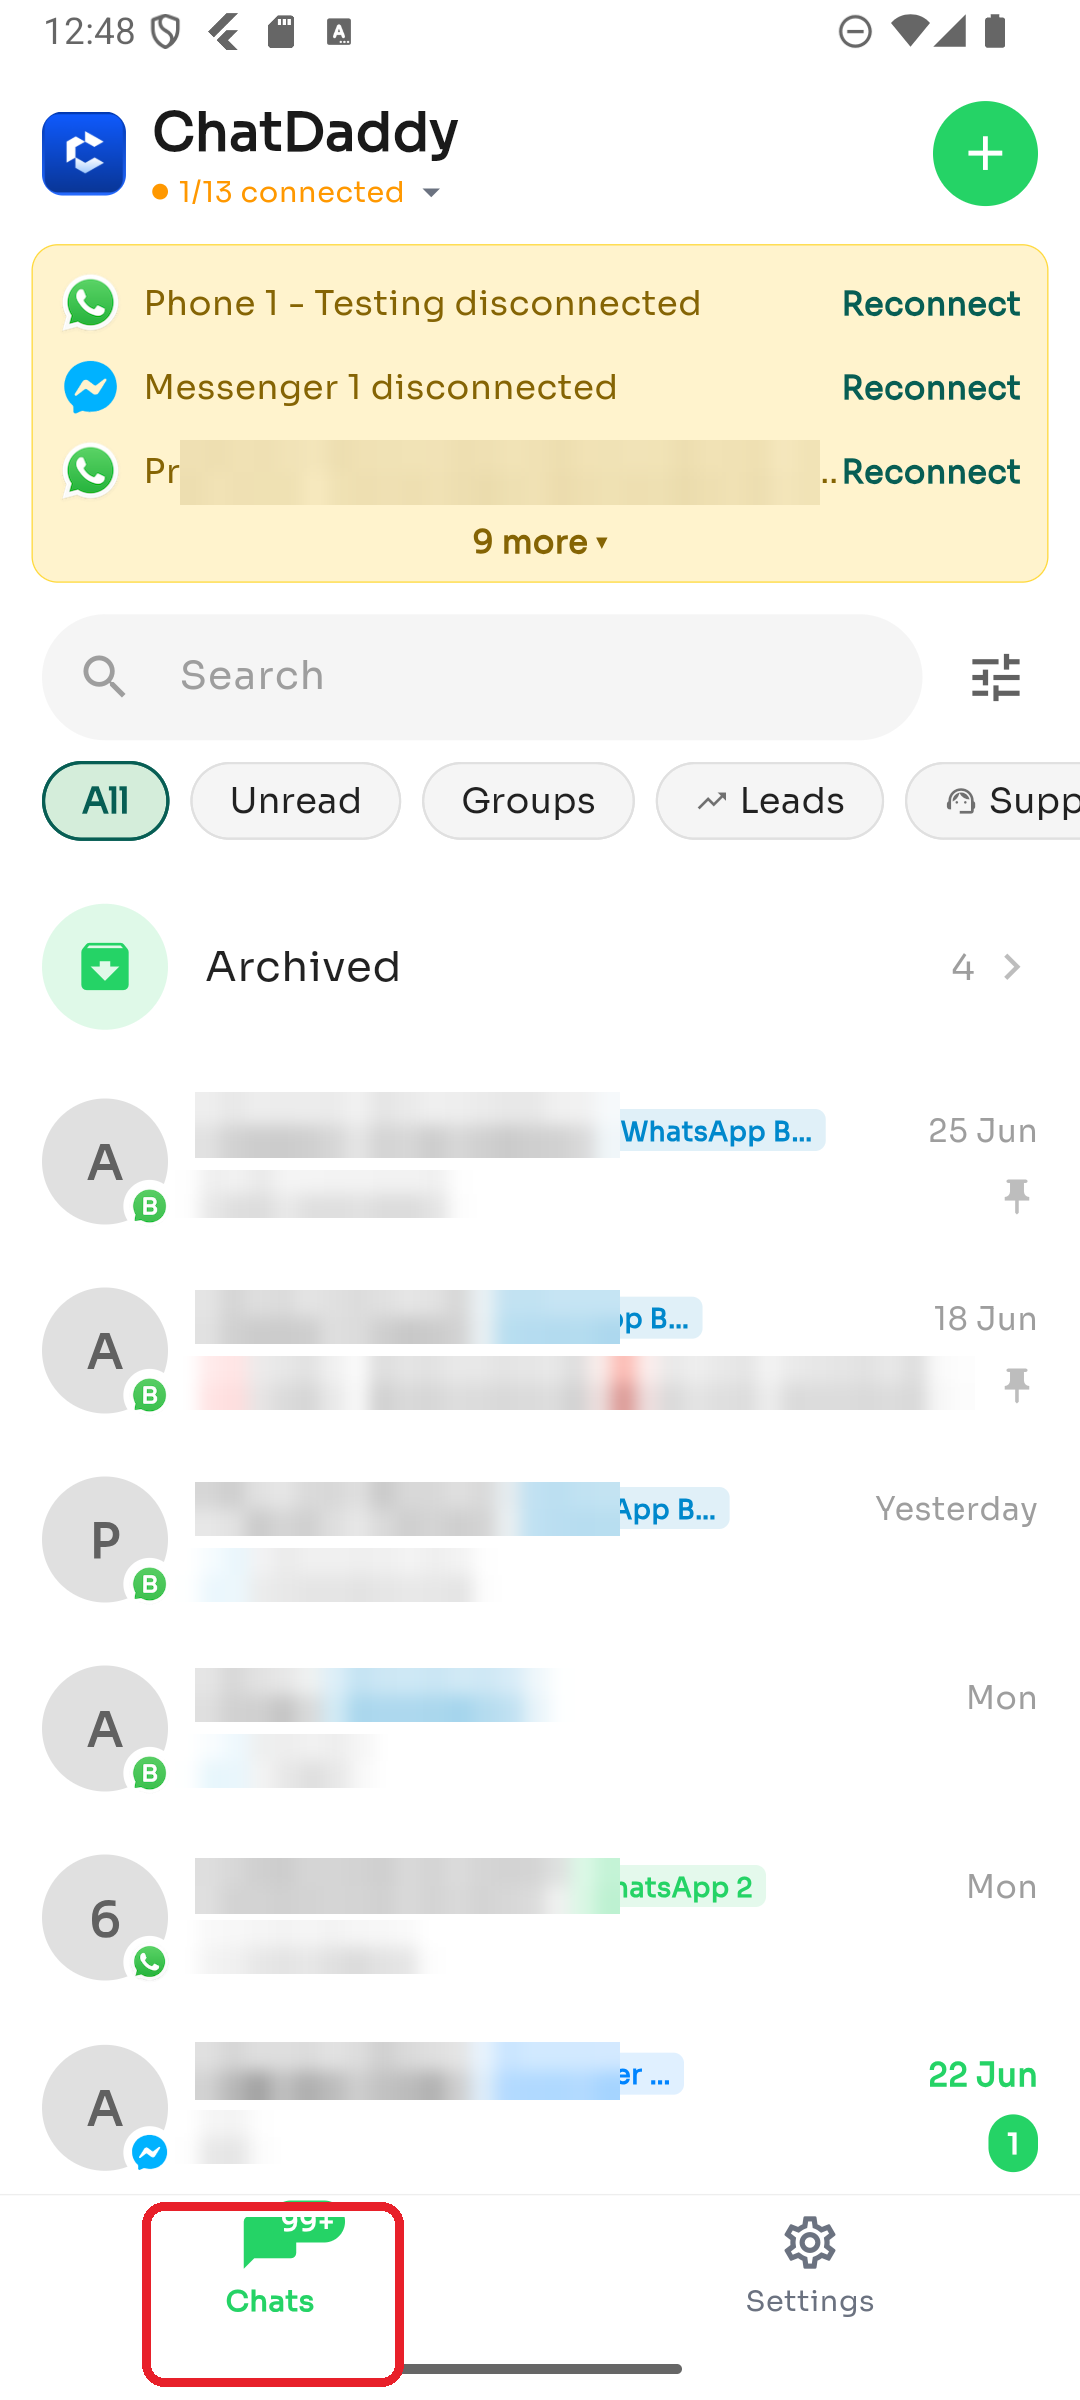
Step 1 — Open the Chats tab
When you open the app you land on Chats (the left tab in the bottom bar). This is your unified inbox, with the most recent conversations at the top.
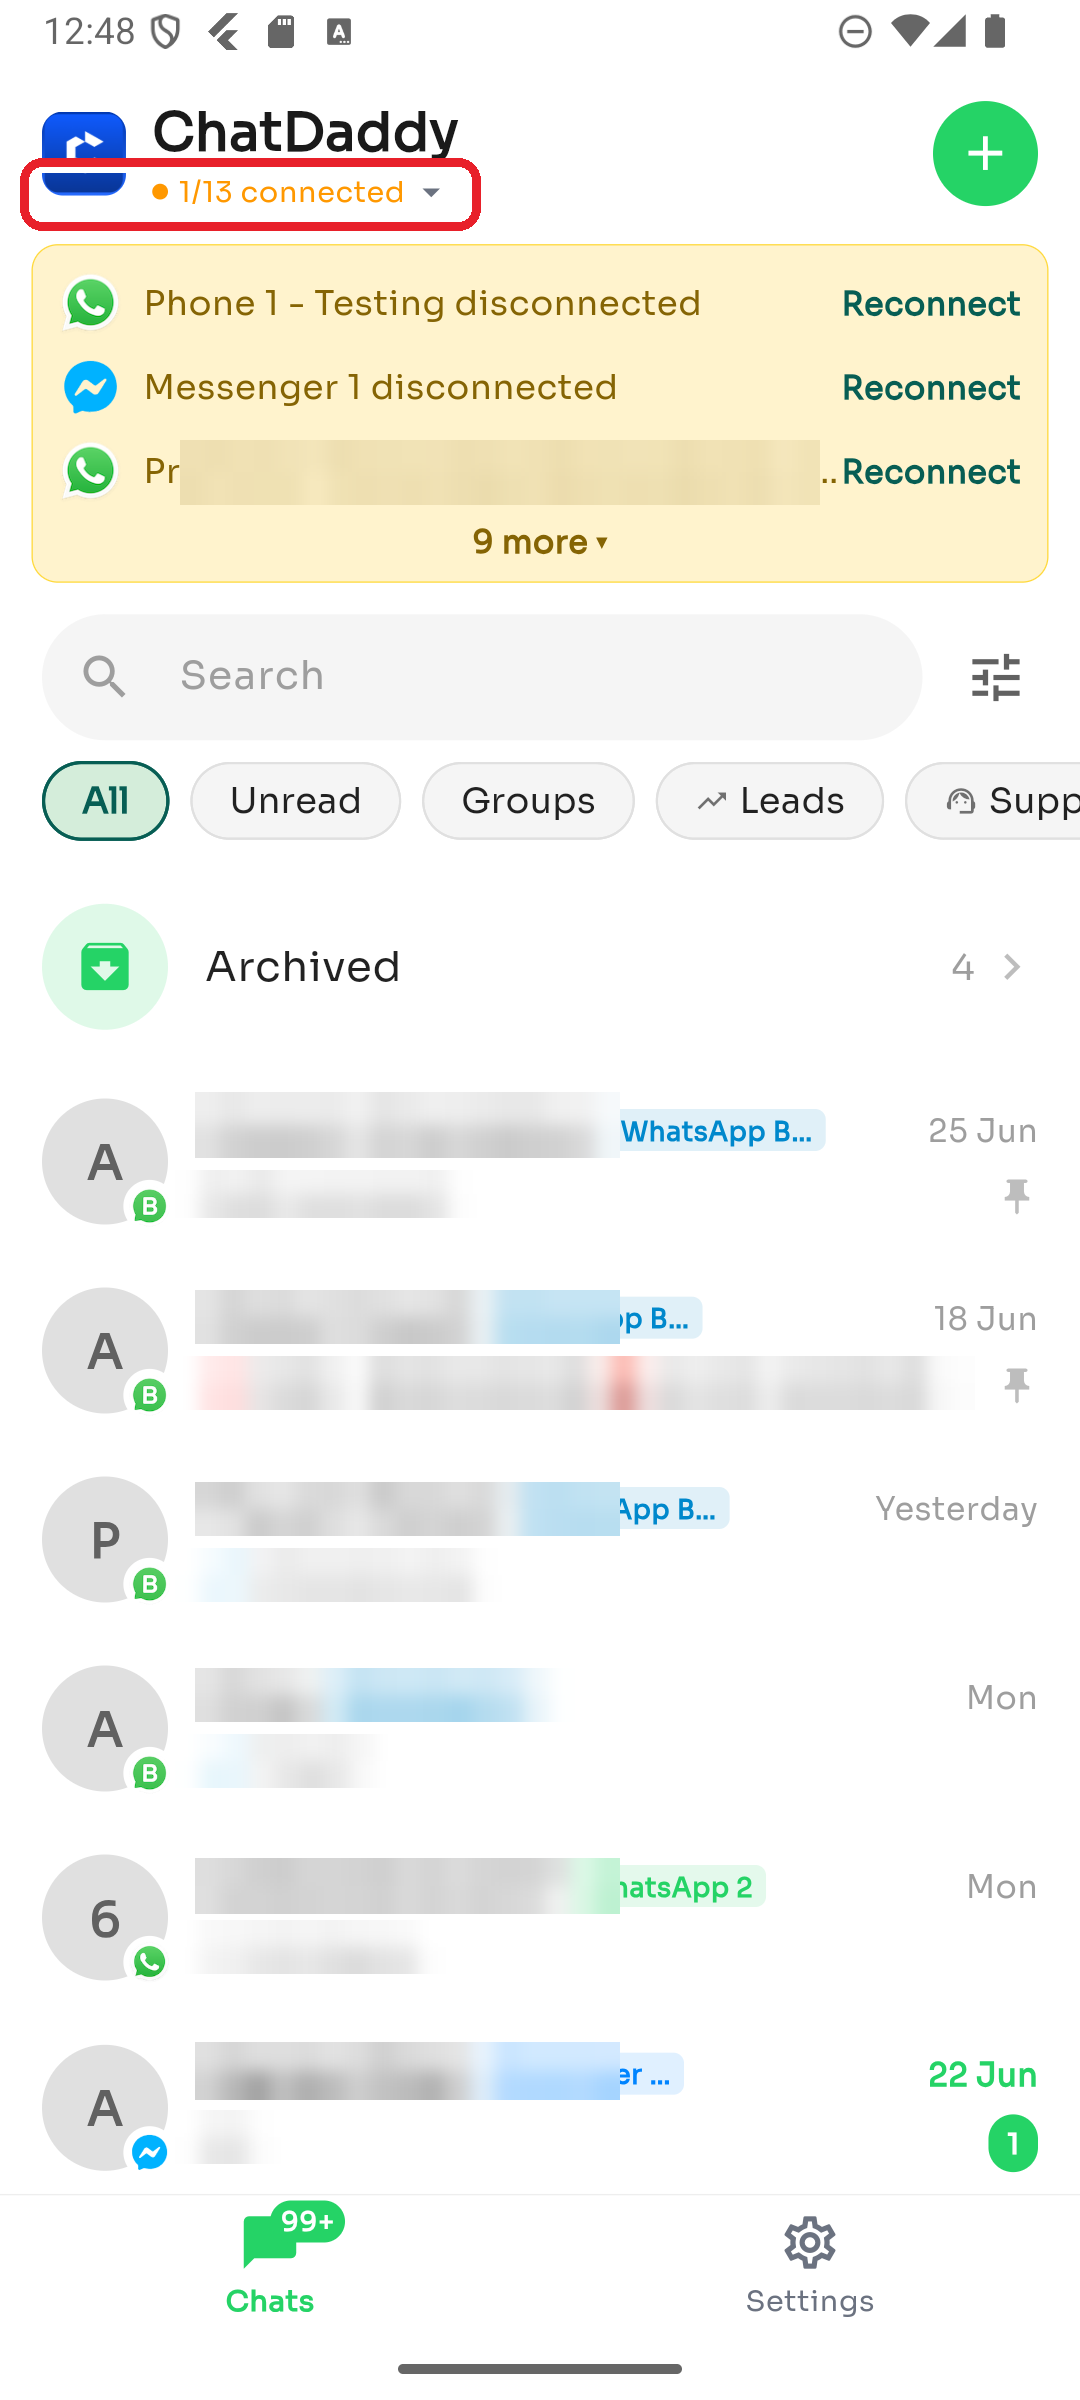
Step 2 — Switch channels
Tap the connection status under "ChatDaddy" (e.g. "1/13 connected") to open the Channels panel.
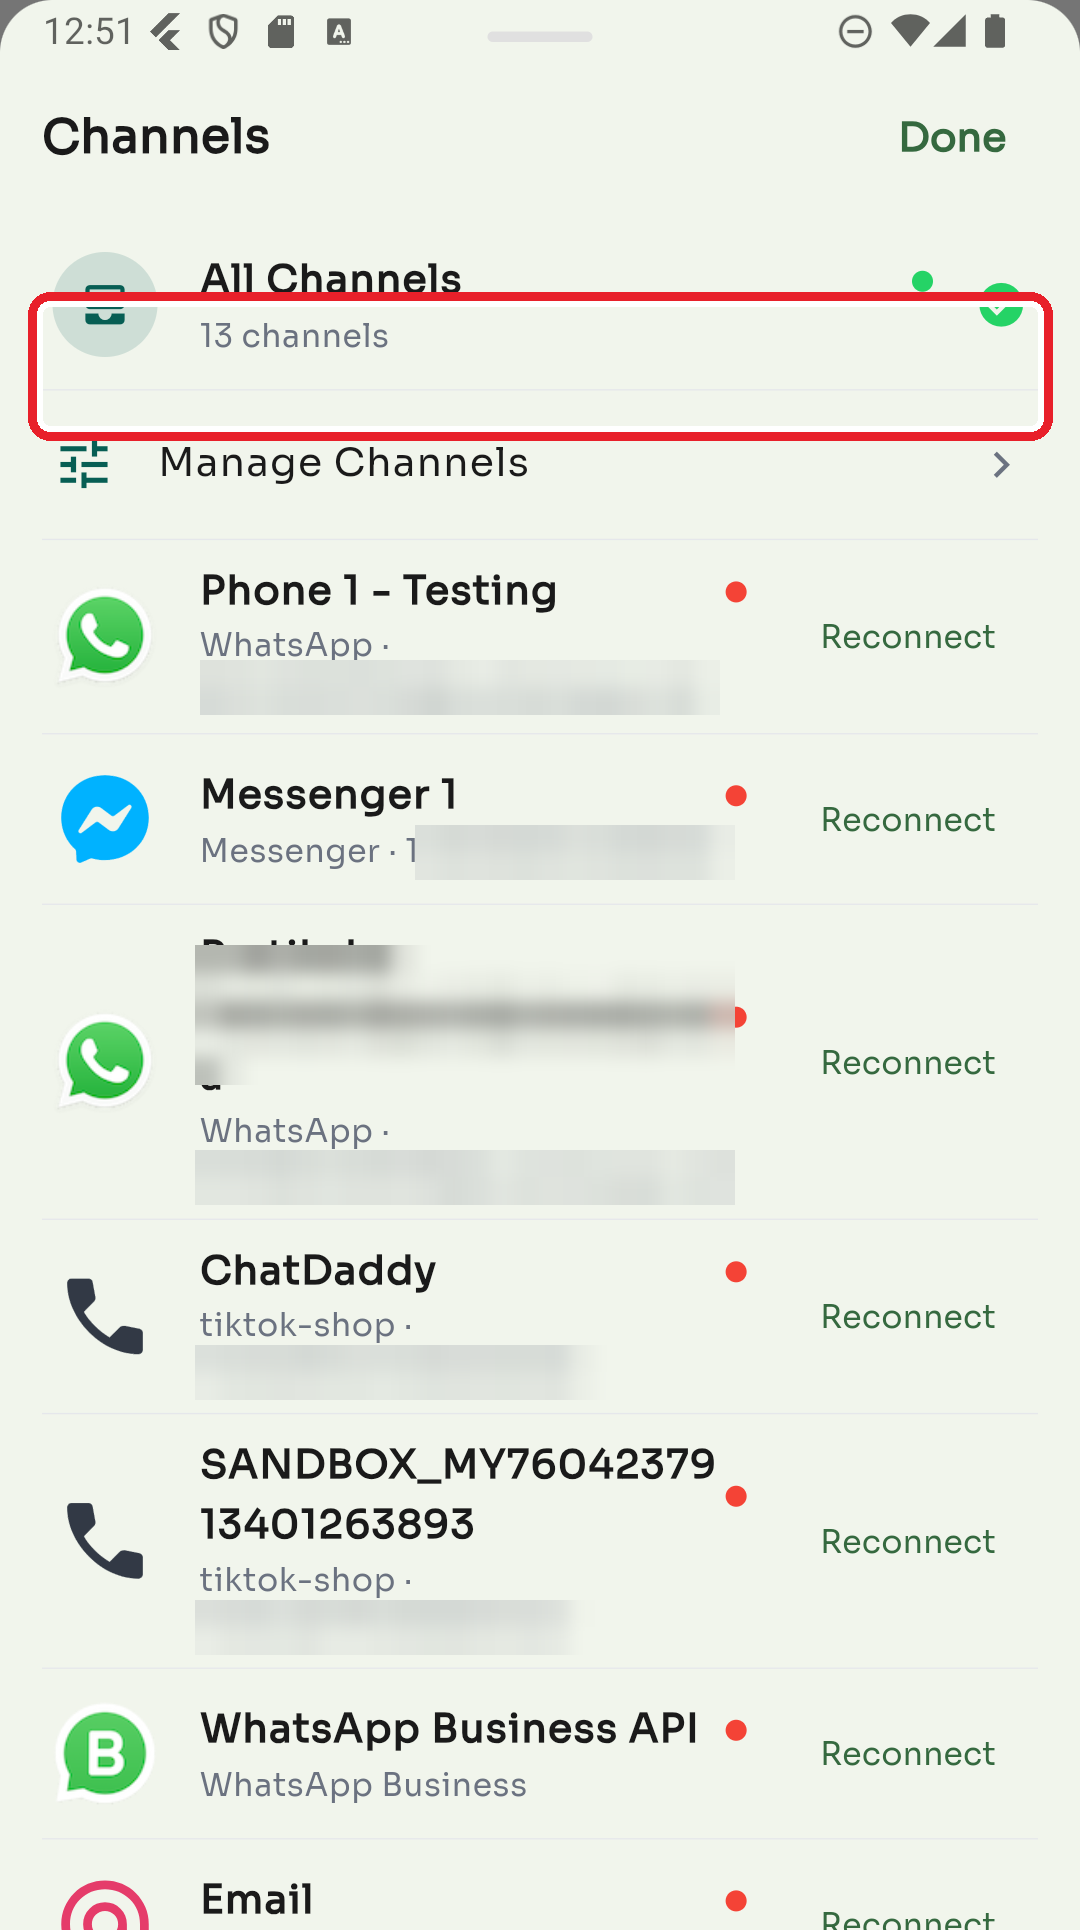
Choose All Channels to see everything at once, or tap a single channel to view only its chats. Disconnected channels show a Reconnect button. Tap Done when finished.
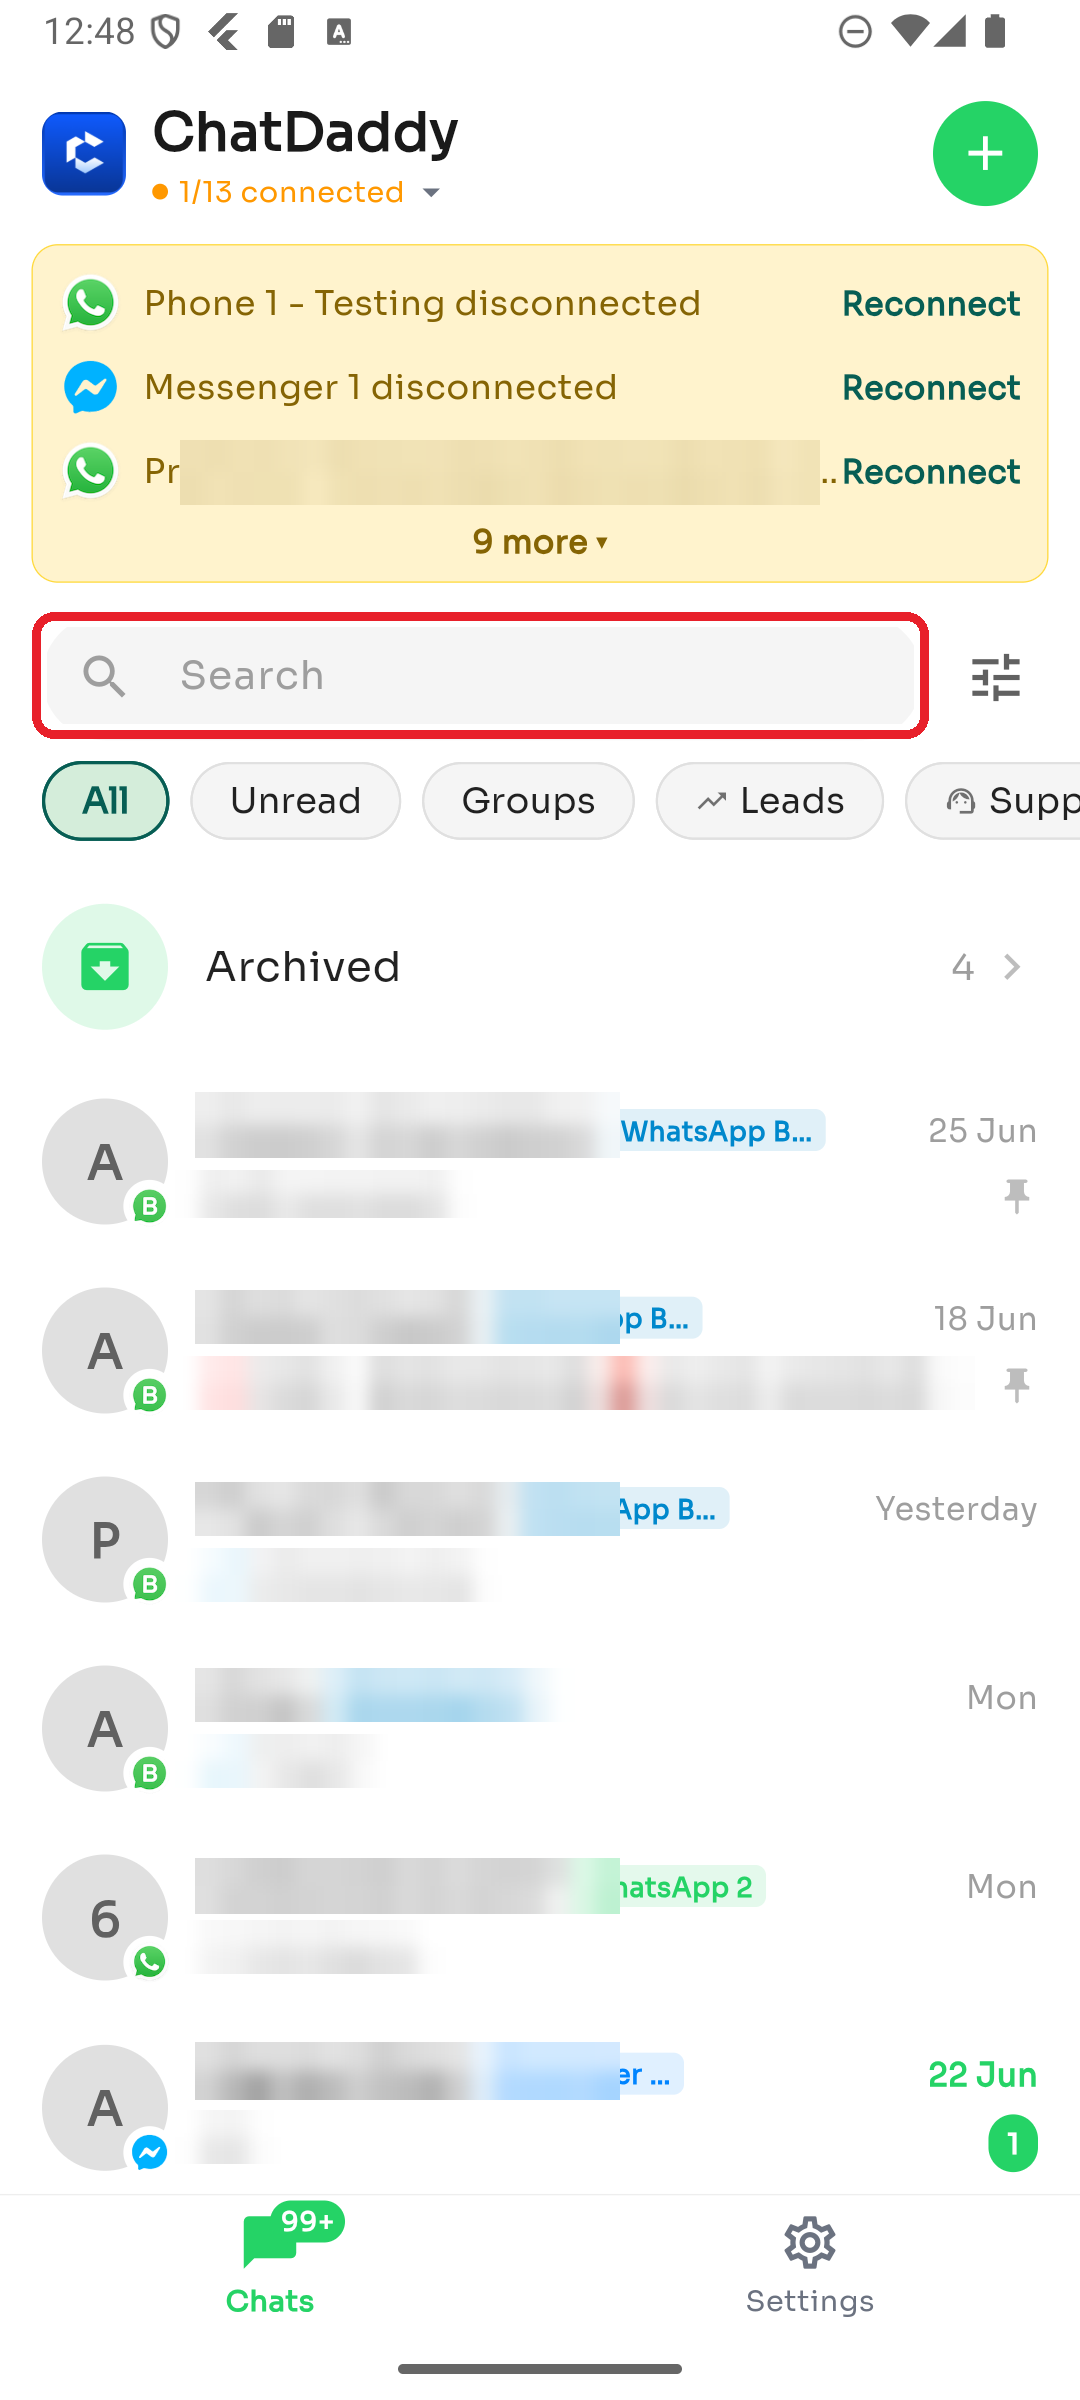
Step 3 — Search
Tap the Search bar and start typing to find a chat by contact name, number, or message text.
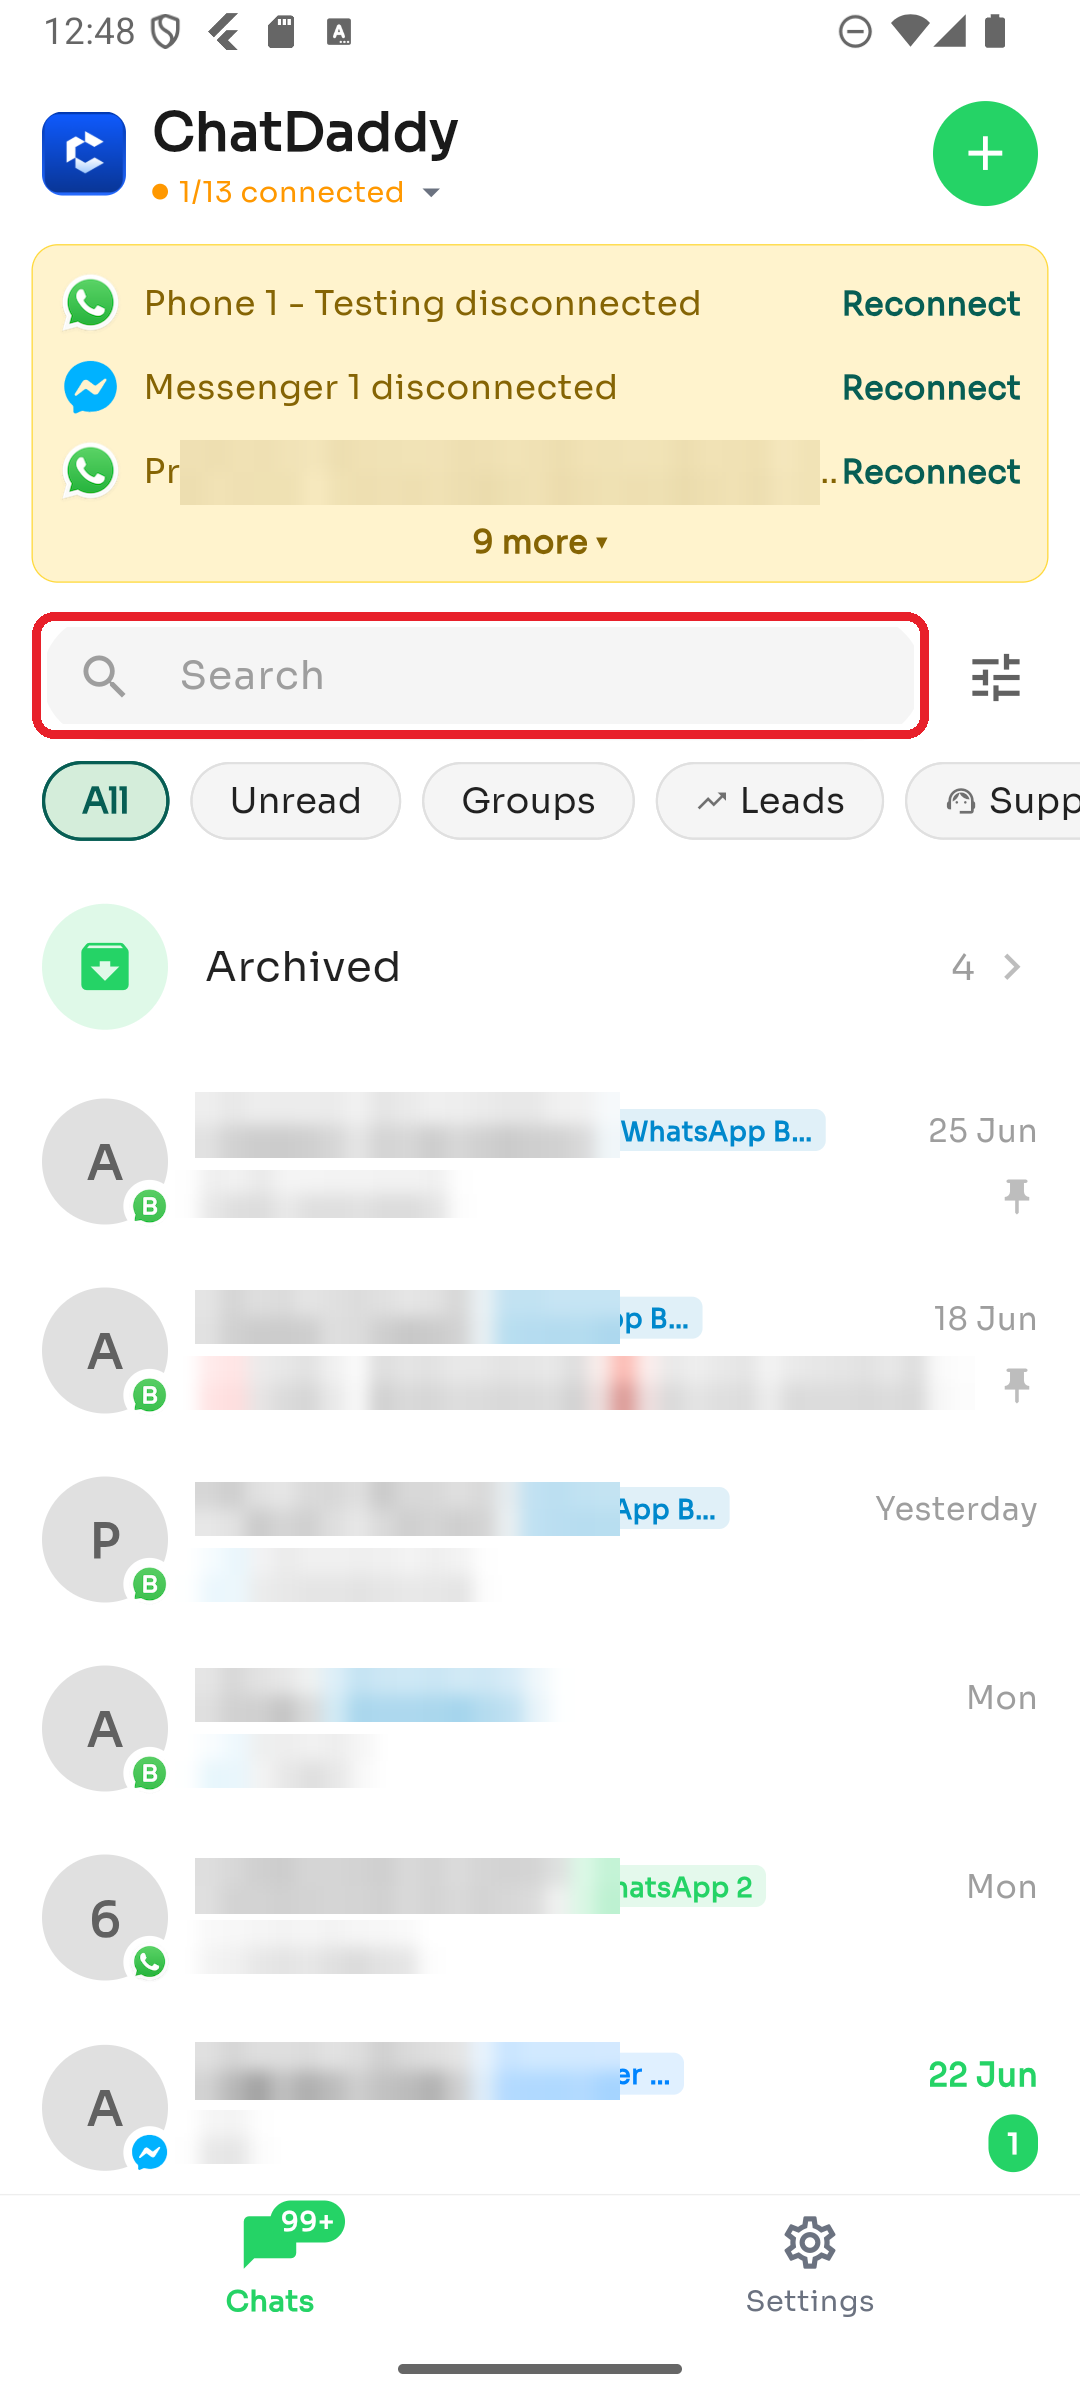
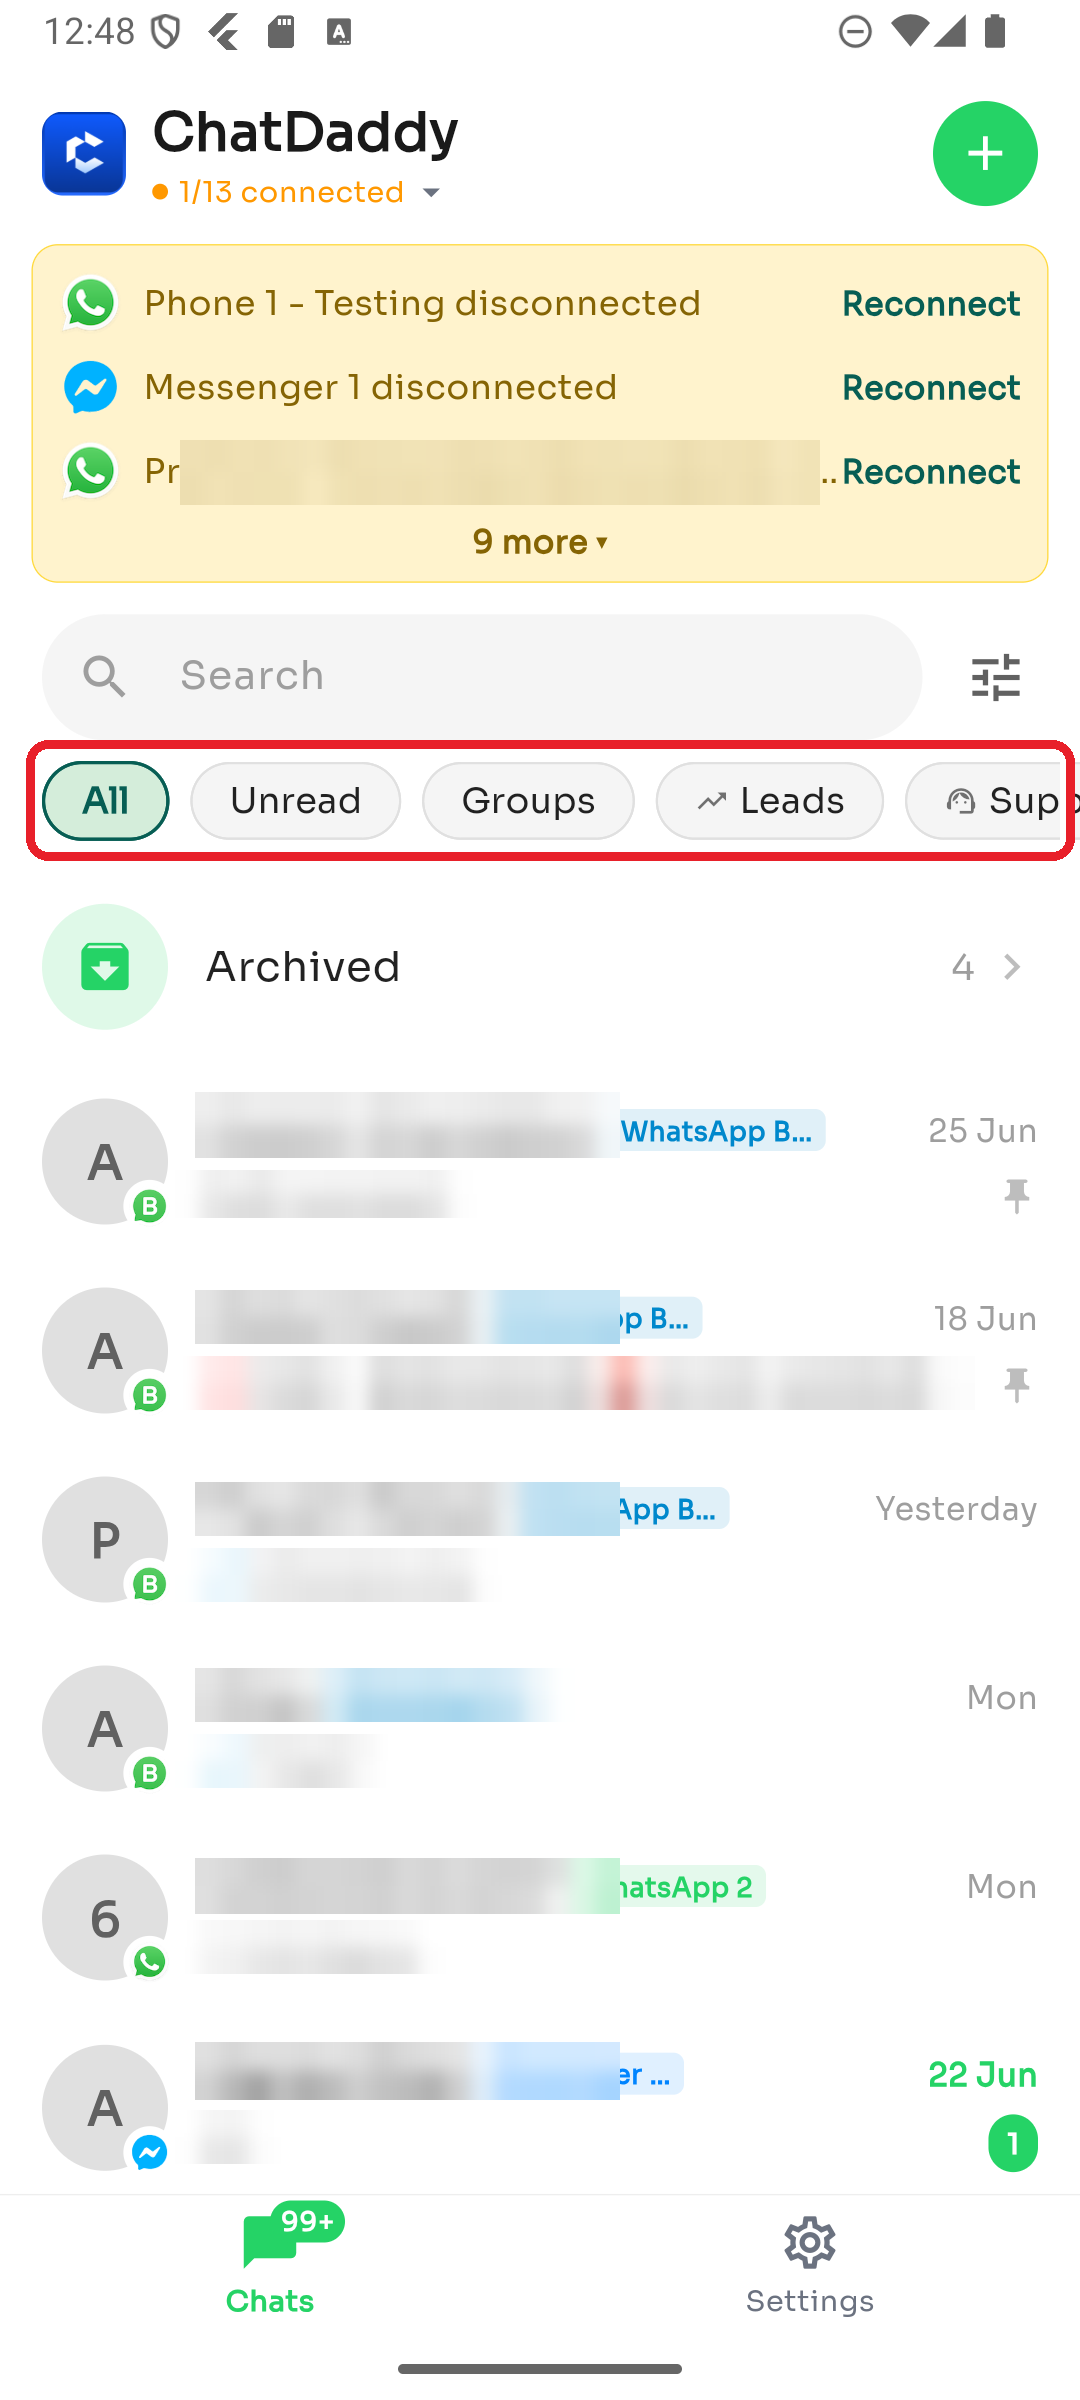
Step 4 — Use quick filters
Tap a chip below the search bar to instantly narrow the list — All, Unread, Groups, Leads, Support, and more.
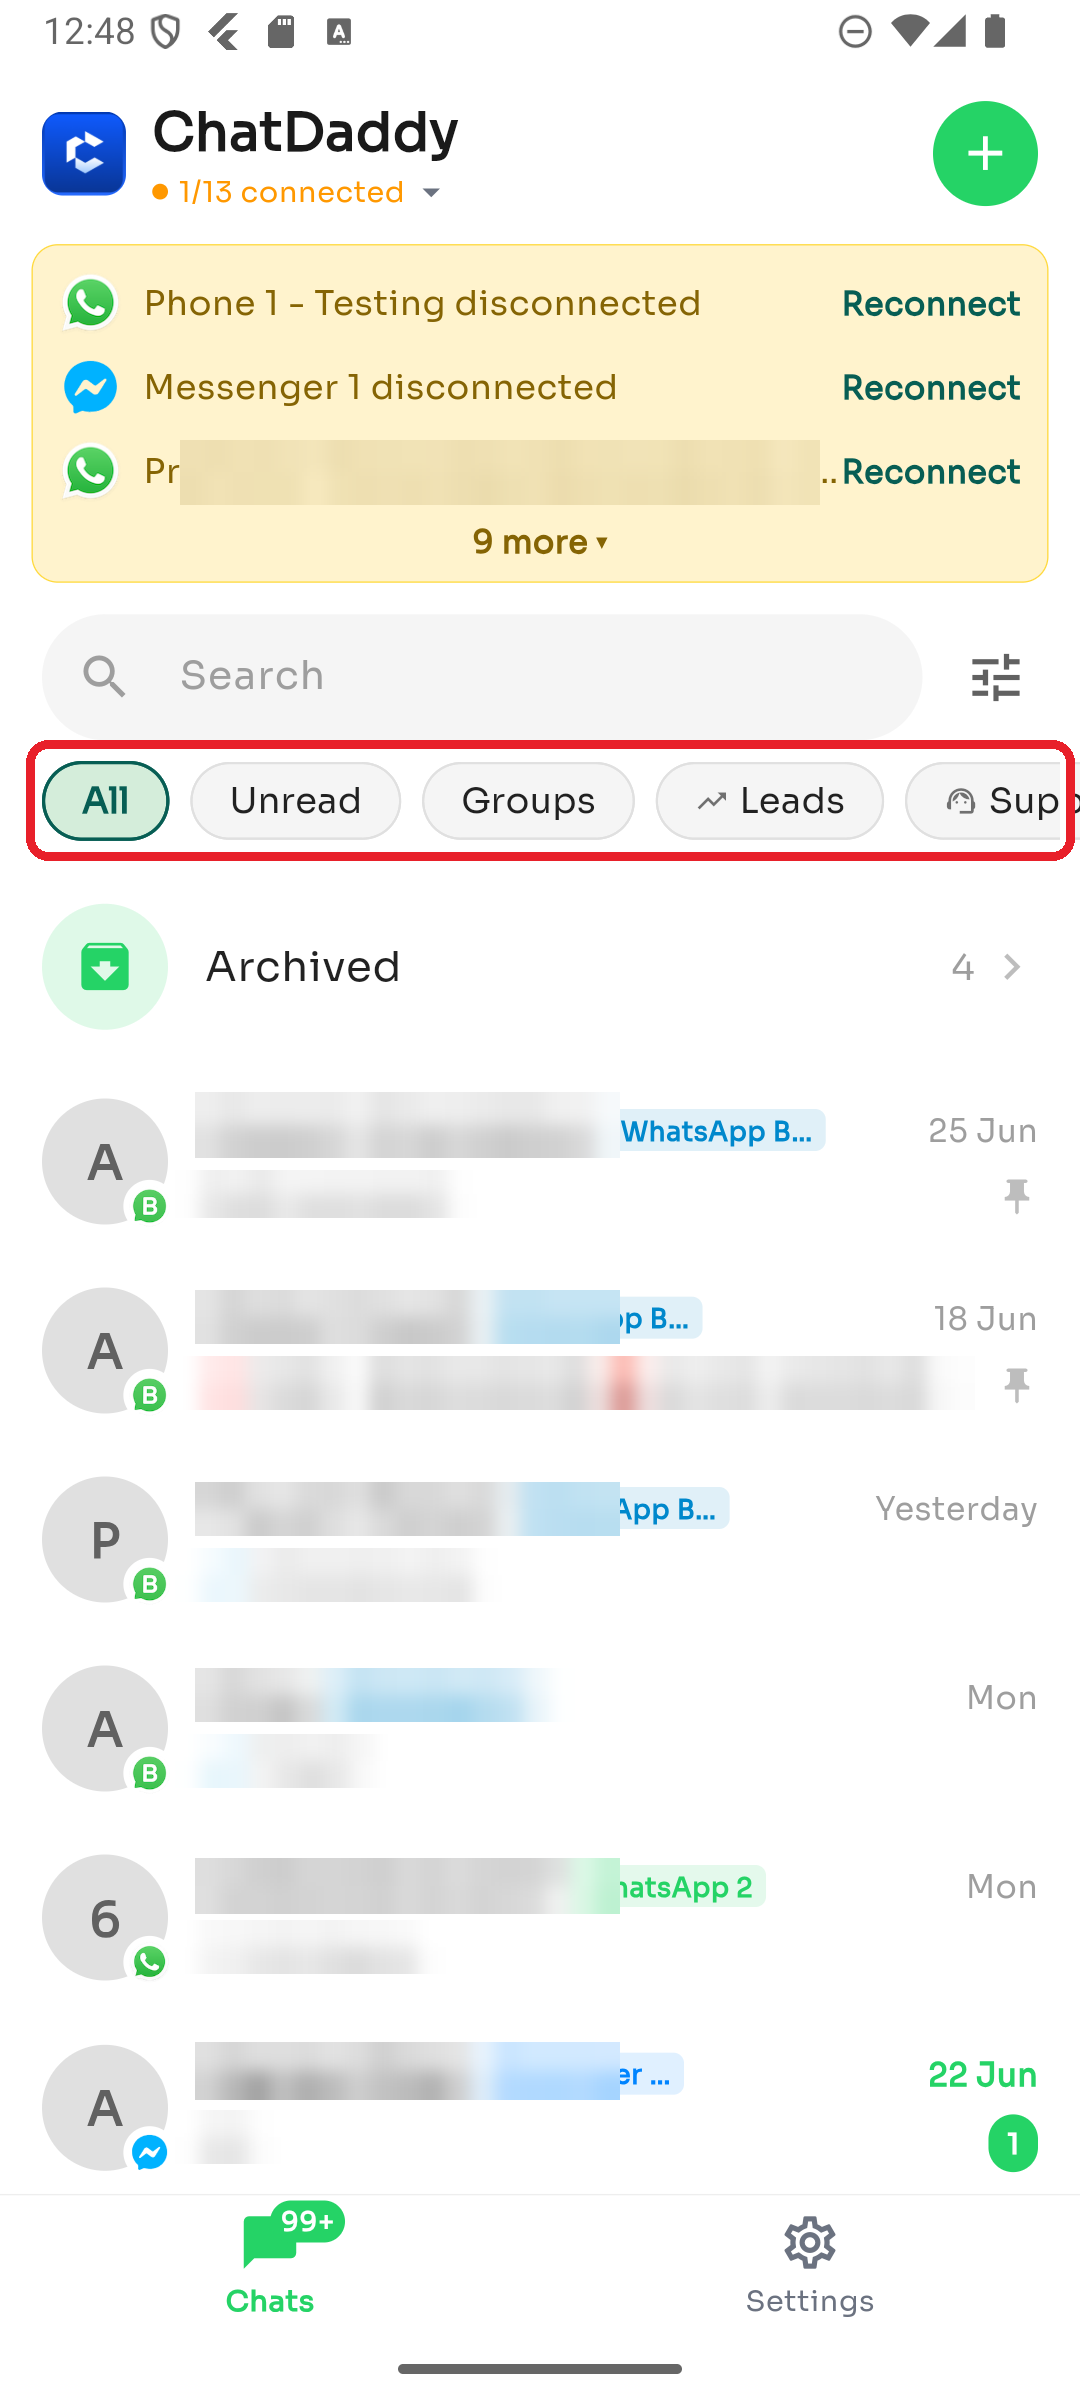
Step 5 — Advanced filters
For more control, tap the filter icon to the right of the search bar.
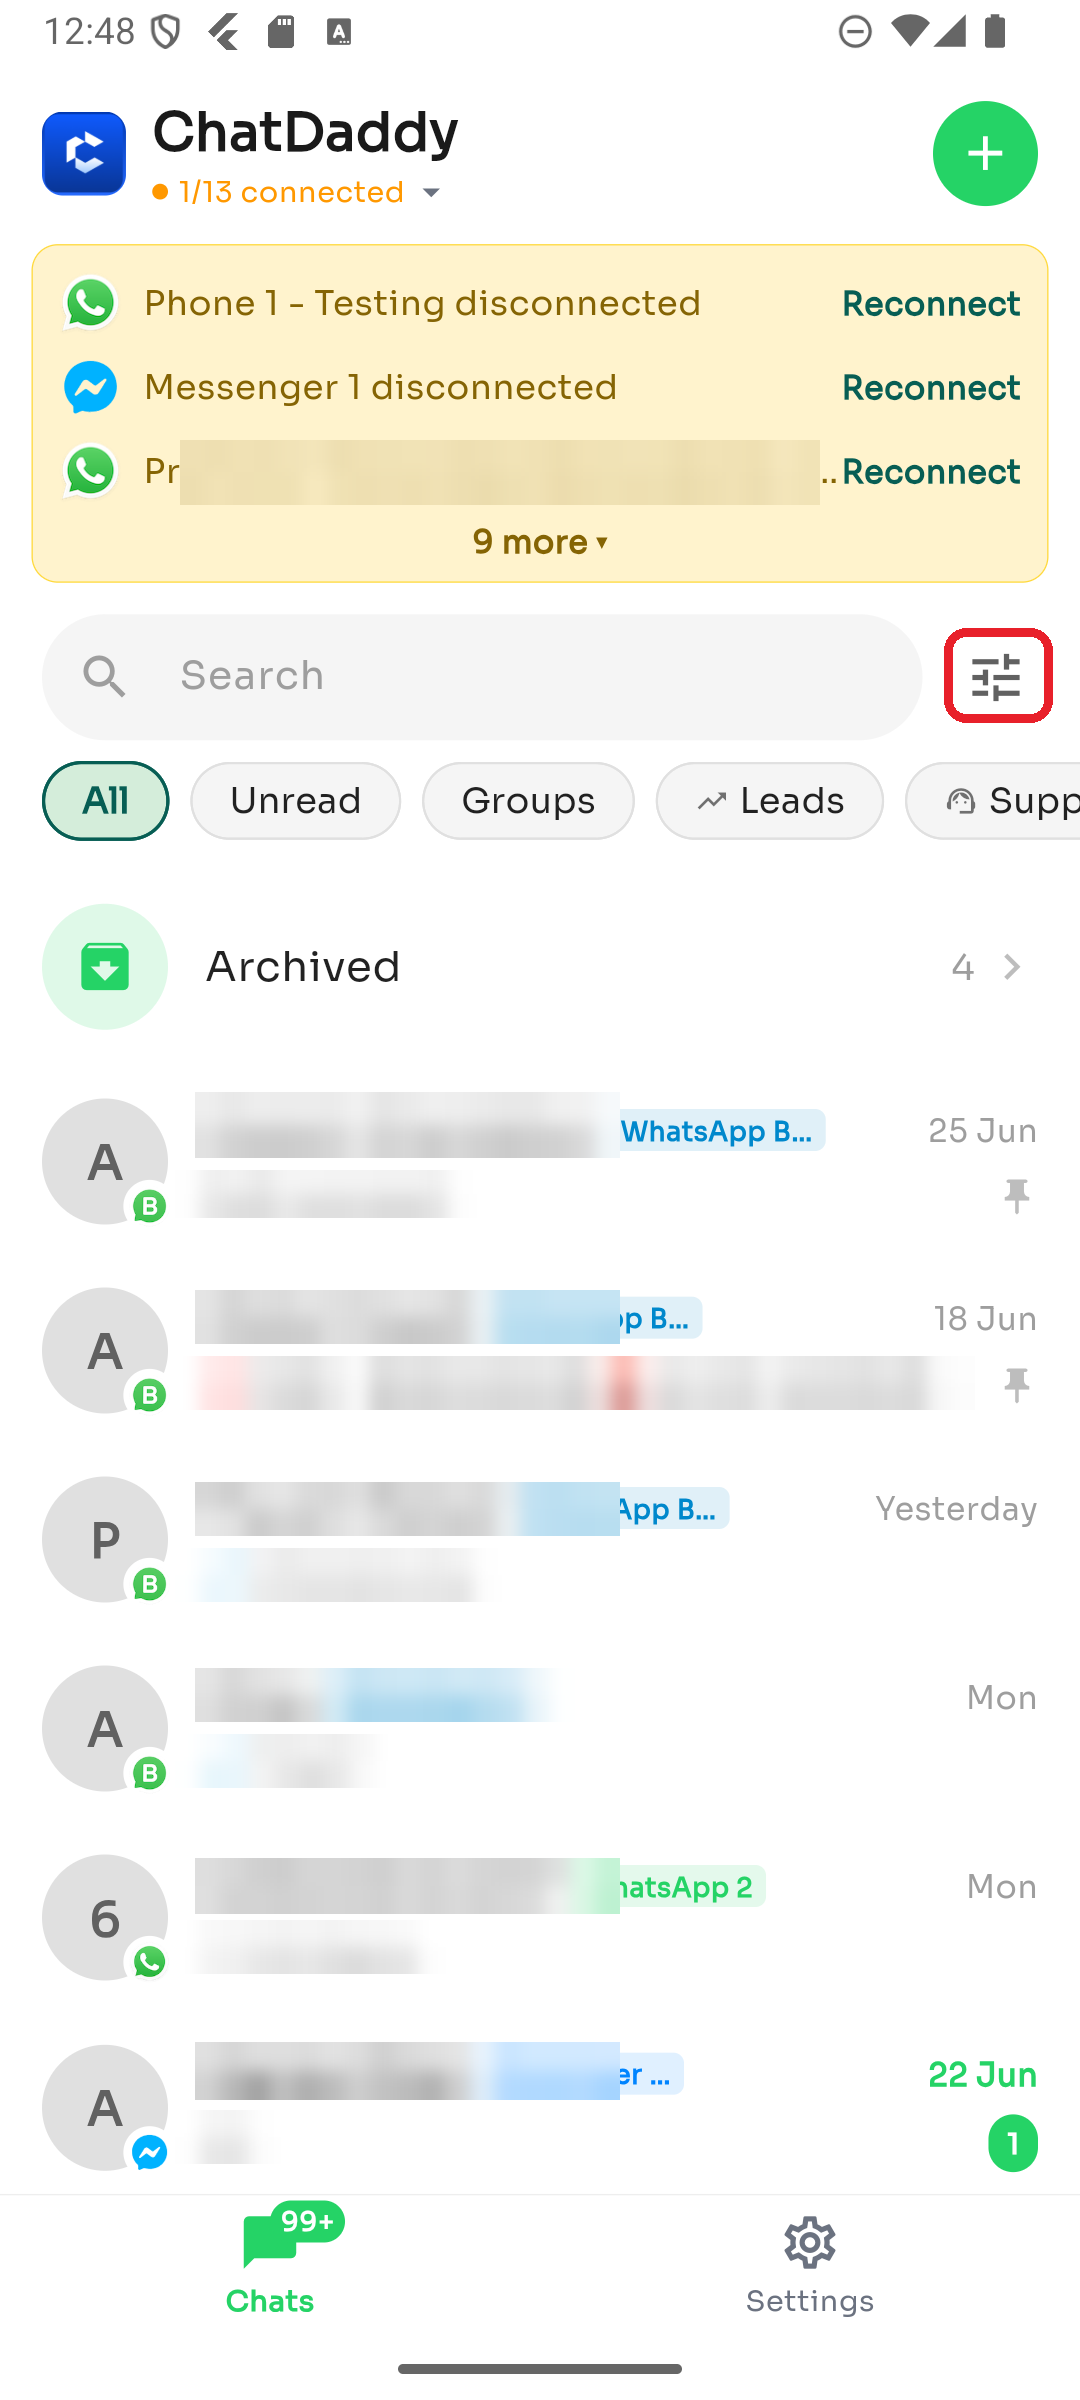
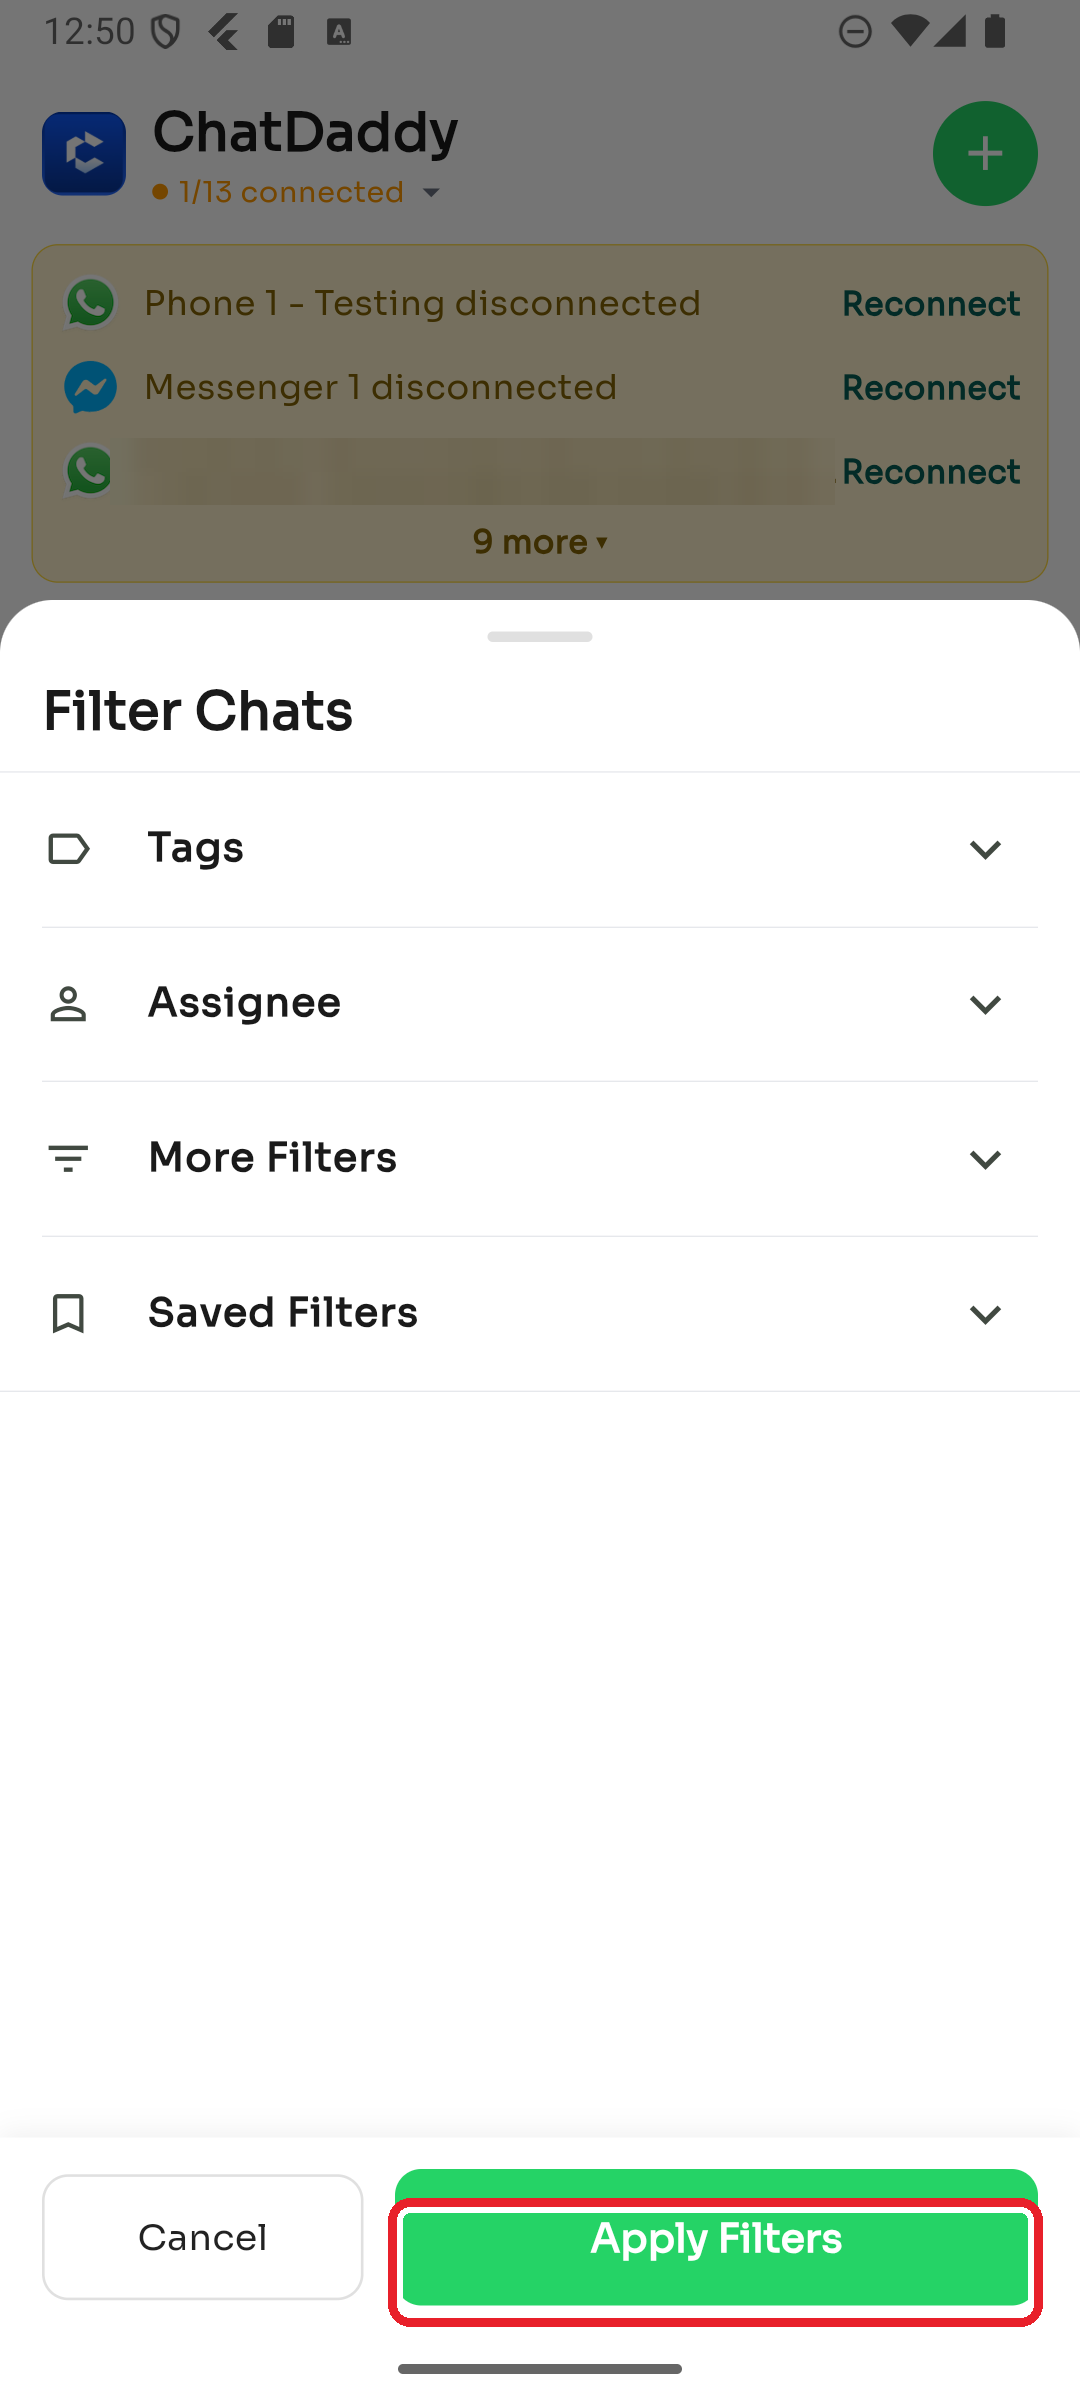
Filter by Tags, Assignee, More Filters, or Saved Filters, then tap Apply Filters.
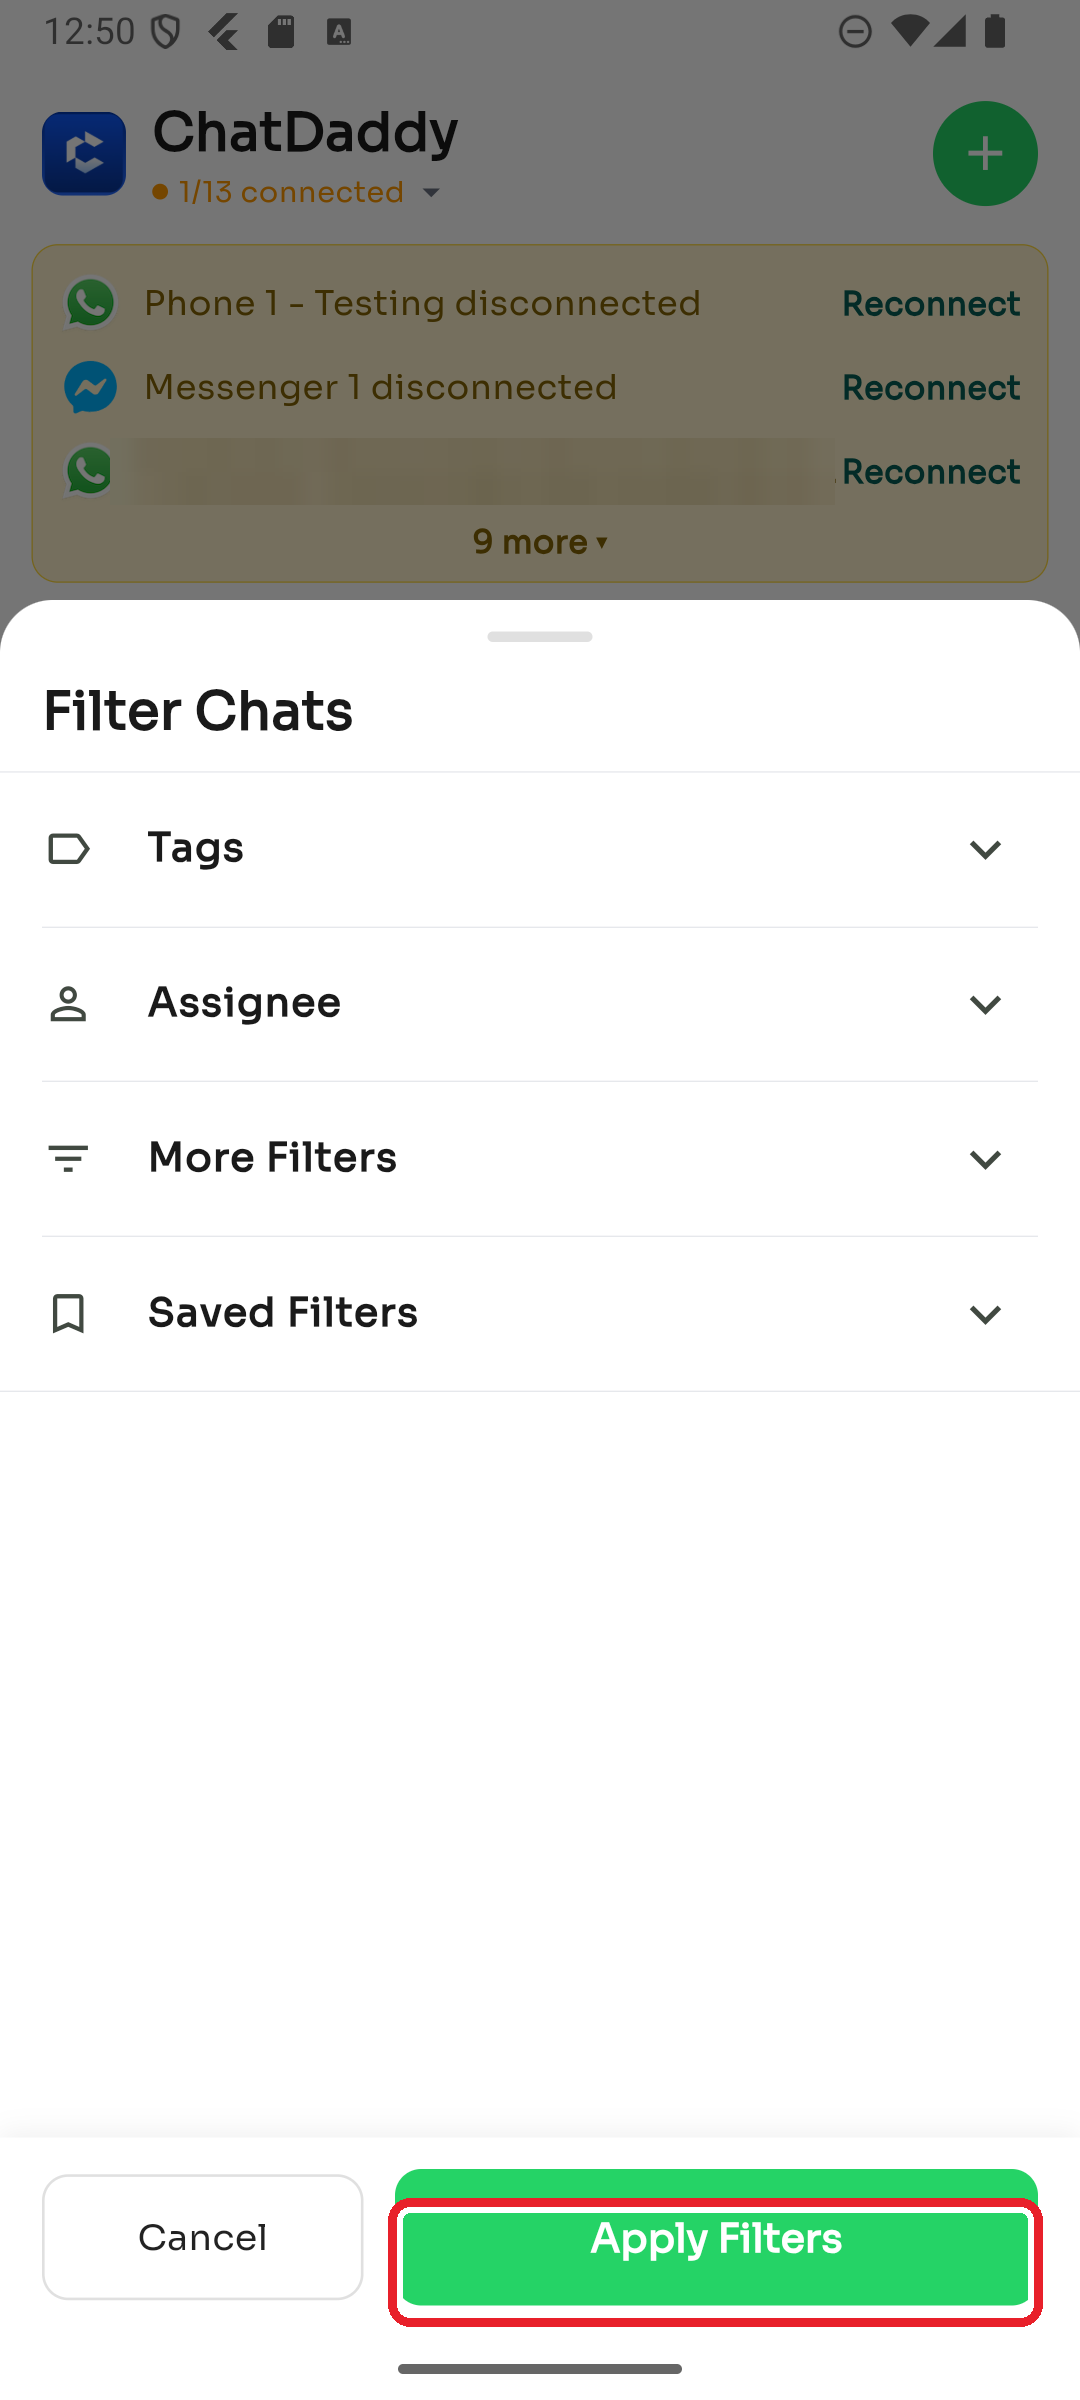
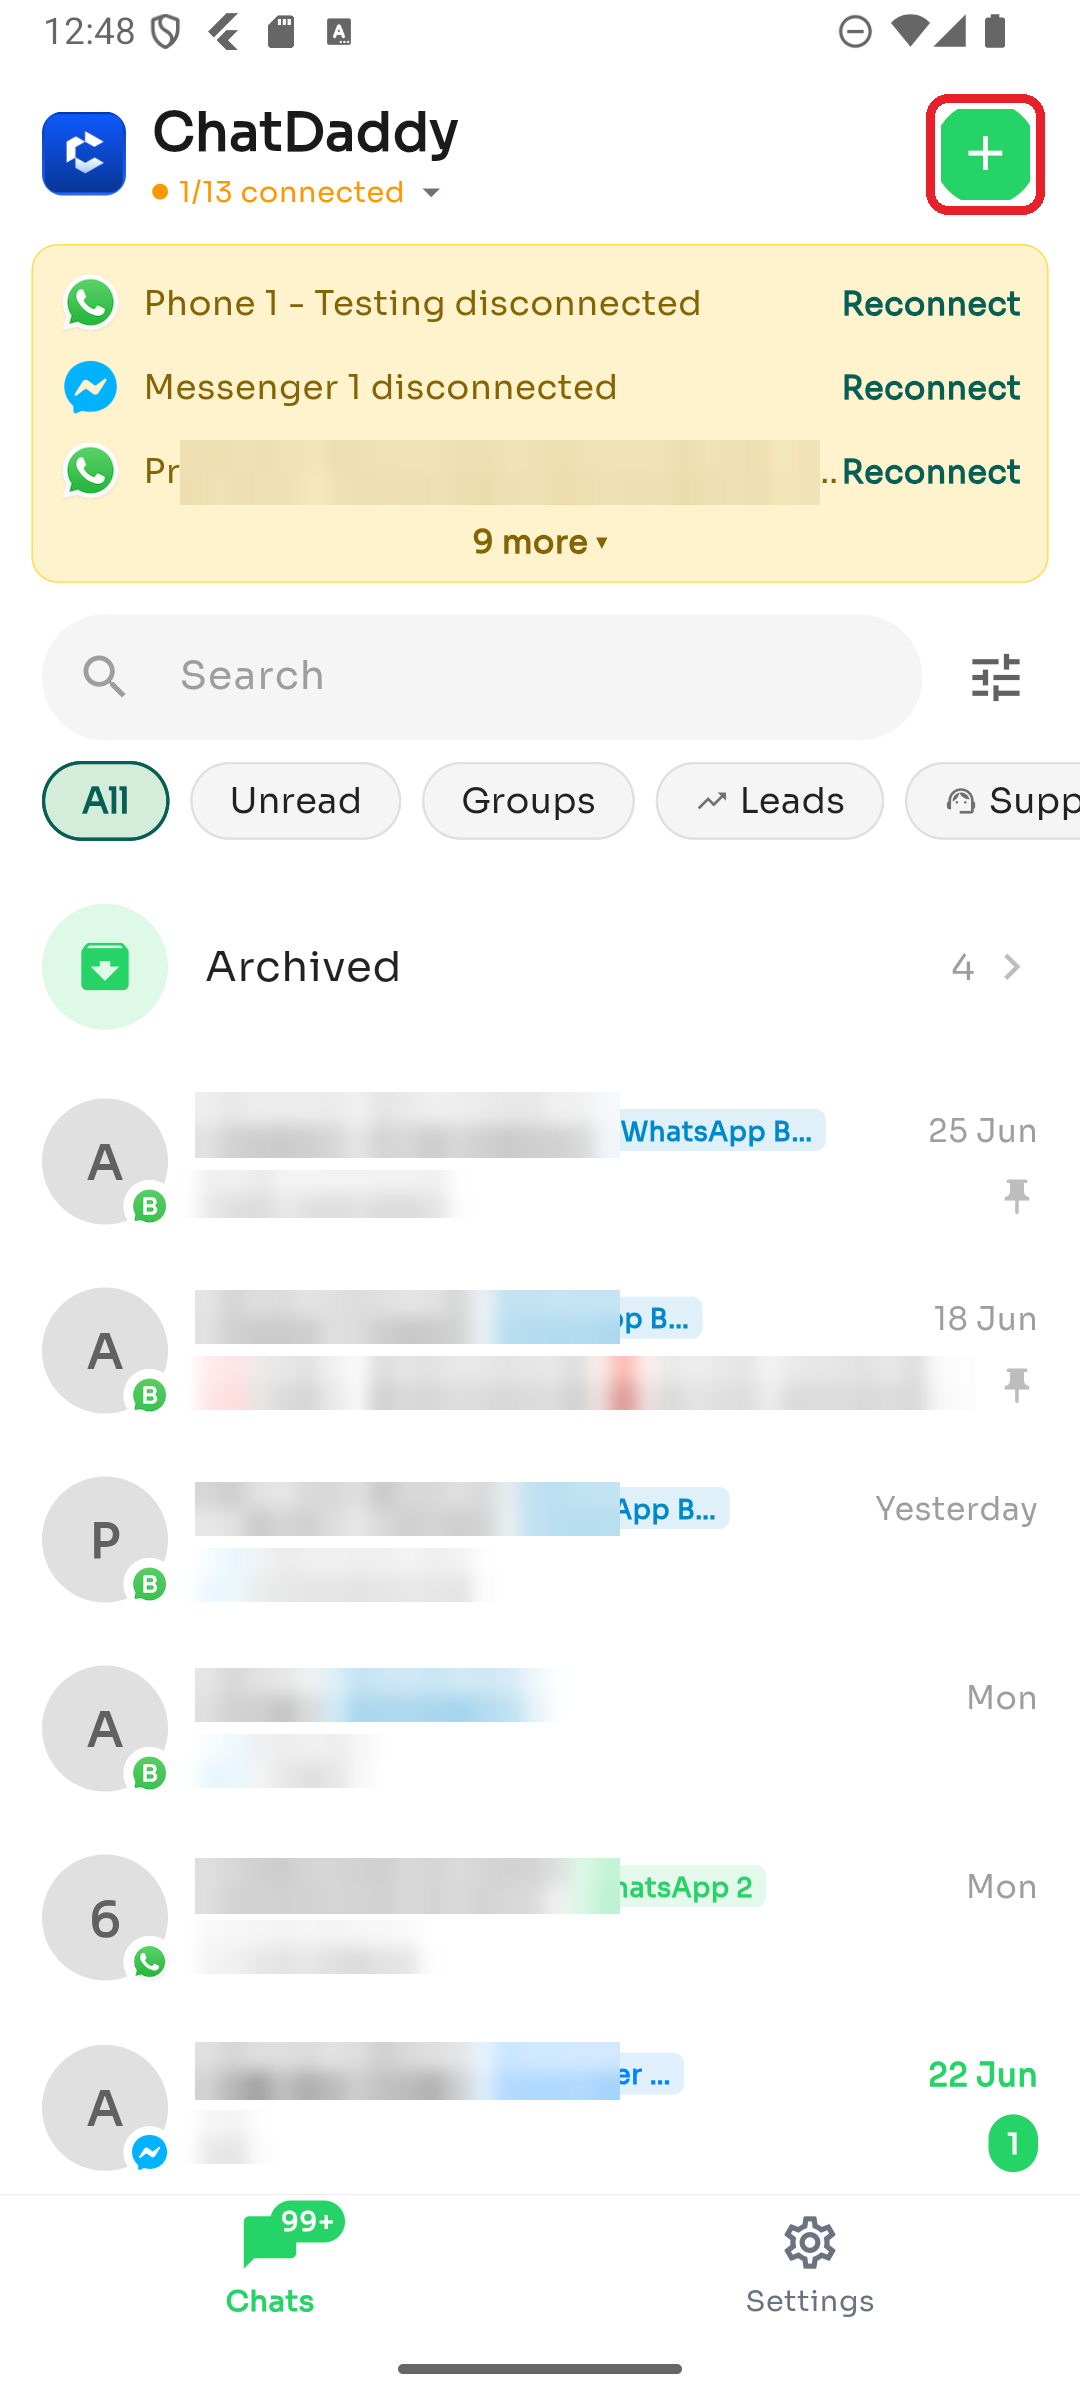
Step 6 — Start a new chat
Tap the ➕ button in the top-right corner.
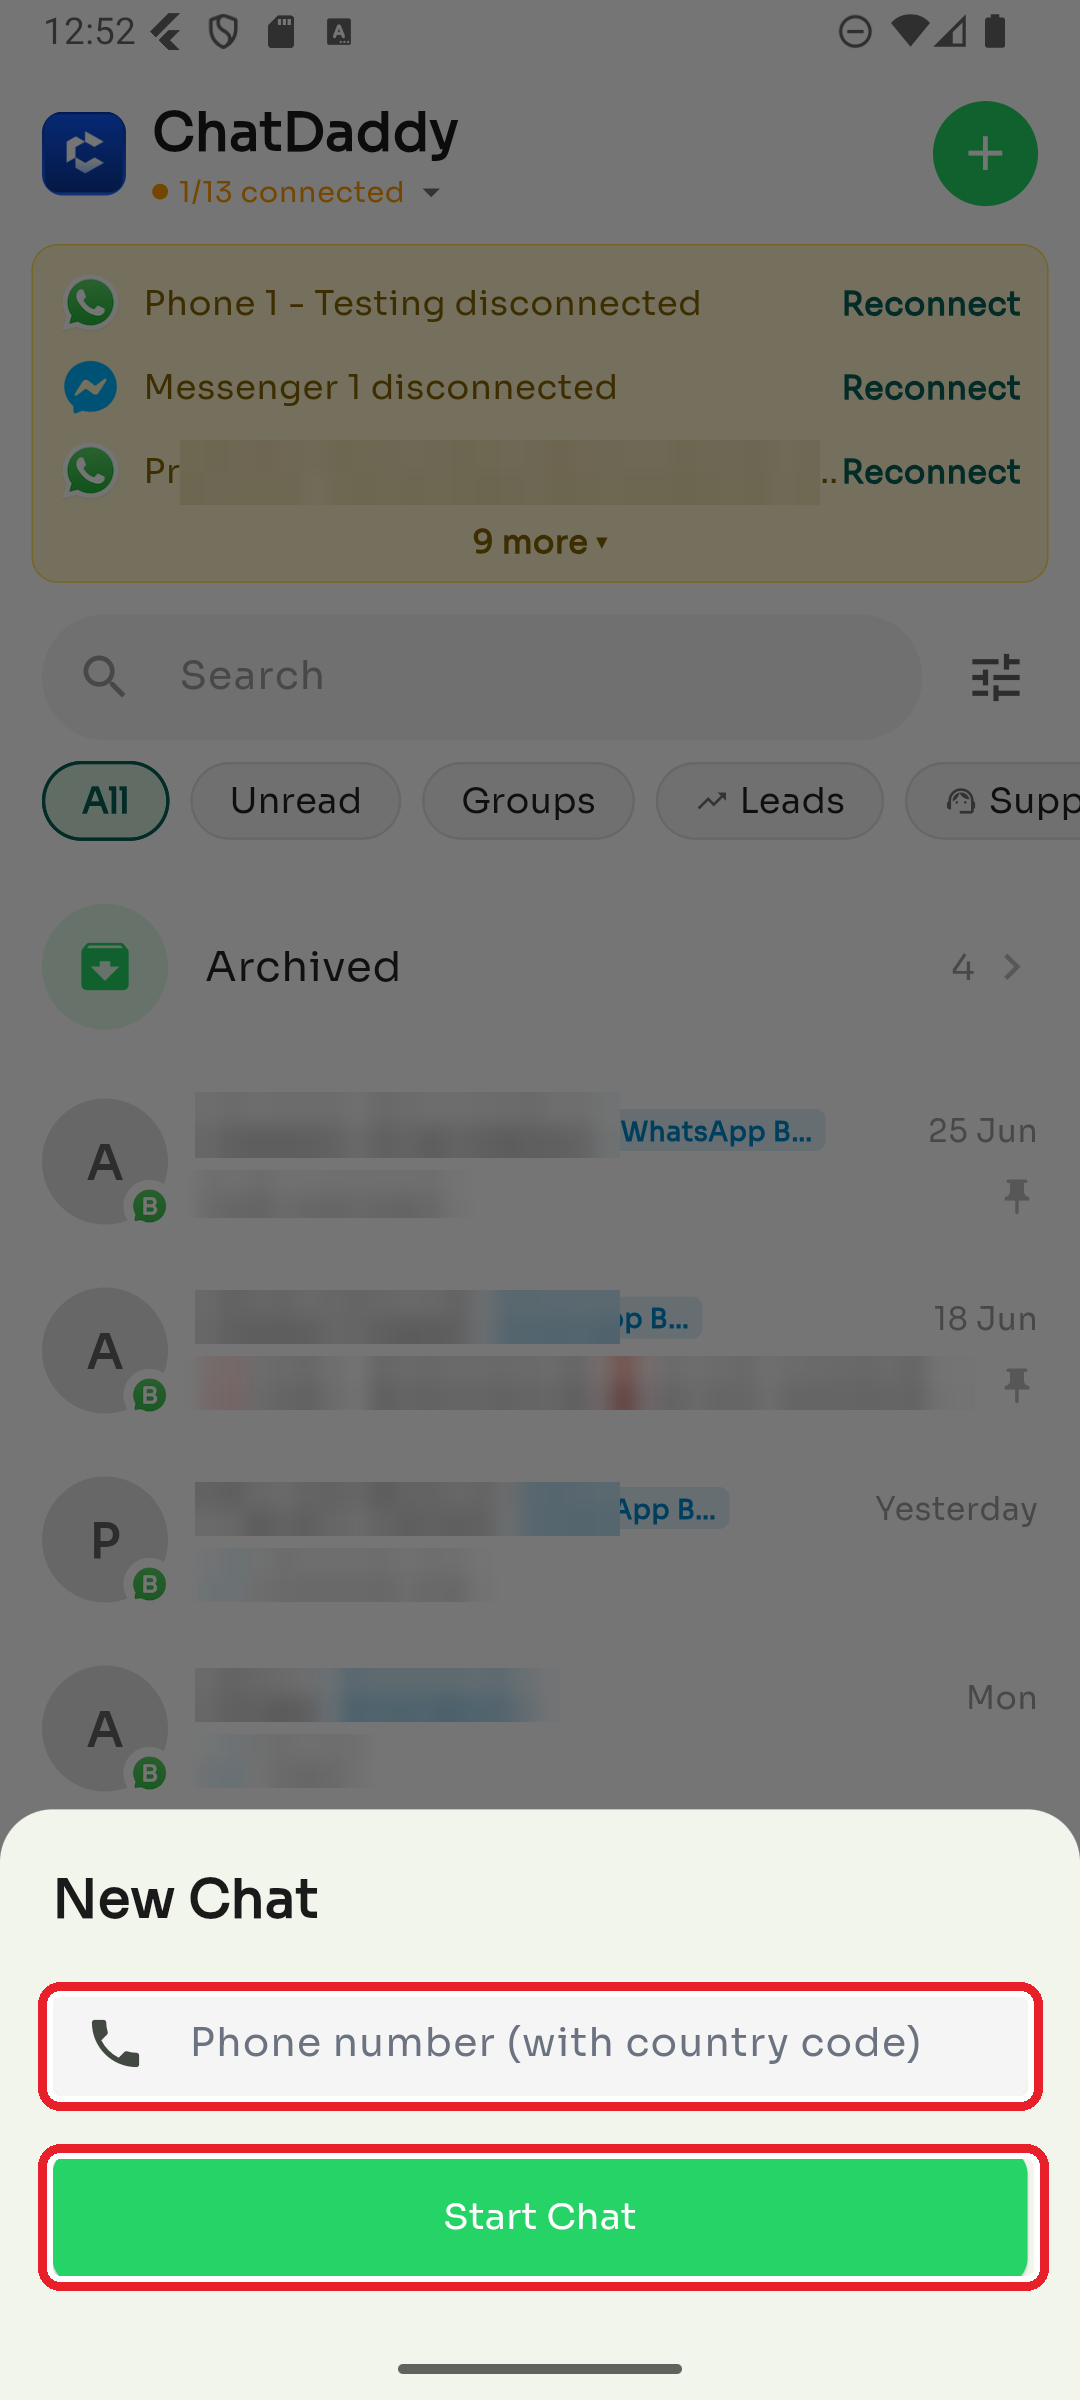
Enter the contact's phone number with country code, then tap Start Chat.
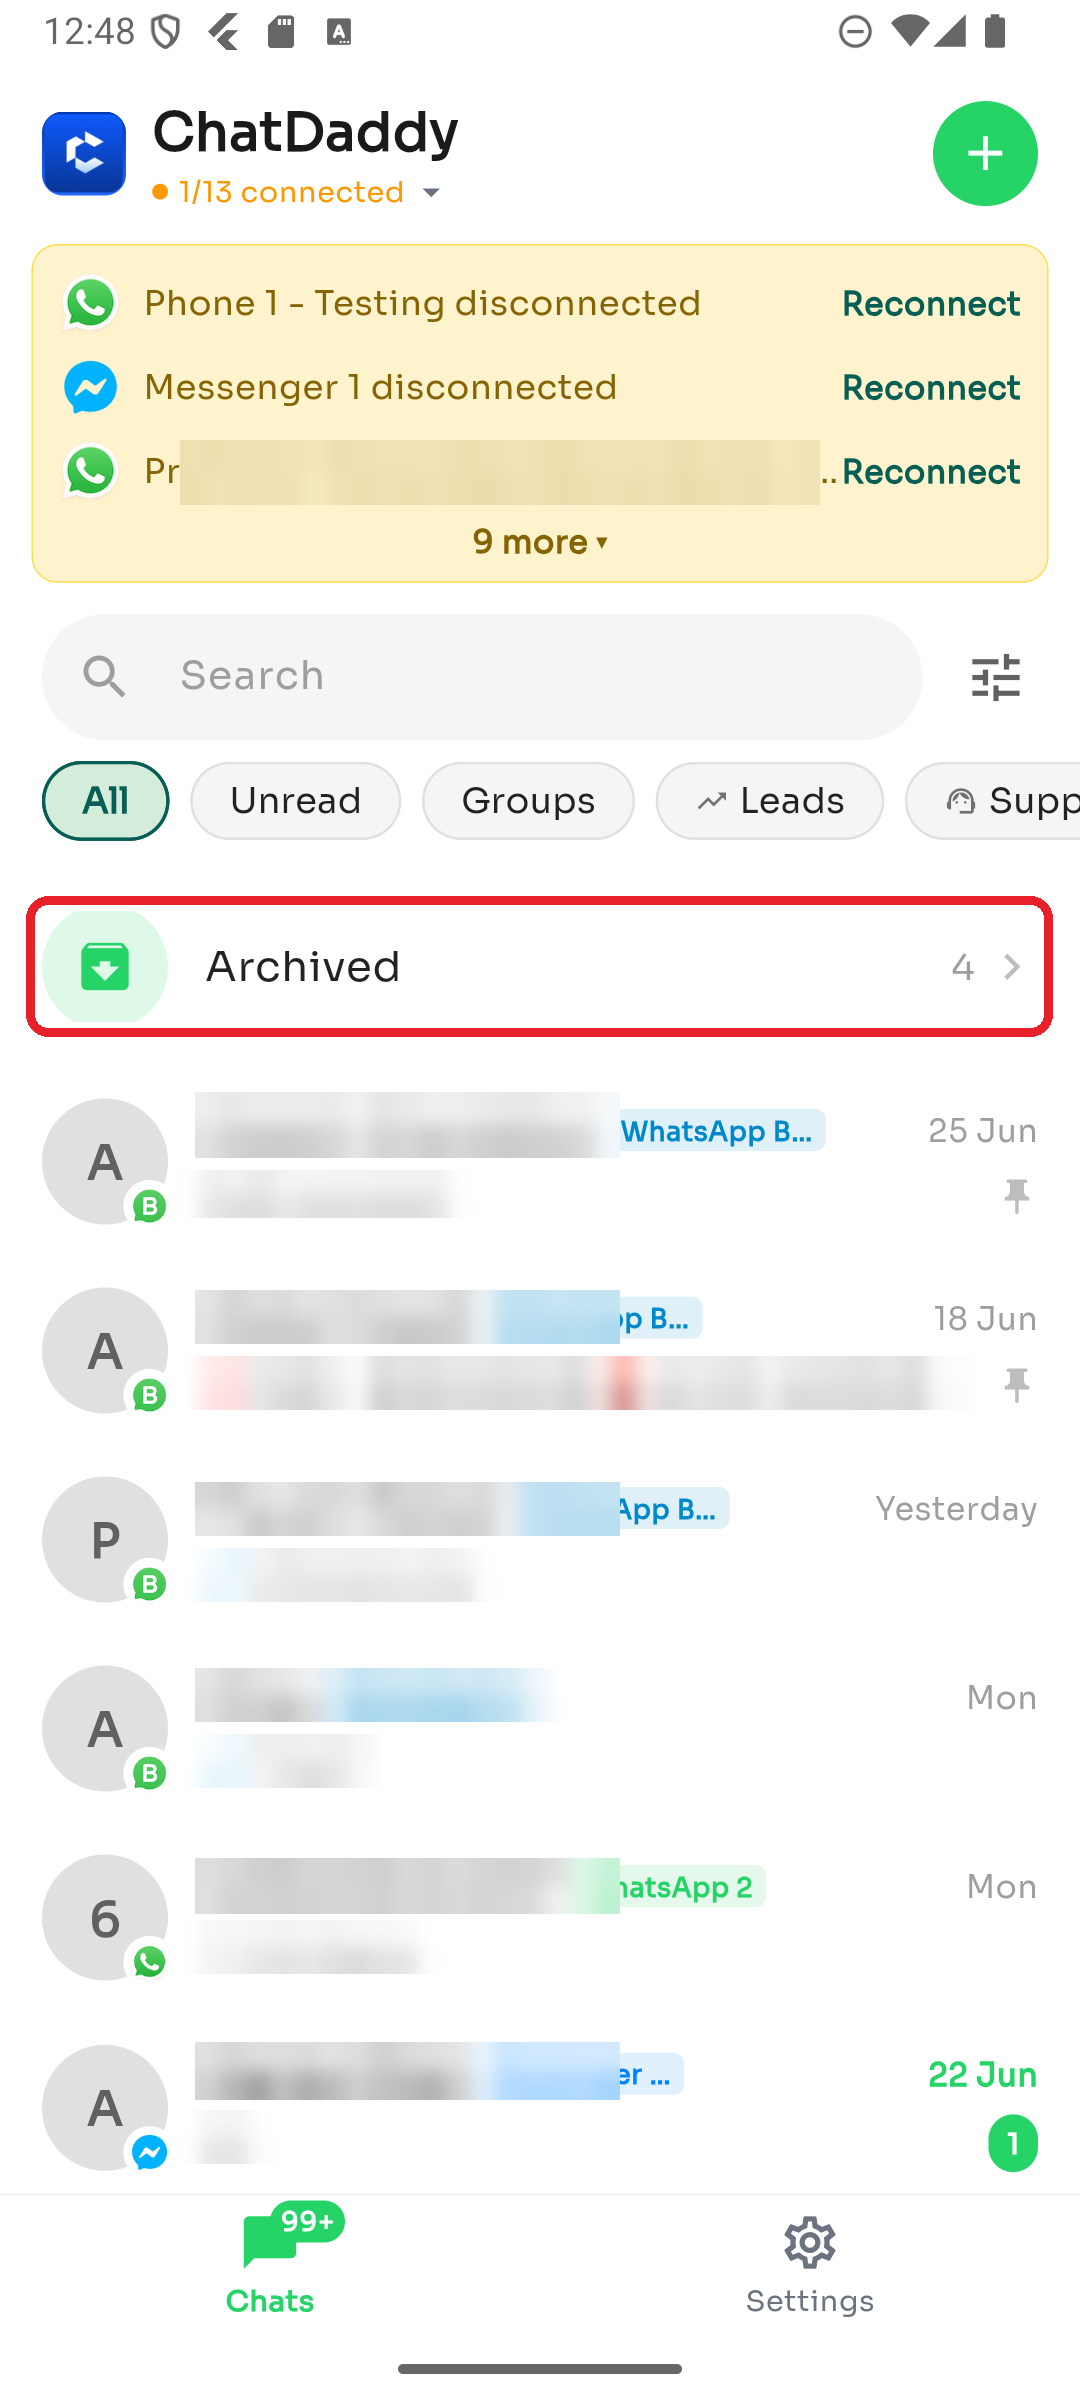
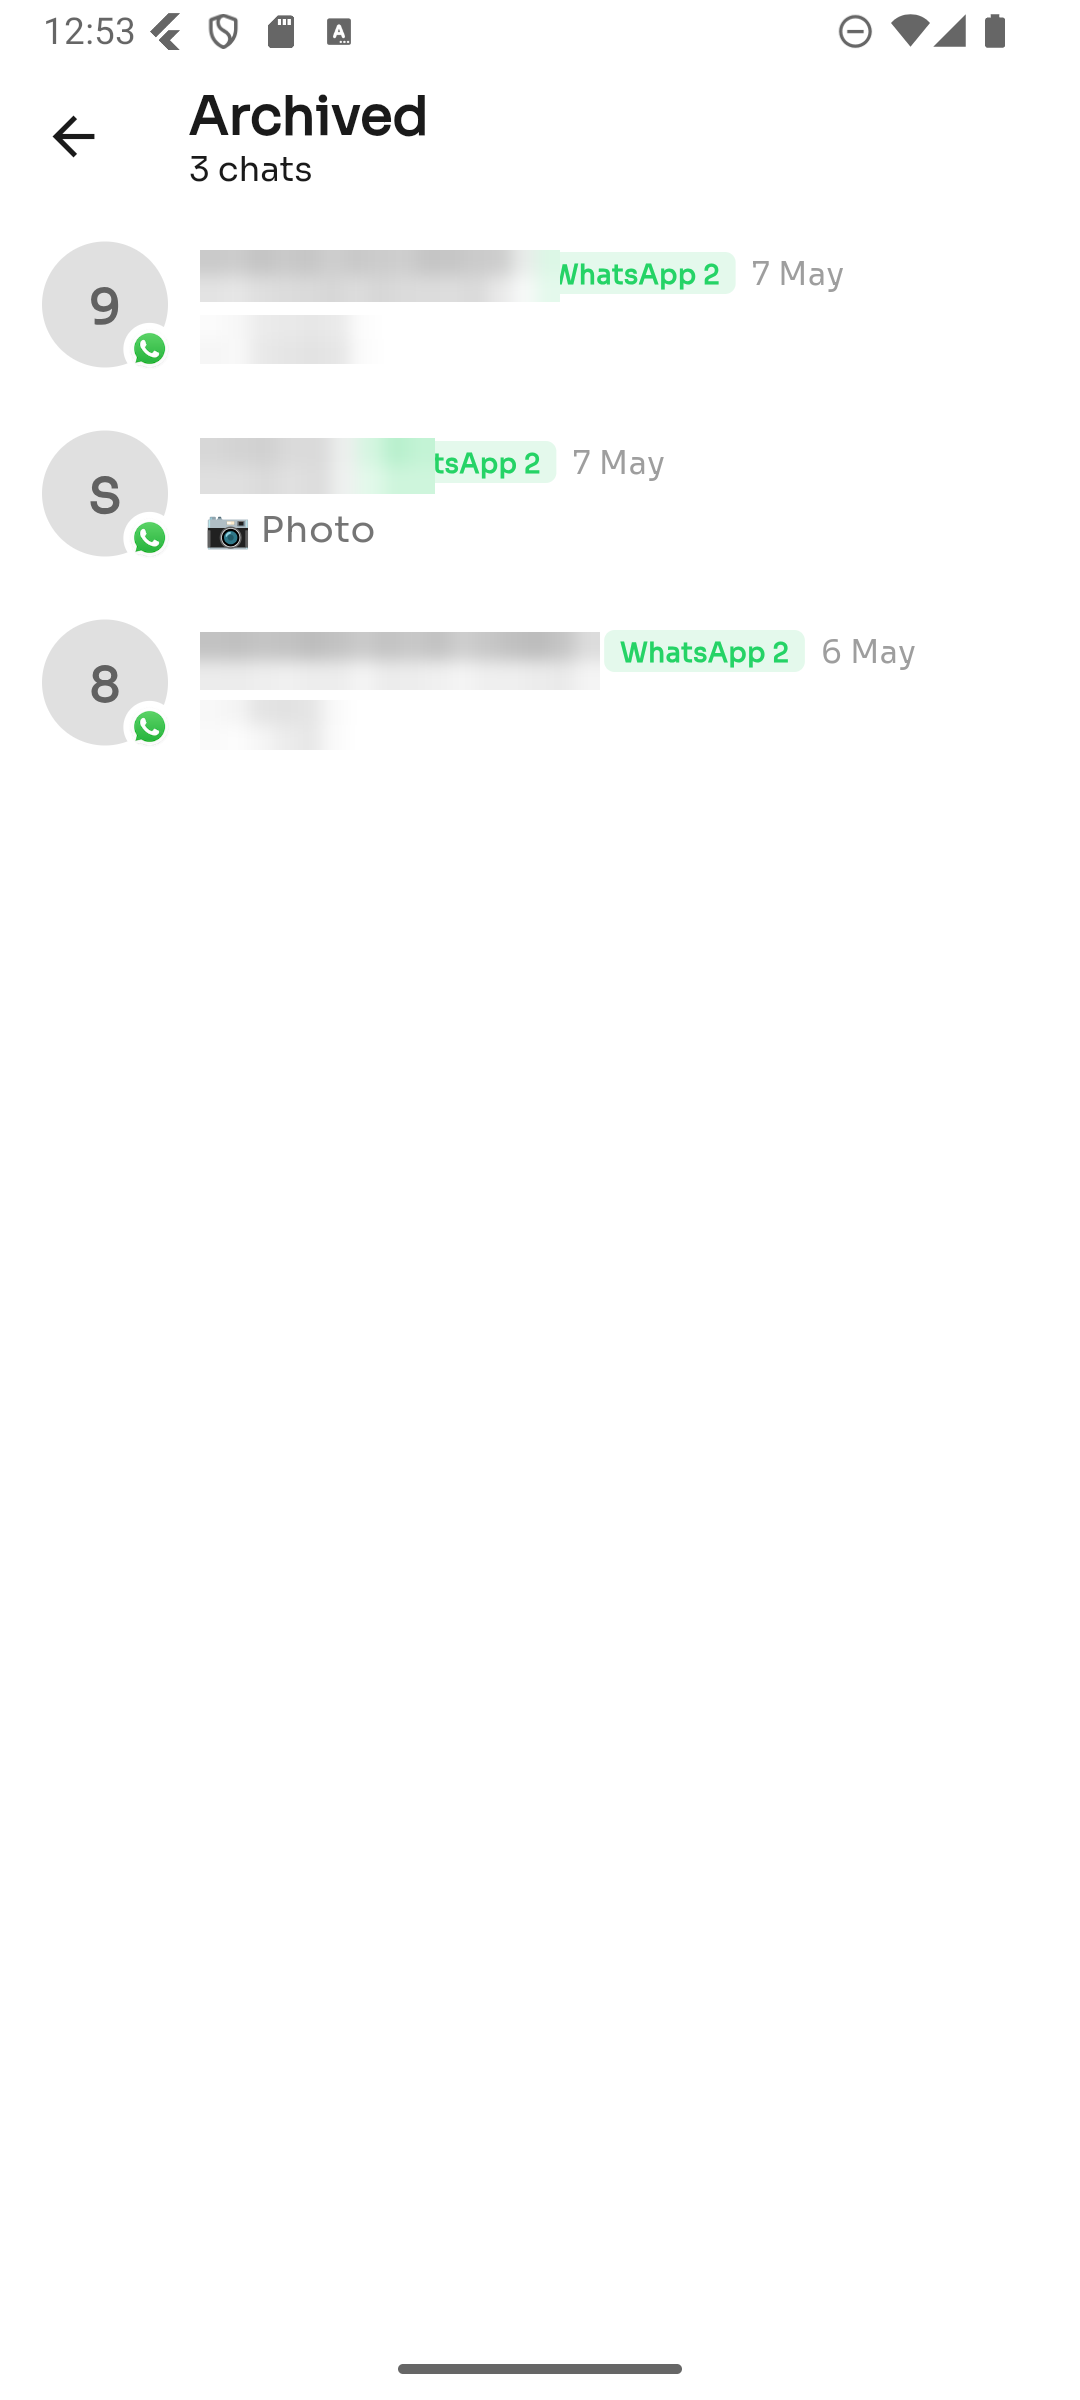
Step 7 — Open archived chats
Archiving hides a conversation without deleting it. Tap Archived near the top of the inbox to see them.
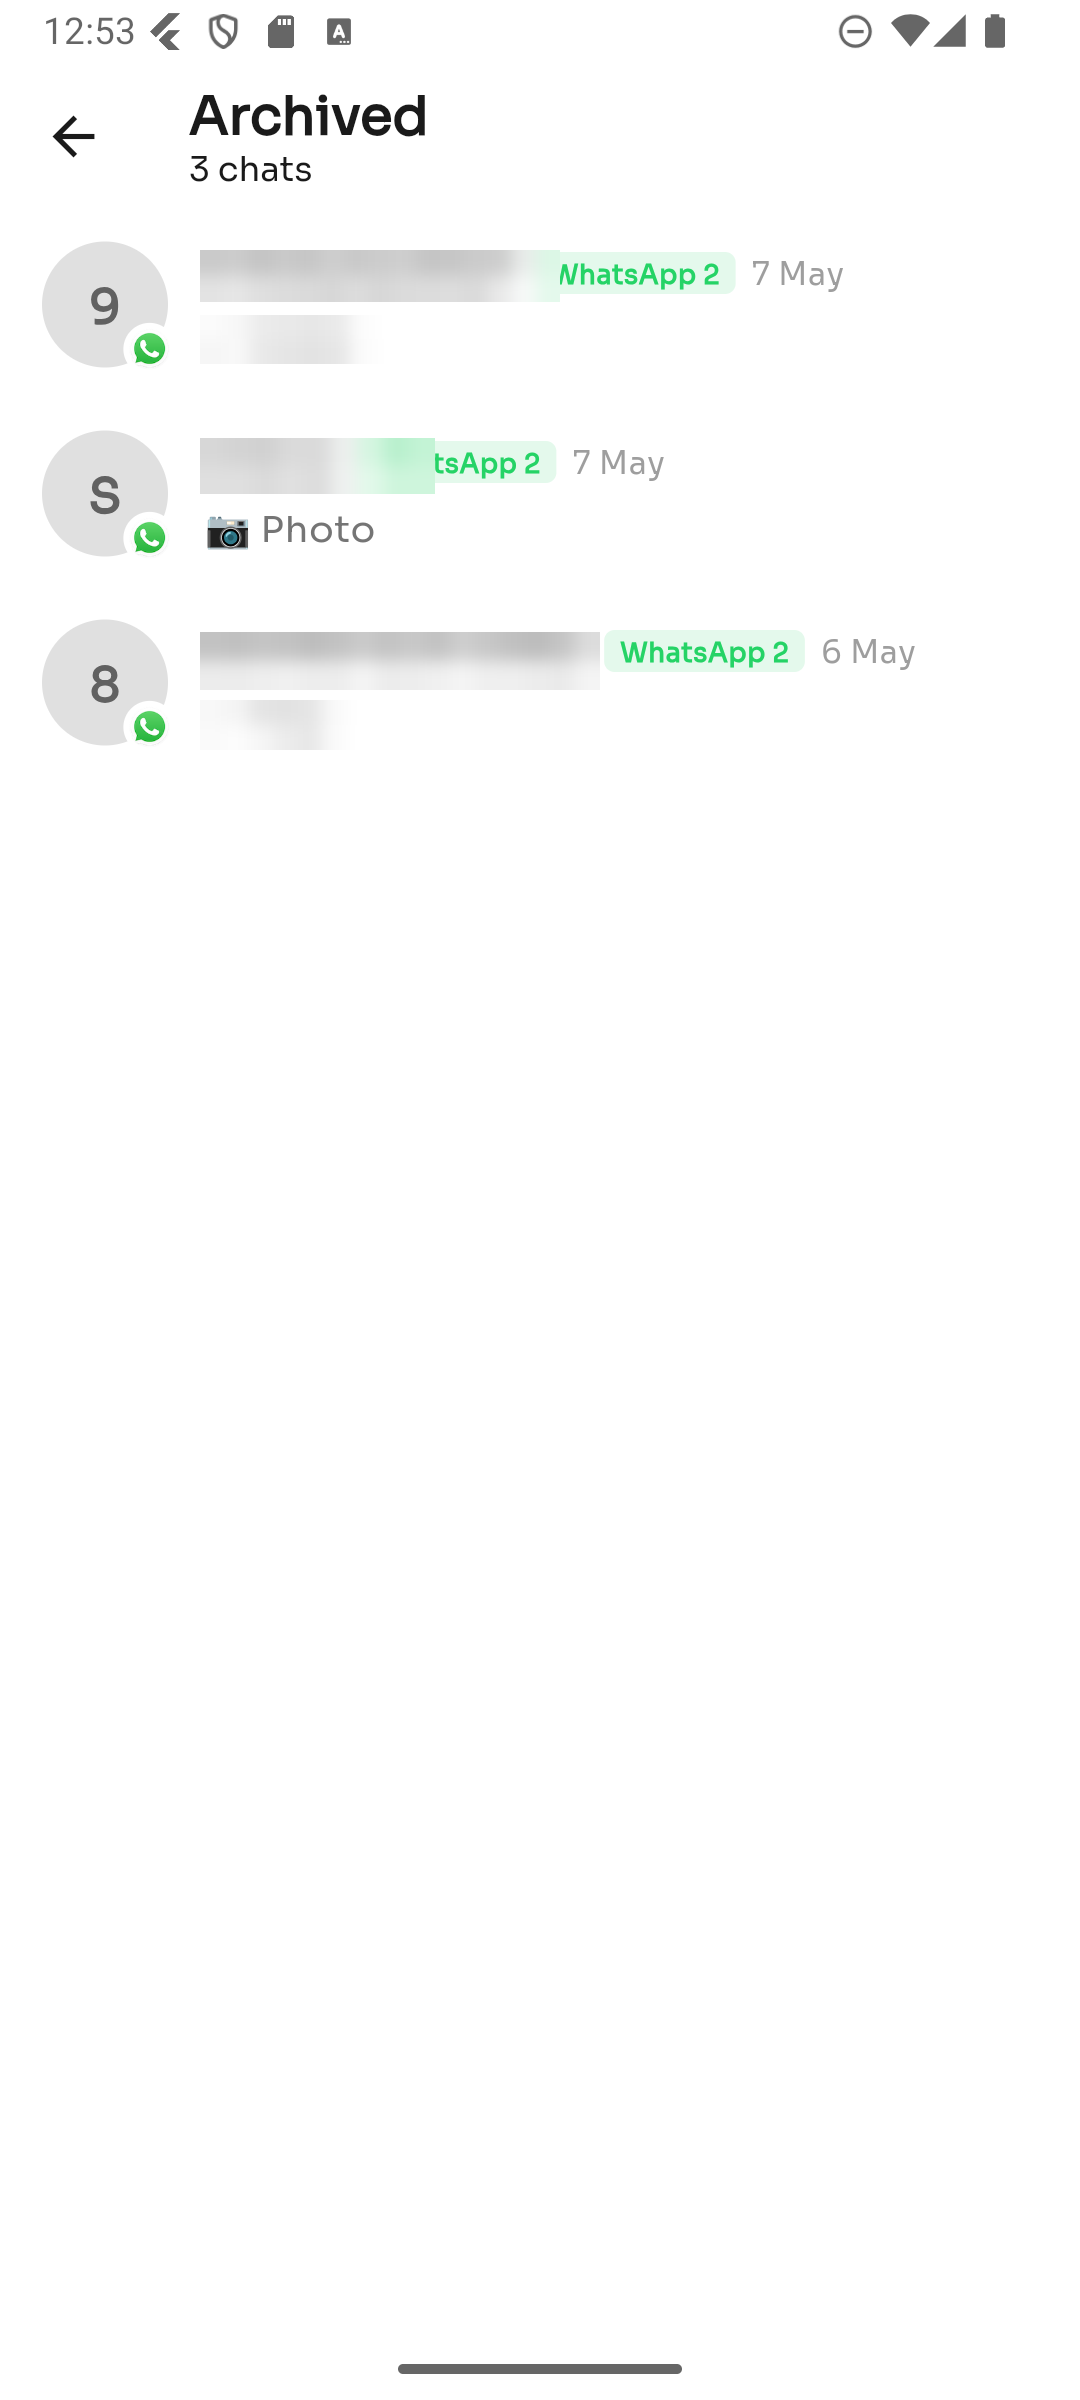
Tap any archived chat to open it, or long-press it to unarchive.
To archive a chat: long-press it in the main inbox and choose Archive.
This guide covers replying inside a conversation — text, photos, files, voice notes, scheduled messages, and internal notes. (In each screenshot, the red box shows where to tap.)
Step 1 — Open a conversation
Tap any chat in your inbox to open it. Messages appear in the middle, with the message box at the bottom.
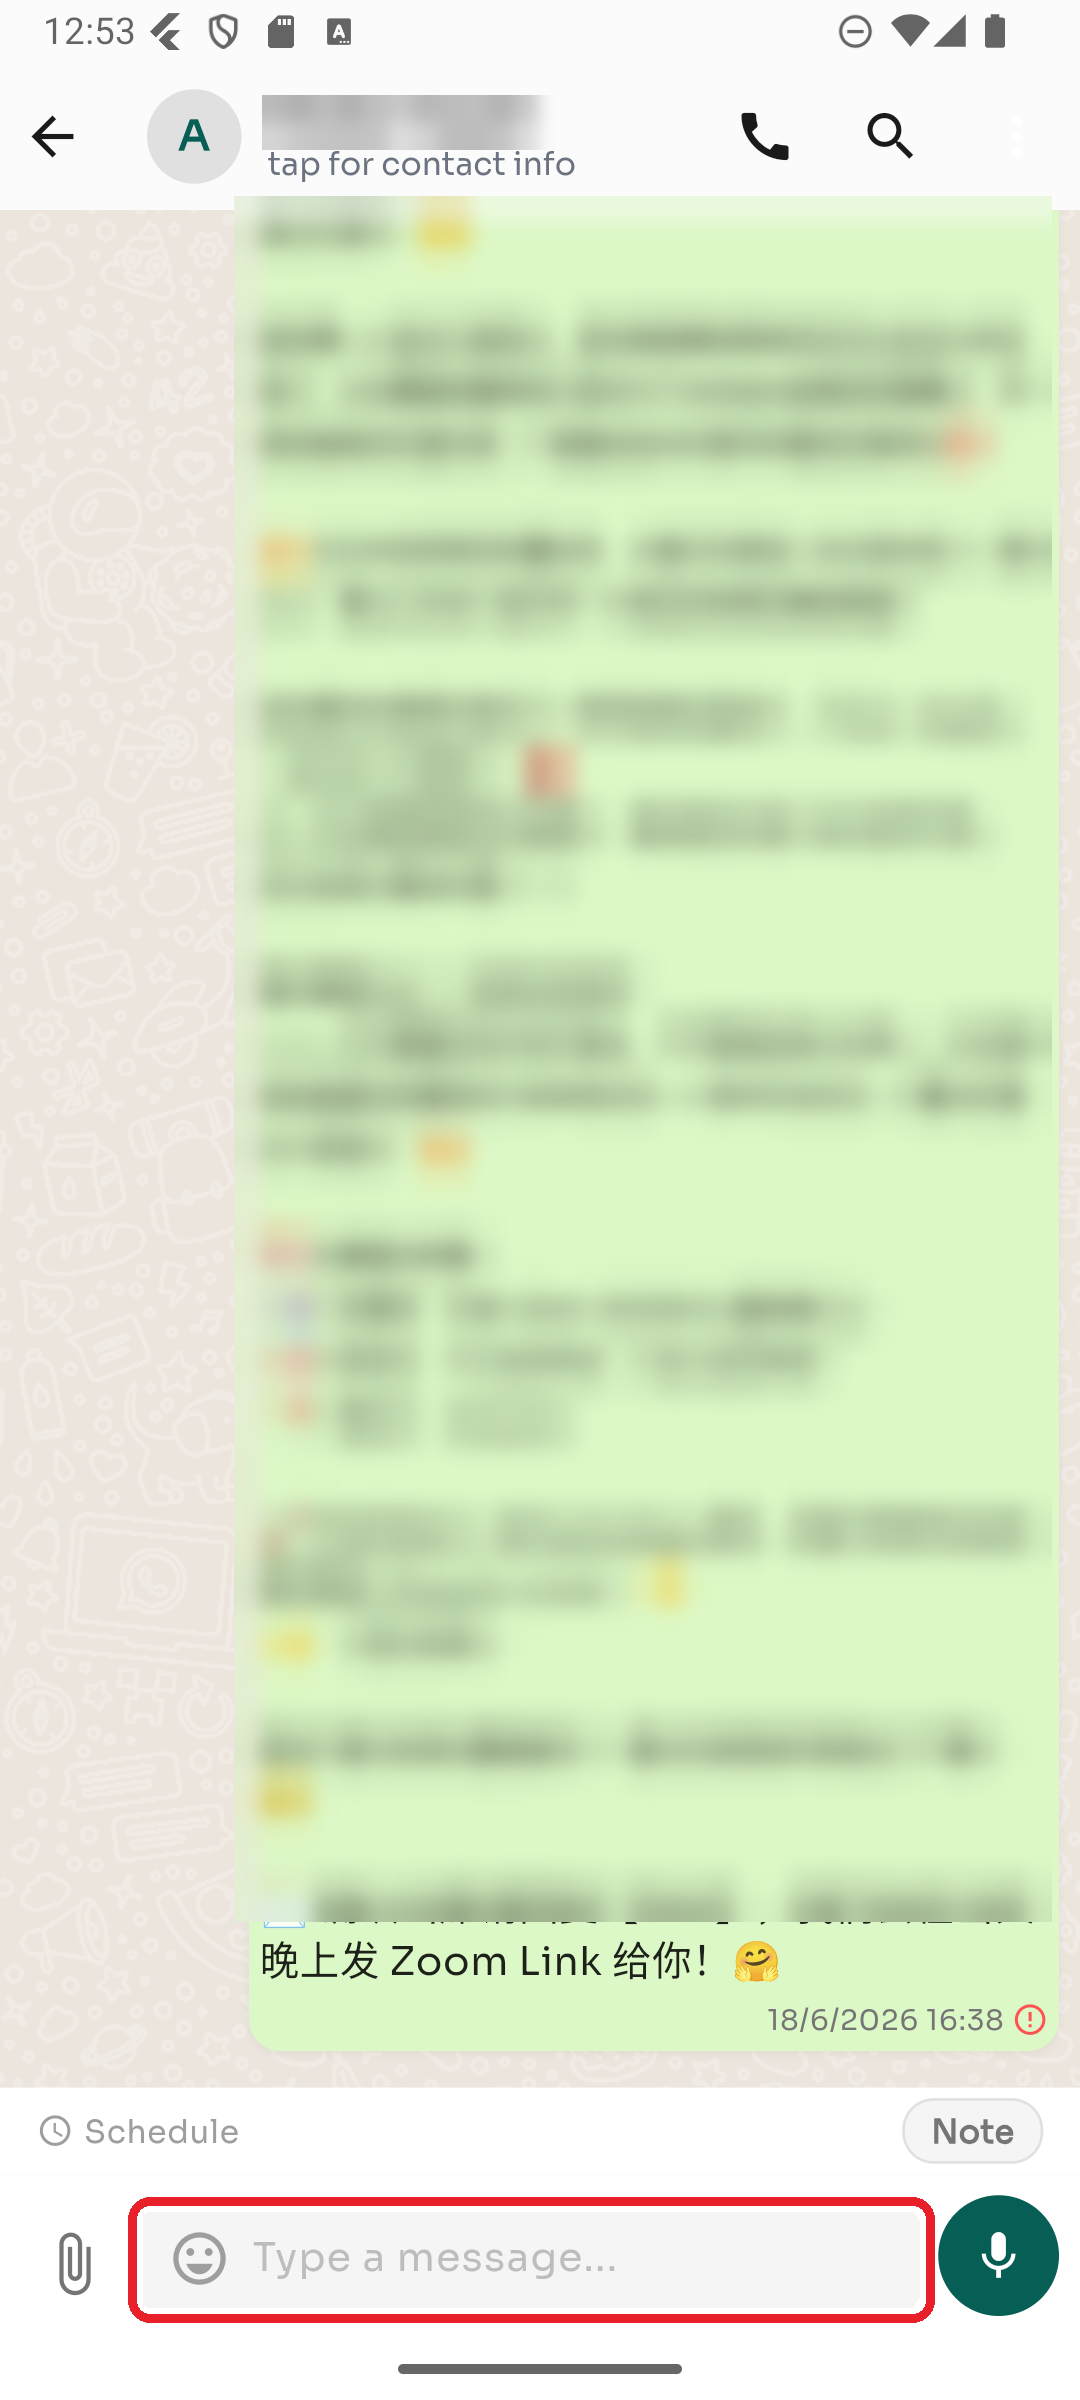
Step 2 — Send a text message
Tap the "Type a message…" box, type your message, and tap the Send button on the right.
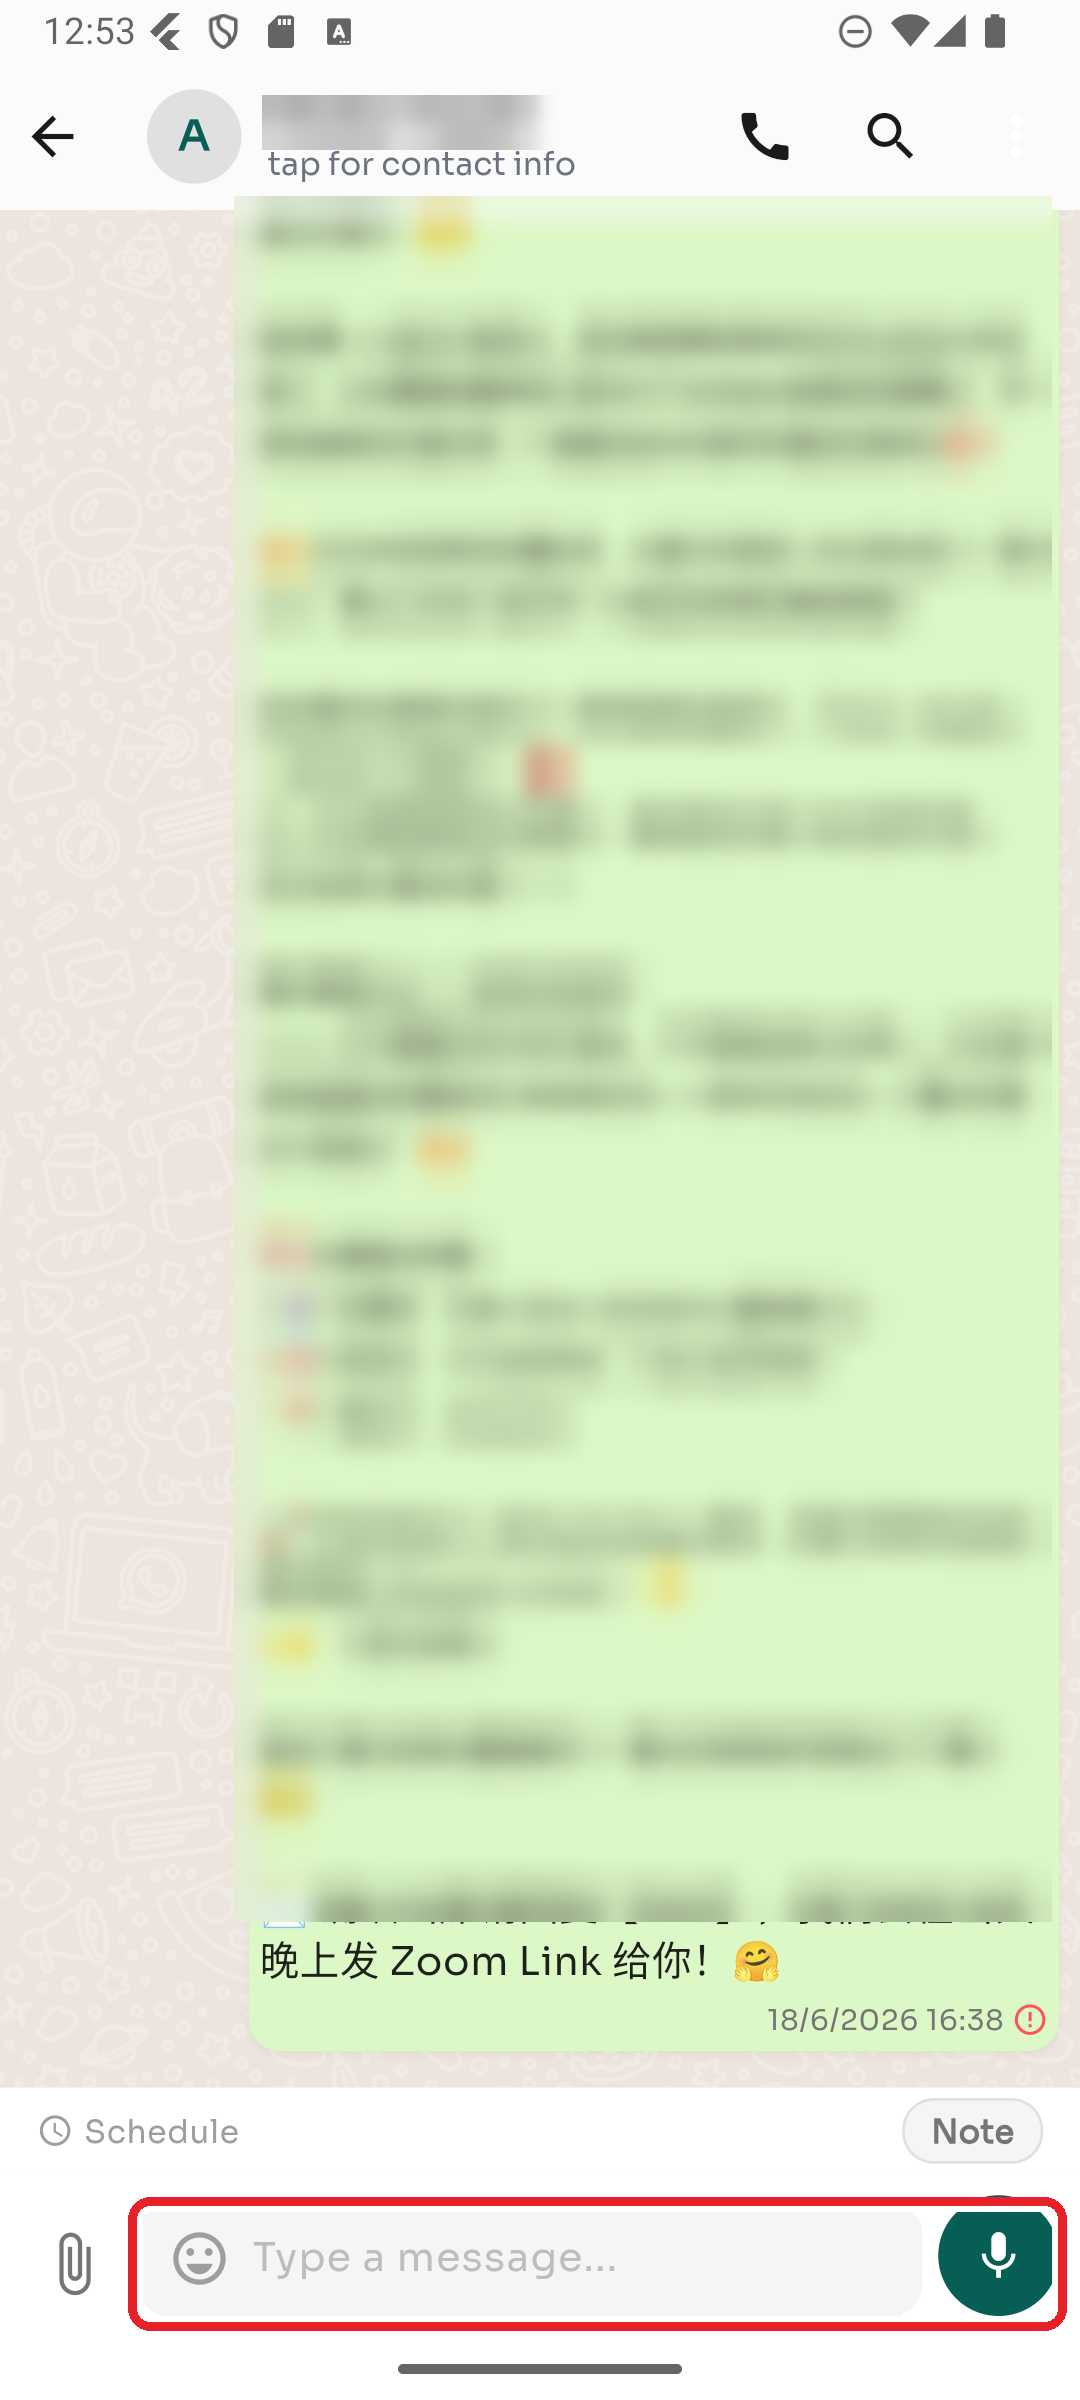
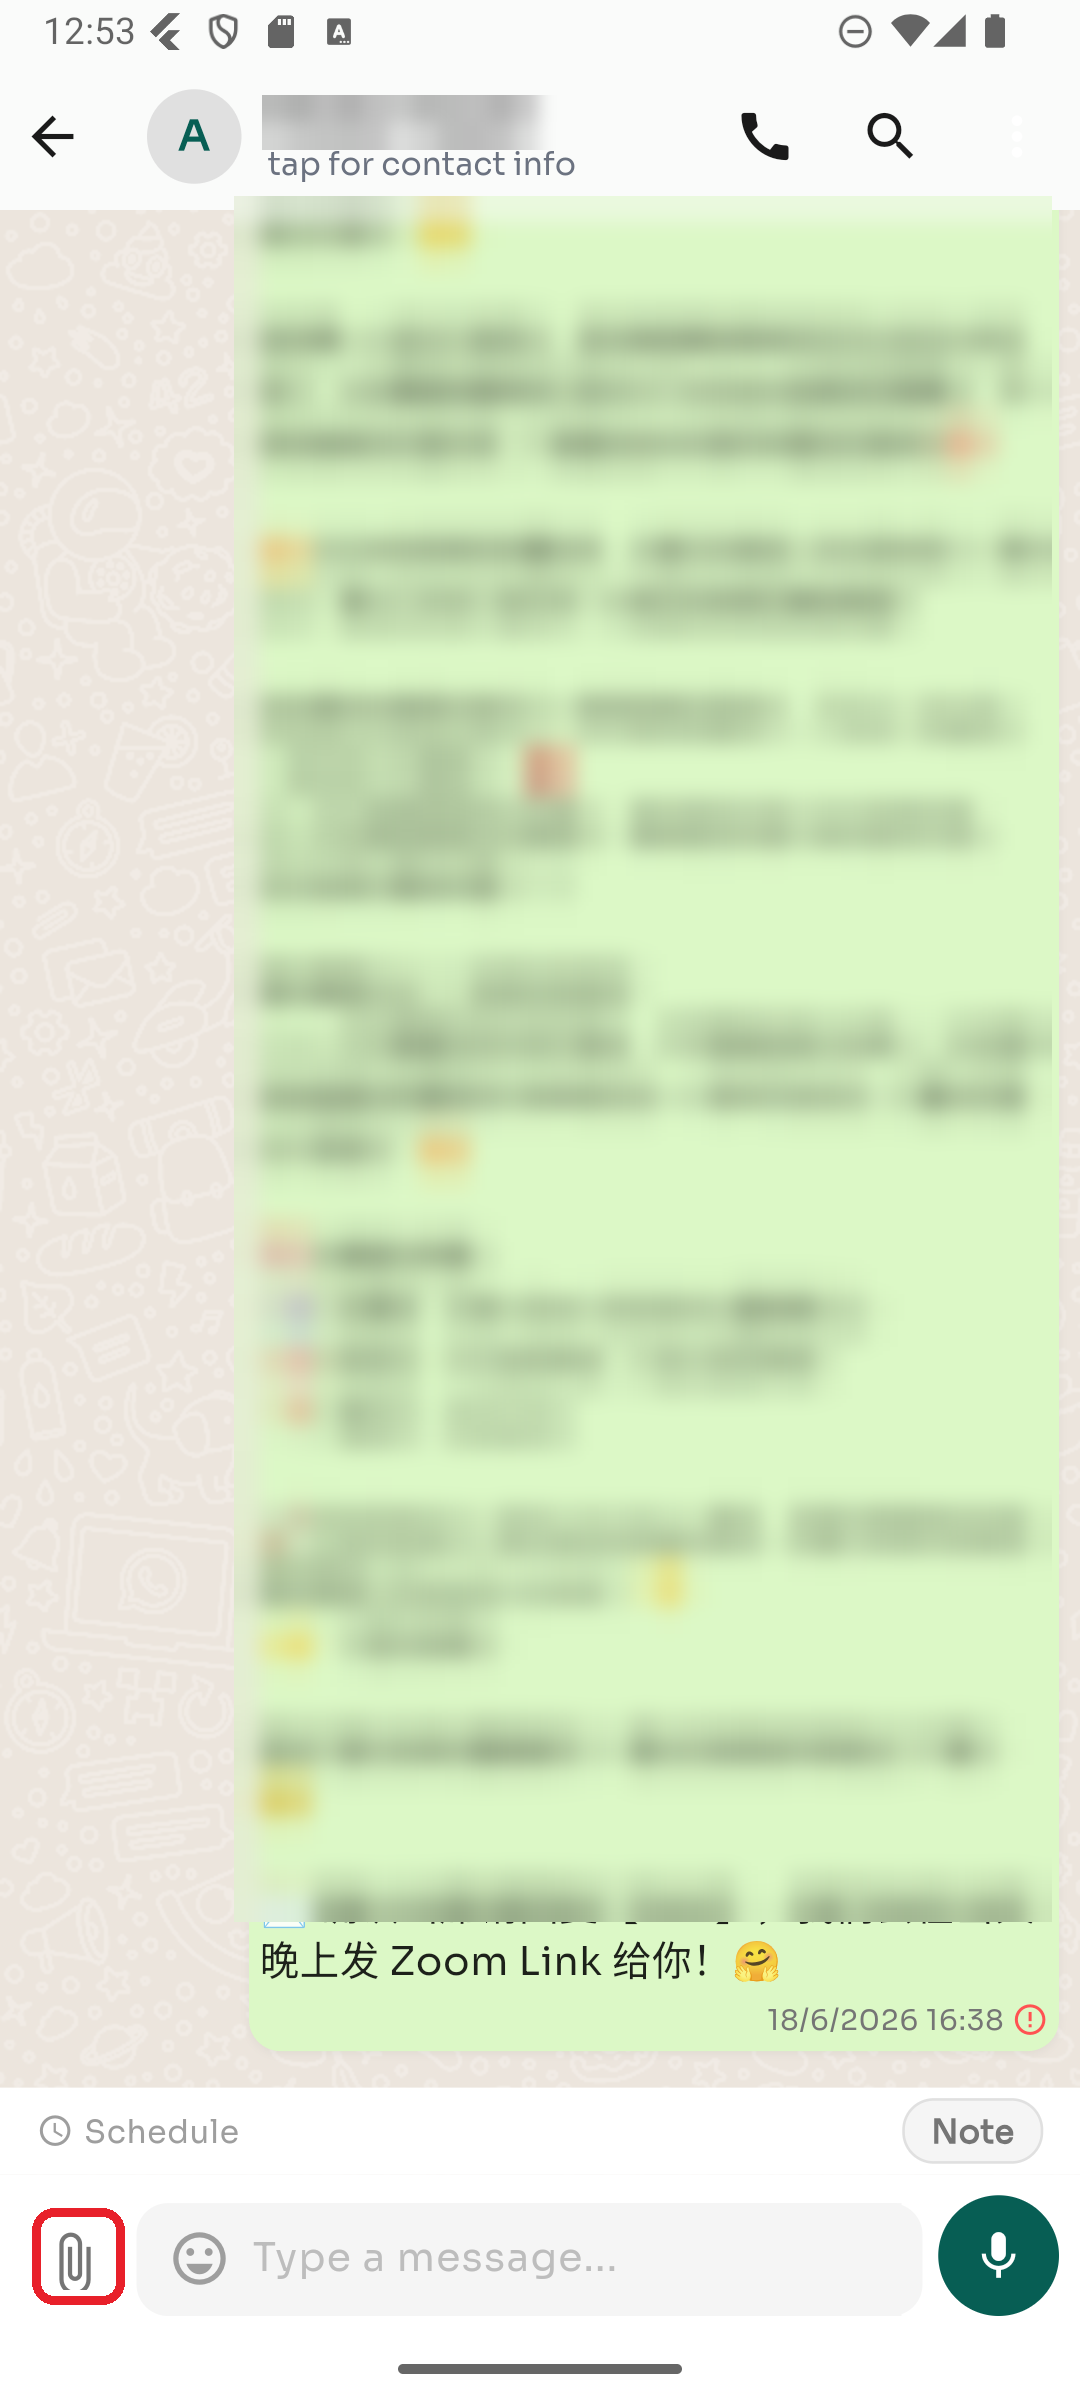
Step 3 — Send a photo, file, or more
Tap the 📎 paperclip icon to the left of the message box.
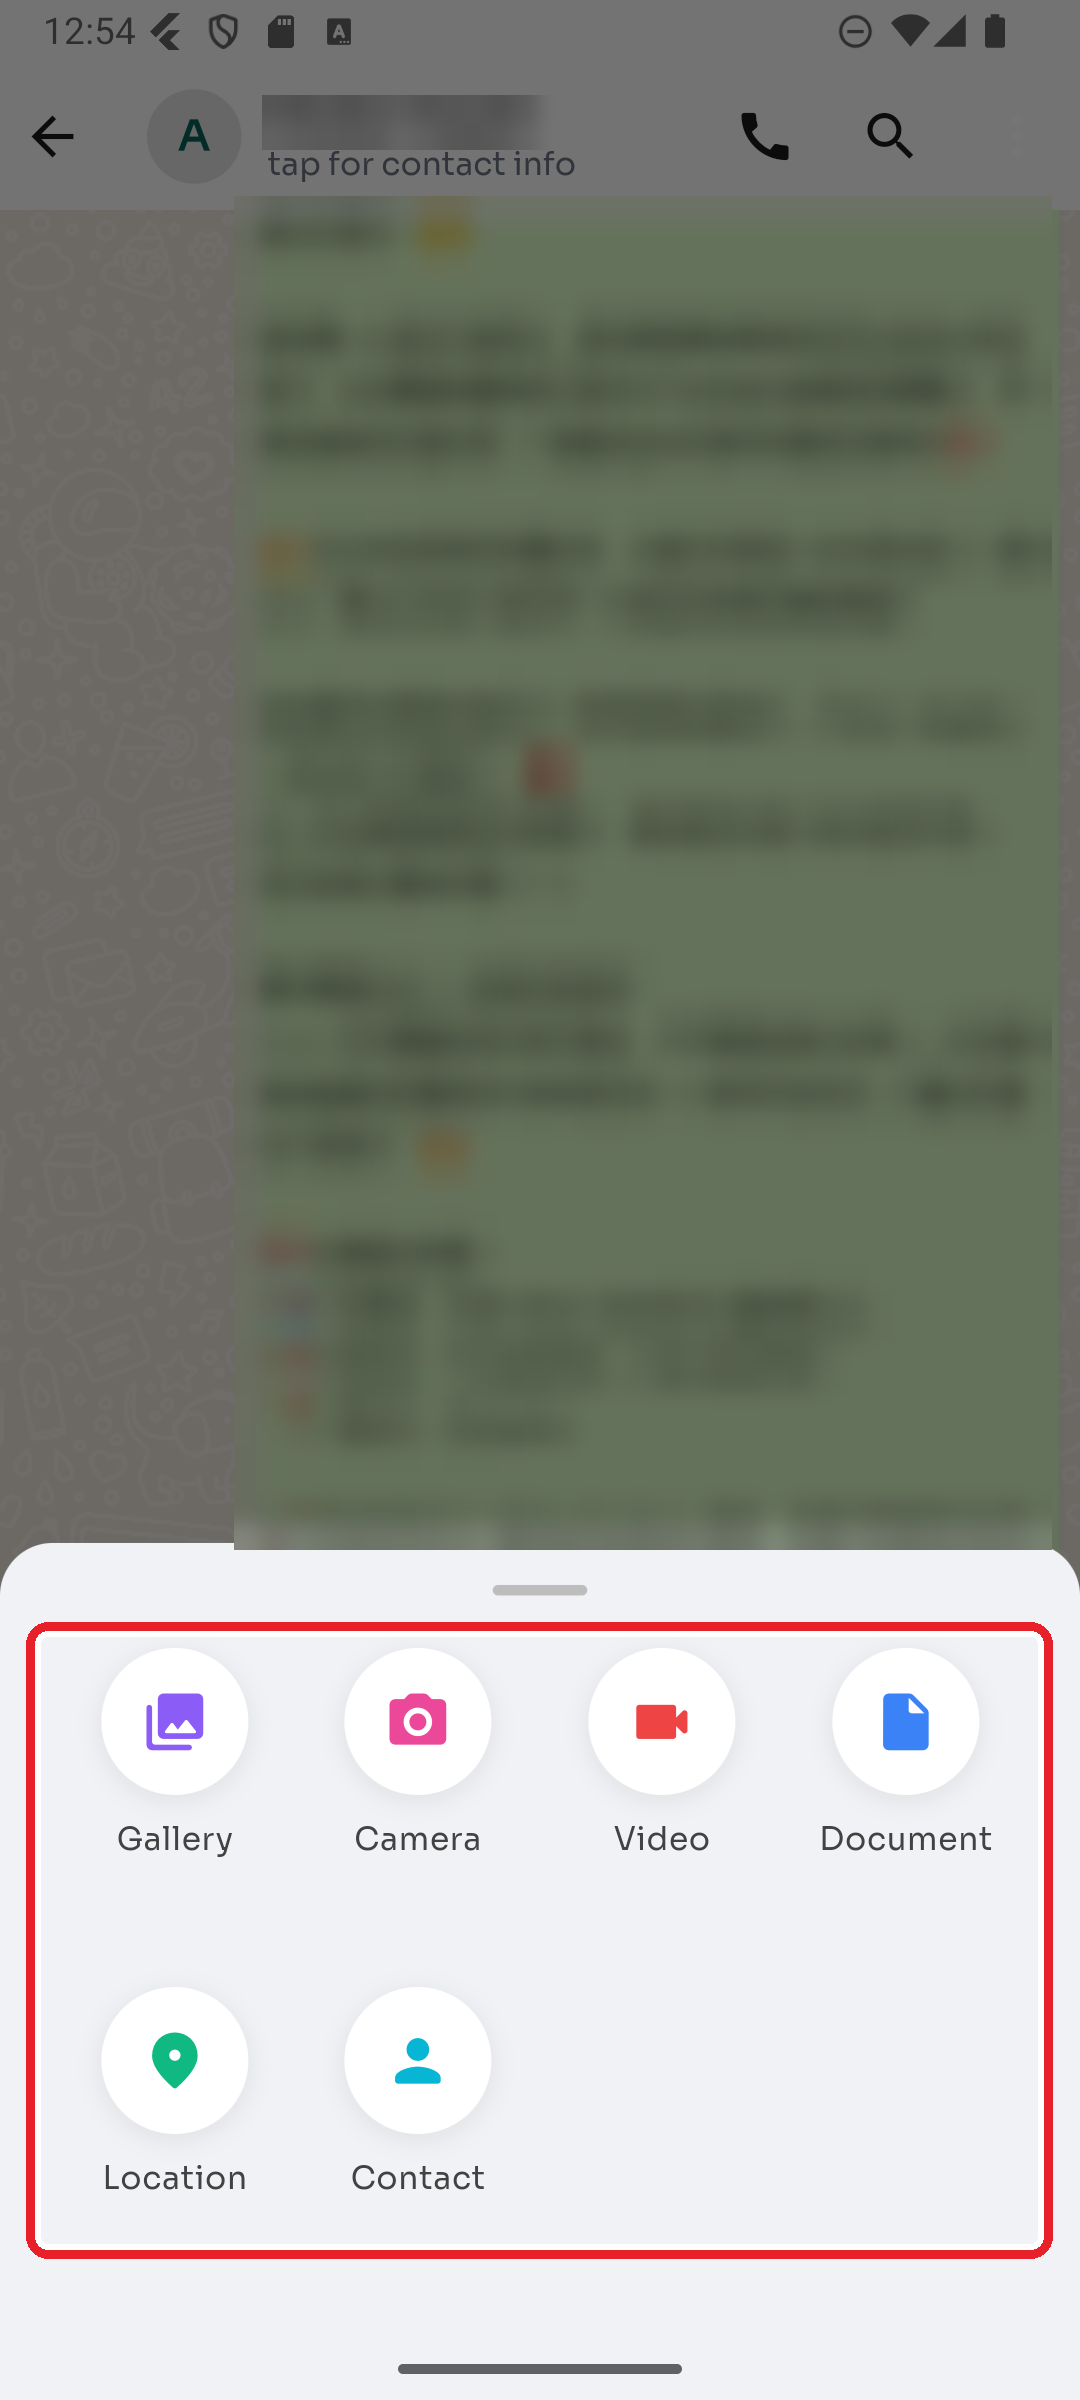
Then choose what to send — Gallery, Camera, Video, Document, Location, or Contact.
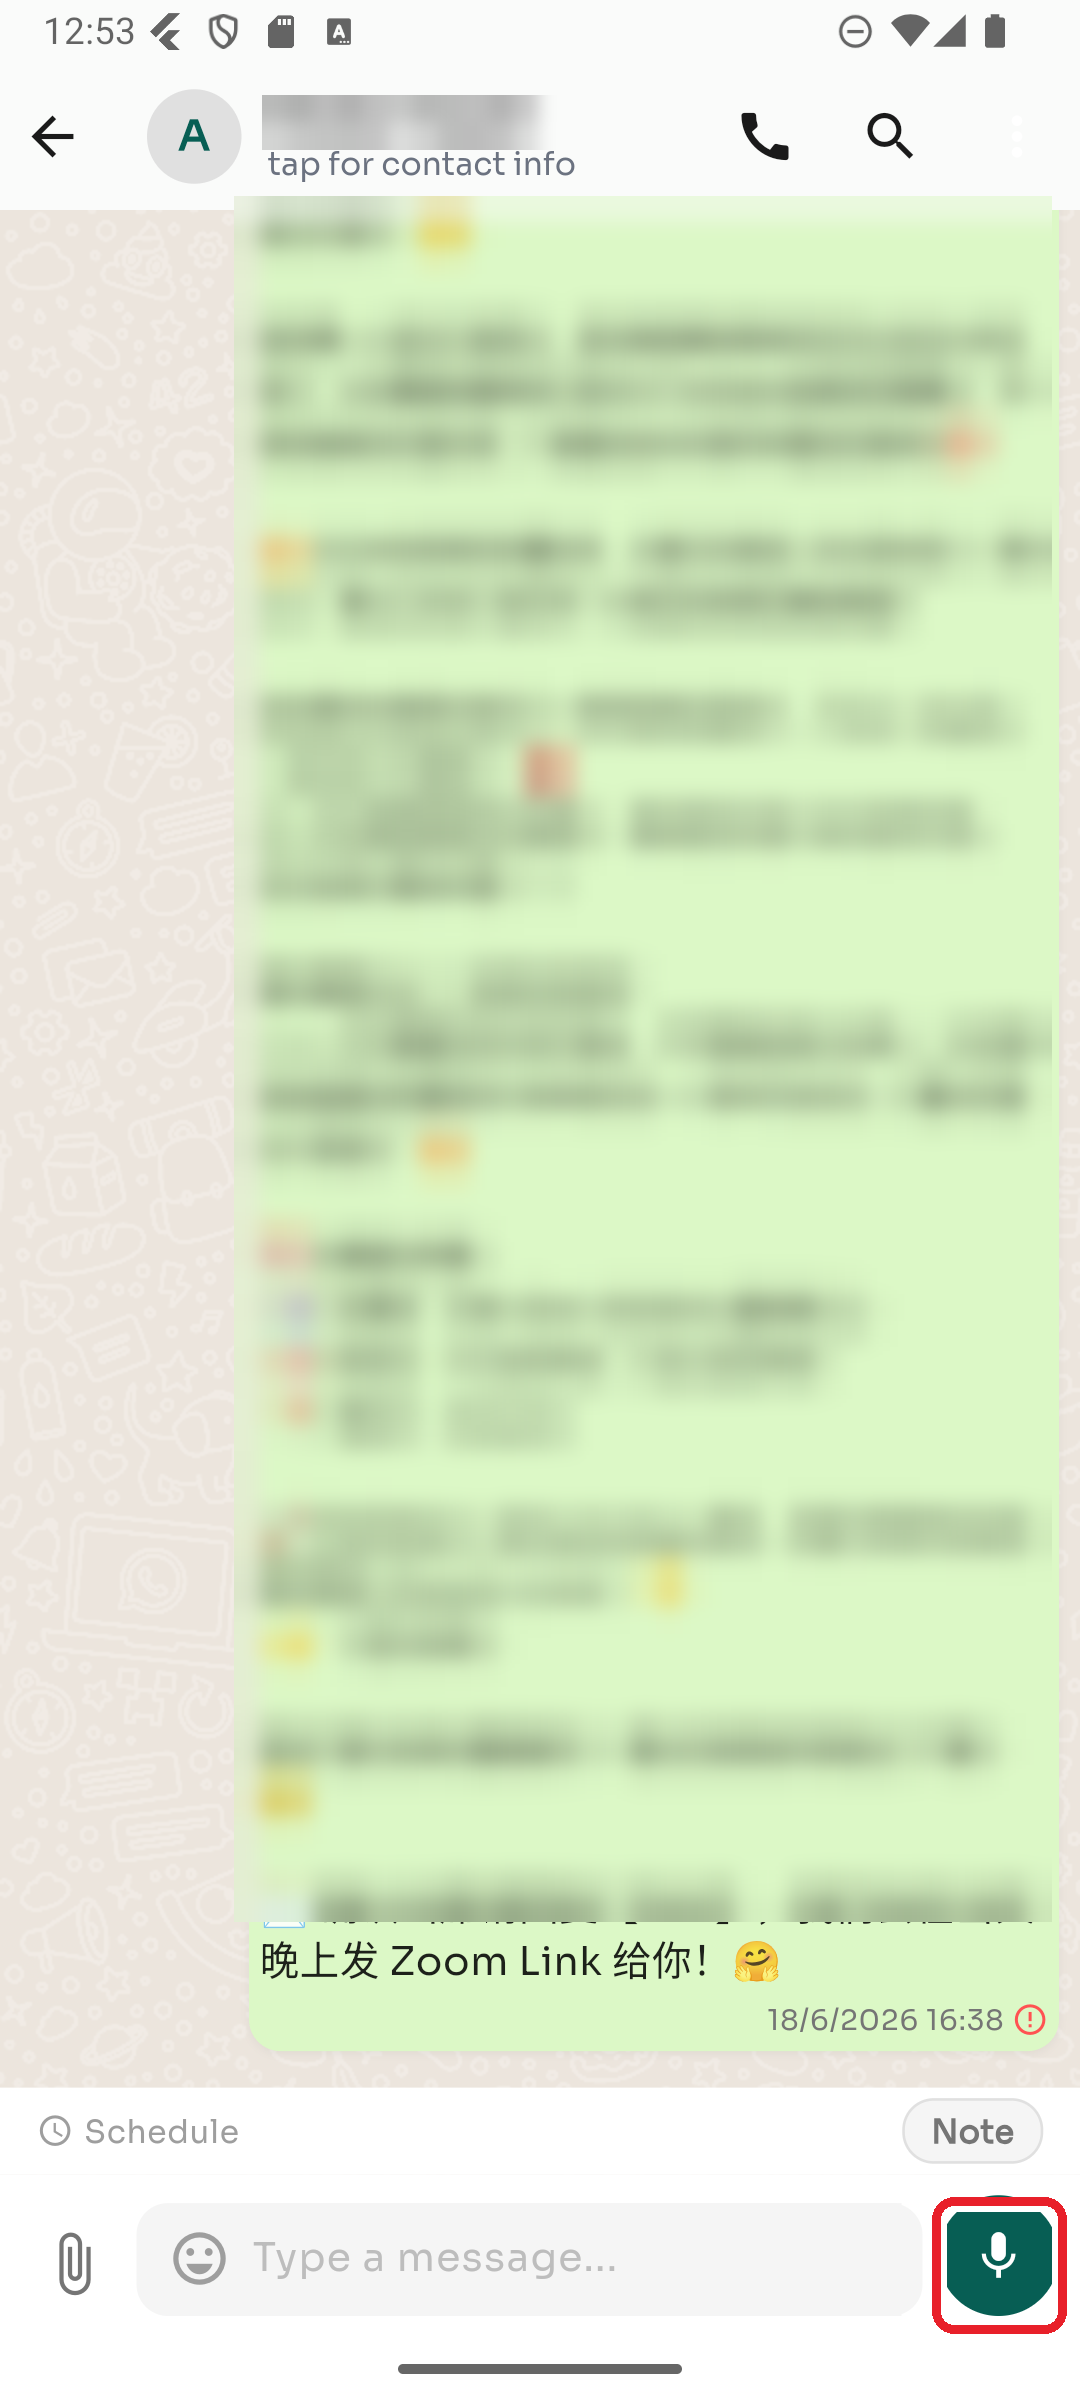
Step 4 — Send a voice message
When the message box is empty, the right-hand button is a 🎤 microphone. Press and hold to record, then release to send. Slide away while holding to cancel.
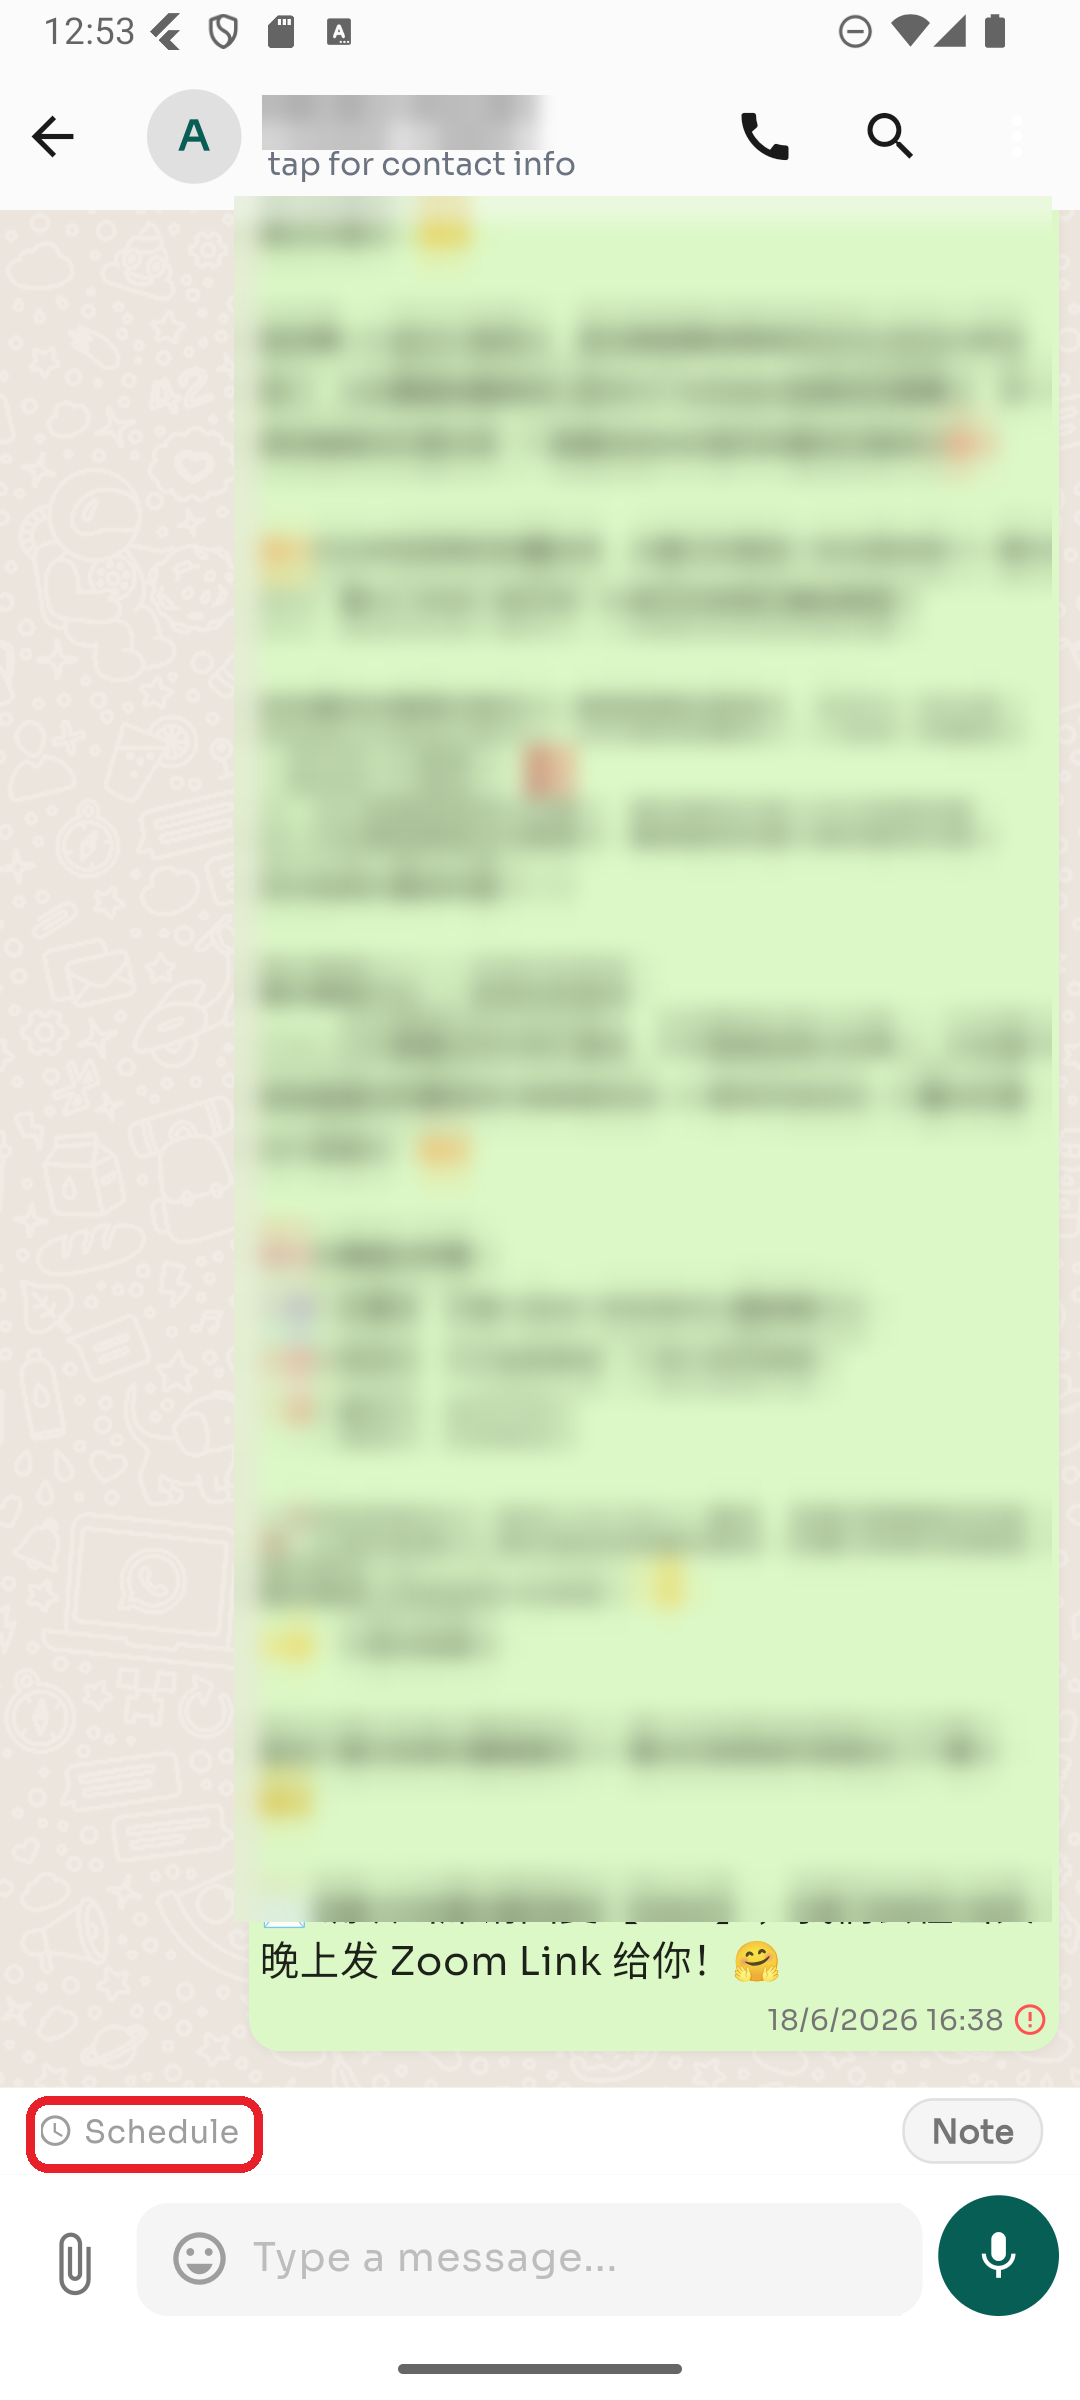
Step 5 — Schedule a message
Tap Schedule above the message box to send a message at a later time. Pick the date and time, type your message, and it sends automatically.
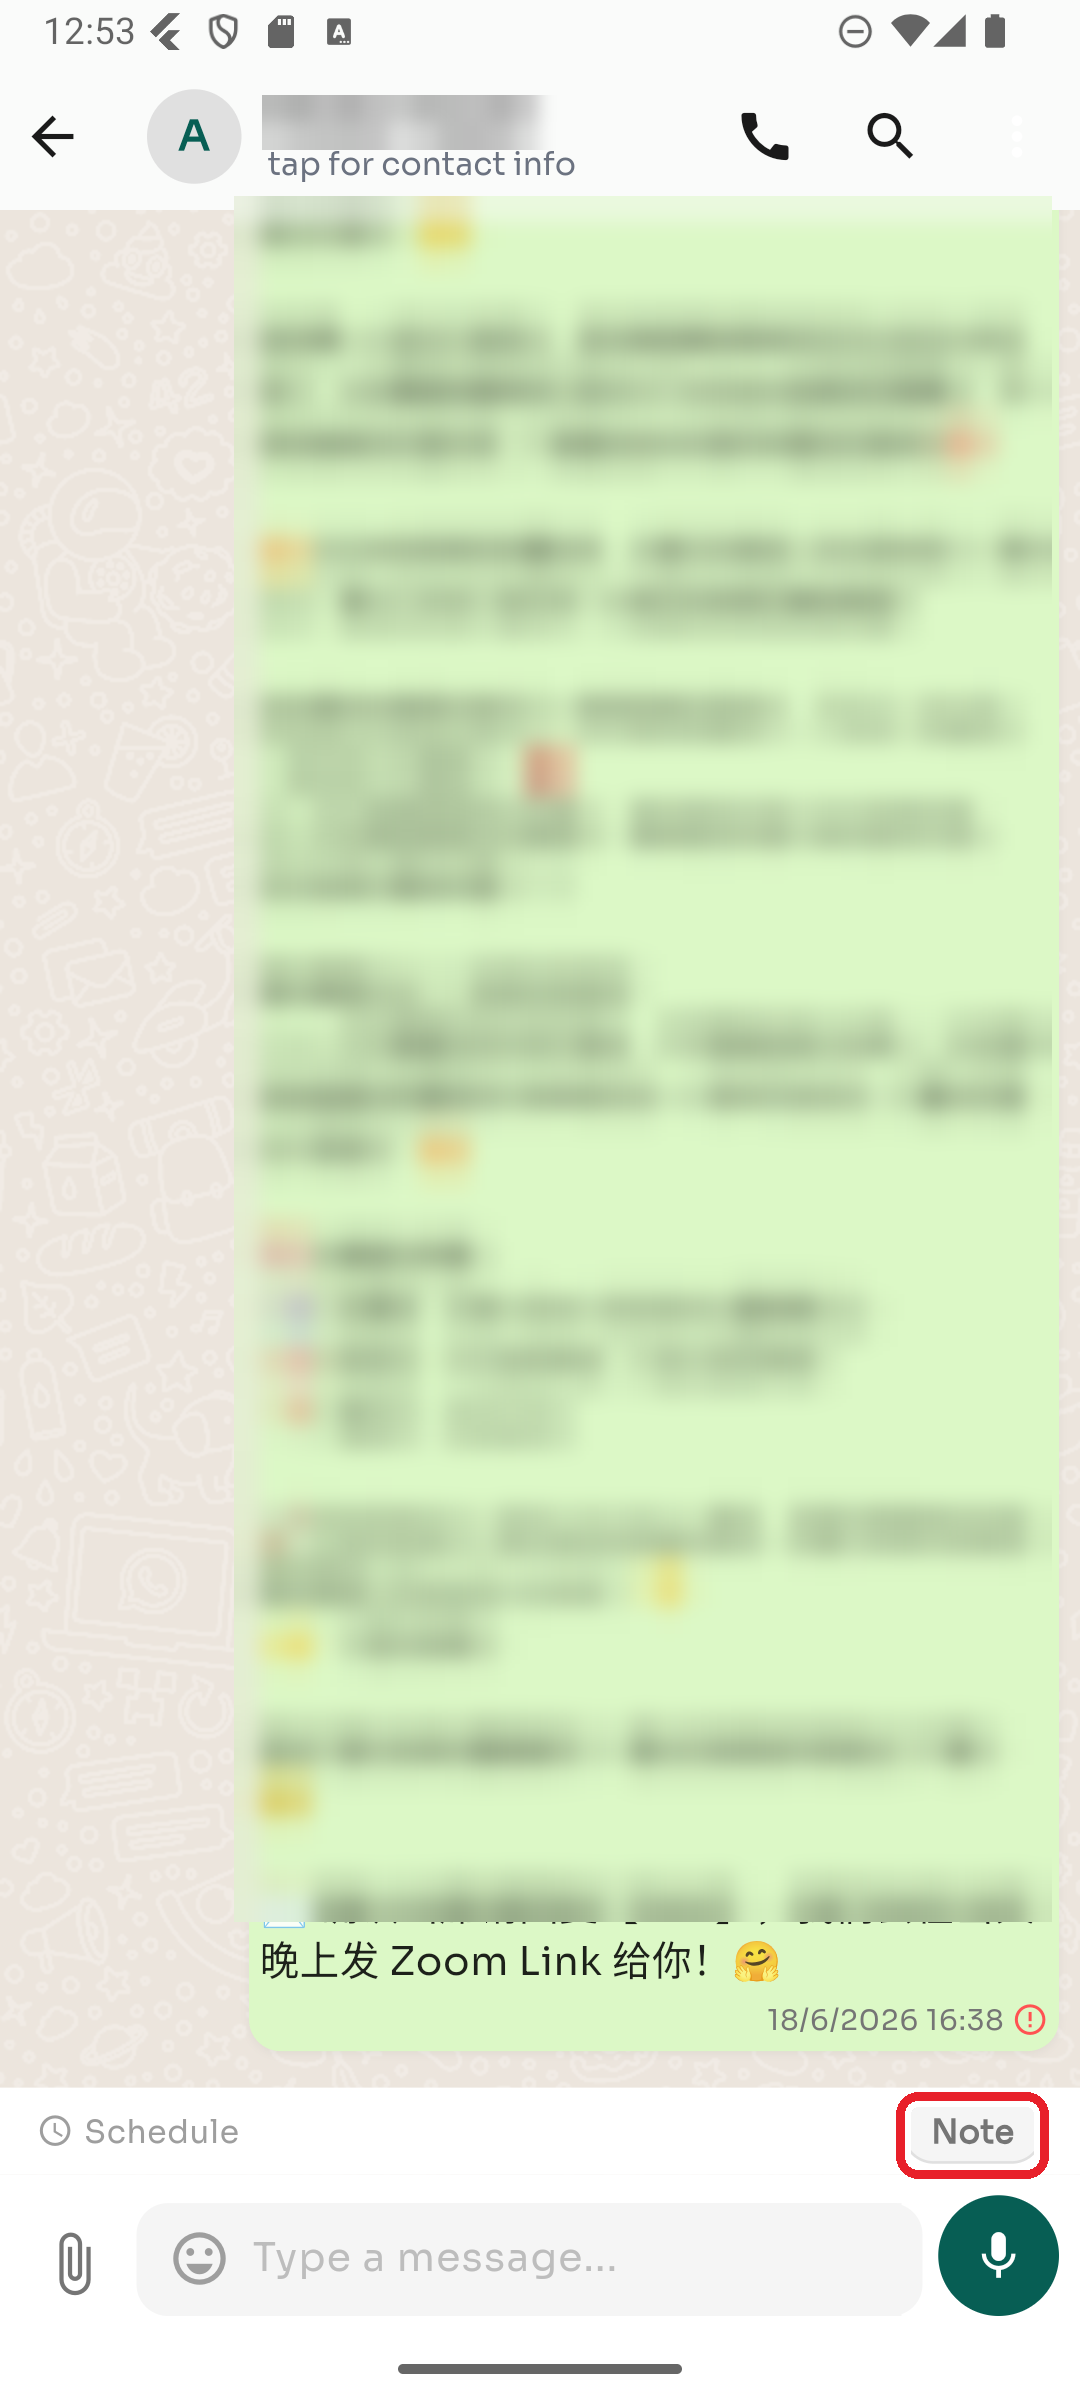
Step 6 — Add an internal note
Tap the Note button to switch to note mode. Notes are private to your team — the customer never sees them. Tap Note again to switch back to normal messaging.
Tips & good to know
- Long-press any message for actions like reply, copy, delete, and emoji reactions.
- Typing
/opens the automations list — see the Automations guide. - Message ticks: one check = sent, double check = delivered, blue double check = read. A clock icon means scheduled or still sending. The Contact Info screen lets you organize a contact with tags, assign it to a teammate, and see messaging stats. This guide walks through it step by step. (In each screenshot, the red box shows where to tap.)
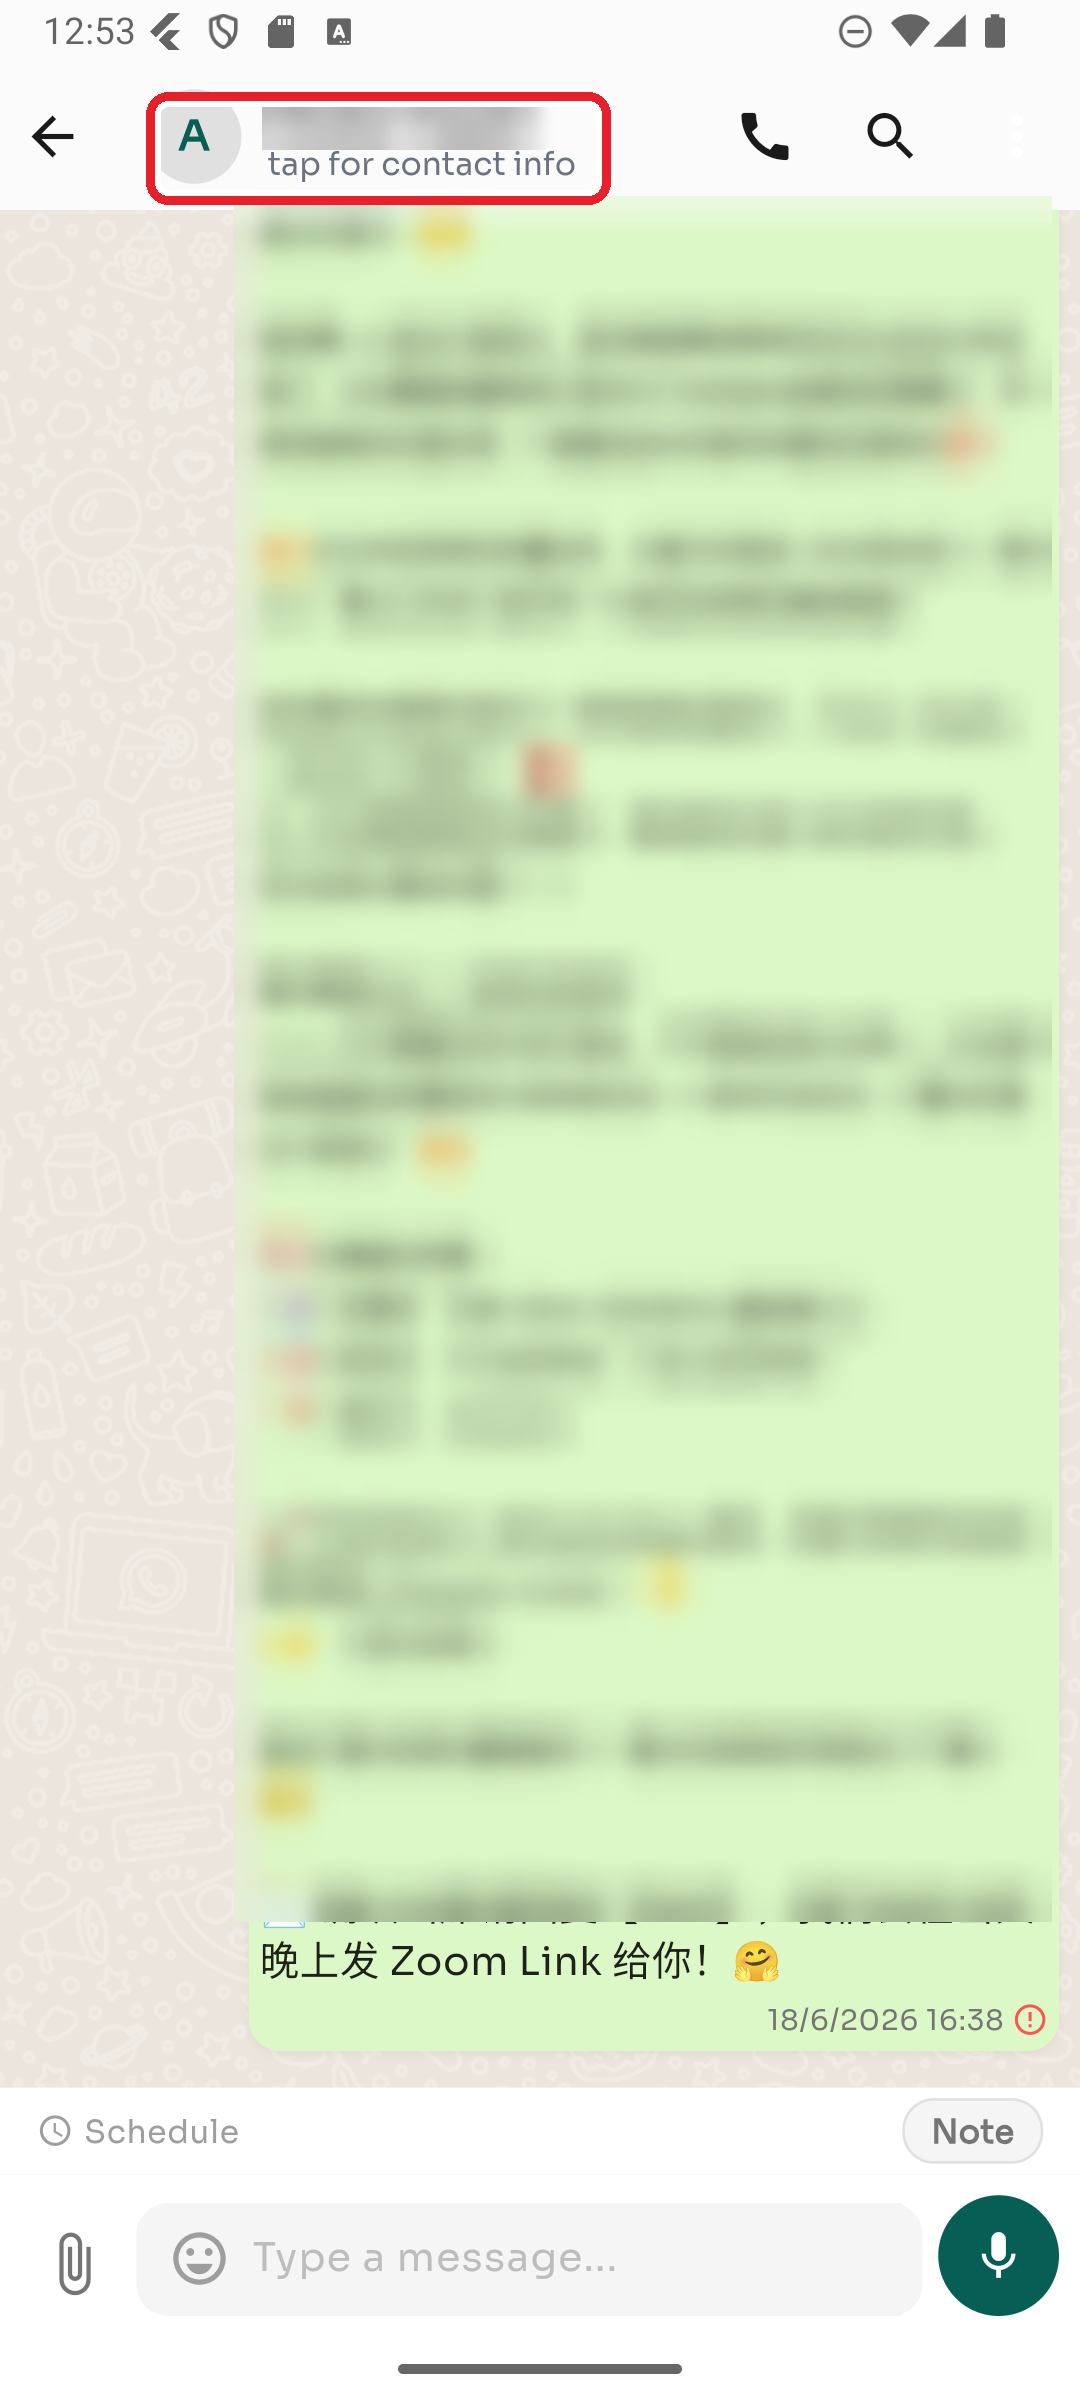
Step 1 — Open Contact Info
Open a conversation, then tap the contact's name at the top of the screen (it says "tap for contact info").
Step 2 — Add a tag
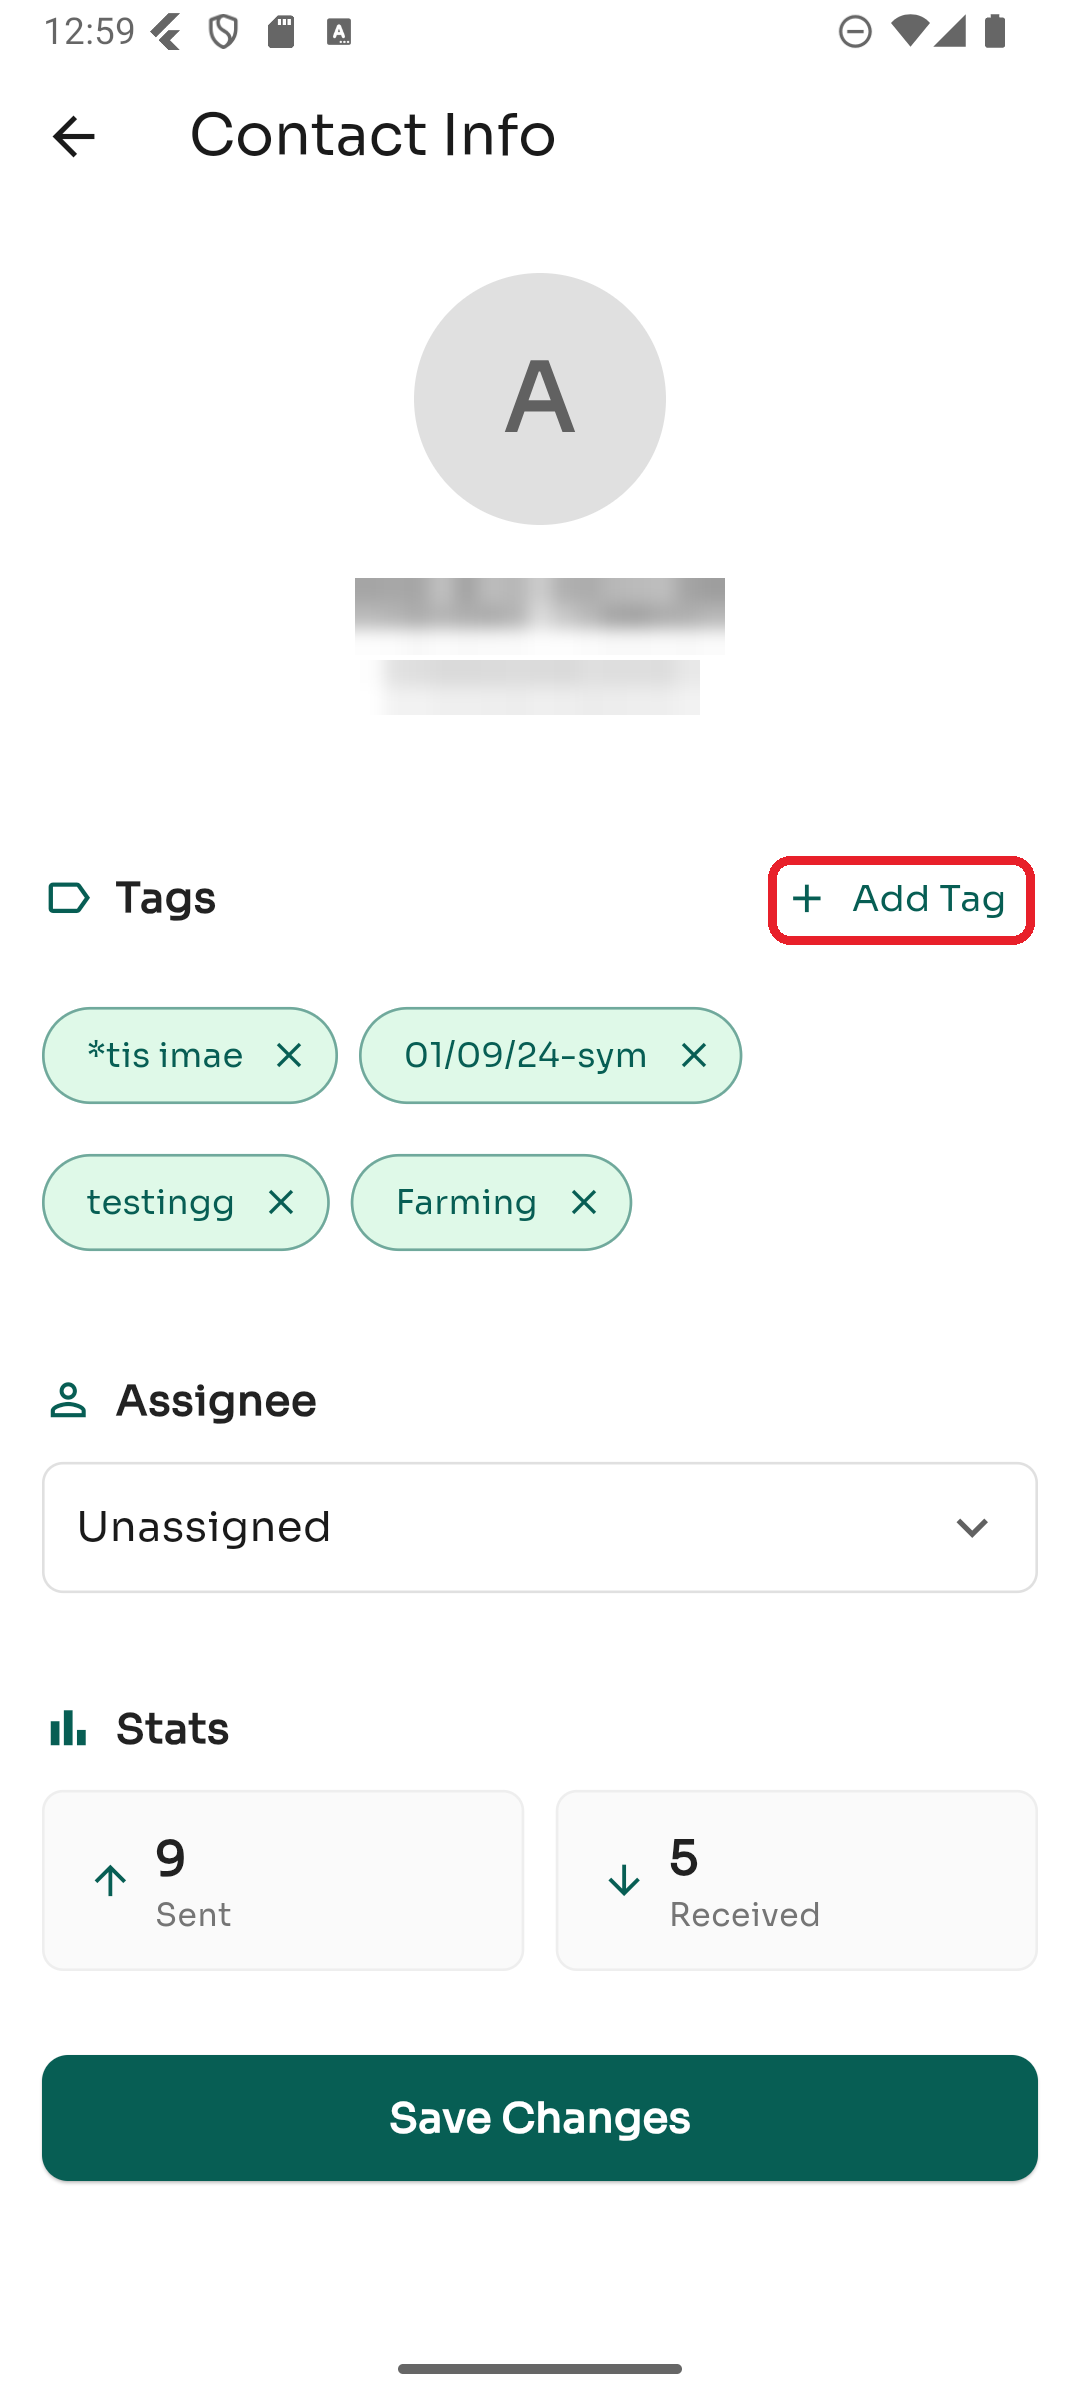
Tags help you categorize contacts (e.g. Lead, VIP, a campaign name). Tap ➕ Add Tag.
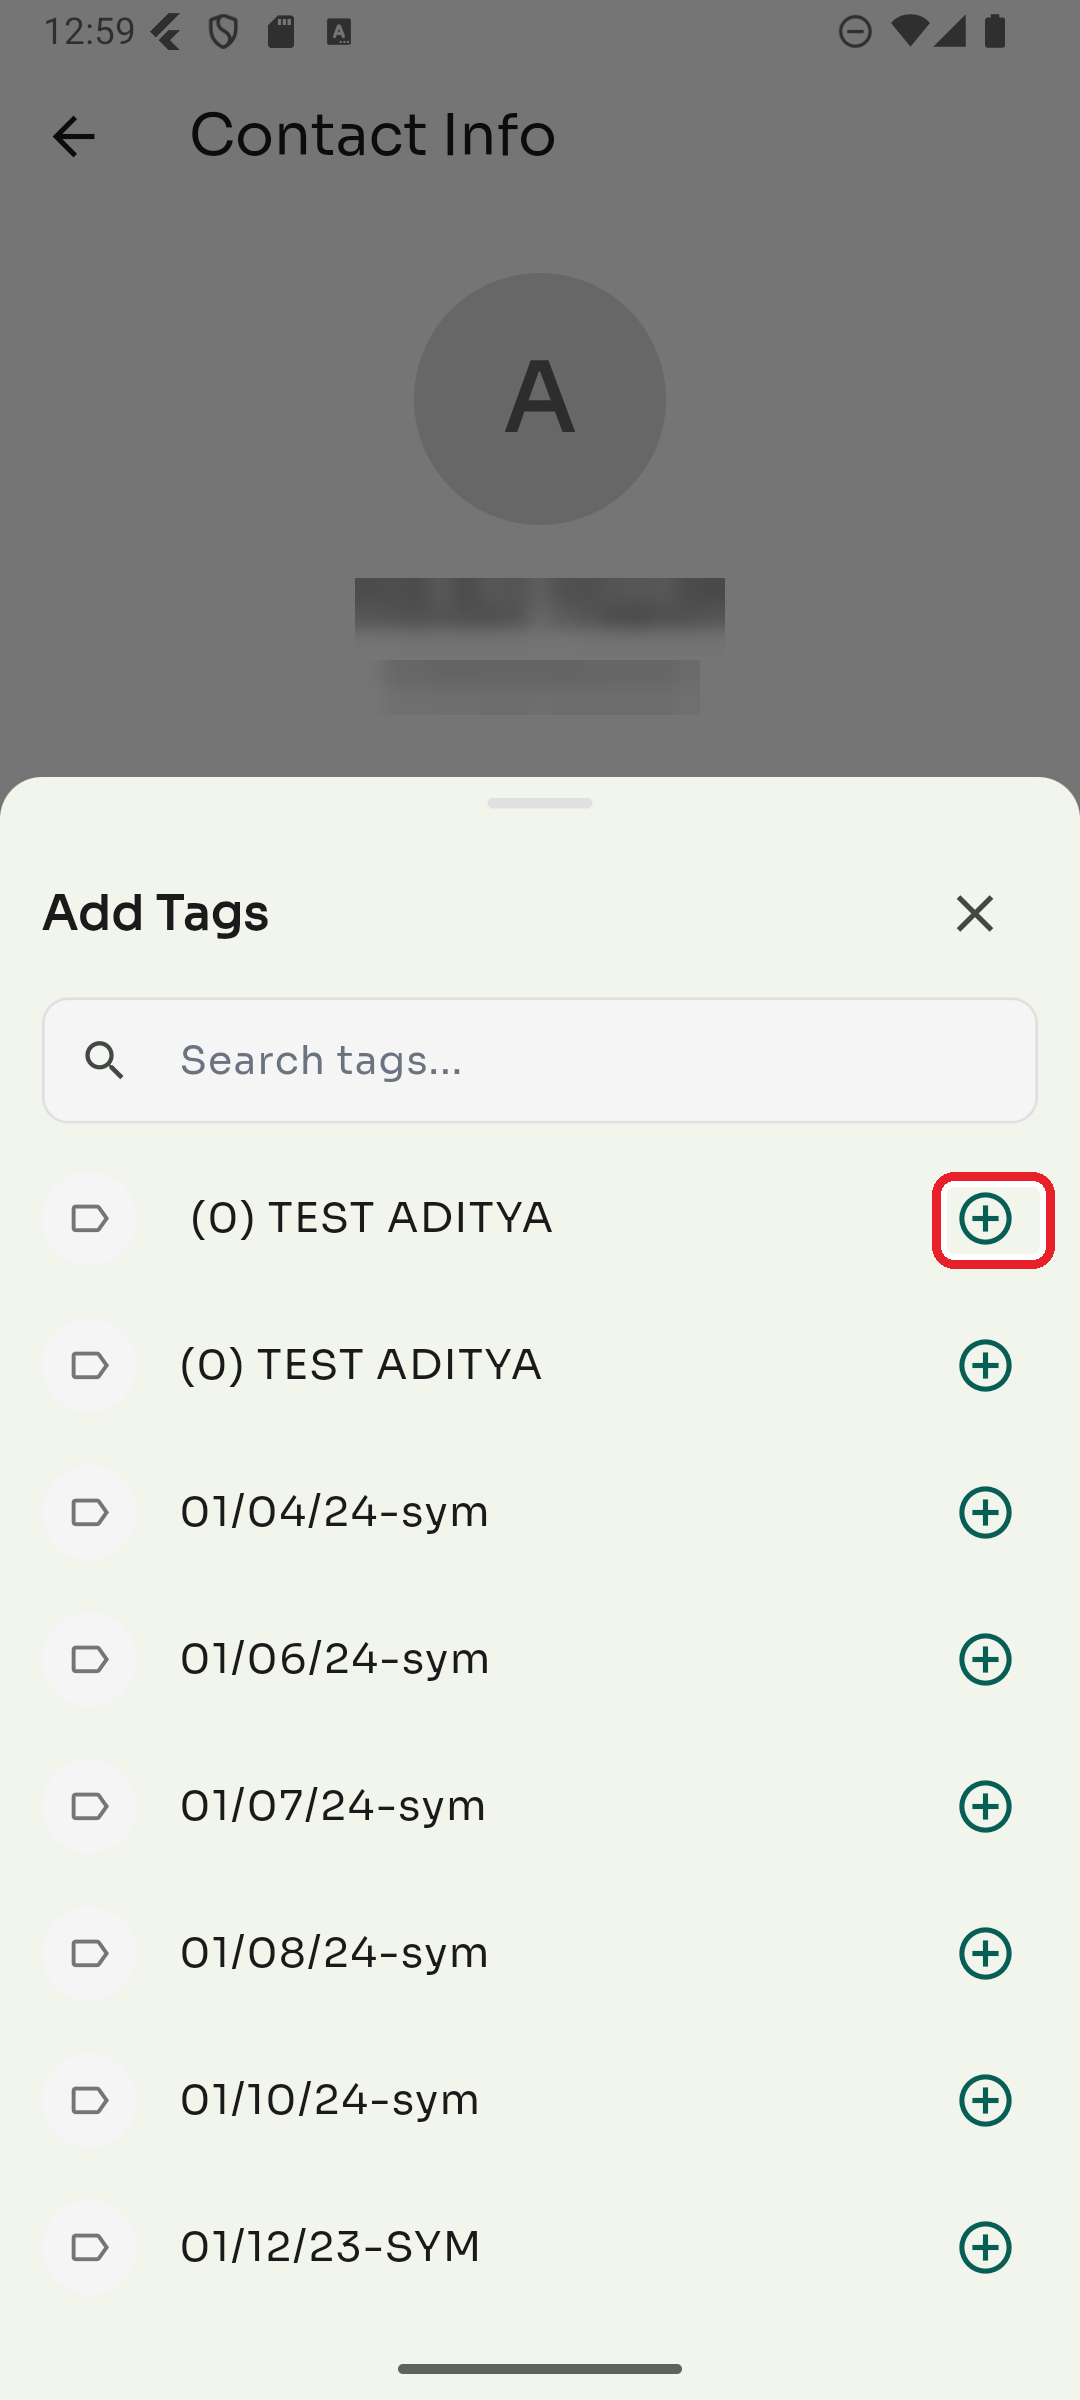
Search for a tag or scroll the list, then tap the ⊕ next to it to add it. If you search for a tag that doesn't exist, you'll get the option to create it.
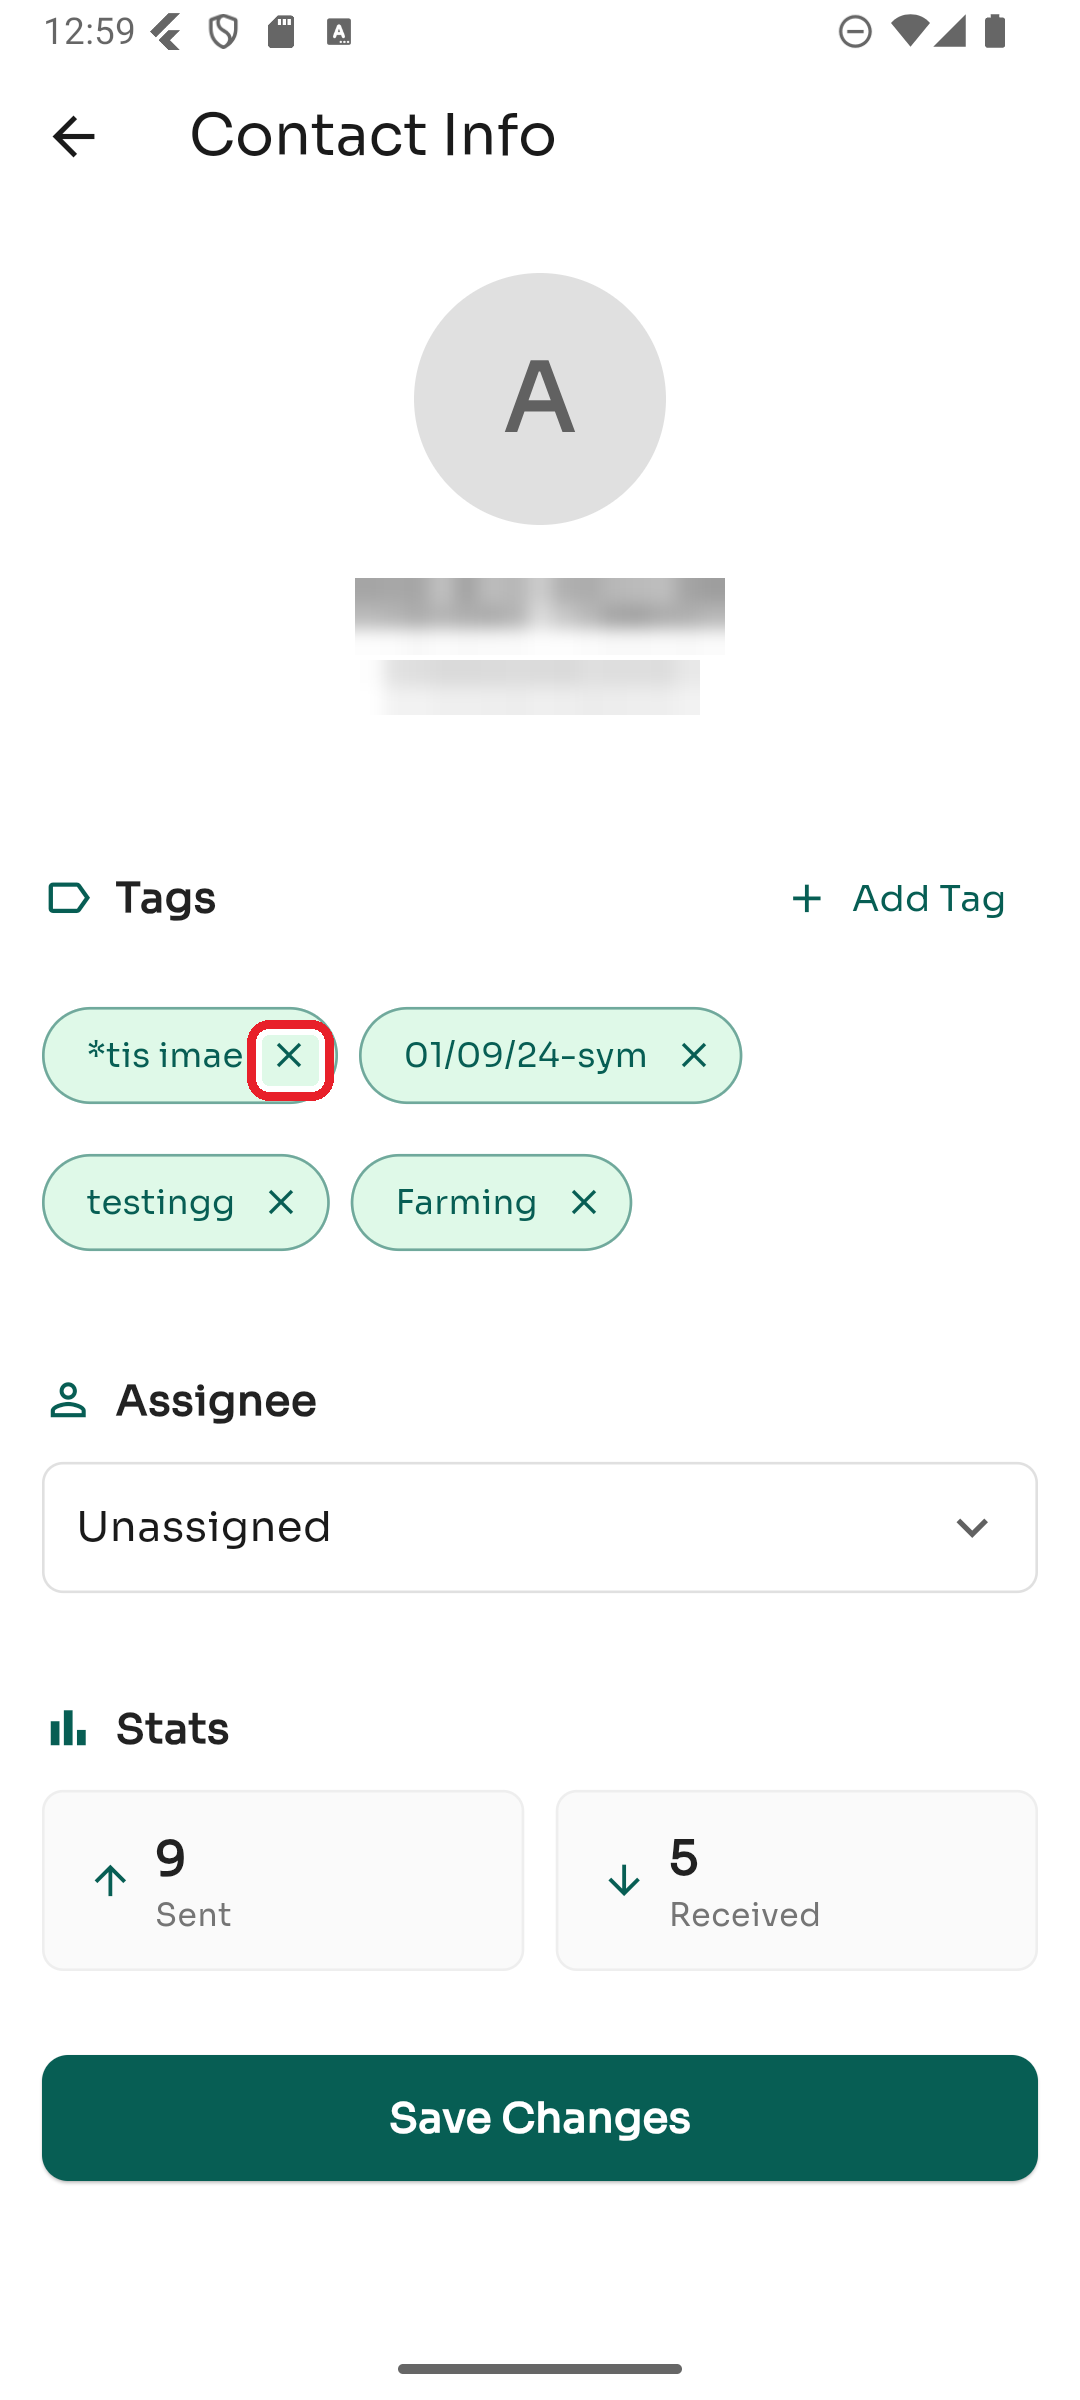
Step 3 — Remove a tag
To remove a tag, tap the ✕ on its chip.
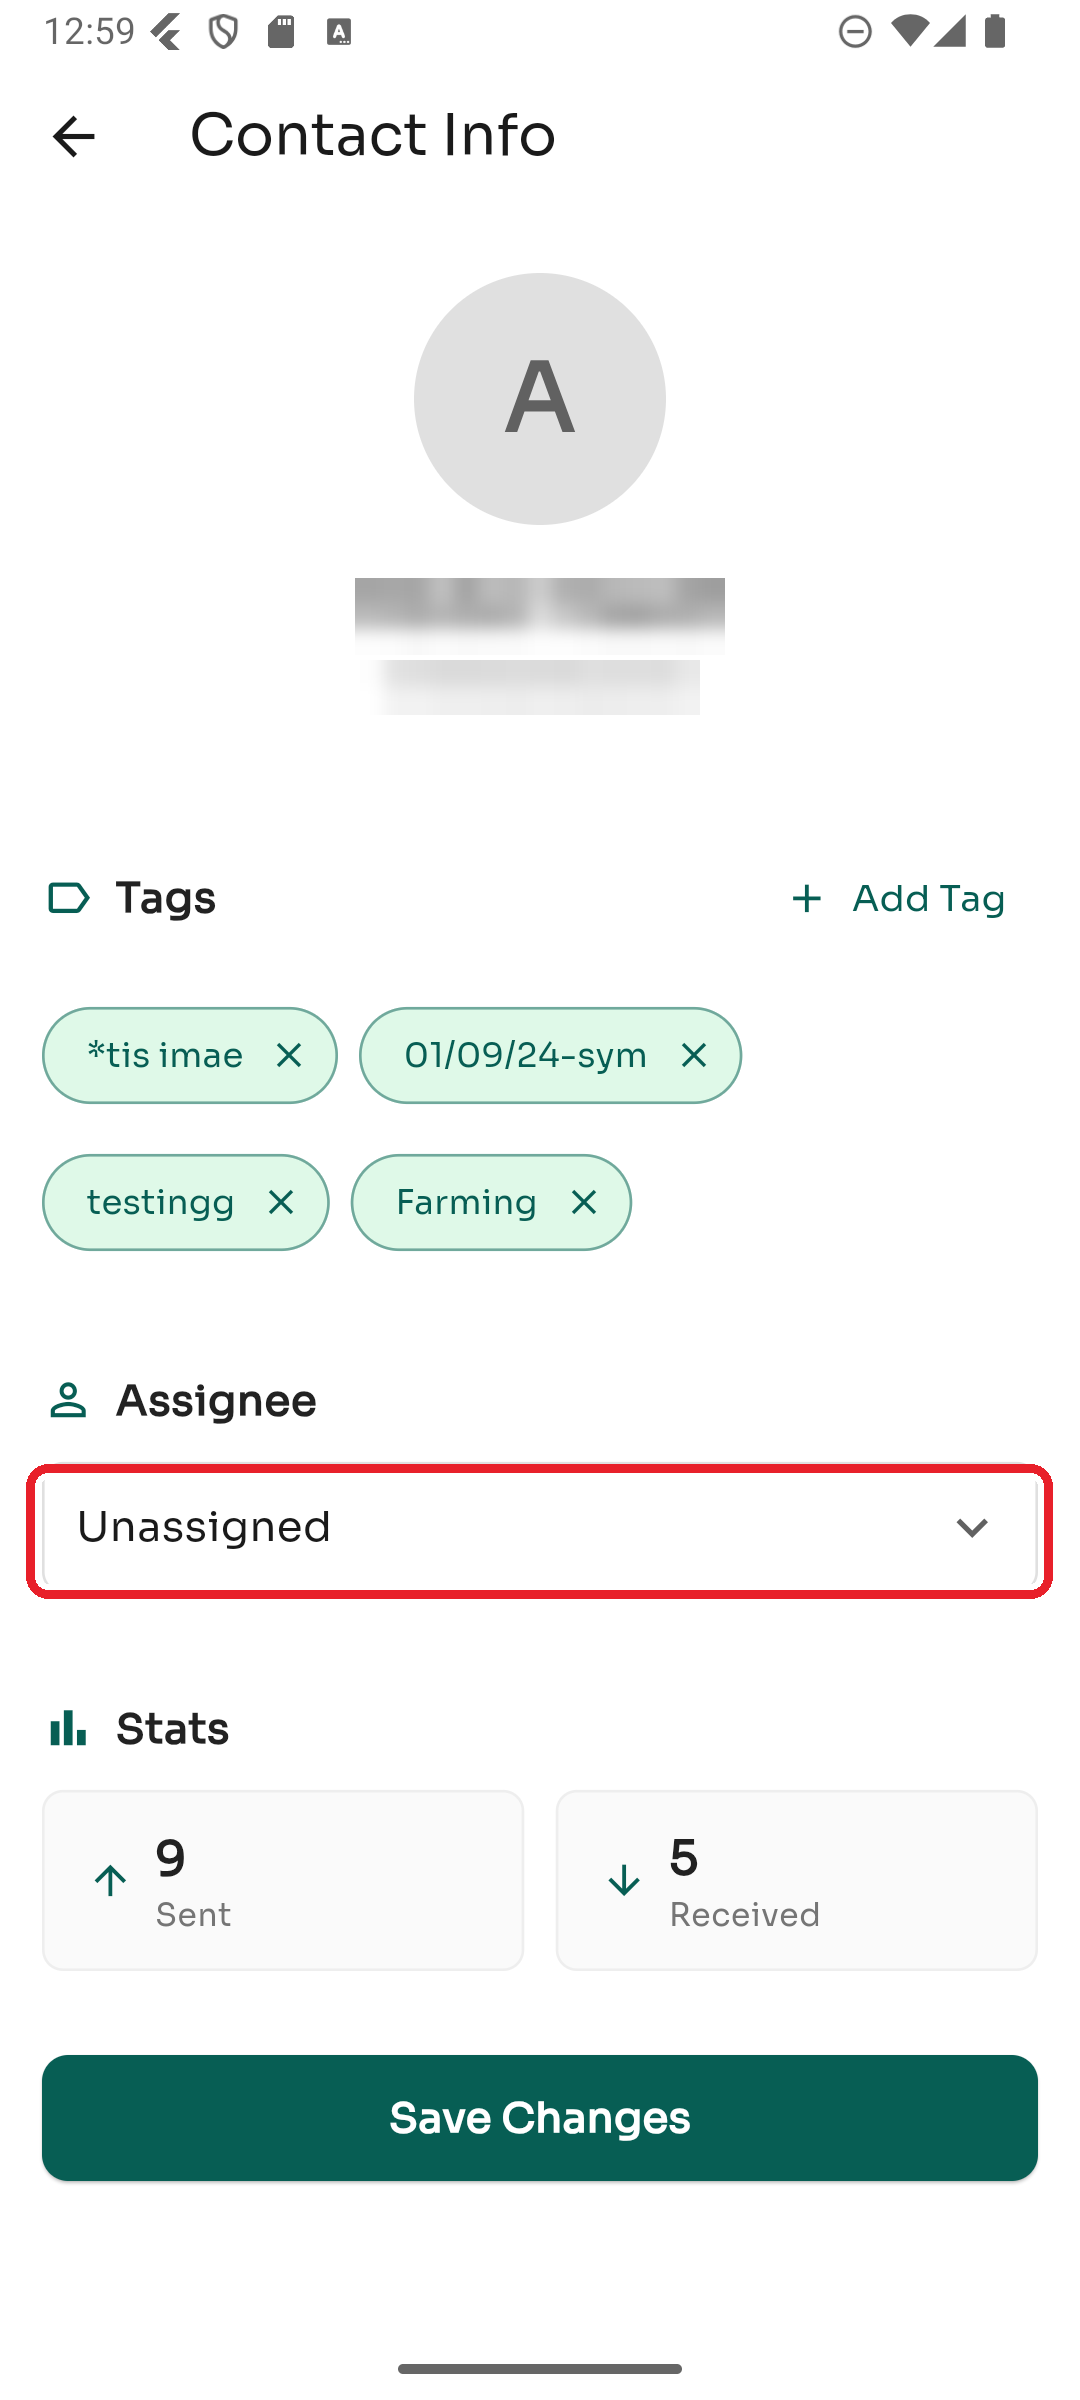
Step 4 — Assign the contact to a teammate
Under Assignee, tap the dropdown (it shows Unassigned by default) and pick a team member. This makes clear who's responsible for the conversation.
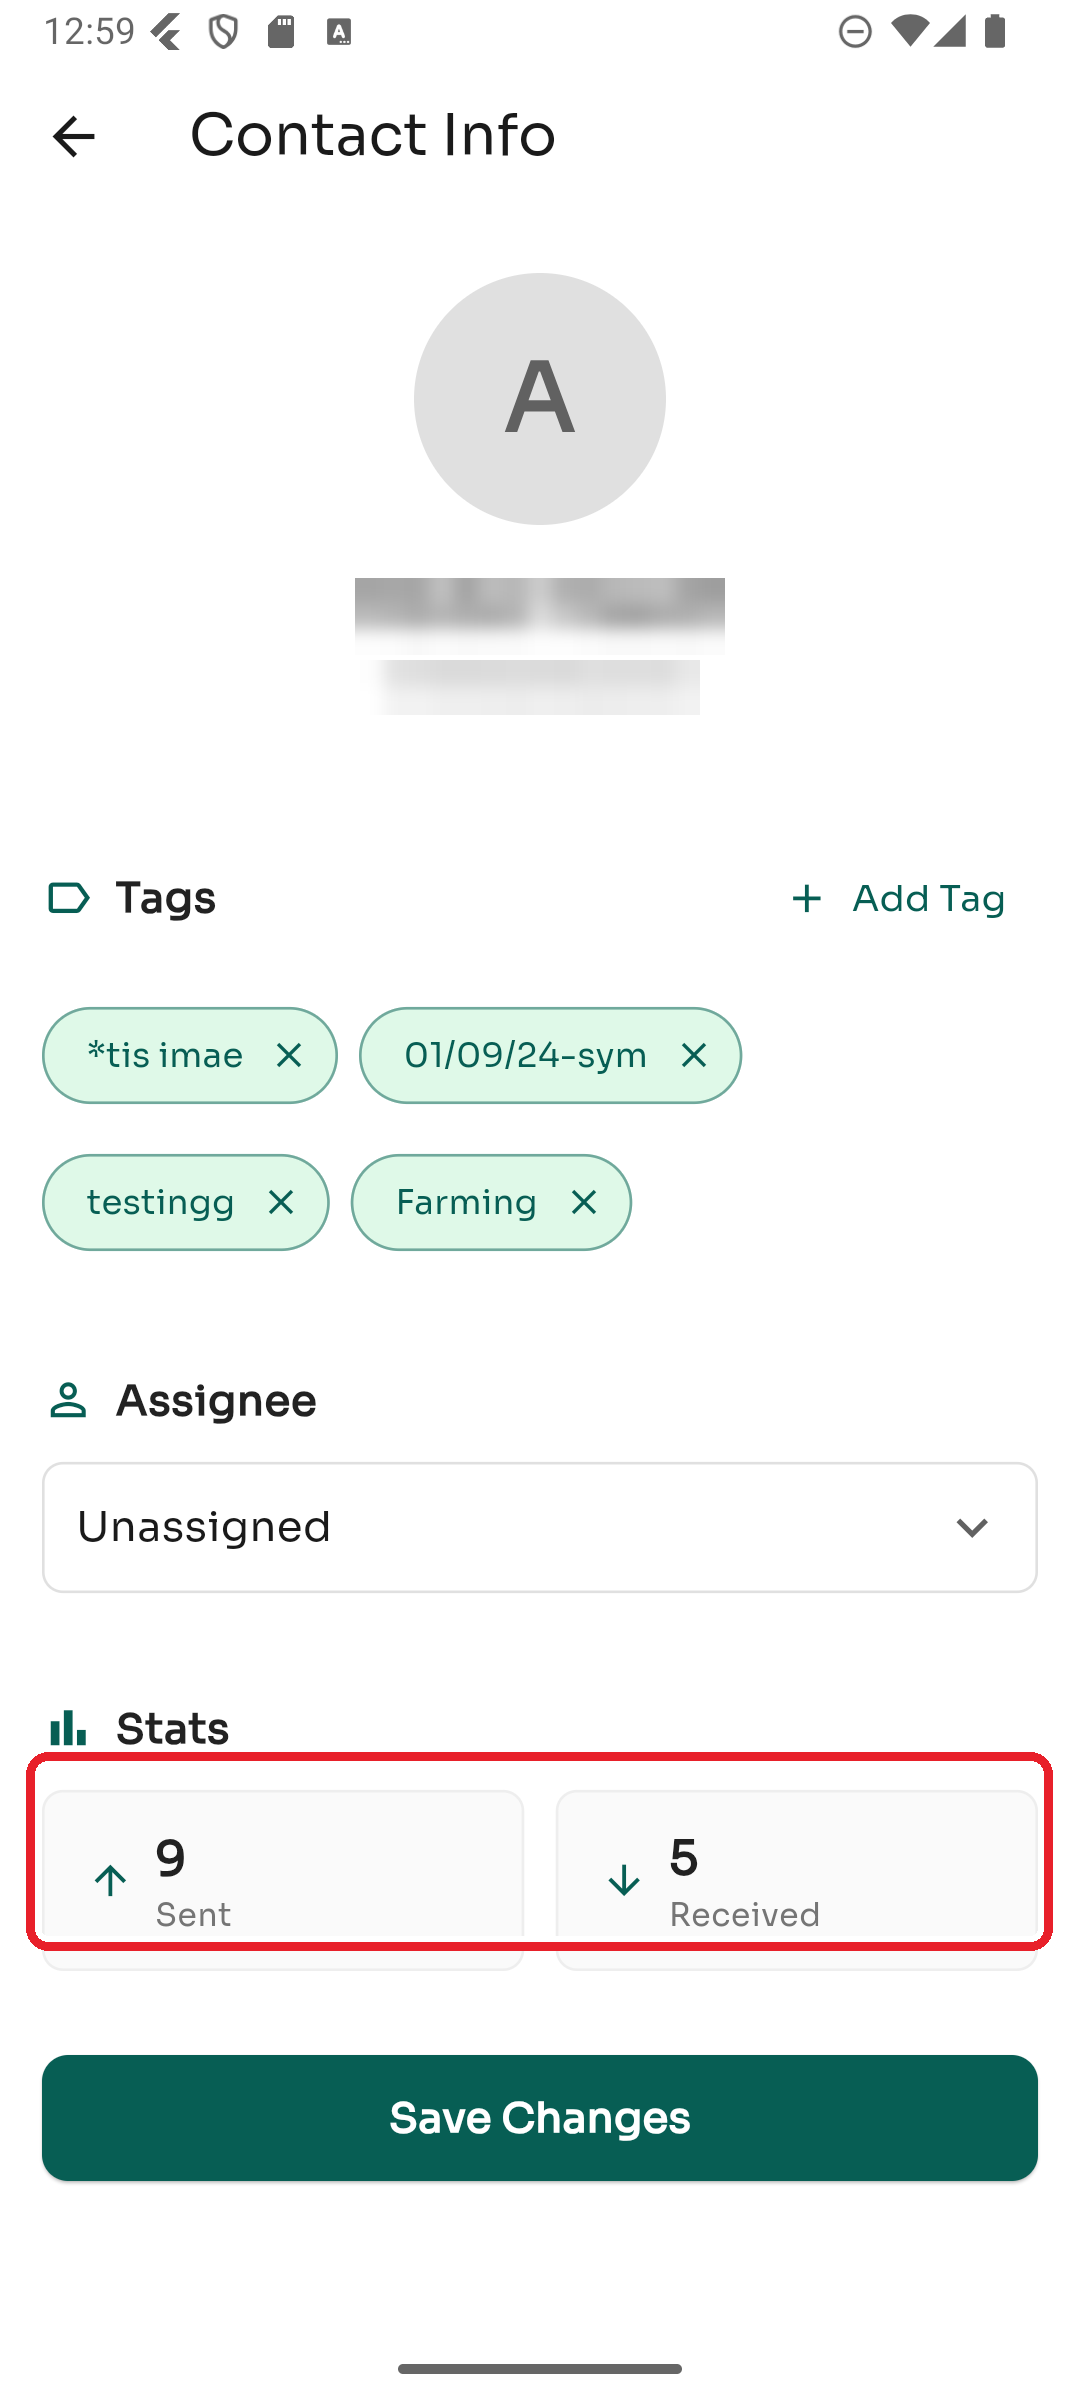
Step 5 — Check the stats
The Stats section shows how many messages you've Sent to and Received from this contact.
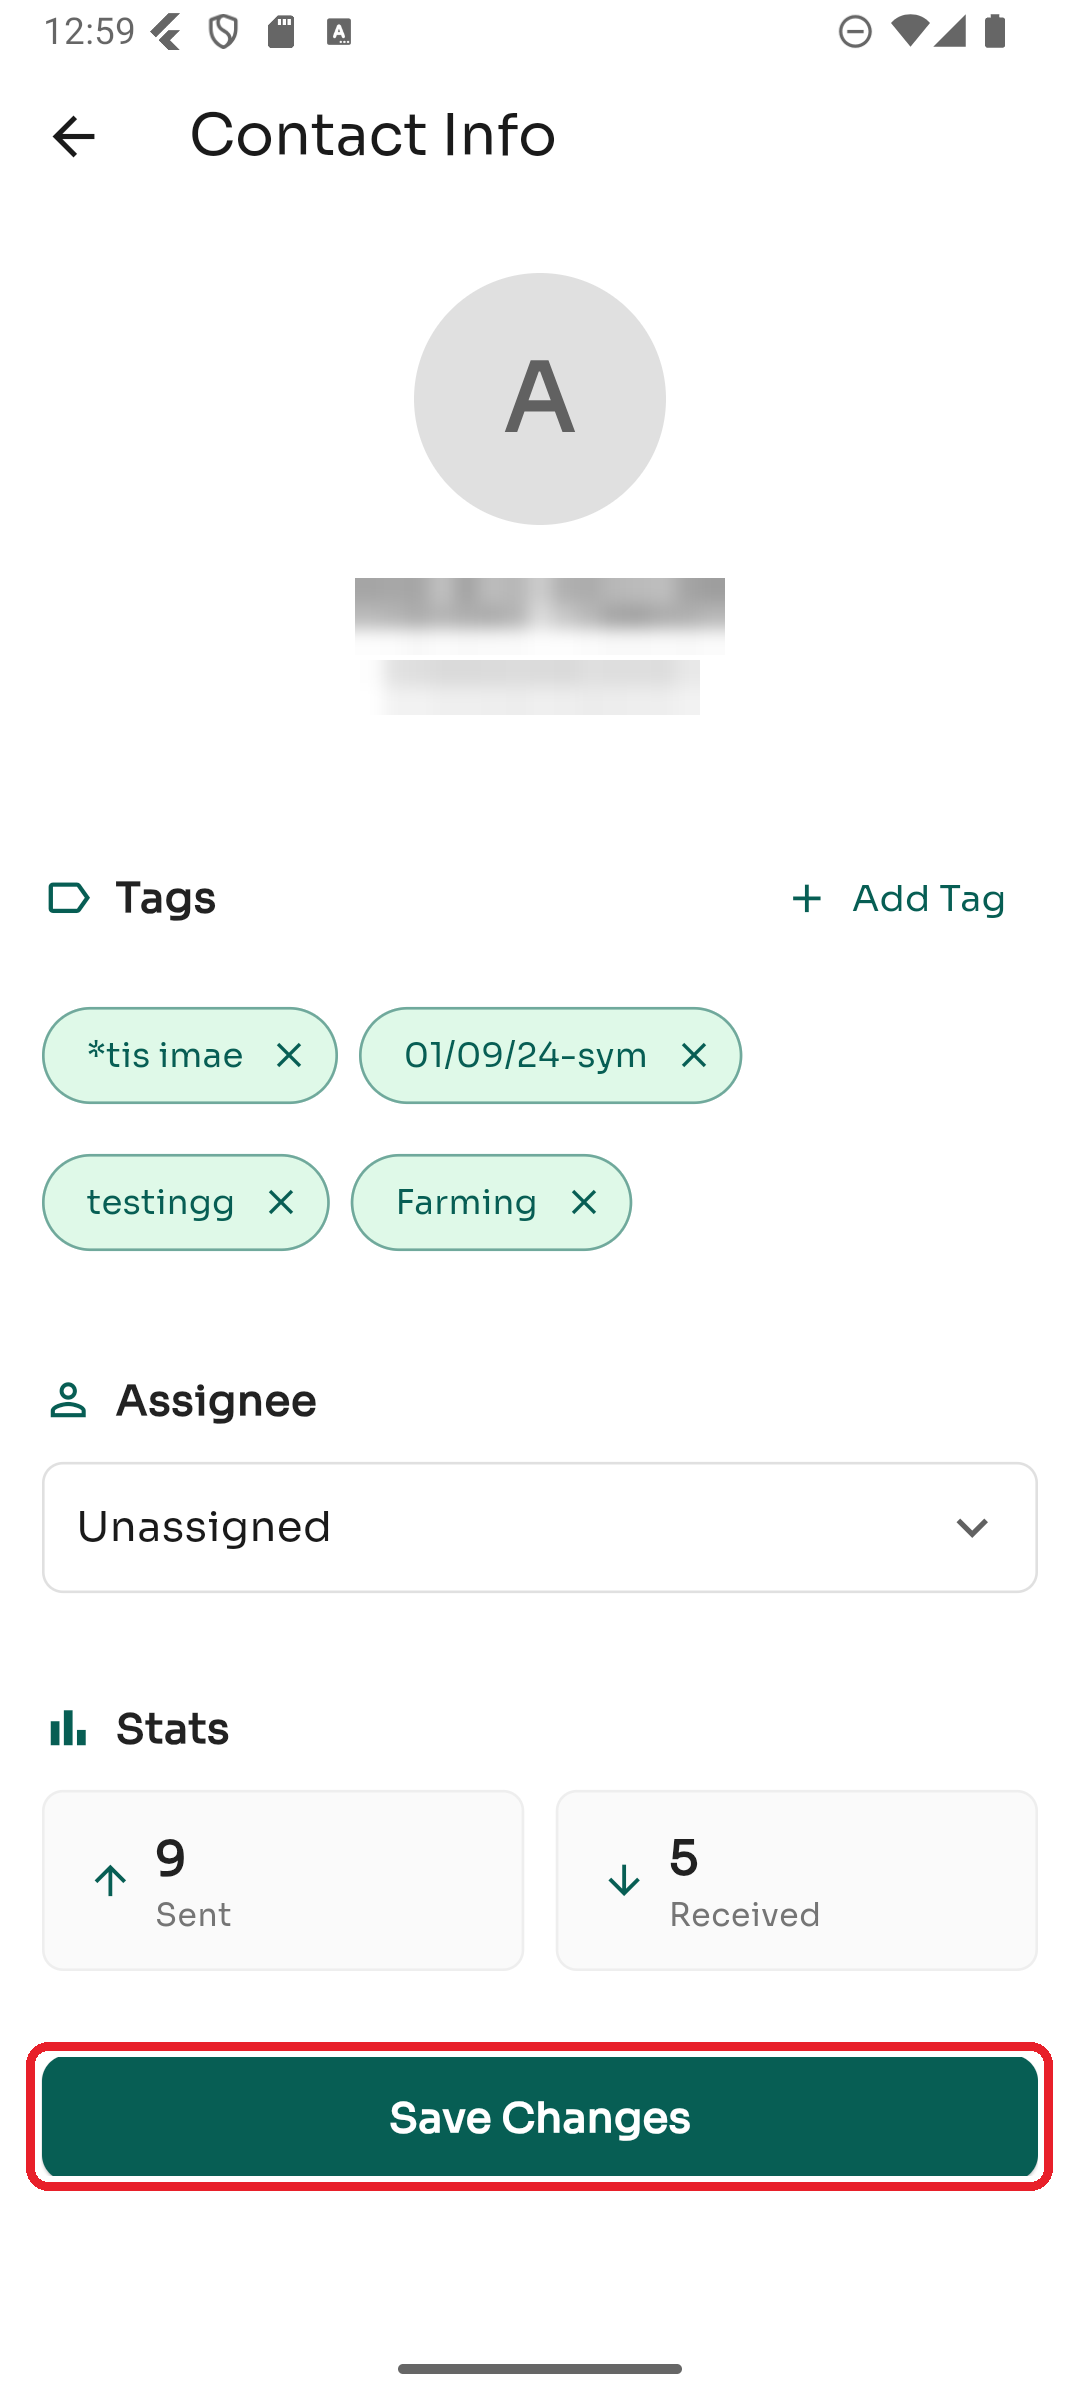
Step 6 — Save your changes
After adding tags or changing the assignee, tap Save Changes at the bottom to apply everything.
Tags you add here also power the inbox filters, so you can quickly find every contact with a given tag. See the Inbox guide.
The Settings tab (bottom-right) is where you manage your profile, privacy, channels, notifications, team, and account. This guide walks through it. (In each screenshot, the red box shows where to tap.)
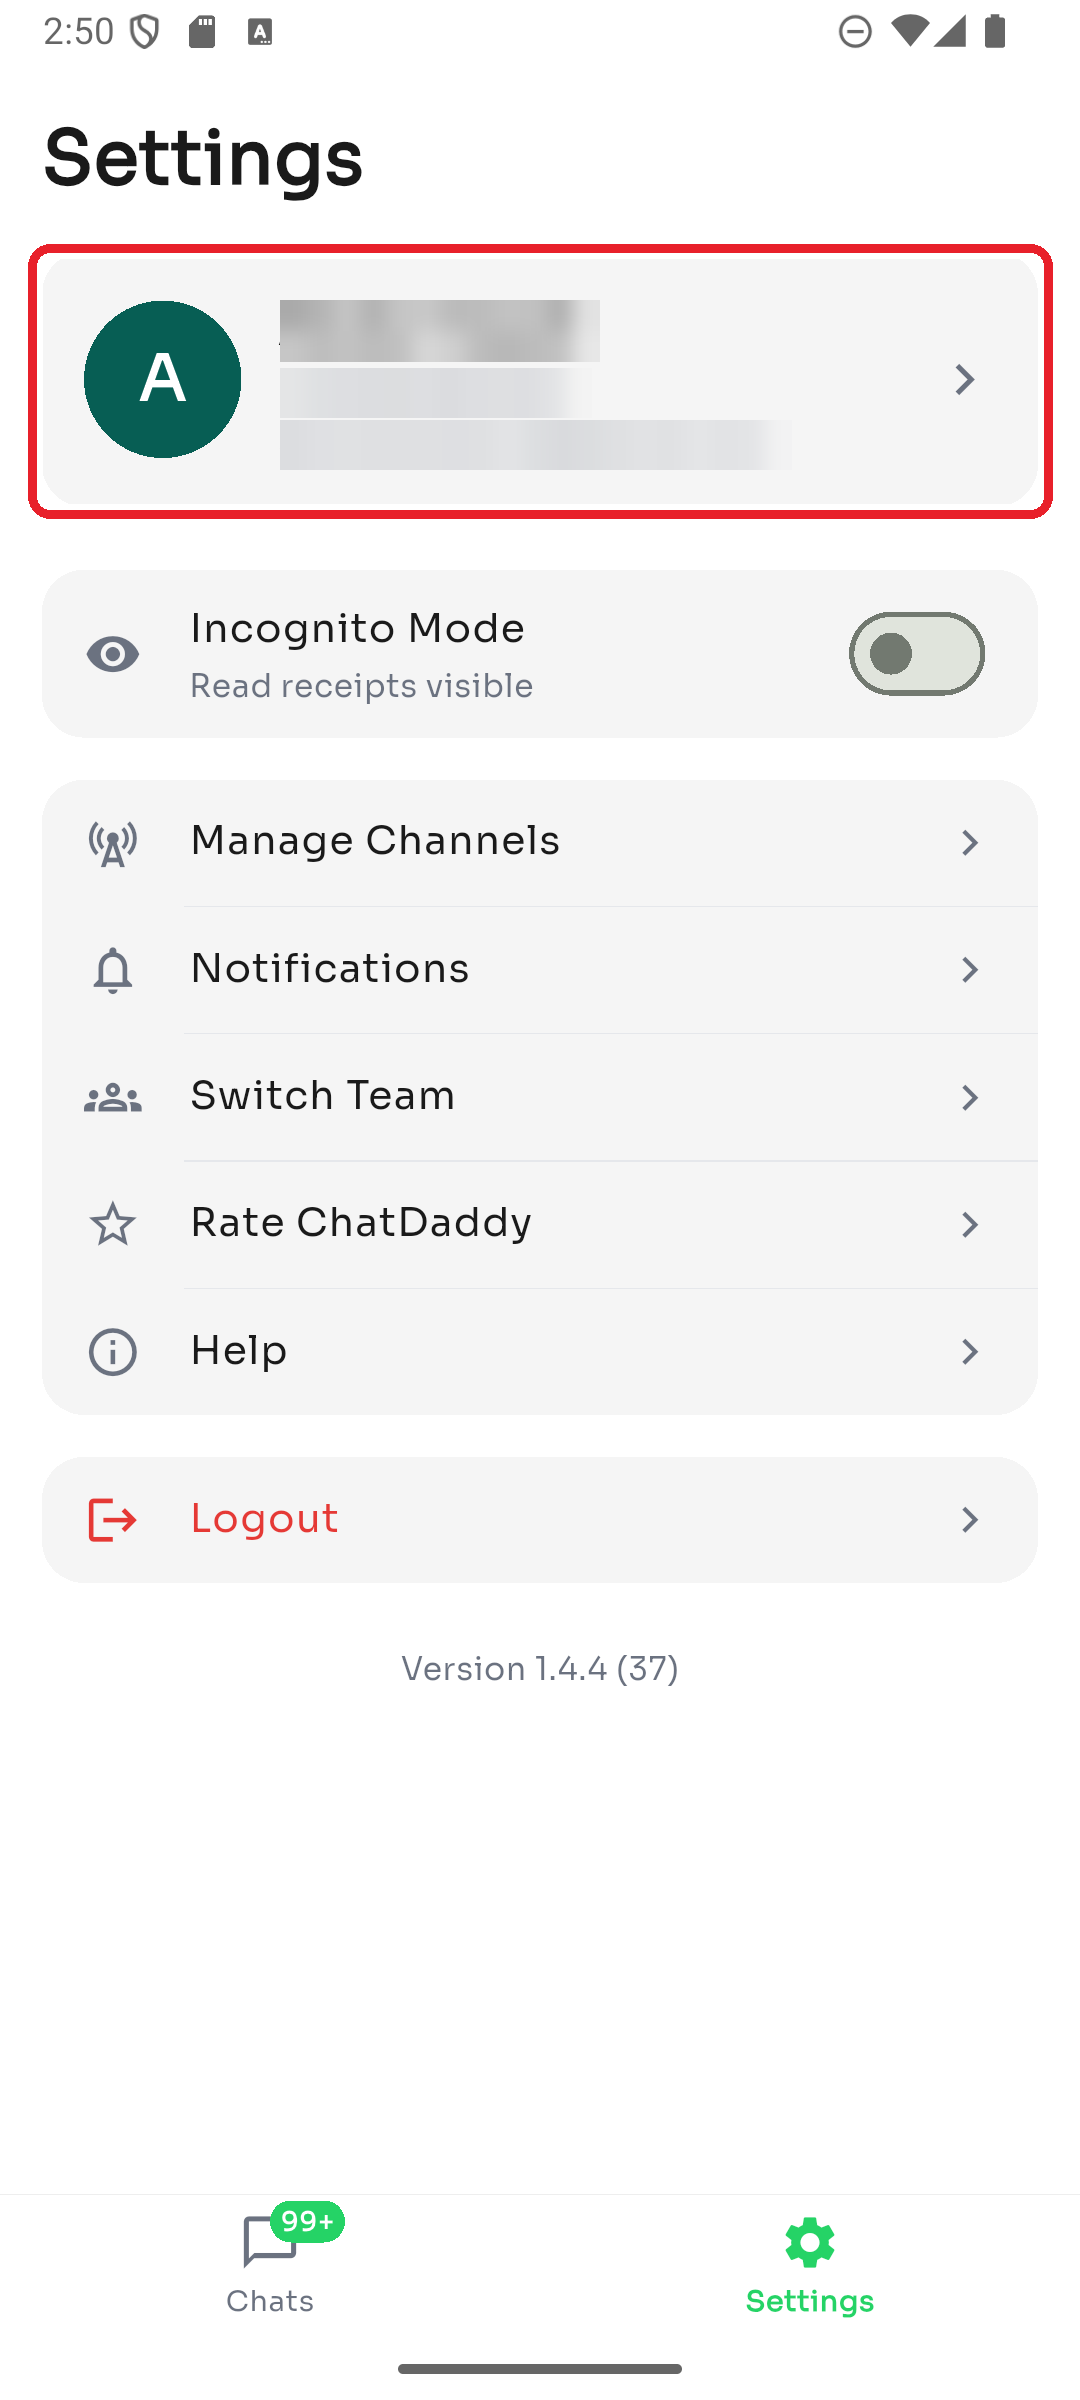
Step 1 — Your profile
At the top of Settings you'll see your profile card — your name, phone number, and email. Tap it to view your account details.
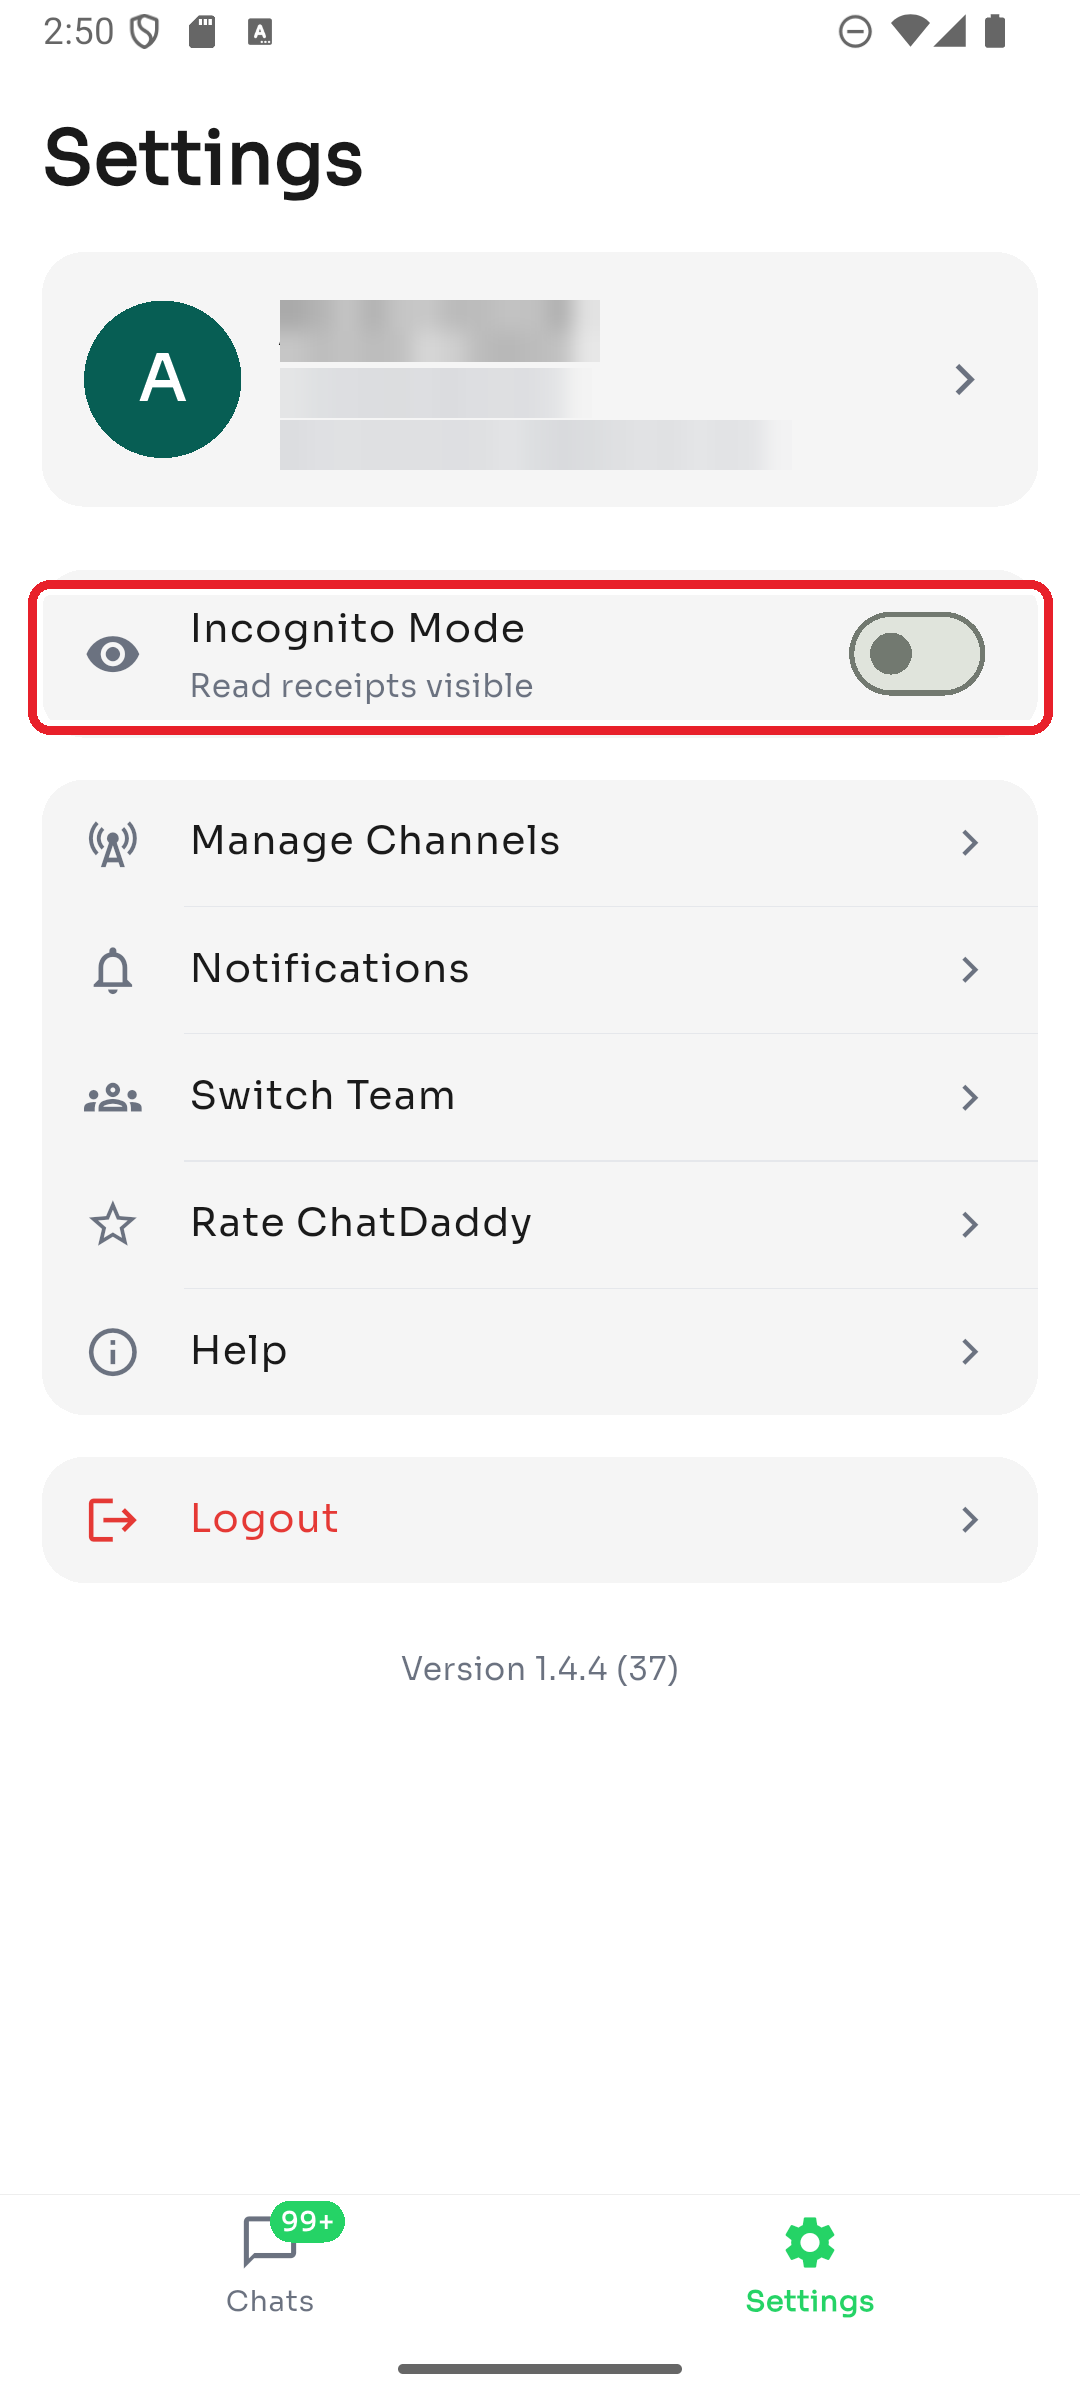
Step 2 — Incognito Mode
Turn on Incognito Mode to hide read receipts — contacts won't see when you've read their messages. The subtitle tells you the current state ("Read receipts visible" or "Read receipts hidden").
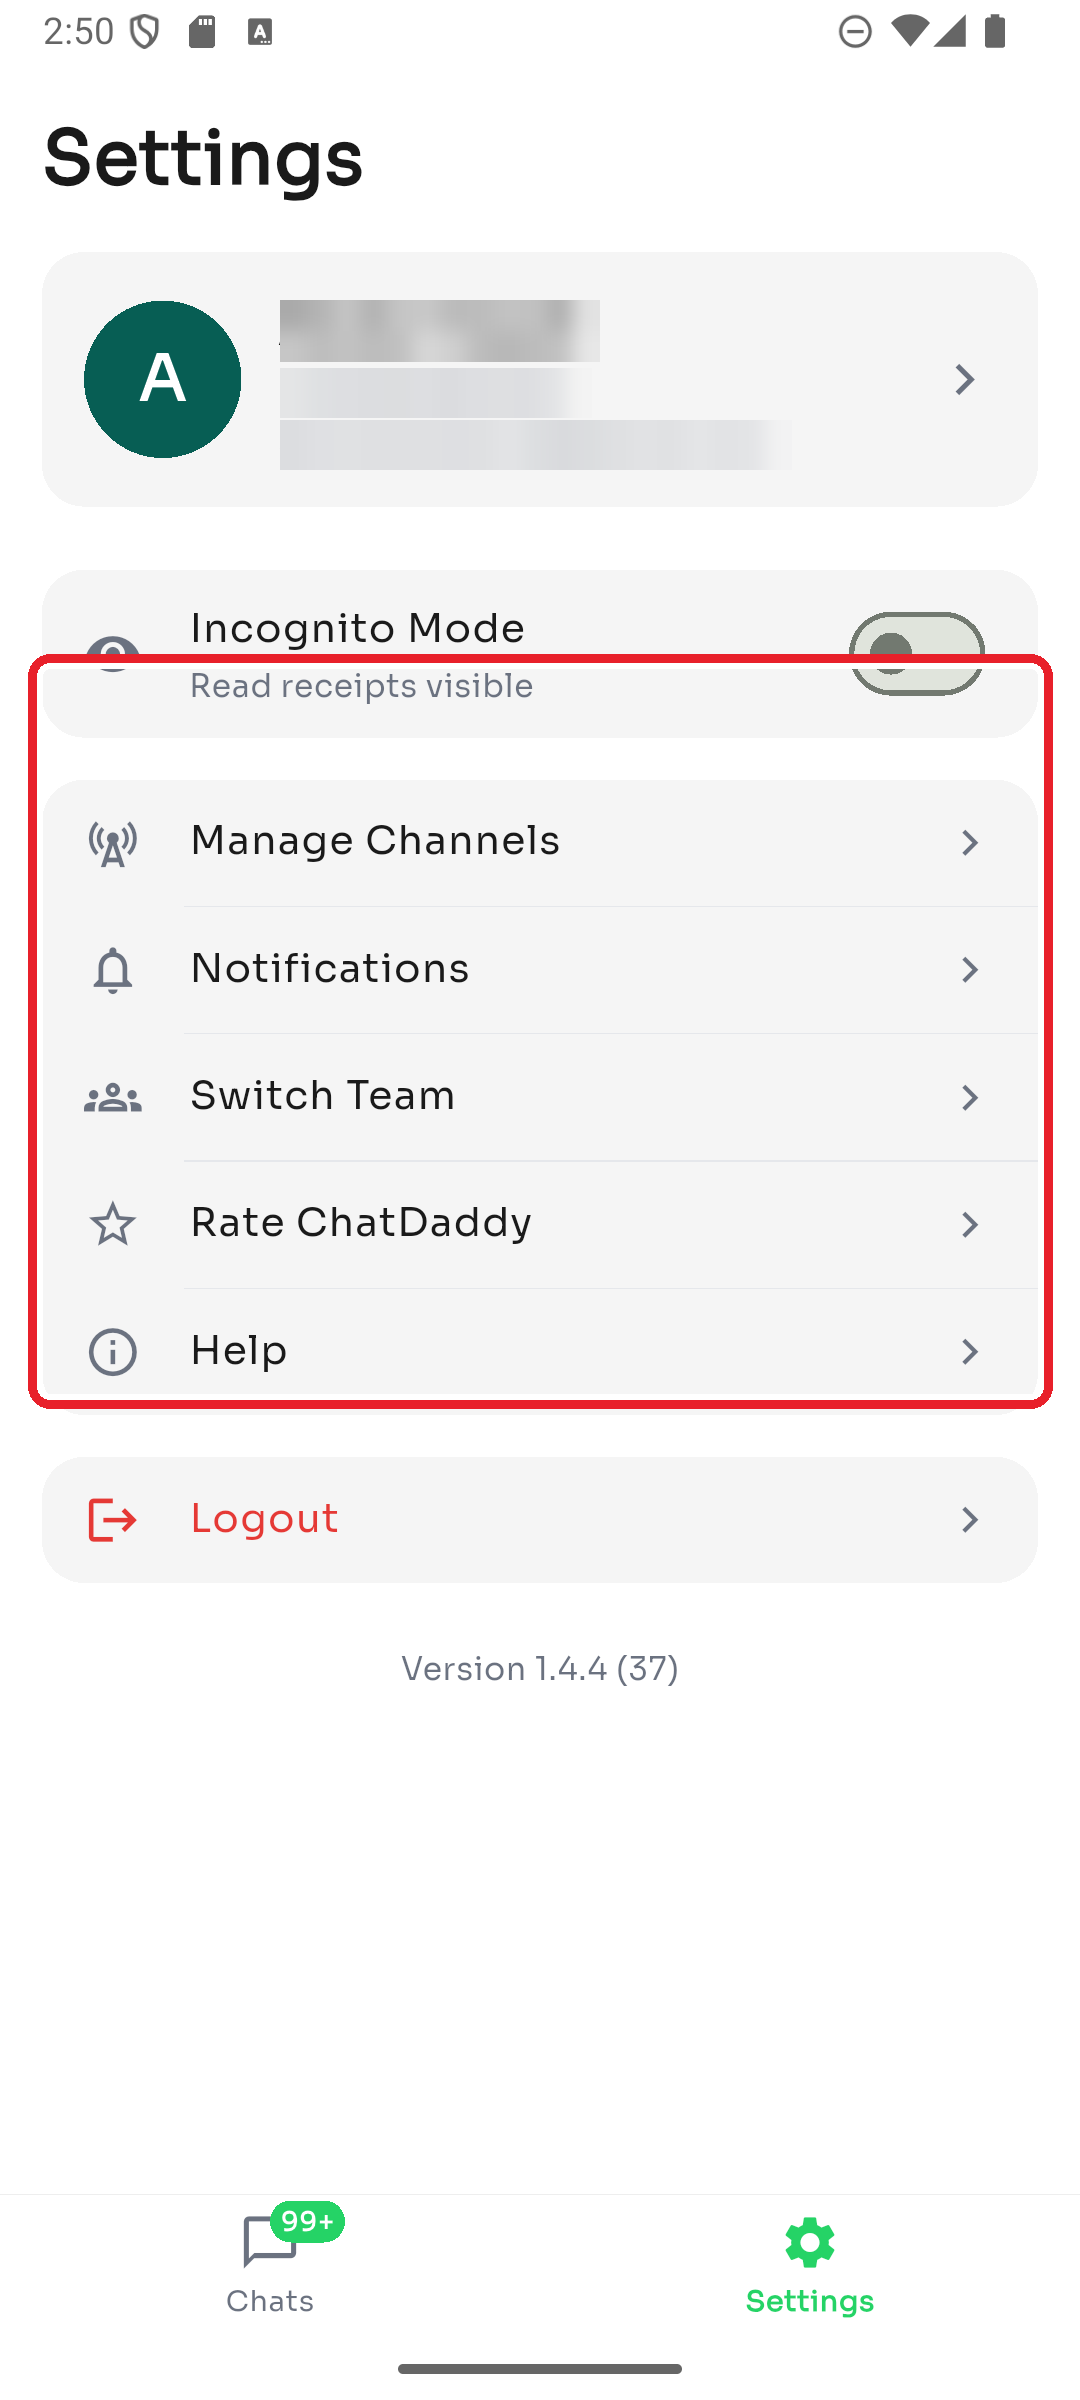
Step 3 — The settings menu
The menu below gives you quick access to:
- Manage Channels — add, reconnect, rename, or remove channels
- Notifications — control push notifications, sounds, and quiet hours
- Switch Team — move between the teams you belong to
- Rate ChatDaddy — leave a rating
- Help — open the ChatDaddy help center
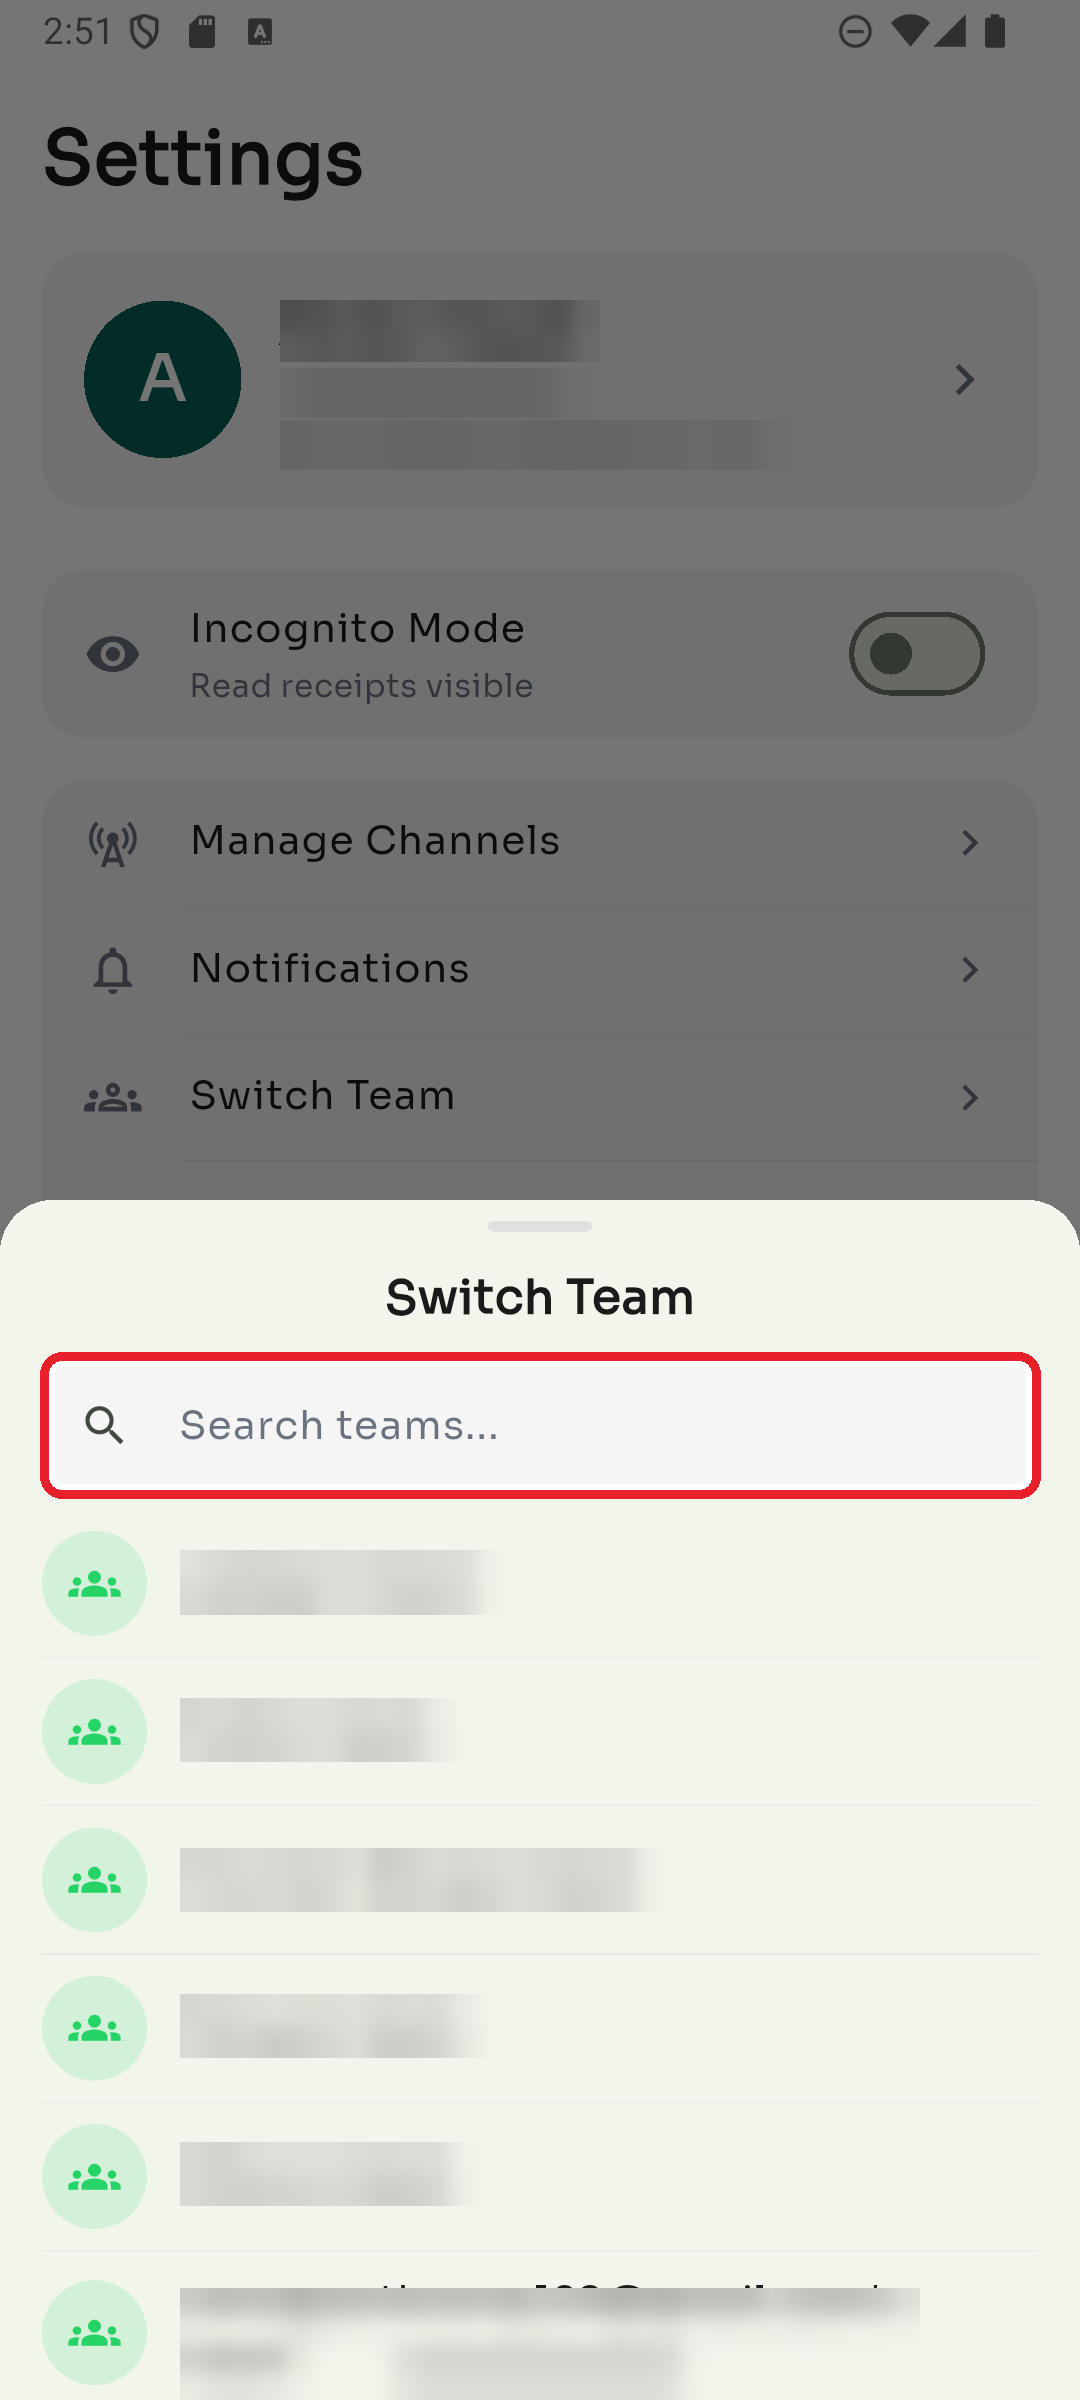
Step 4 — Switch team
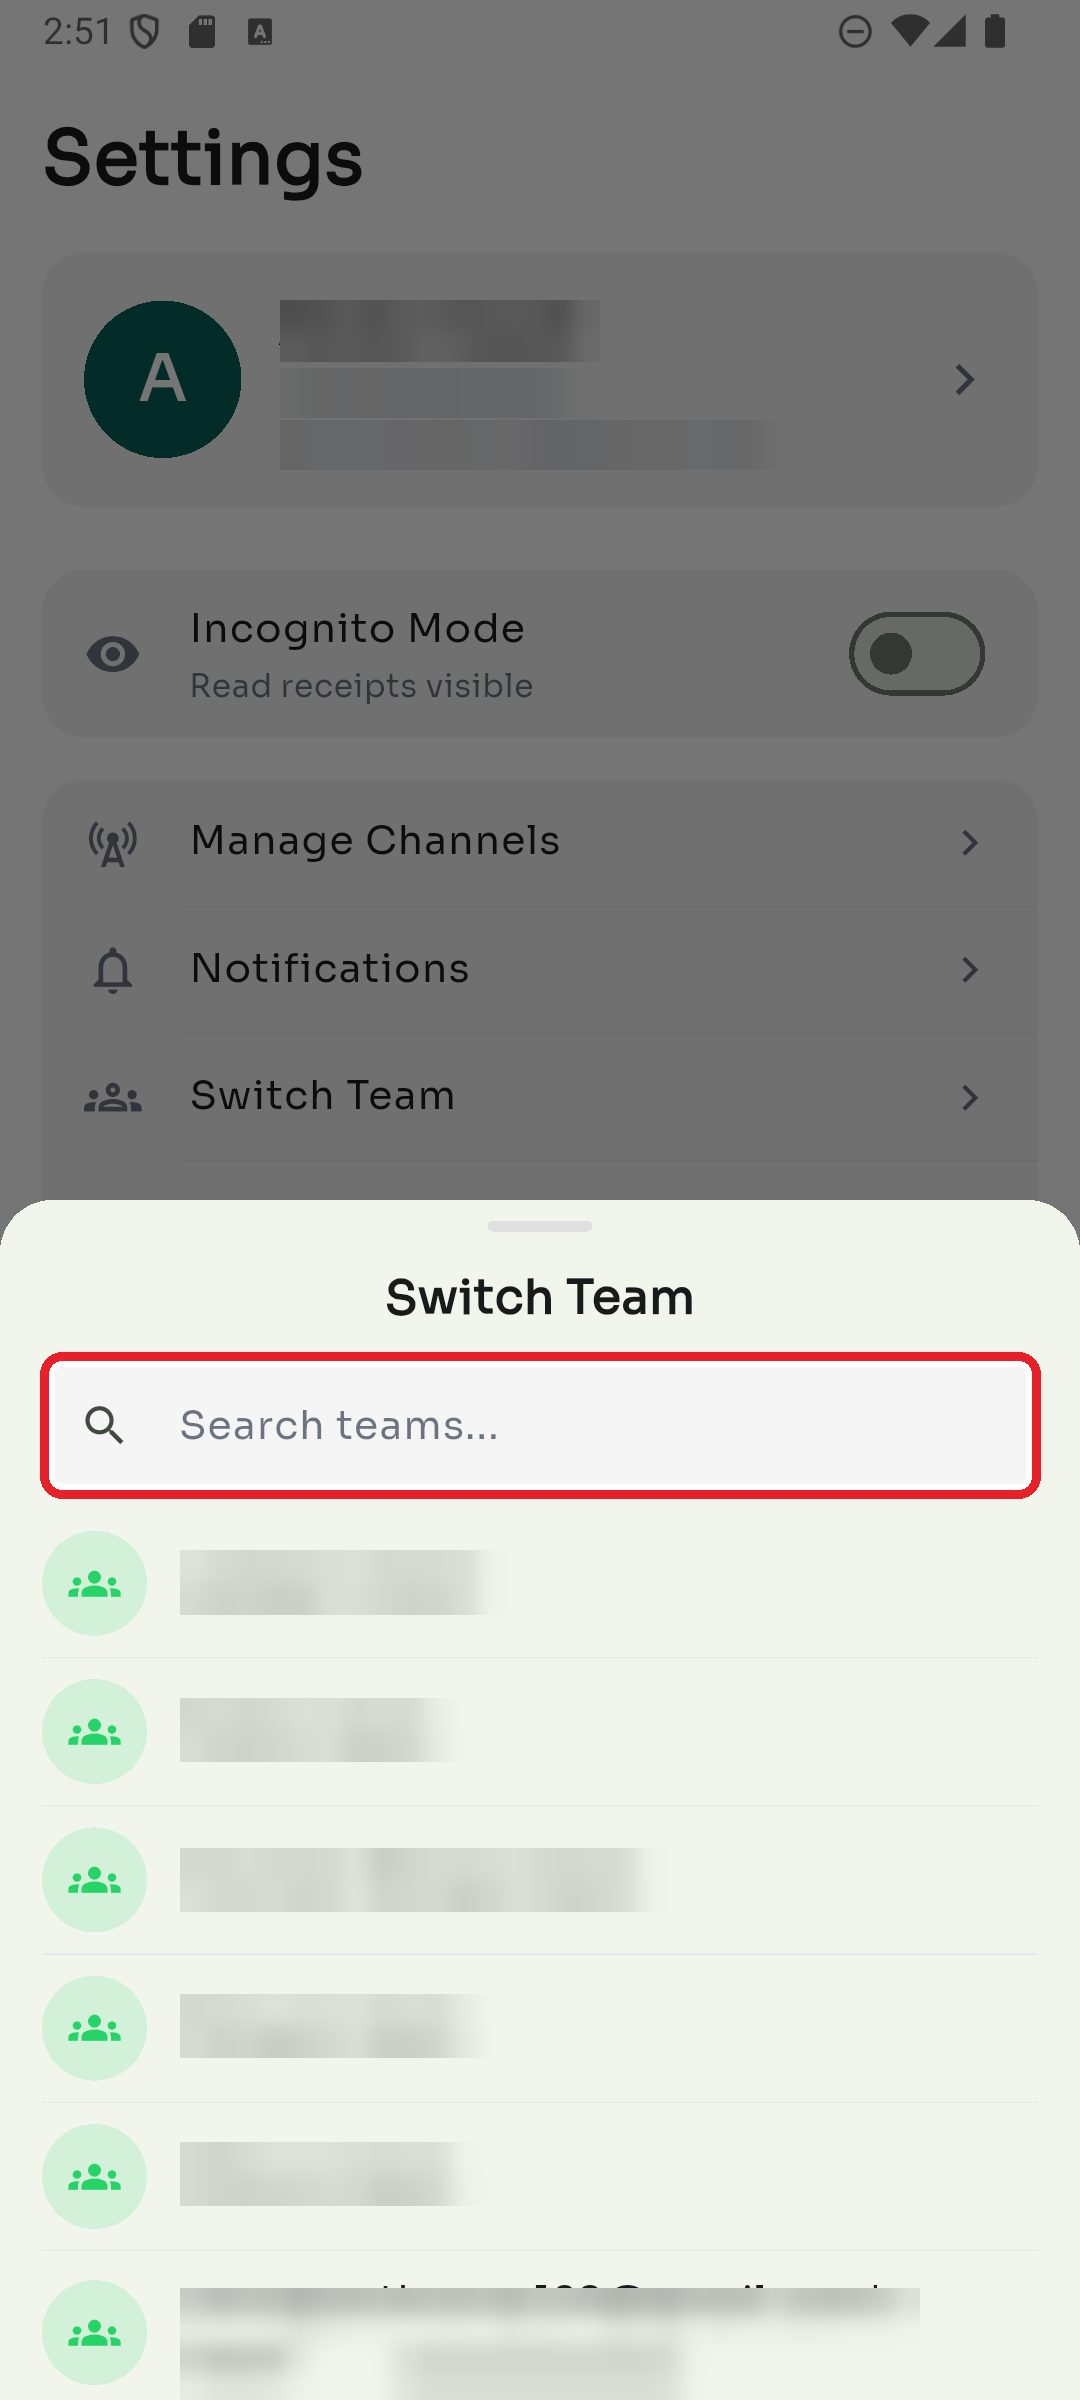
Tap Switch Team to move between workspaces. Search for a team or tap one in the list to switch to it — the app reloads with that team's chats.
Step 5 — Log out
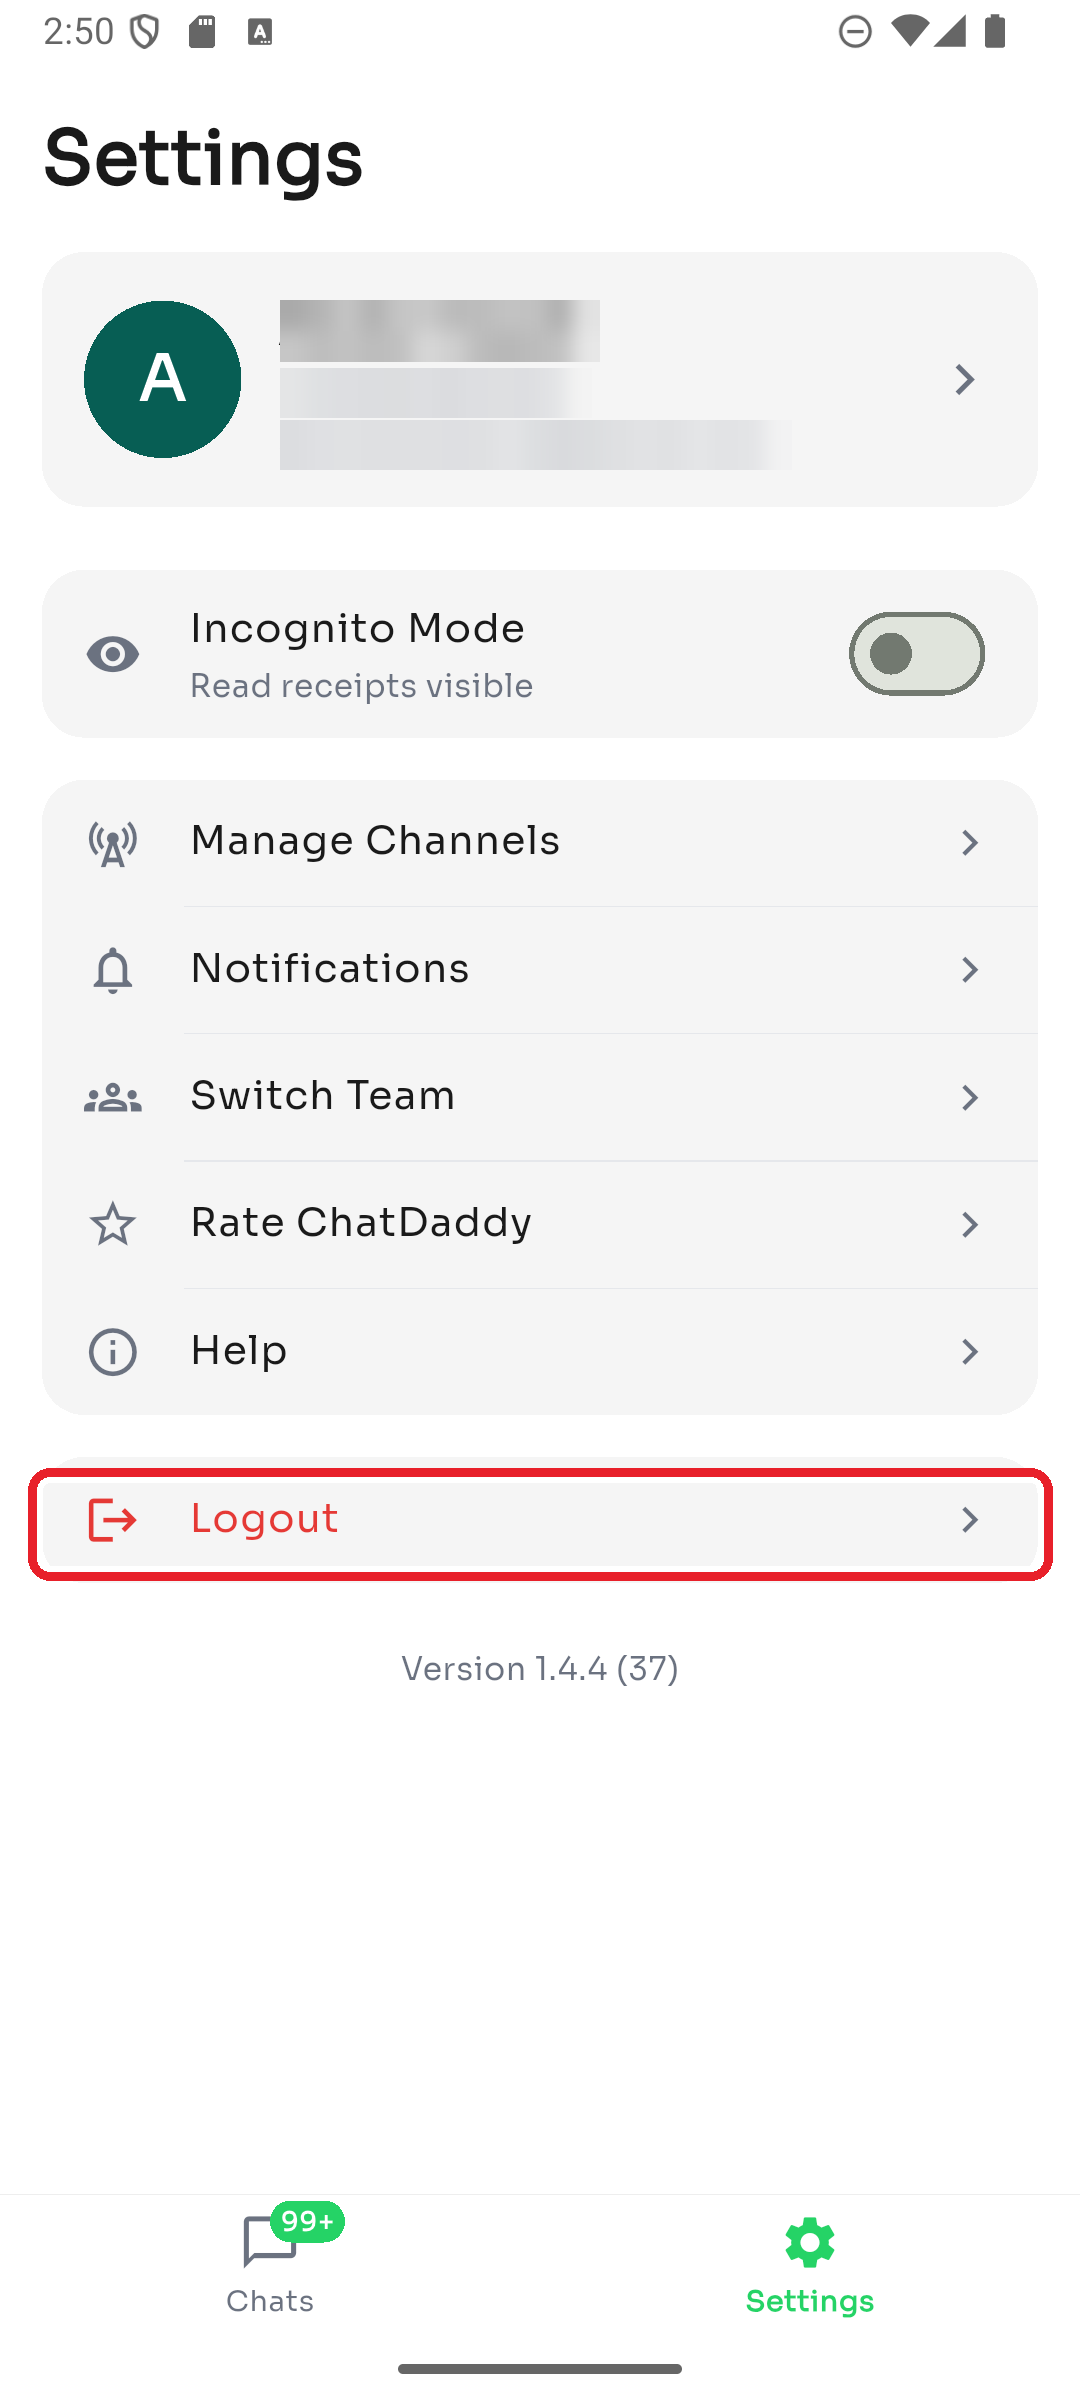
Tap Logout at the bottom to sign out of the app. You'll return to the login screen. The app version number is shown just below.
Control which push notifications you receive, mute specific channels, and set sounds and quiet hours. Open it from Settings → Notifications. (In each screenshot, the red box shows where to tap.)
Step 1 — Choose notification types
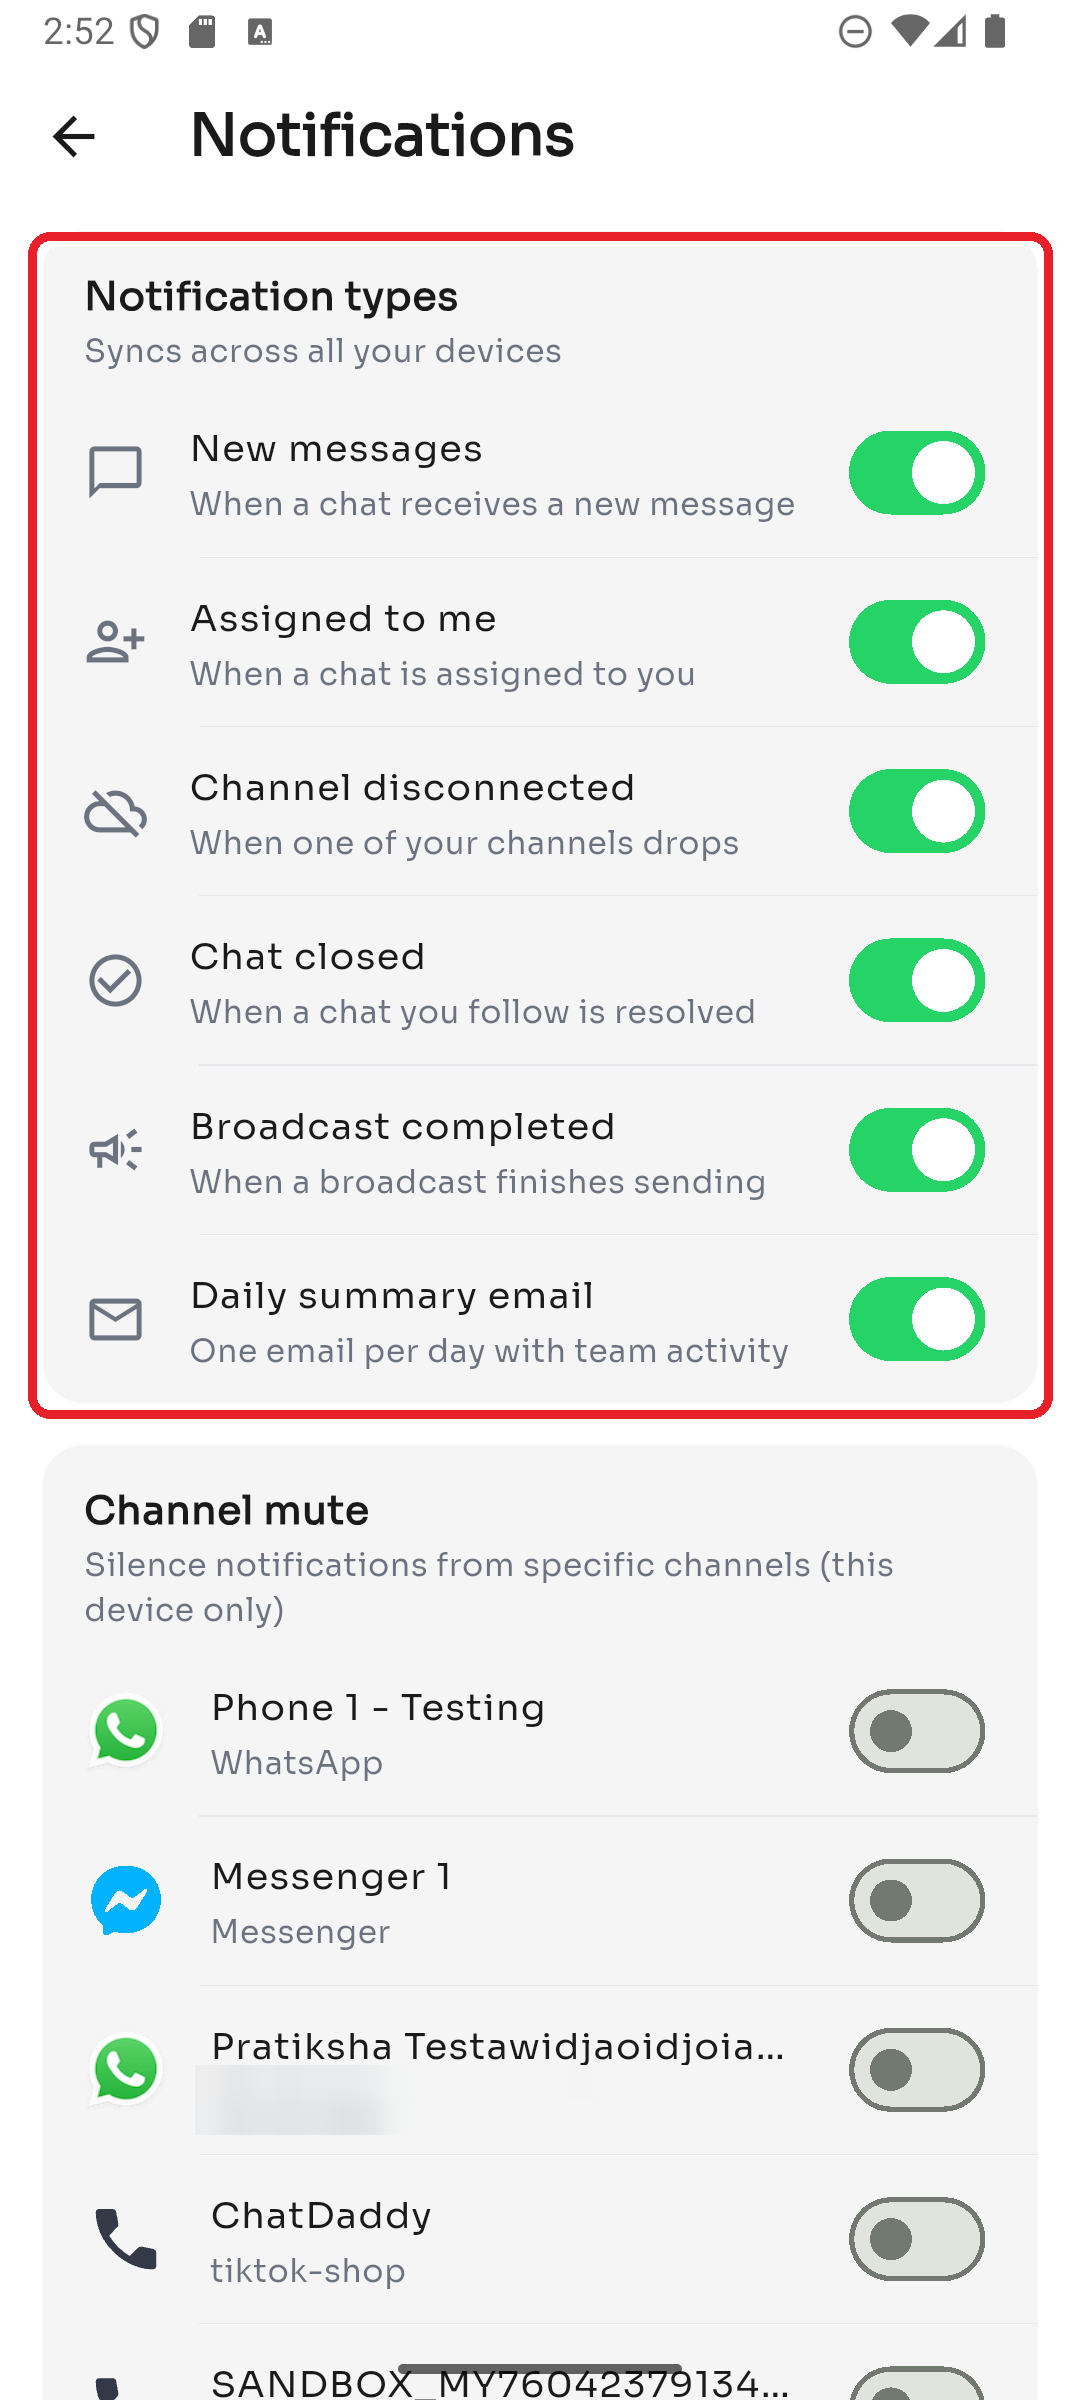
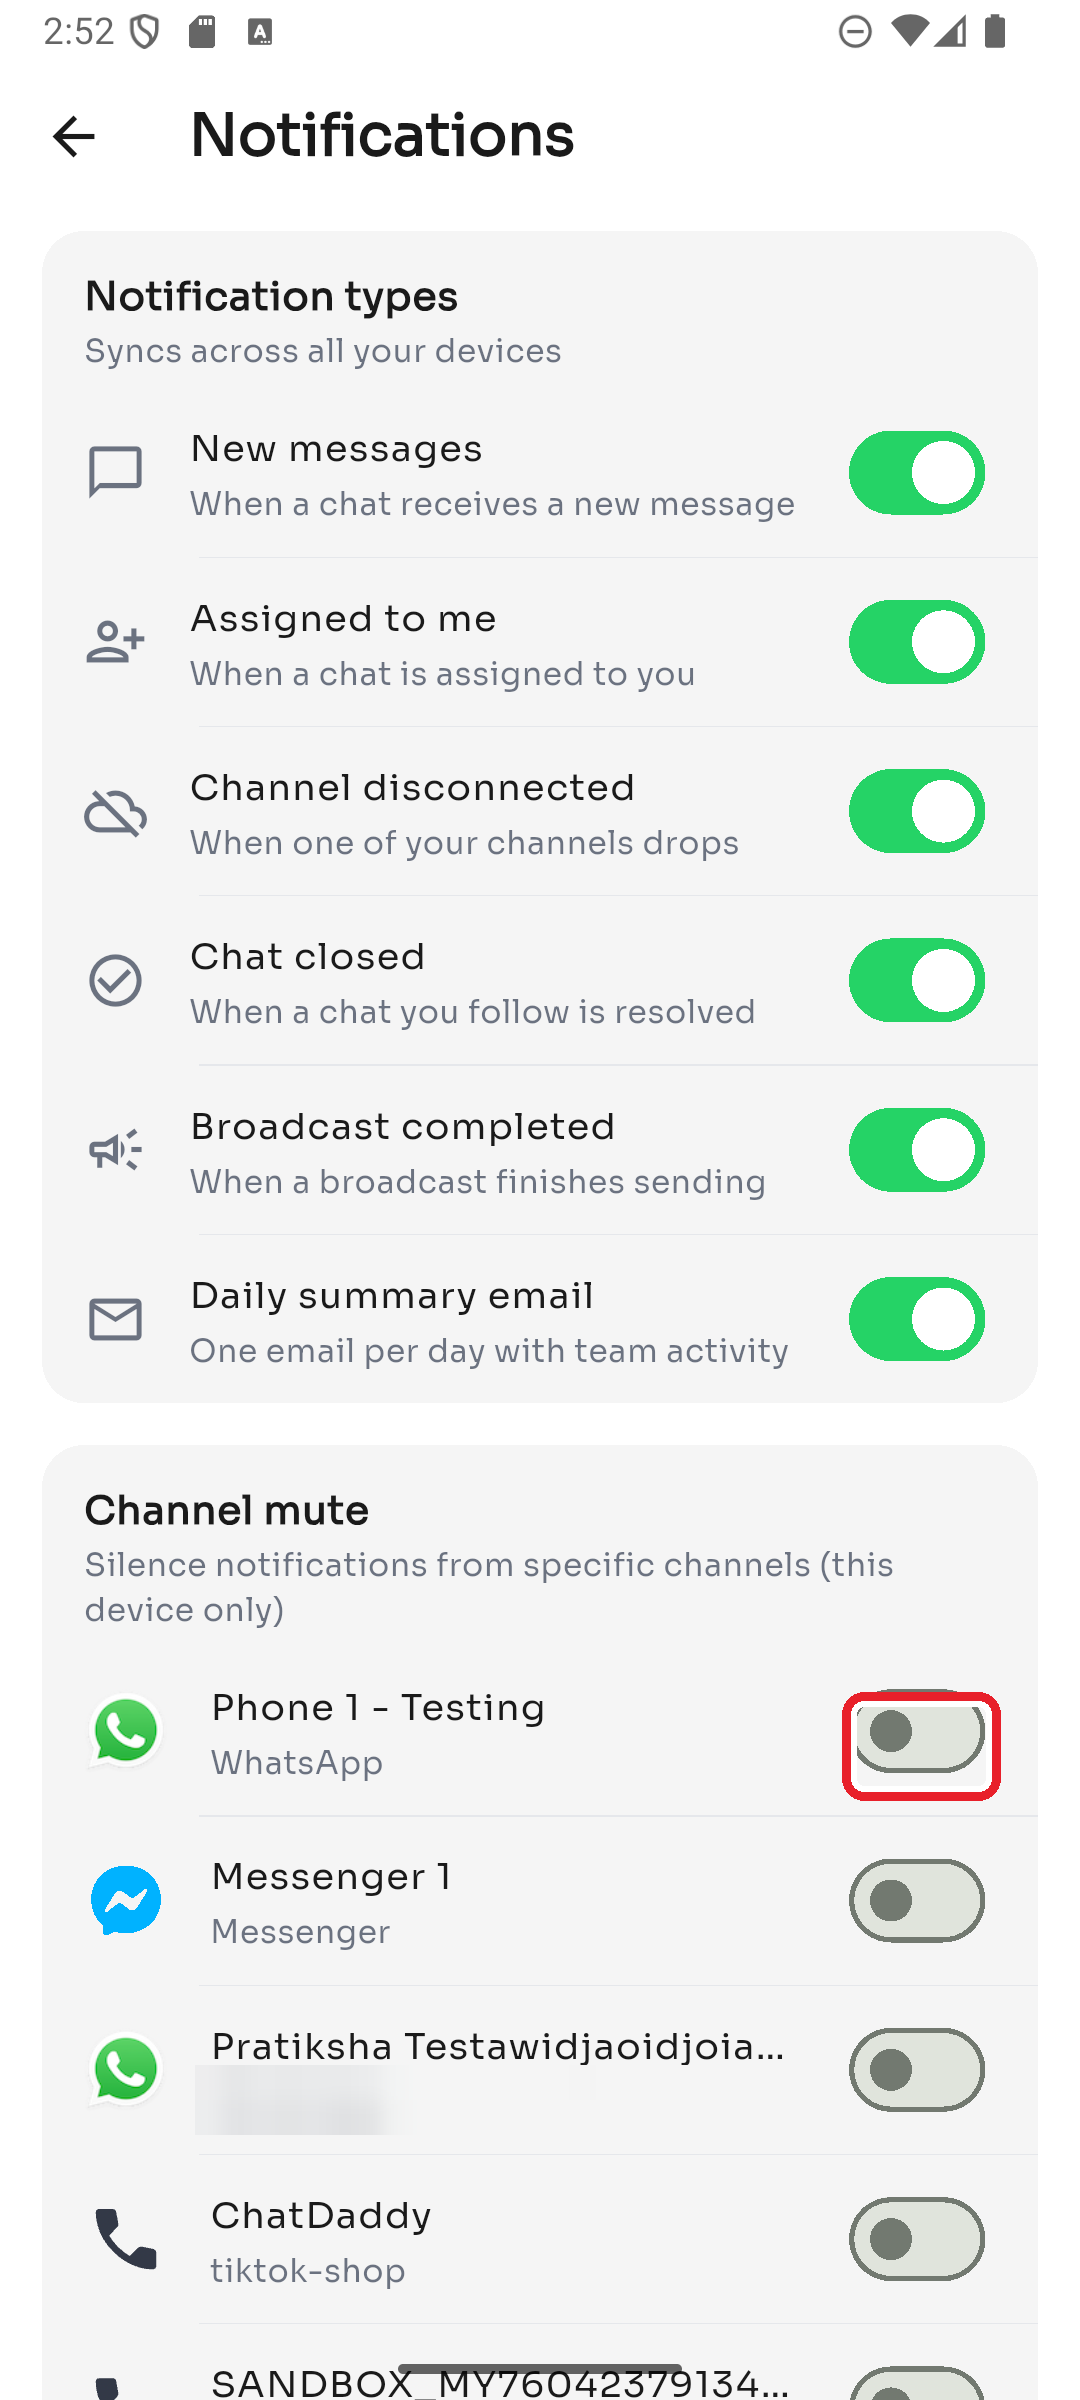
The Notification types section controls what you get alerted about. These sync across all your devices. Toggle each one on or off:
- New messages — when a chat receives a new message
- Assigned to me — when a chat is assigned to you
- Channel disconnected — when one of your channels drops
- Chat closed — when a chat you follow is resolved
- Broadcast completed — when a broadcast finishes sending
- Daily summary email — one email per day with team activity
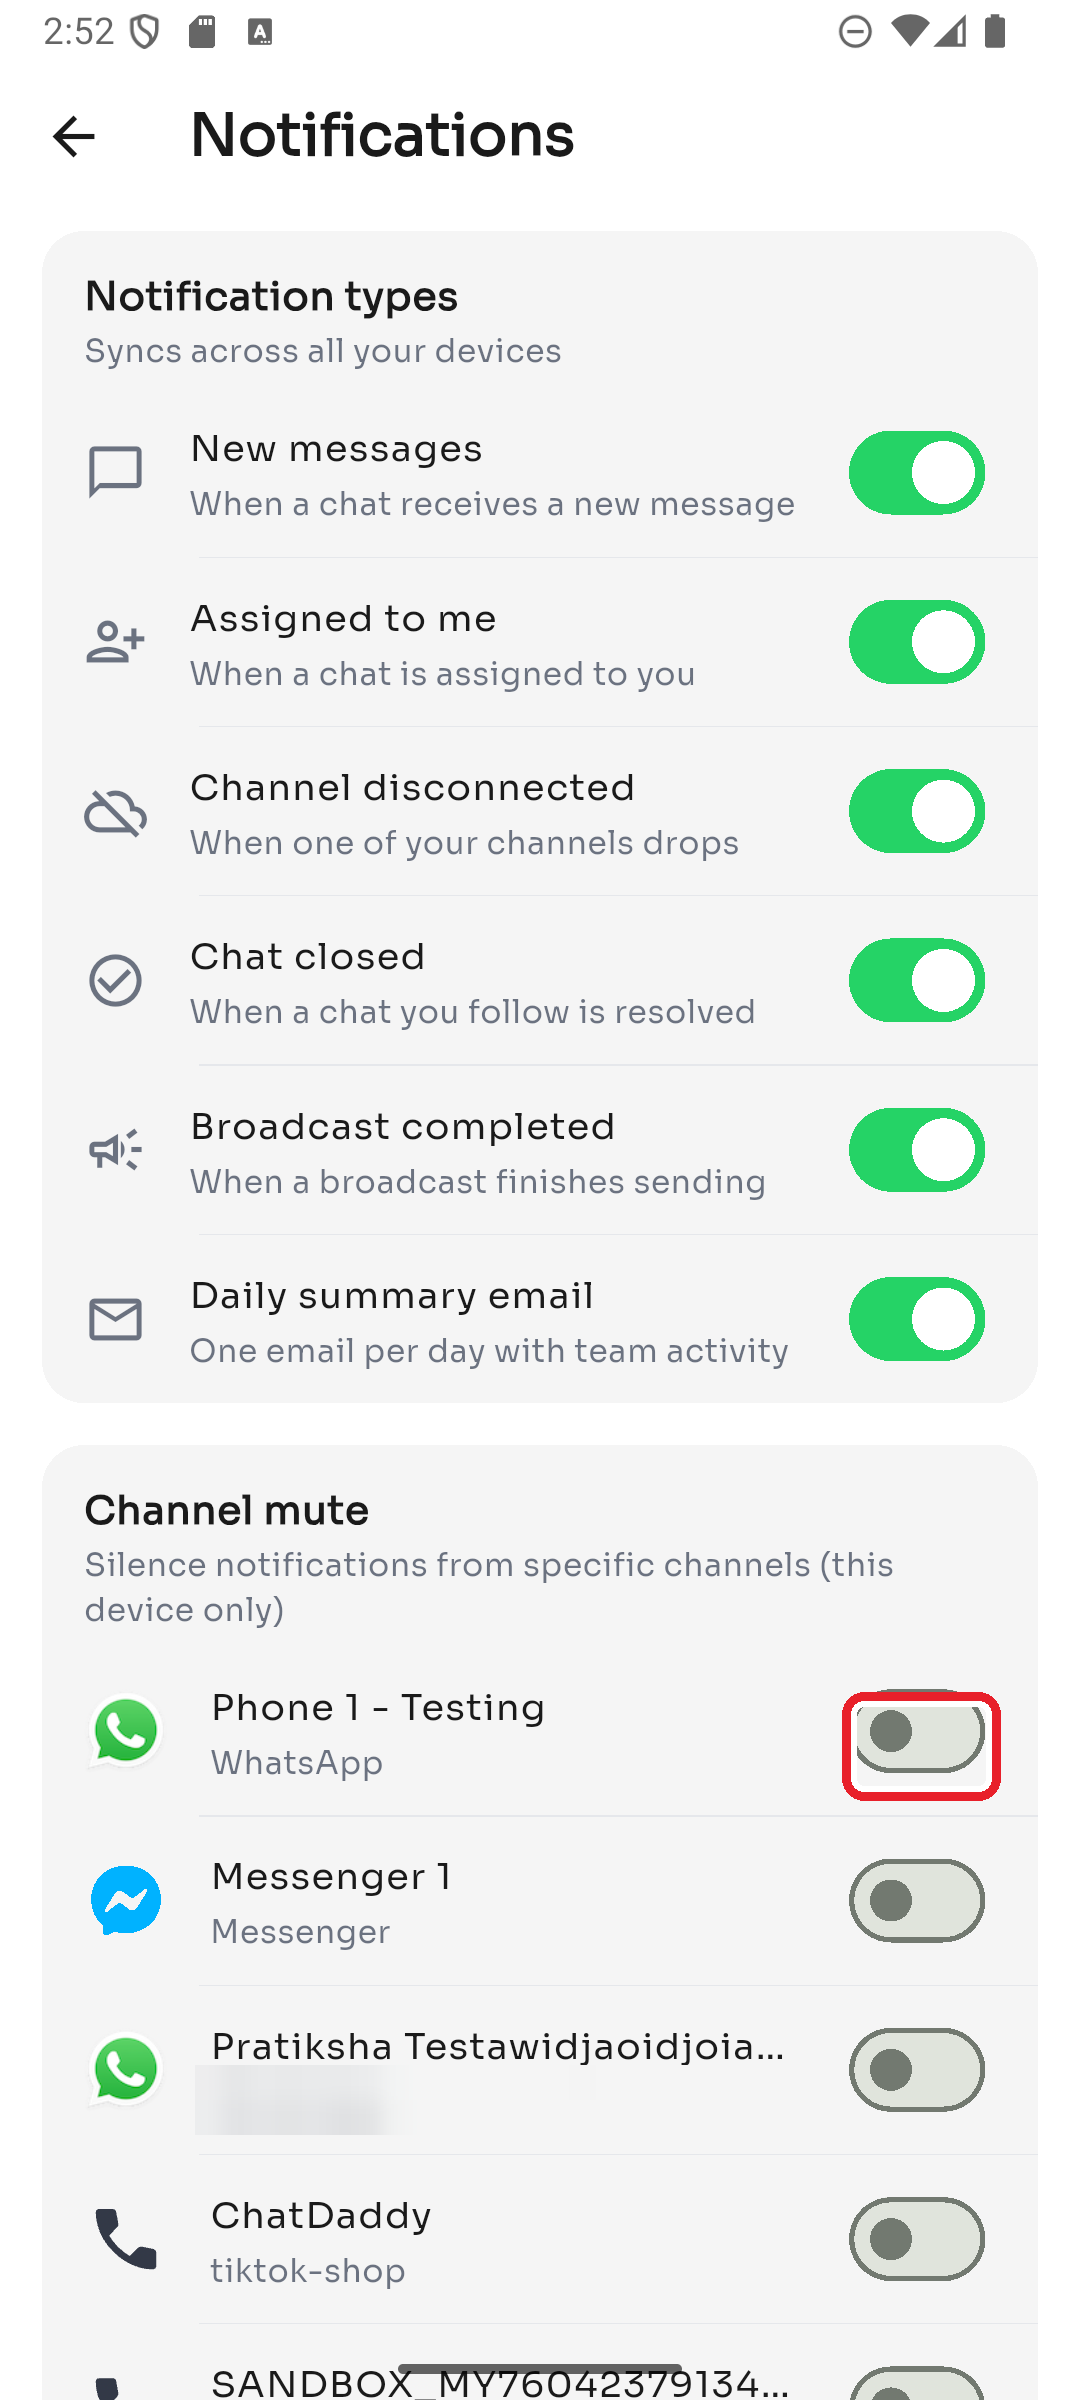
Step 2 — Mute a specific channel
Under Channel mute, switch off notifications from any individual channel. This setting applies to this device only.
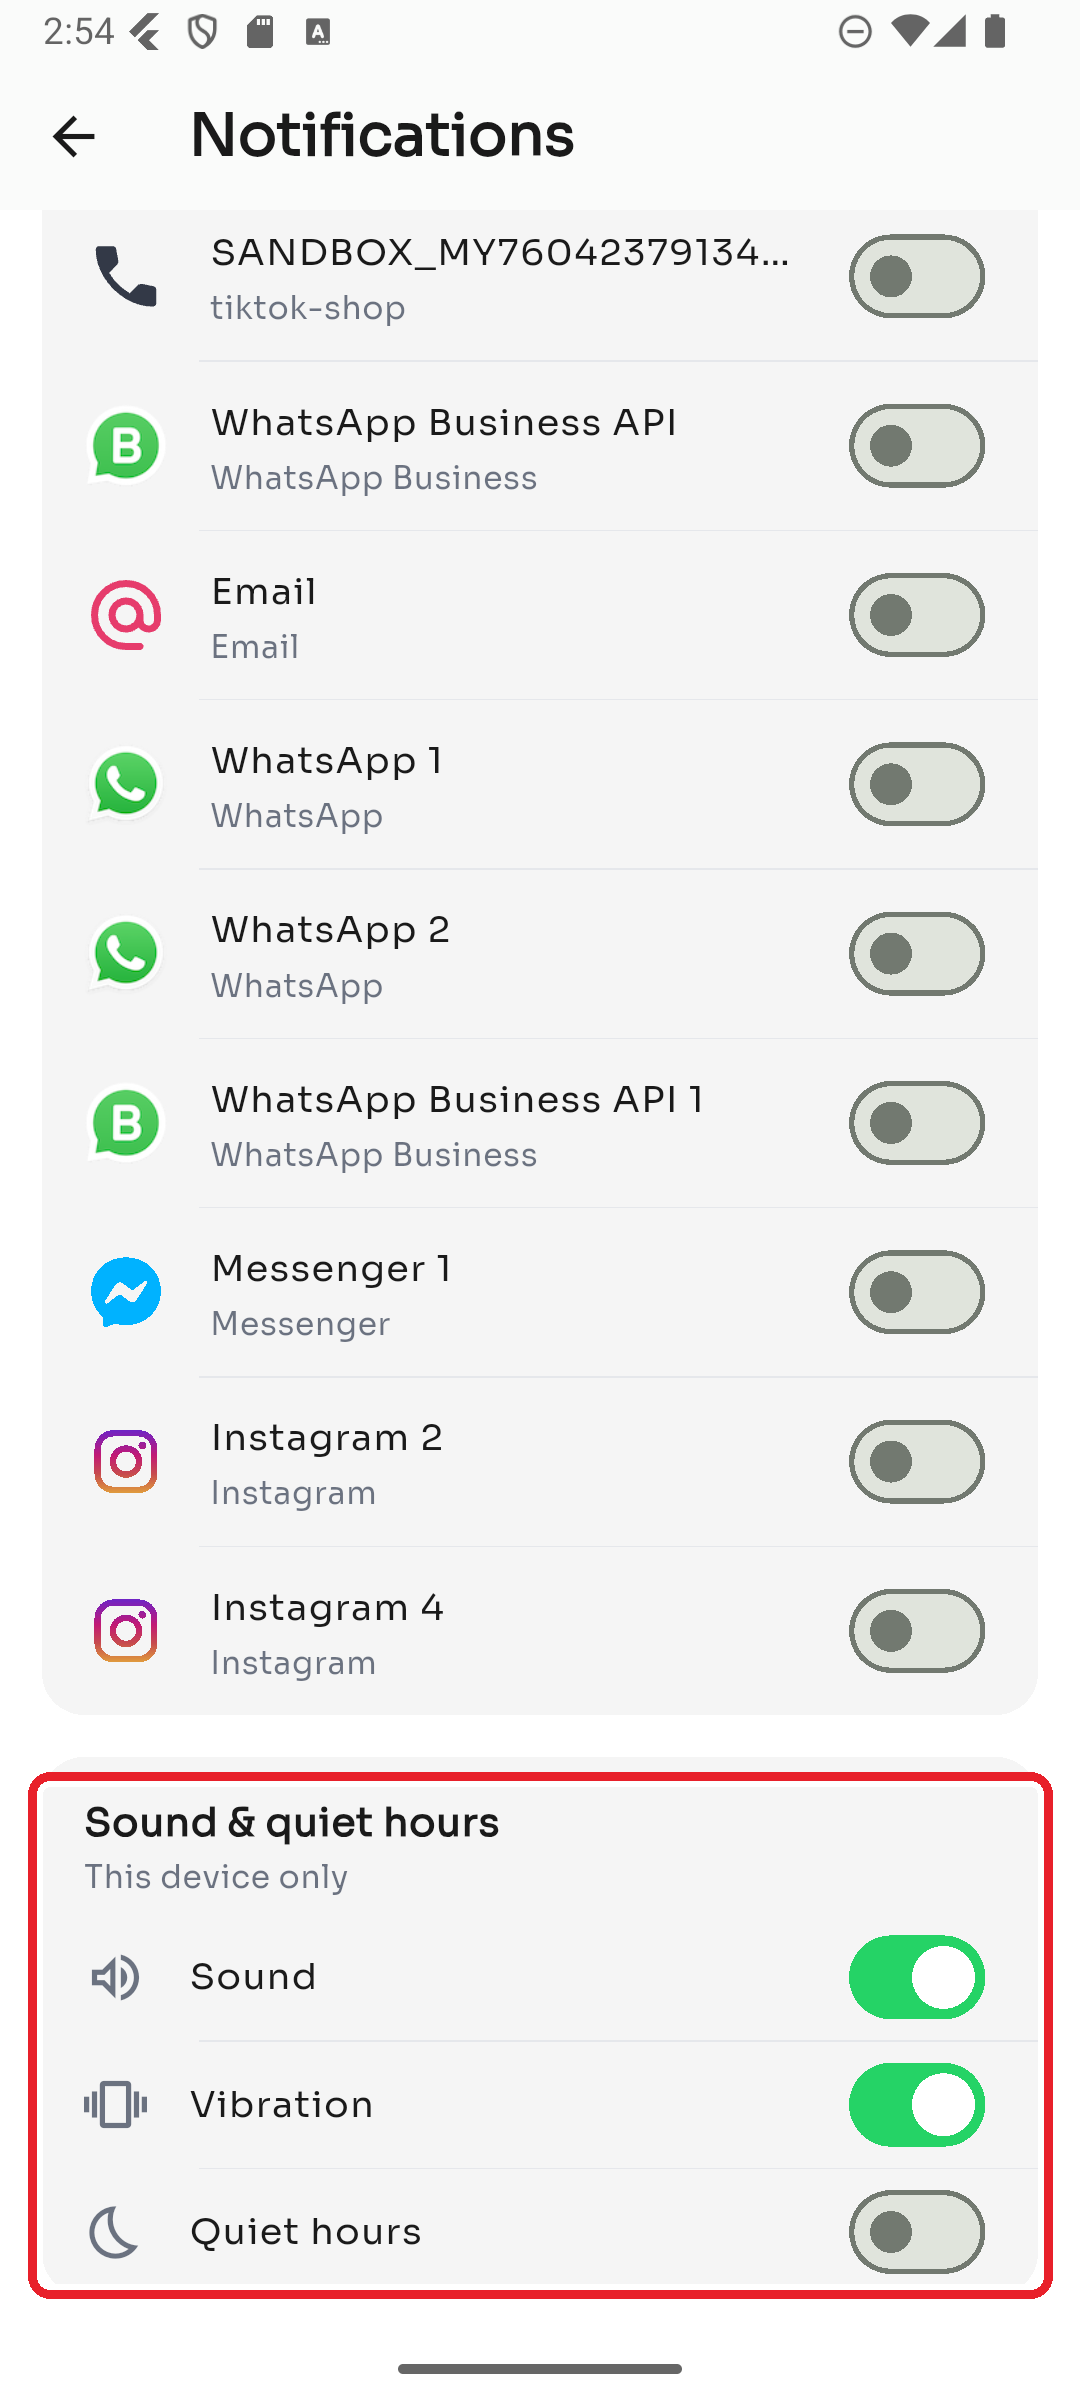
Step 3 — Sound & quiet hours
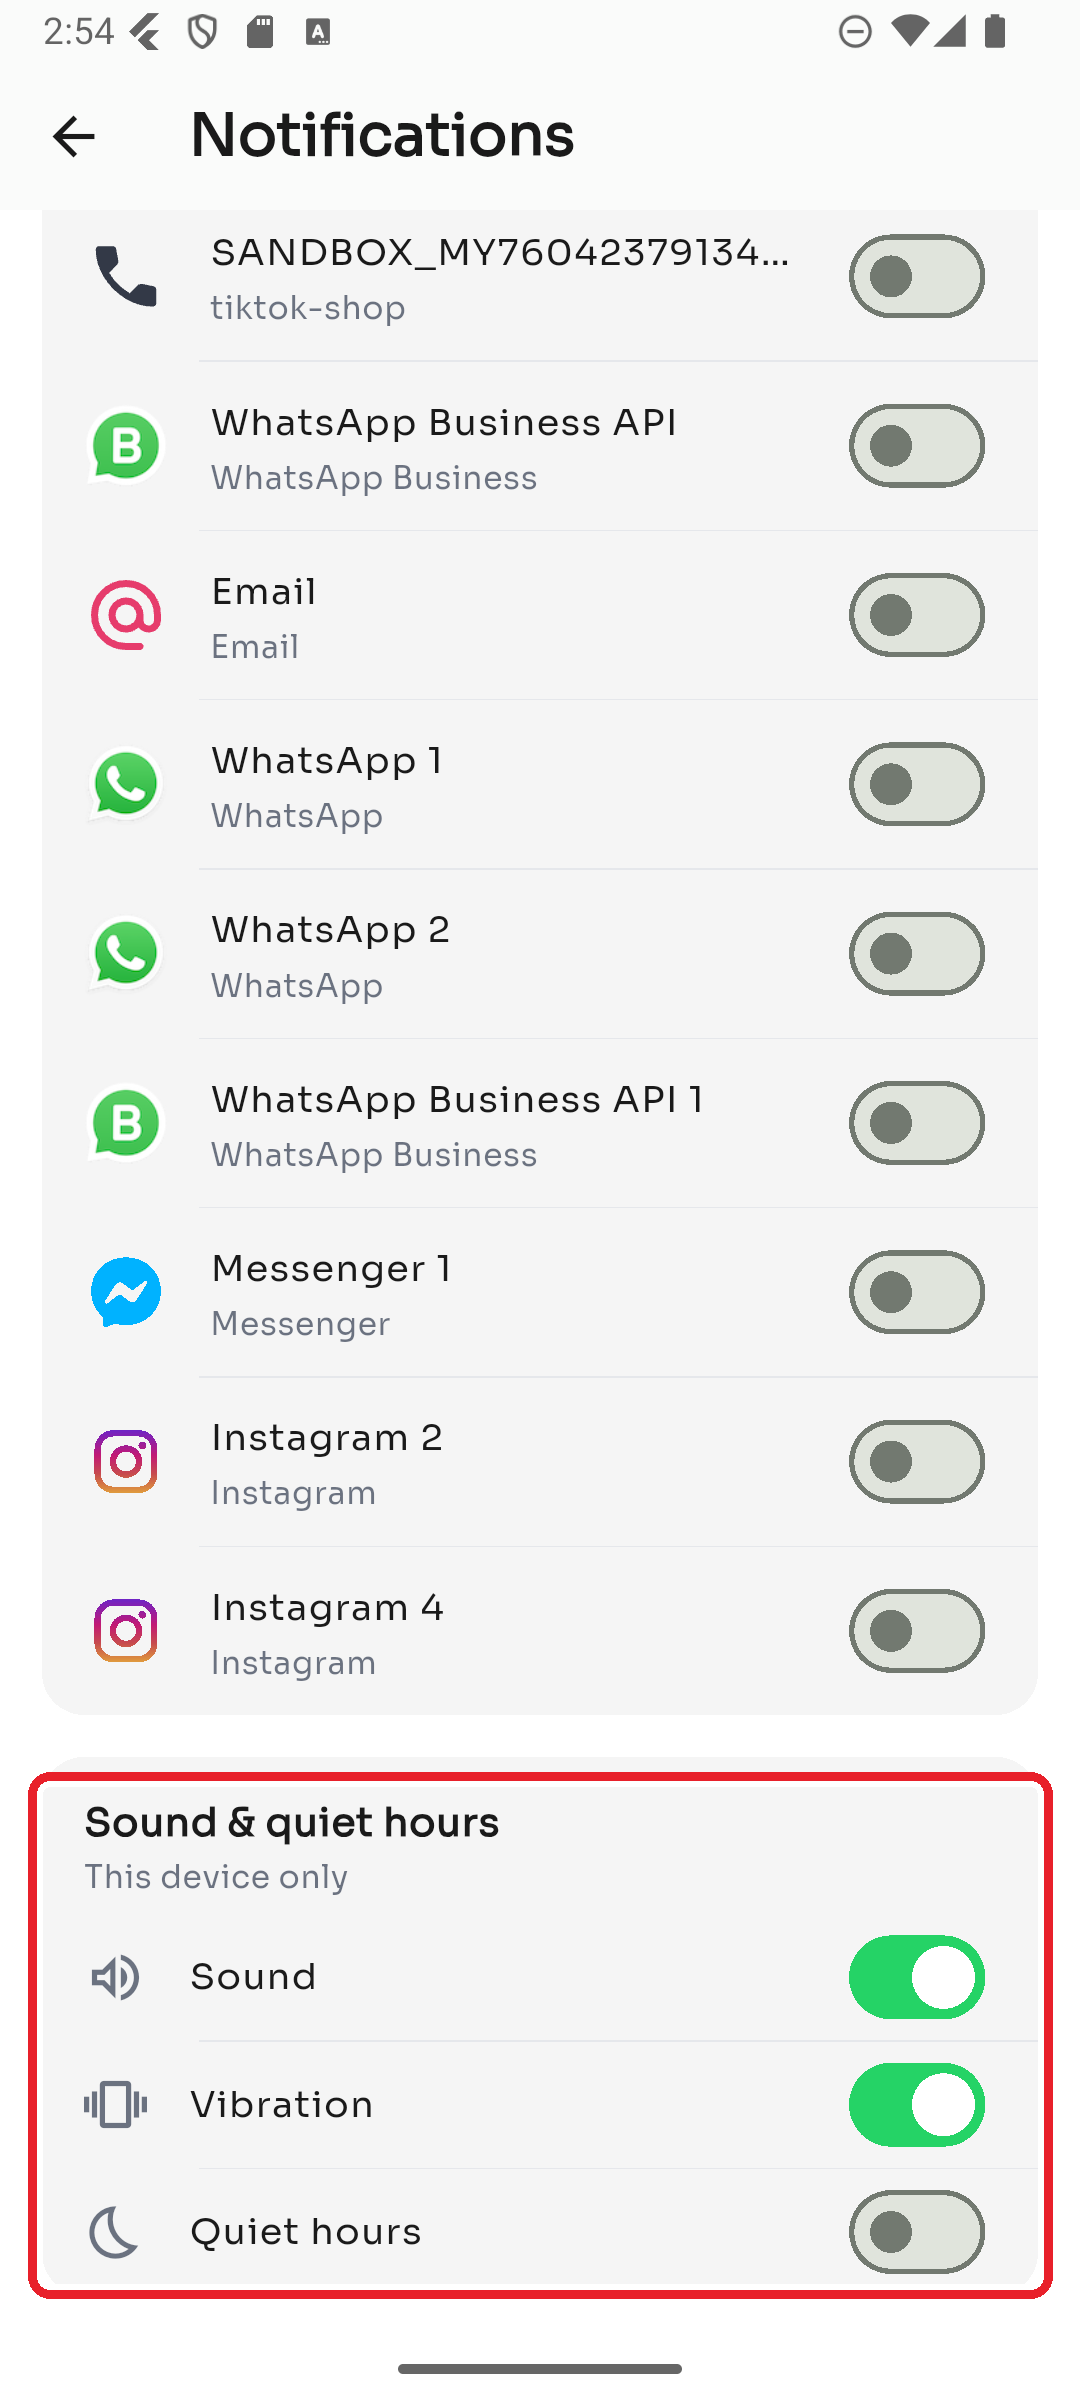
The Sound & quiet hours section (also this device only) lets you control:
- Sound — play a sound for notifications
- Vibration — vibrate on notifications
- Quiet hours — silence notifications during a time range you set (tap to choose a start and end time)
Channels are the messaging accounts (WhatsApp, Messenger, and more) connected to your team. This guide shows how to view them, manage a channel, and connect a new one. Open it from Settings → Manage Channels. (In each screenshot, the red box shows where to tap.)
Step 1 — View your channels
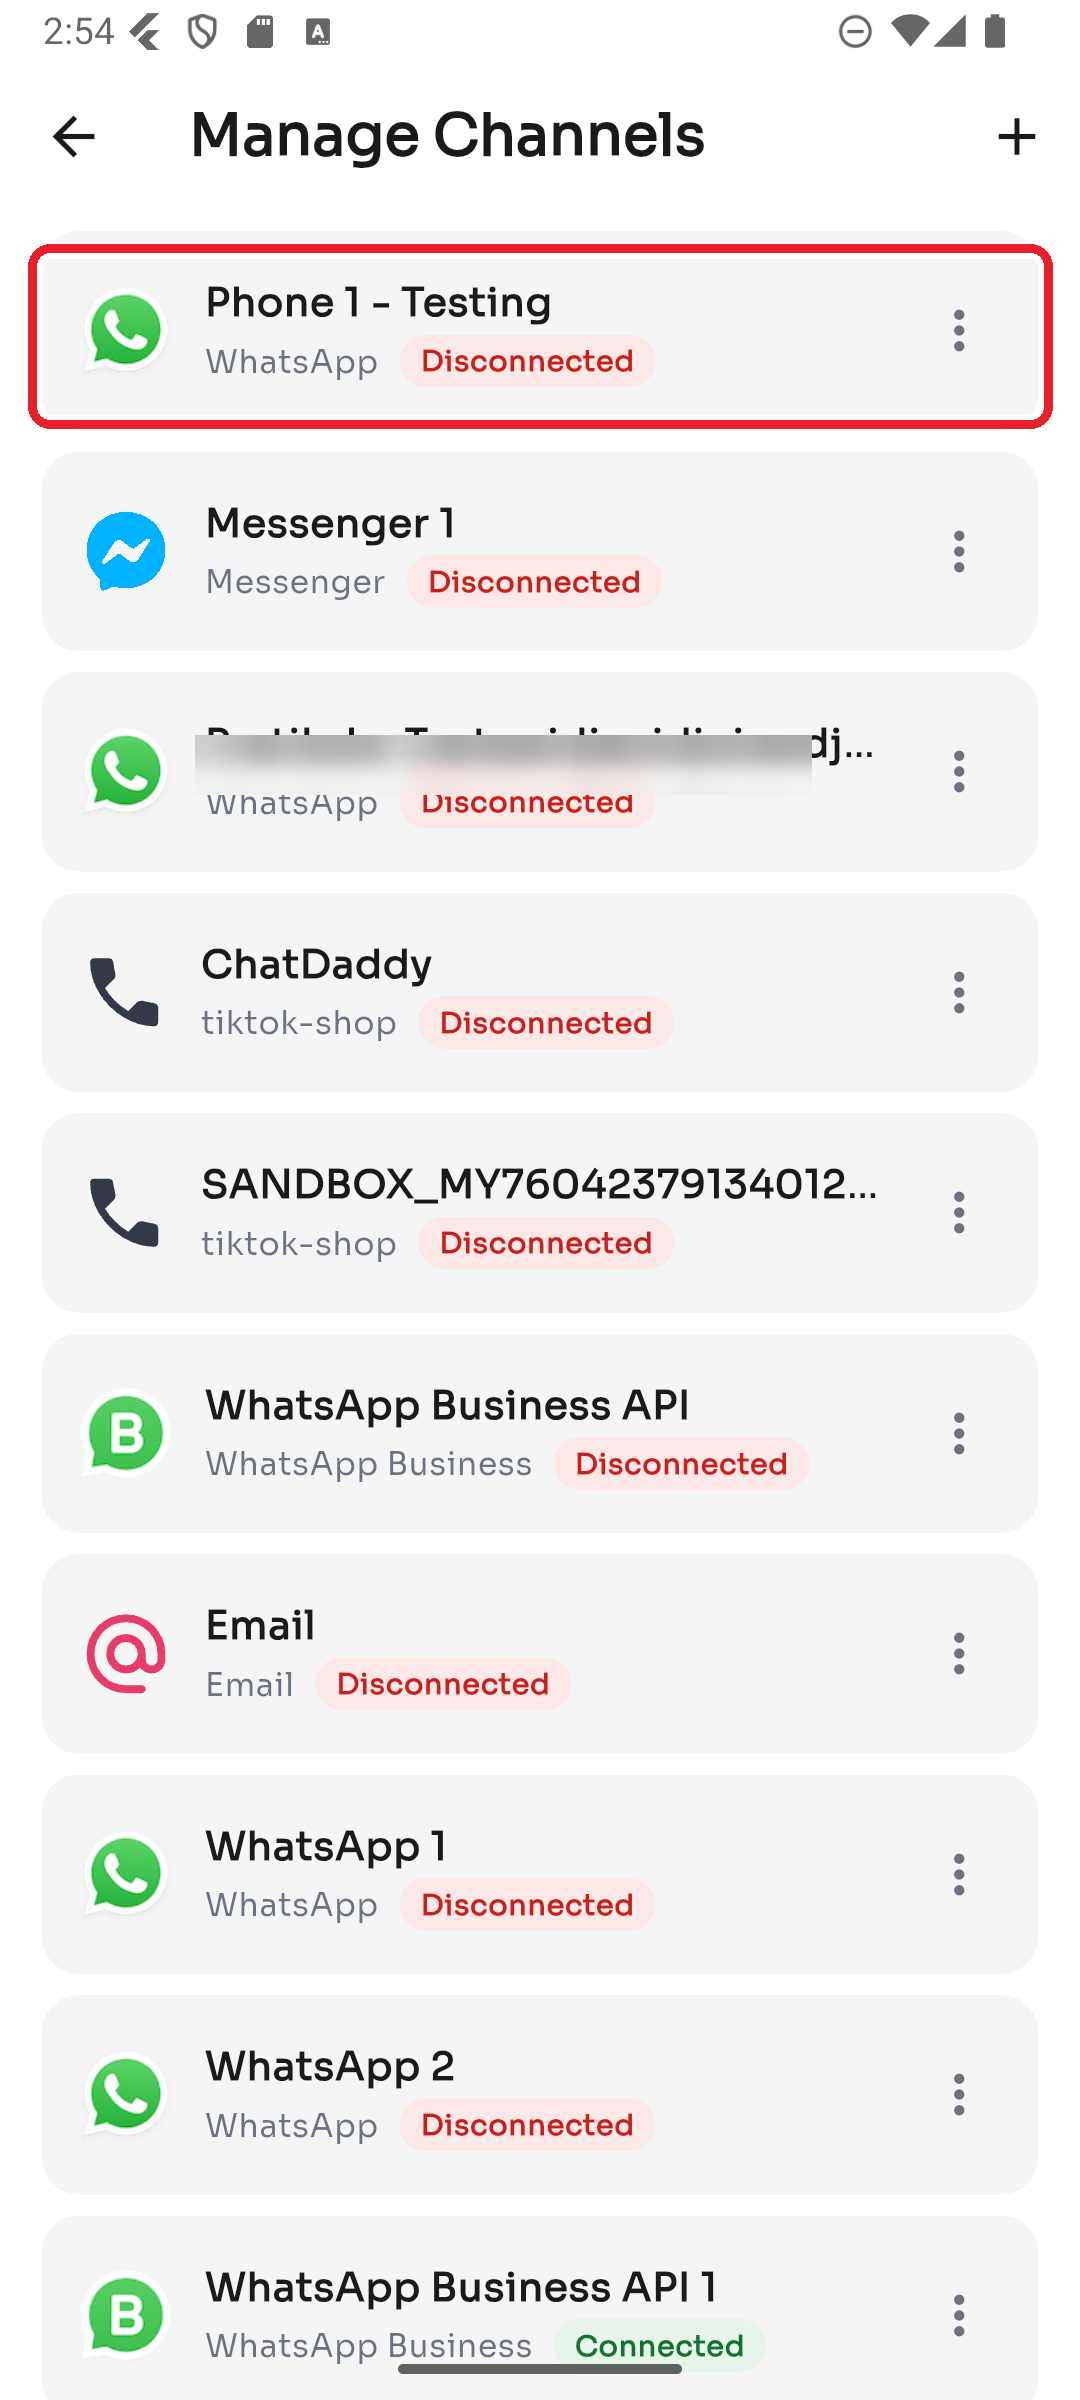
Manage Channels lists every channel on your team, each with its platform and a status badge — Connected, Connecting, or Disconnected.
Step 2 — Manage a channel
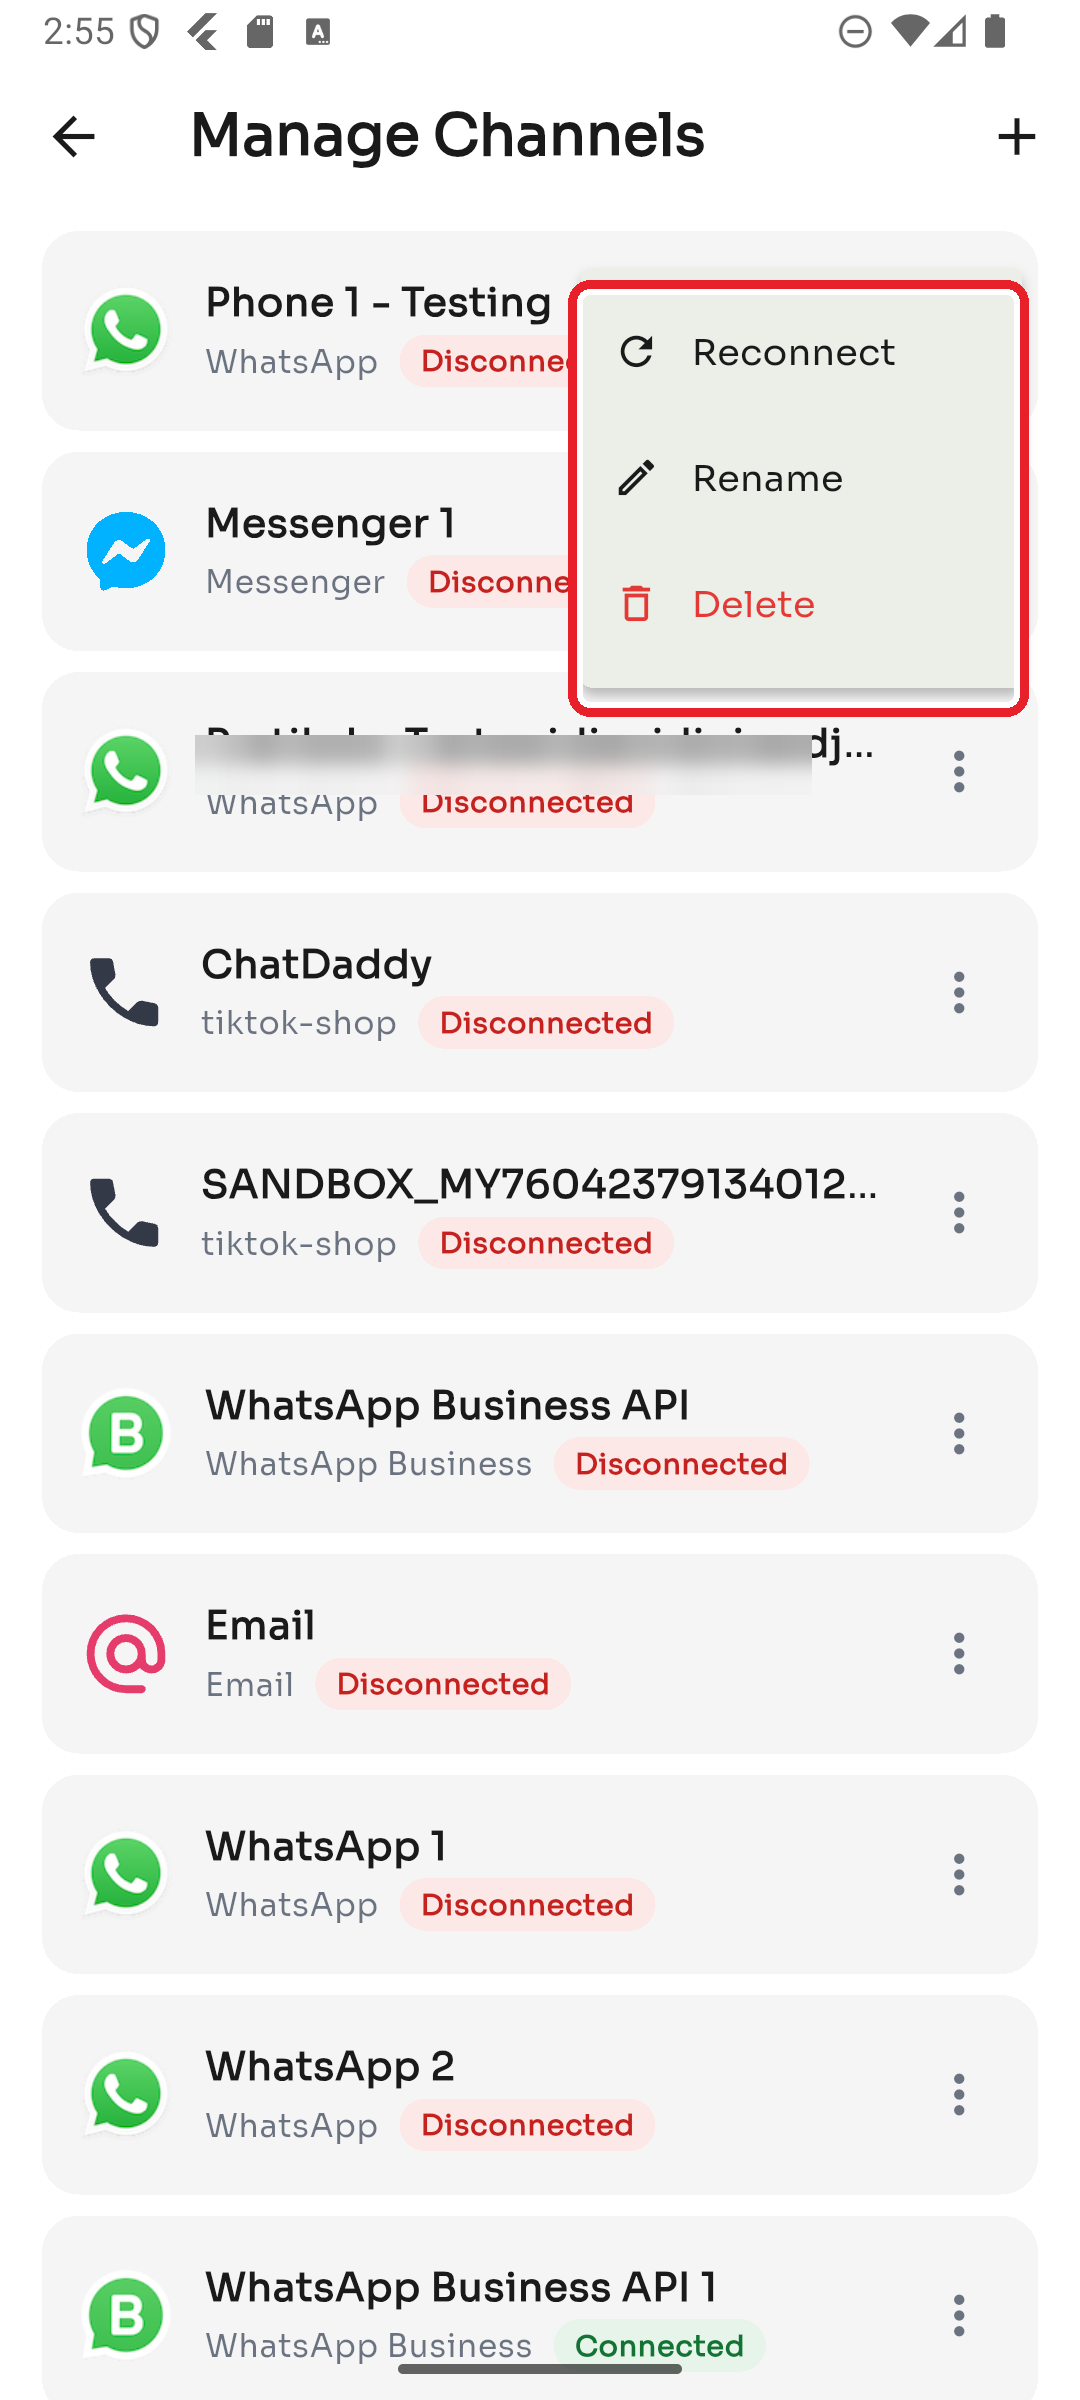
Tap the ⋮ menu on any channel to:
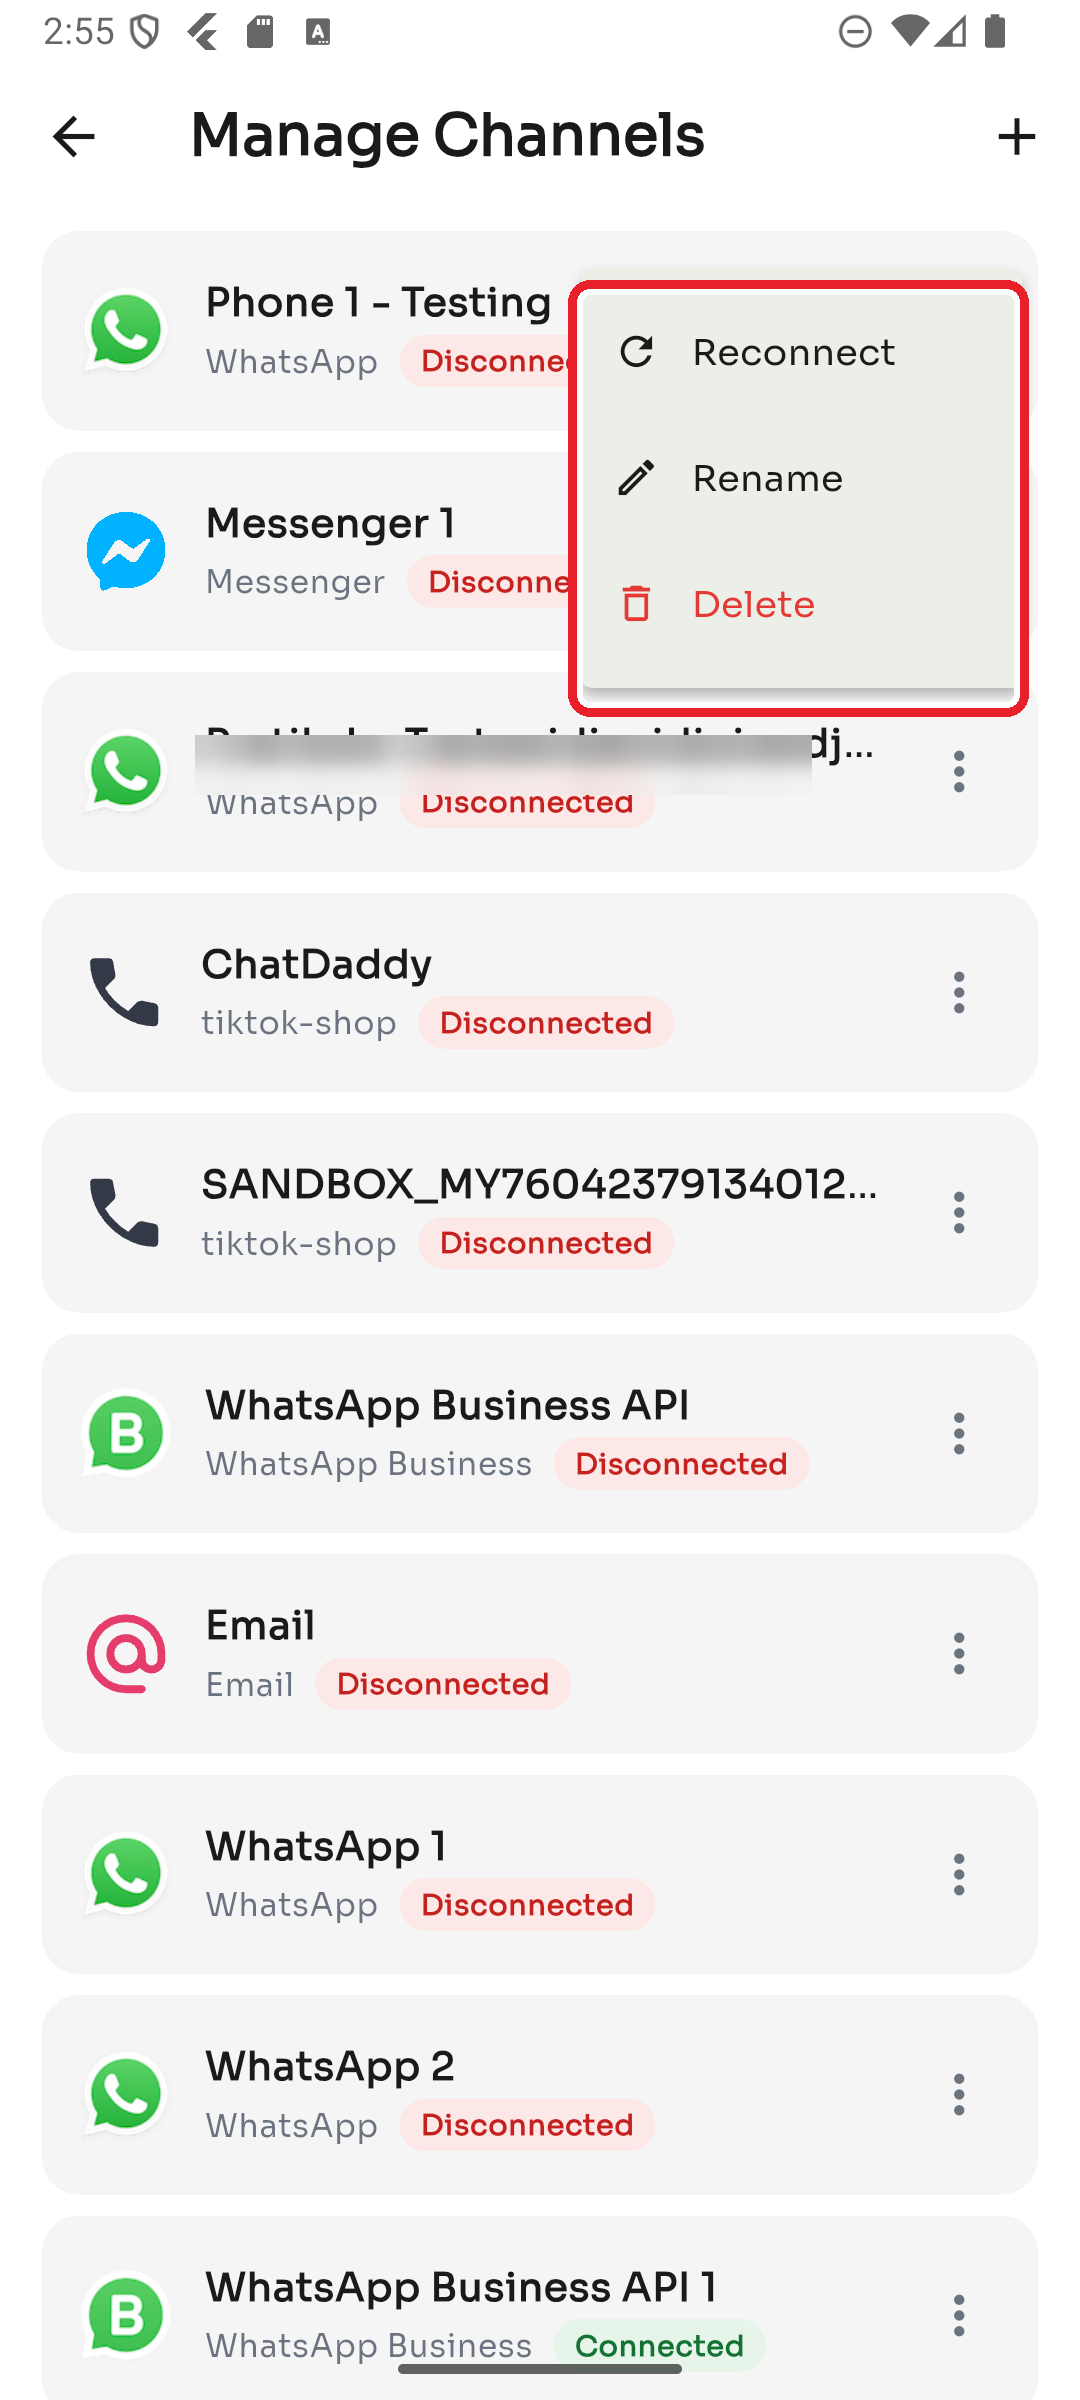
- Reconnect — bring a disconnected channel back online
- Rename — give the channel a friendlier name
- Delete — remove the channel from your team
Note: Deleting a channel removes it from your team. Existing chats stay, but you won't be able to send or receive new messages on that channel.
Step 3 — Add a channel
To connect a new channel, tap the ➕ in the top-right corner of Manage Channels.
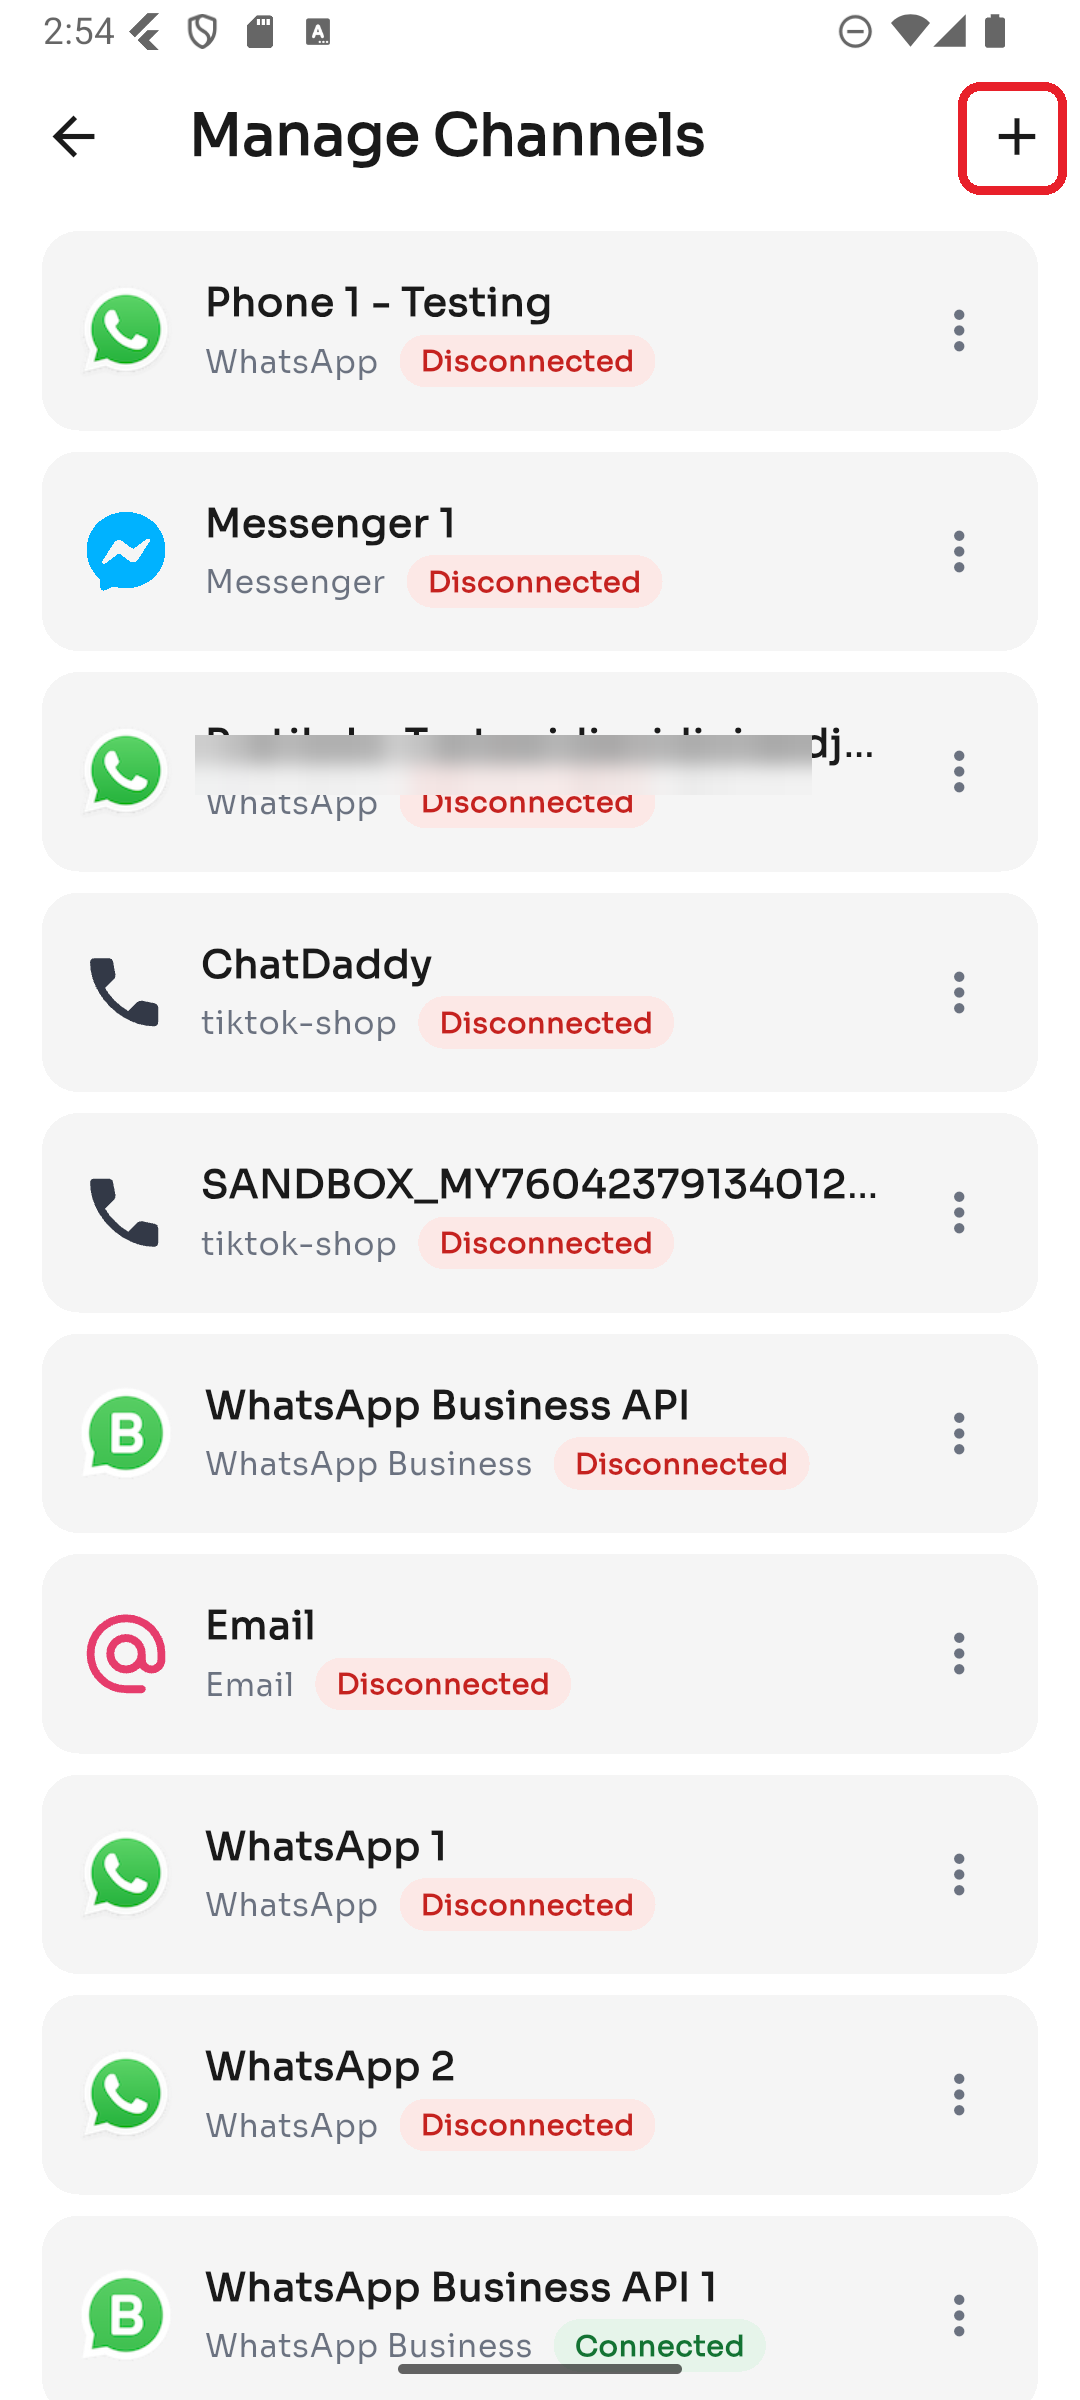
Step 4 — Choose a platform
Pick the platform you want to connect. WhatsApp is available now; other platforms (WhatsApp Business API, Instagram, Messenger, Email, SMS) are marked Soon.
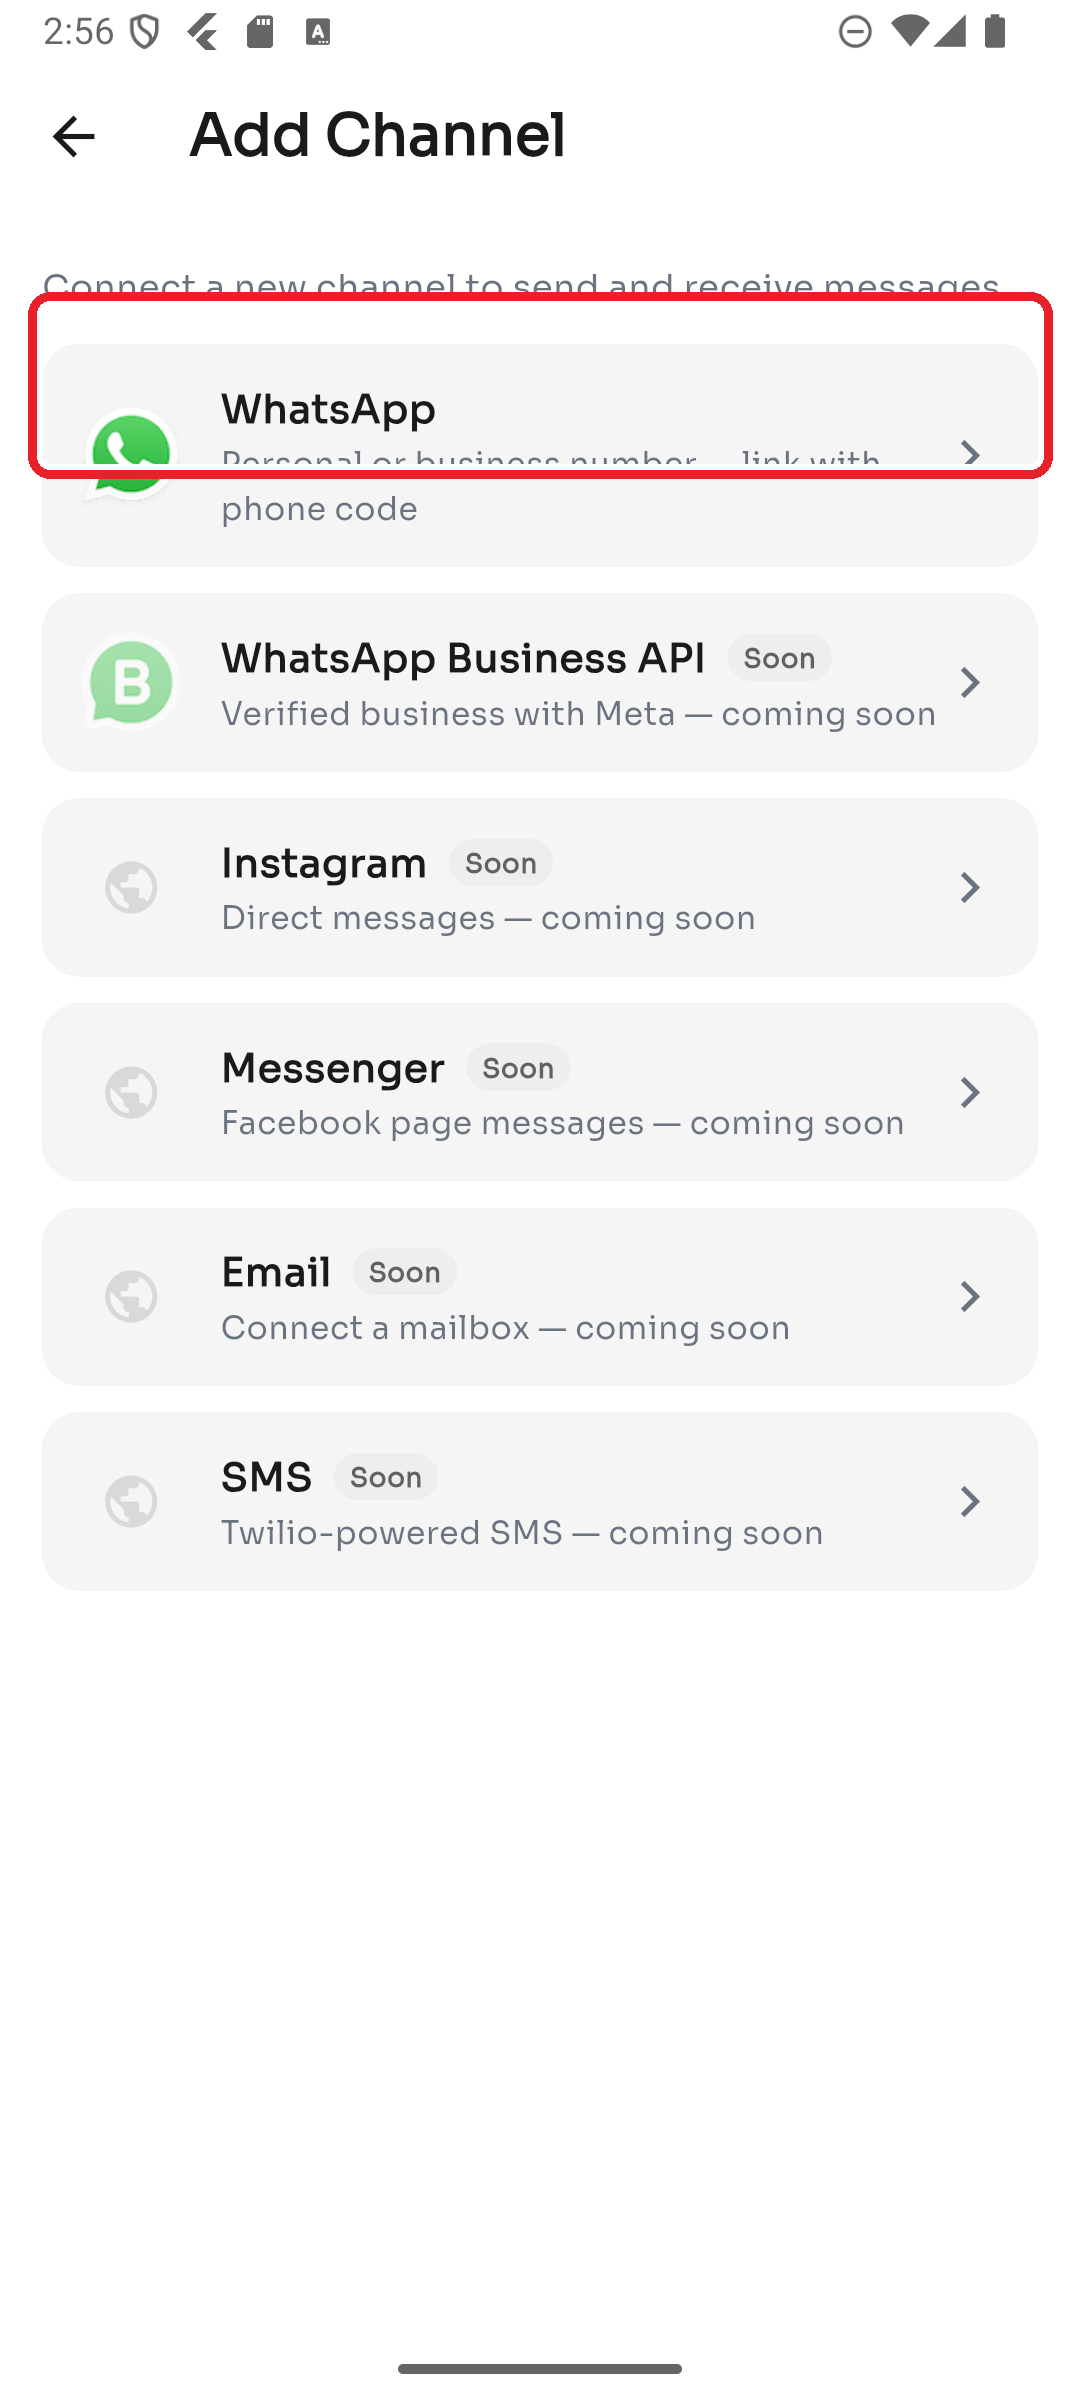
Step 5 — Connect WhatsApp
Select your country code, enter the WhatsApp number you want to link, and tap Continue.
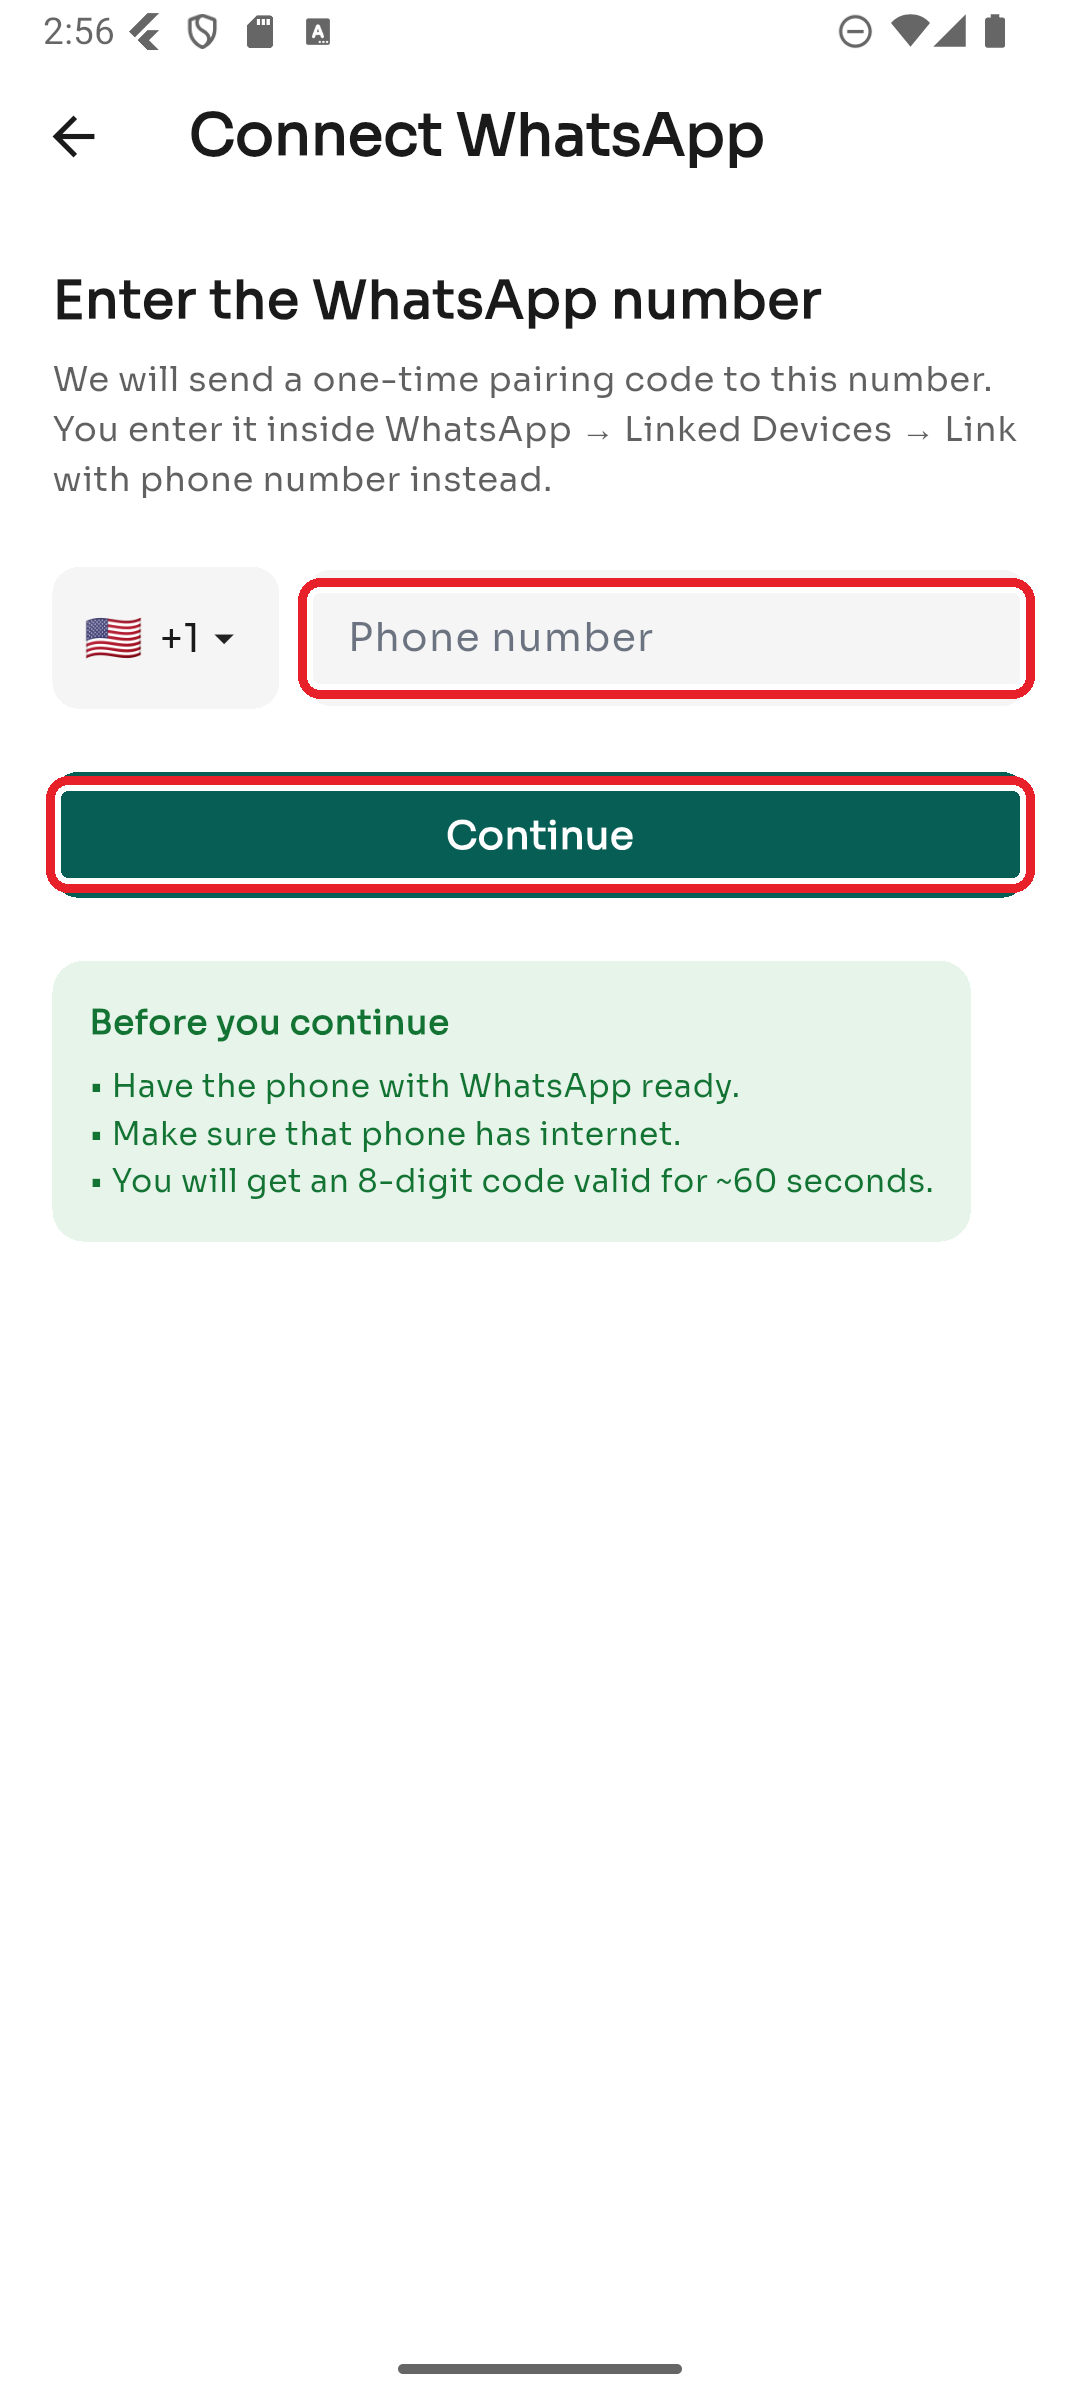
ChatDaddy then sends a one-time 8-digit pairing code (valid for about 60 seconds). On the phone that has WhatsApp:
- Open WhatsApp → Settings → Linked Devices → Link with phone number instead.
- Enter the 8-digit code shown in ChatDaddy. Once accepted, the channel connects and appears in your Manage Channels list. (Prefer scanning? The connect screen also offers a QR code option — open WhatsApp → Linked Devices → Link a device and scan it.)
Before you start: have the phone with WhatsApp ready and on the internet — the pairing code expires quickly.
If a channel goes offline, you'll see it marked Disconnected and a yellow banner at the top of your Chats list. Here's how to bring it back.
Step 1 — Open Manage Channels
Go to Settings → Manage Channels. Any channel that's offline shows a red Disconnected badge.
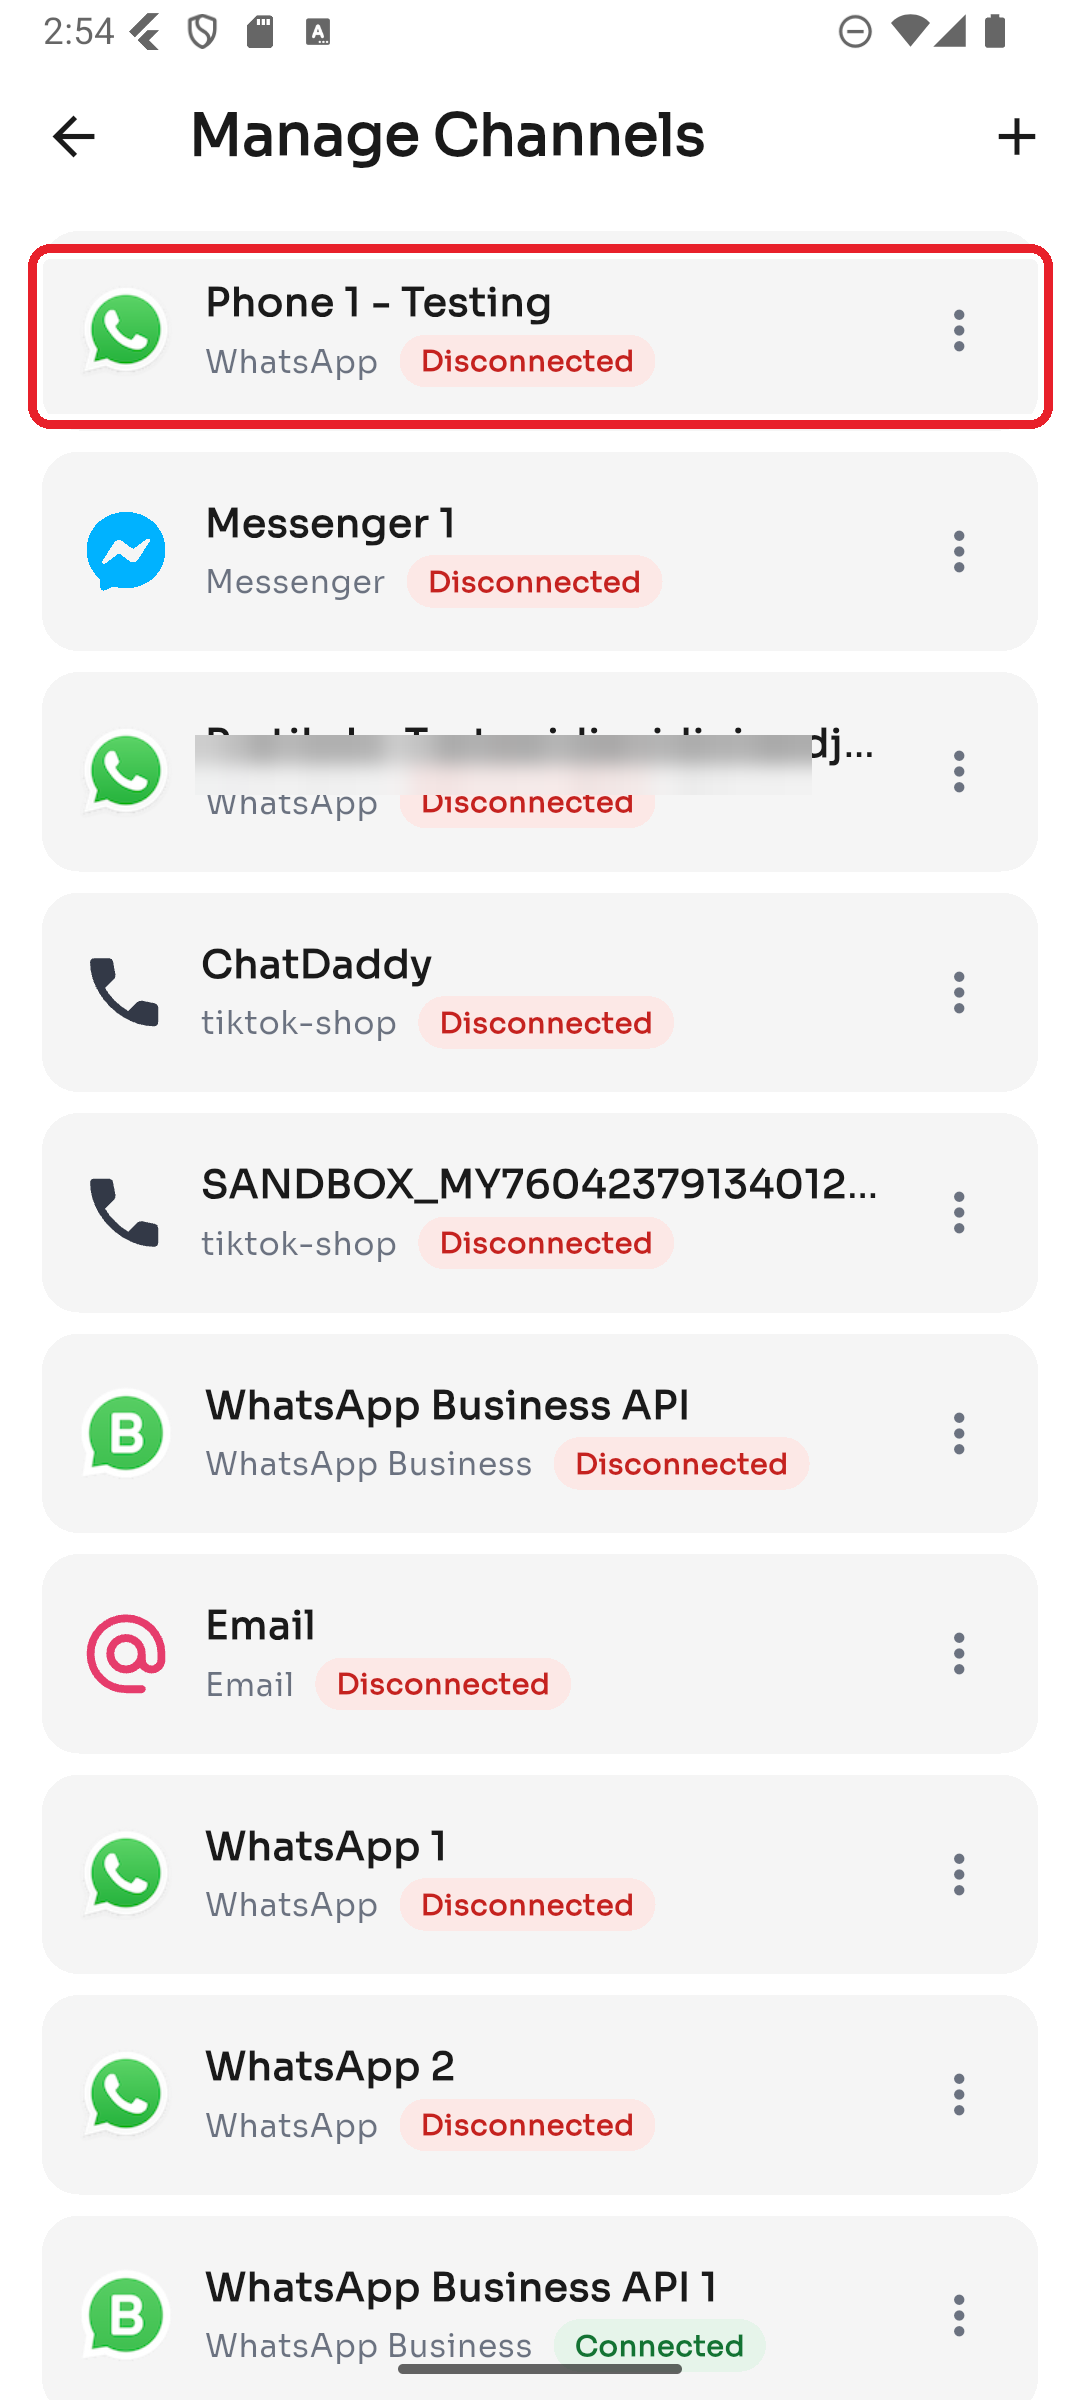
Shortcut: you can also tap Reconnect directly from the yellow banner at the top of your Chats list.
Step 2 — Reconnect it
Tap the ⋮ menu on the channel and choose Reconnect.
For a WhatsApp channel you may be asked to link it again with a pairing code — see How to Connect WhatsApp in the Channels guide.
If a channel keeps dropping, see the troubleshooting article My WhatsApp channel keeps disconnecting.
You can message any number, even if you've never chatted with them before.
Step 1 — Tap the + button
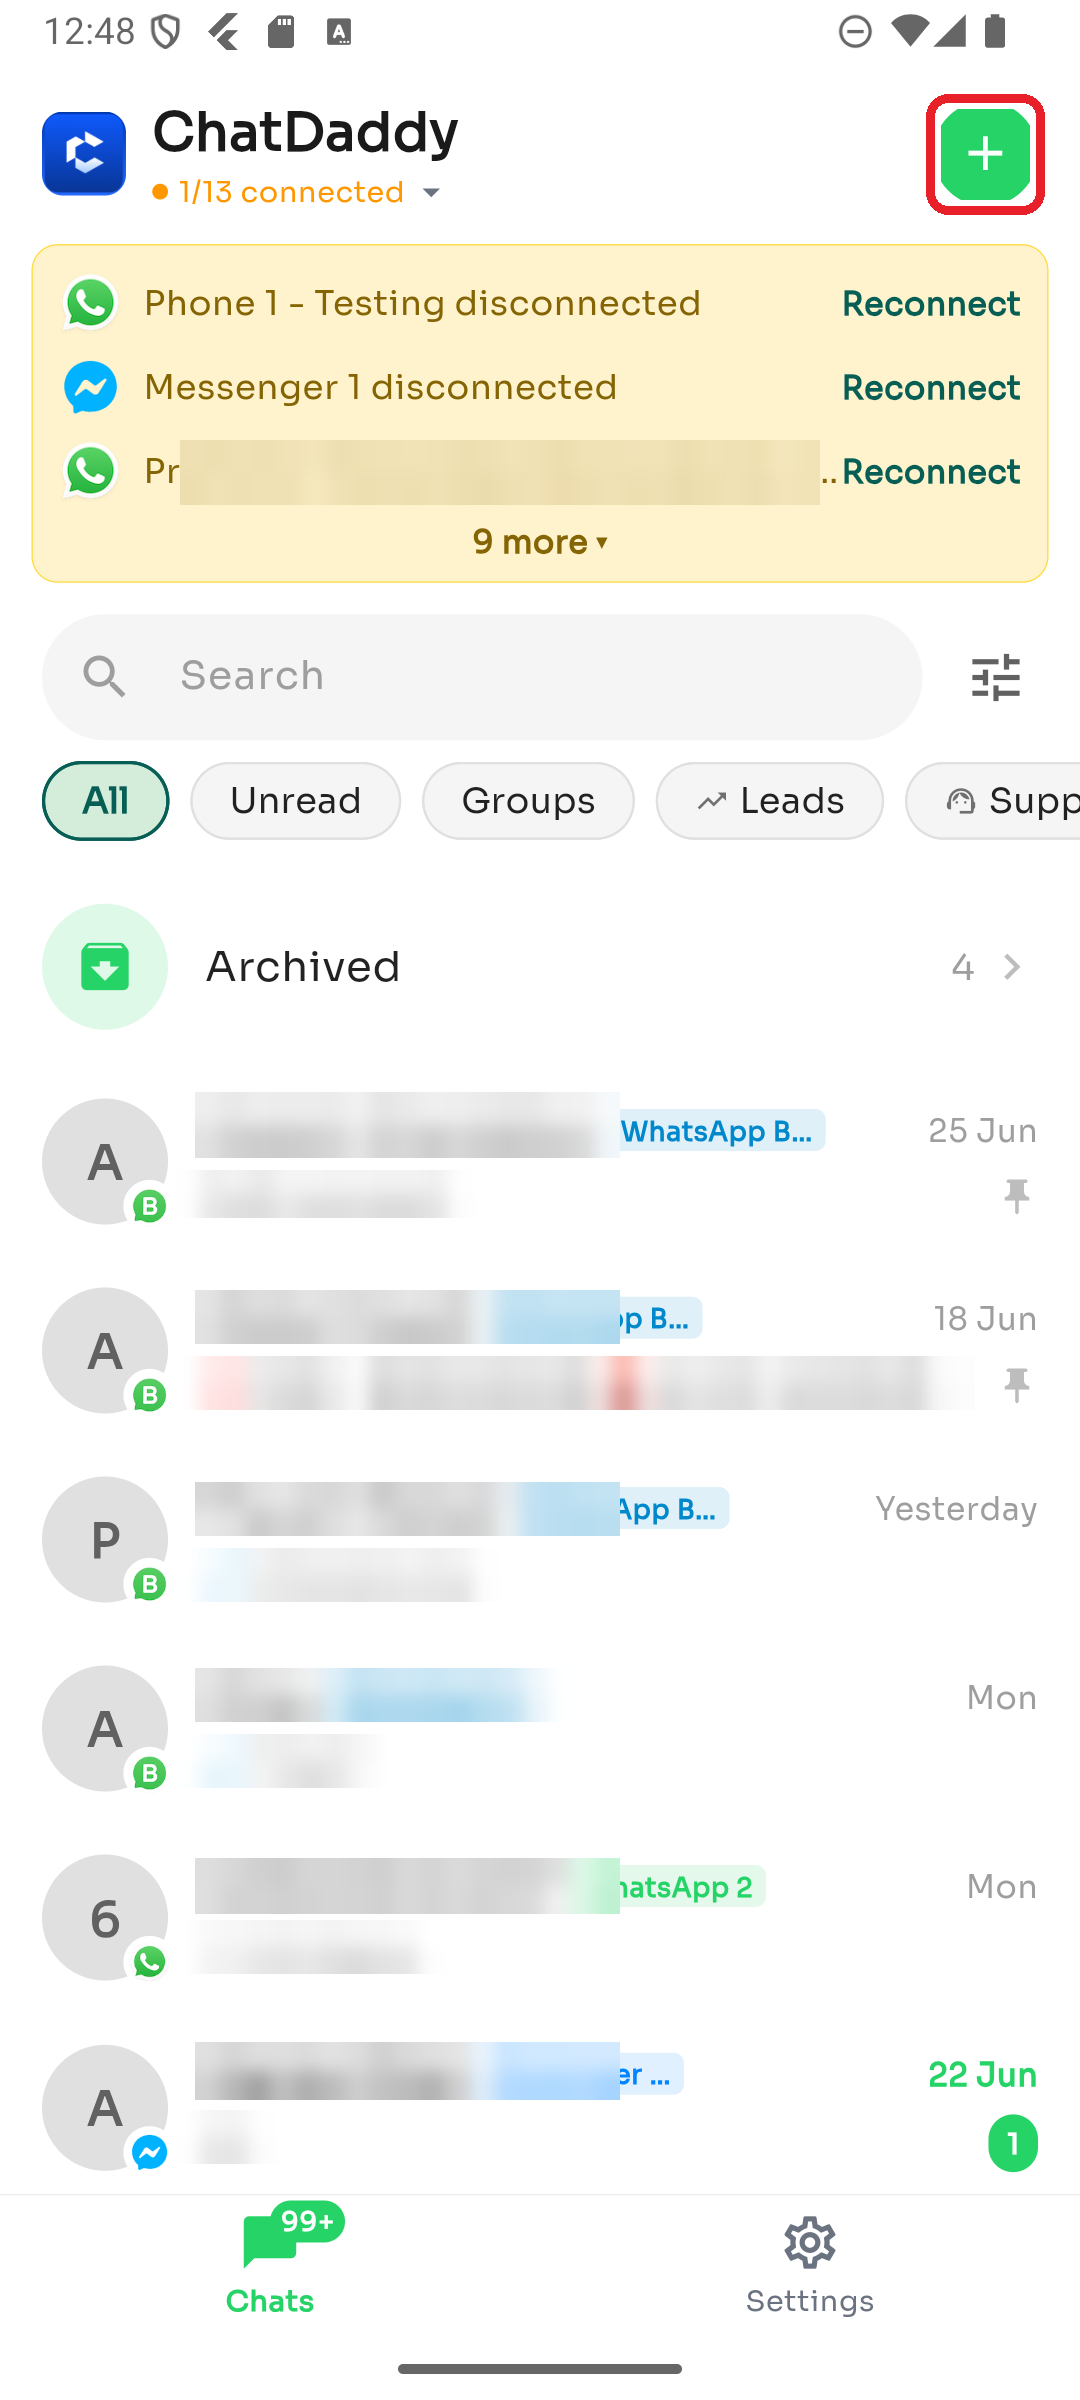
On the Chats tab, tap the green ➕ button in the top-right corner.
Step 2 — Enter the number and start
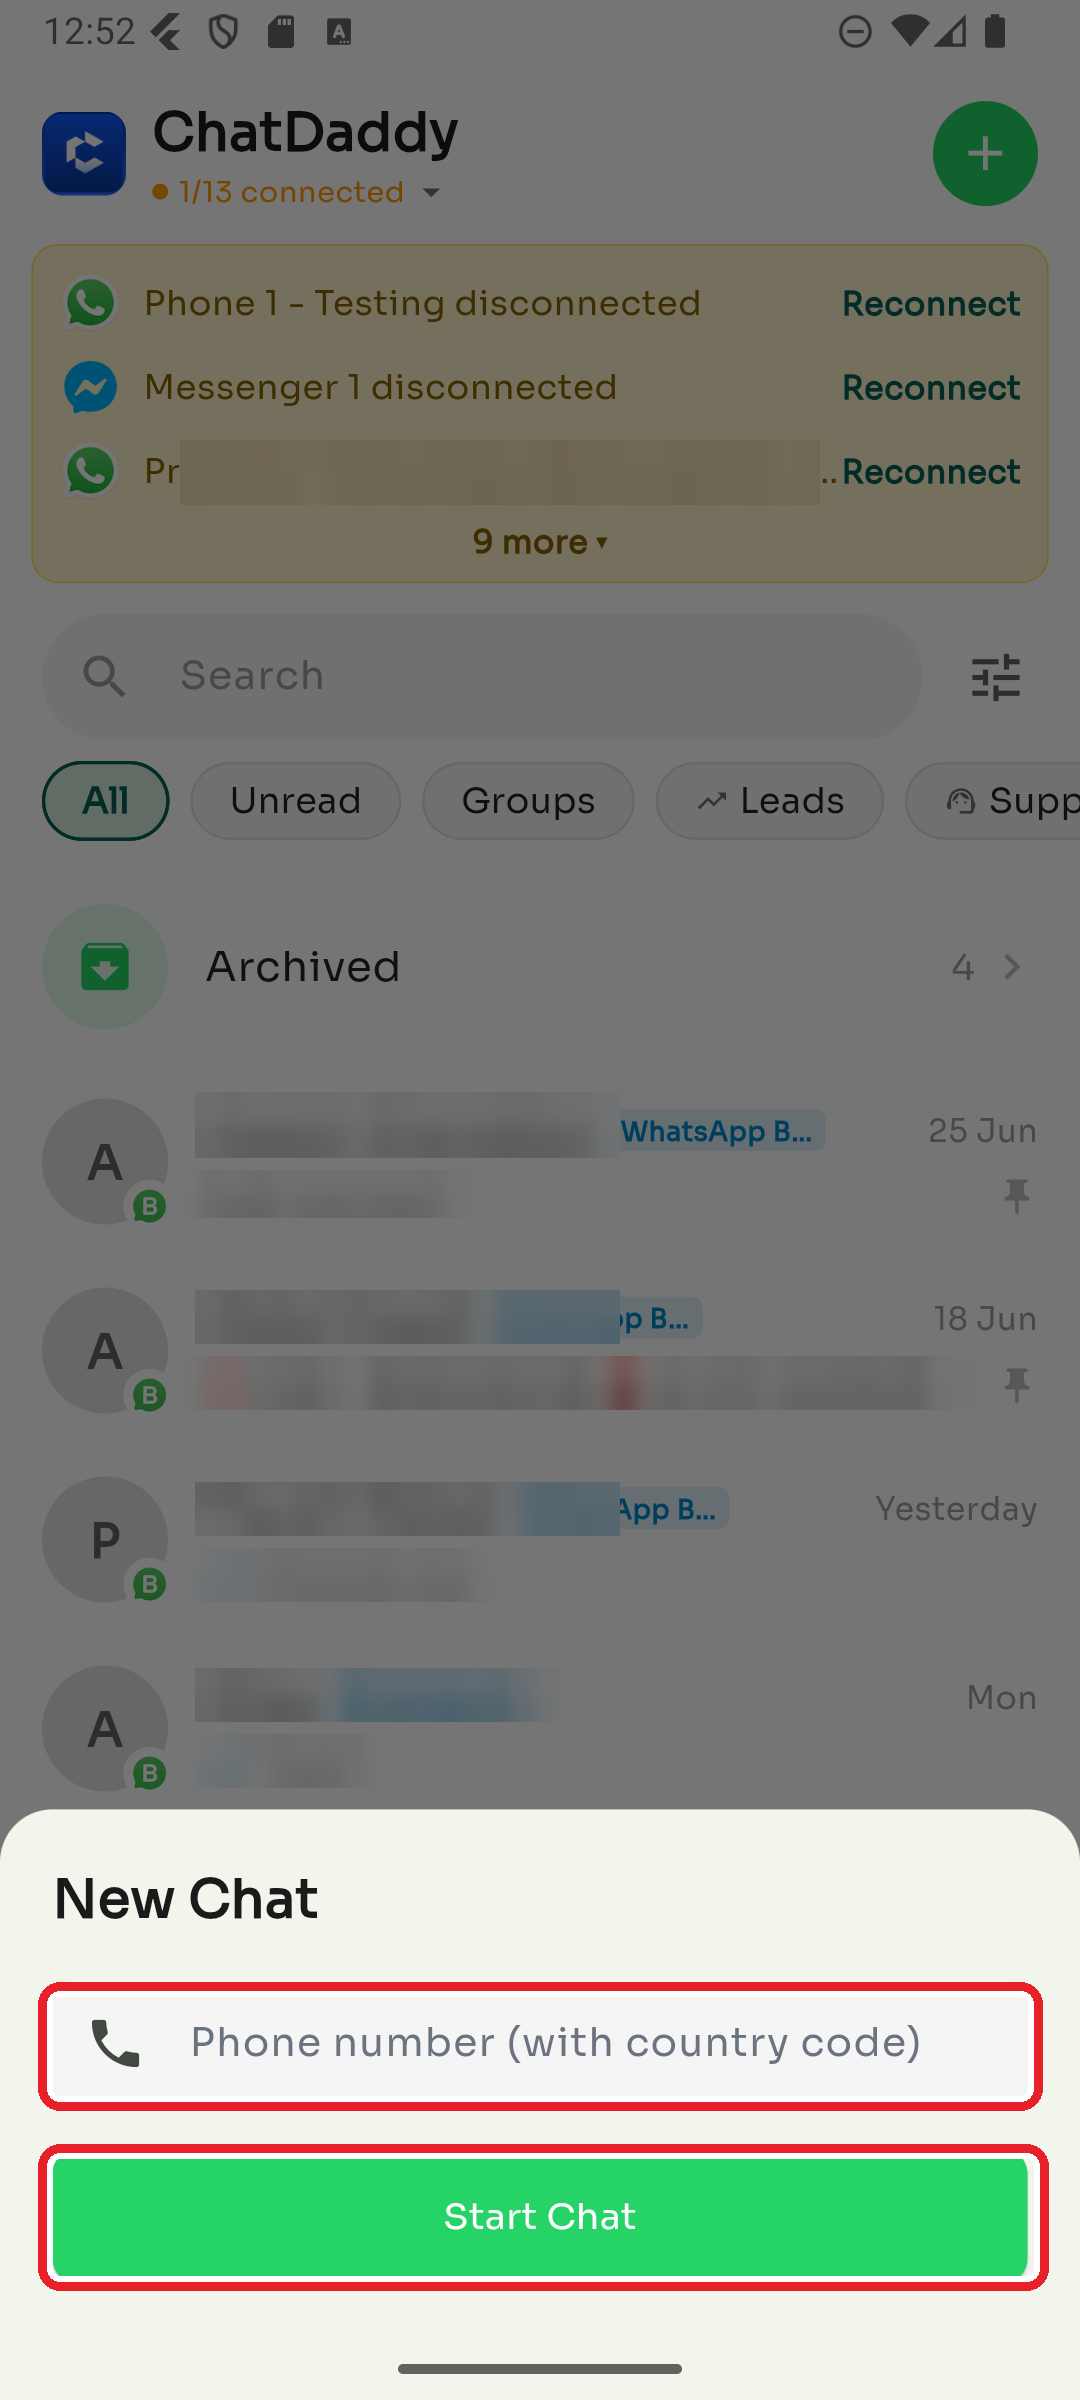
Type the contact's phone number with country code, then tap Start Chat. The conversation opens and you can send your first message.
If you have more than one connected account, pick which one to send from before starting.
Send a message automatically at a later time — great for reminders and follow-ups.
Step 1 — Tap Schedule
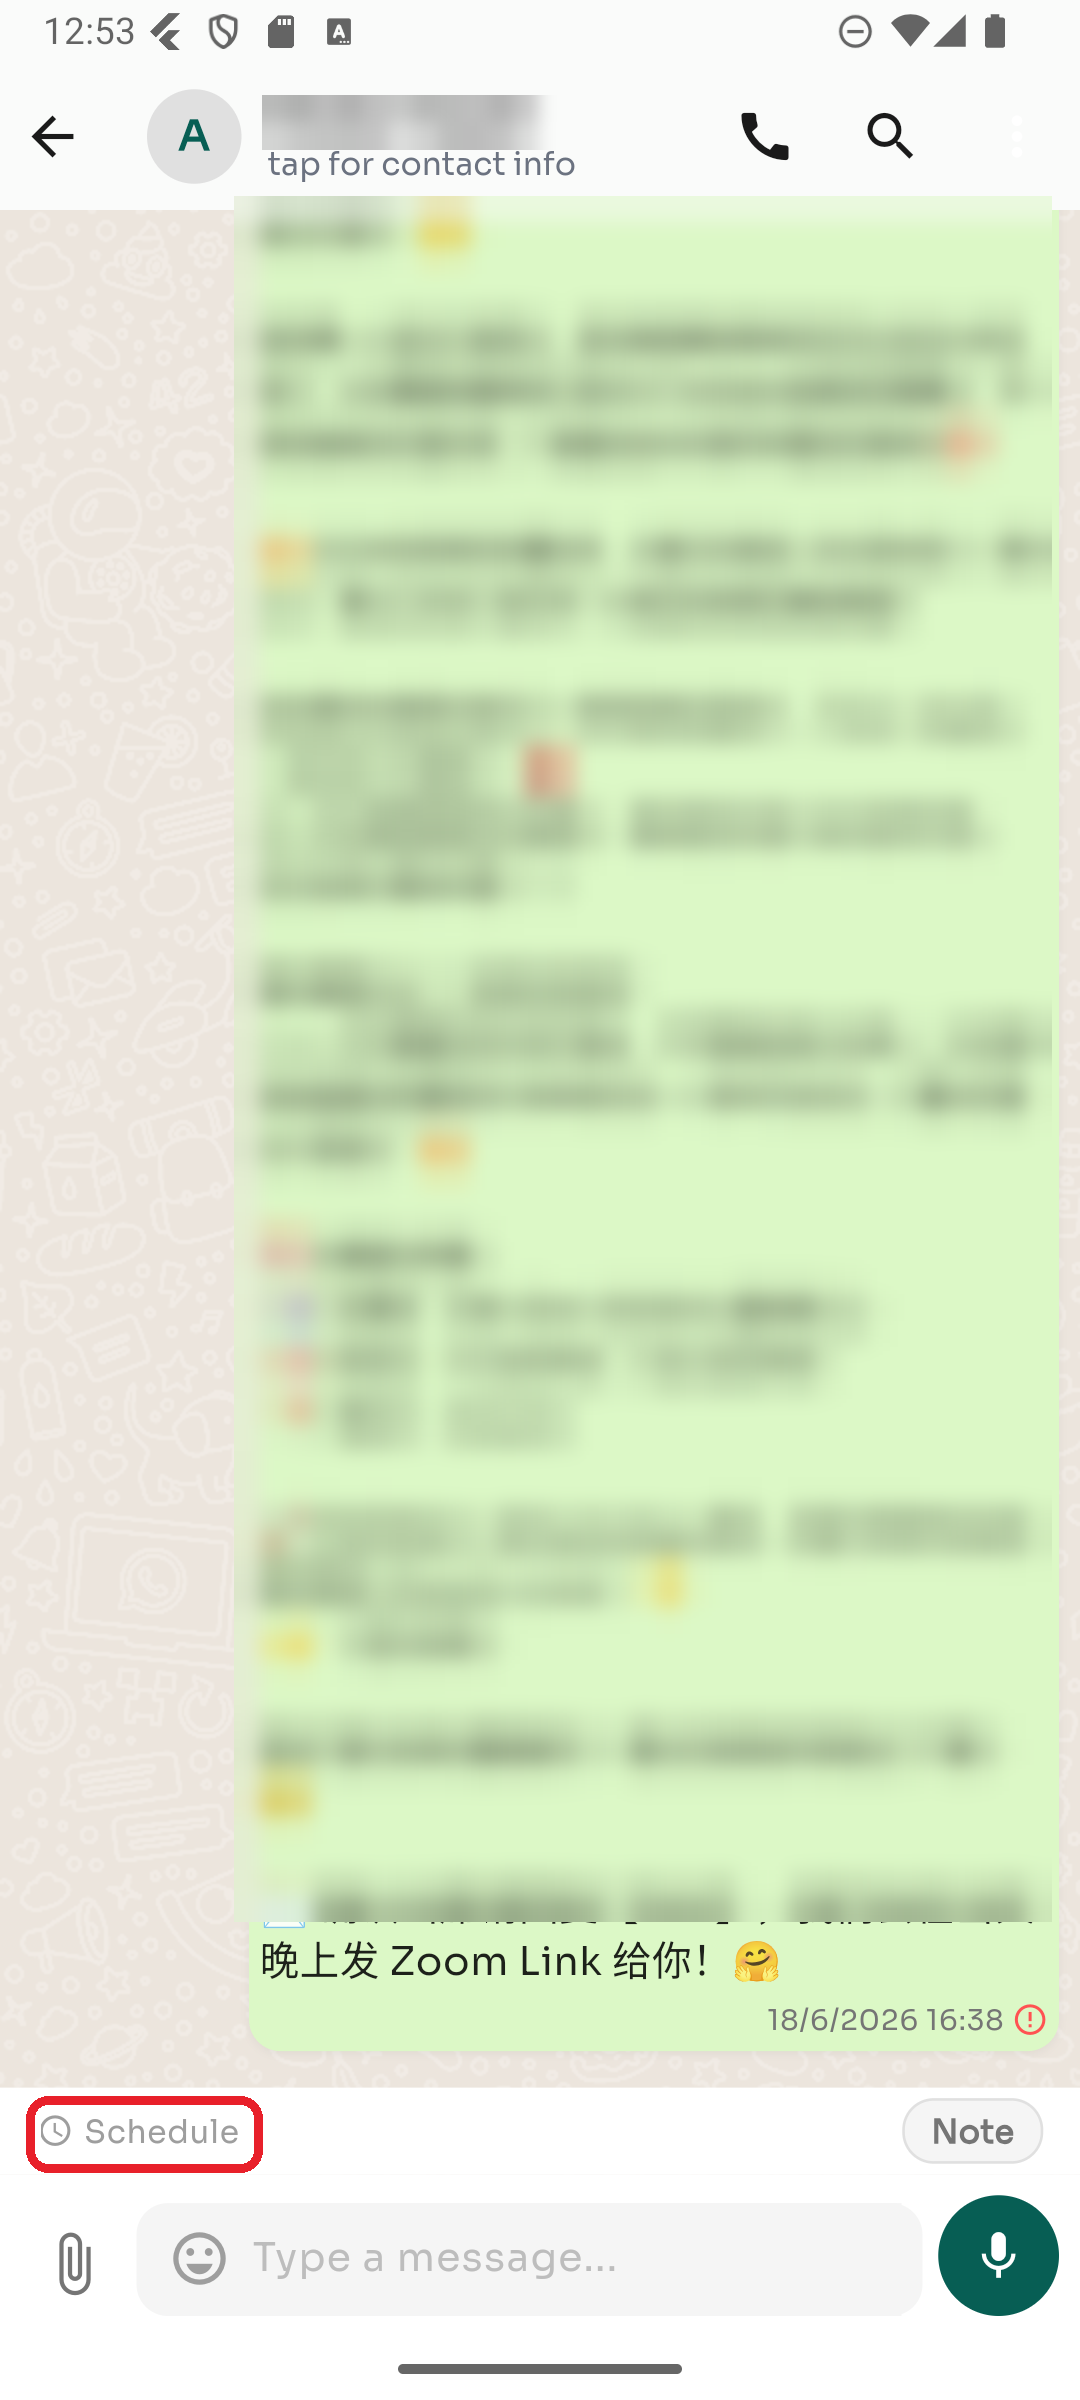
Open the conversation and tap Schedule, just above the message box.
Step 2 — Pick a time and write
Choose the date and time, type your message, and confirm. ChatDaddy sends it automatically when the time comes. Scheduled messages show a clock icon until they're sent.
Share images, videos, documents, your location, or a contact card from any conversation.
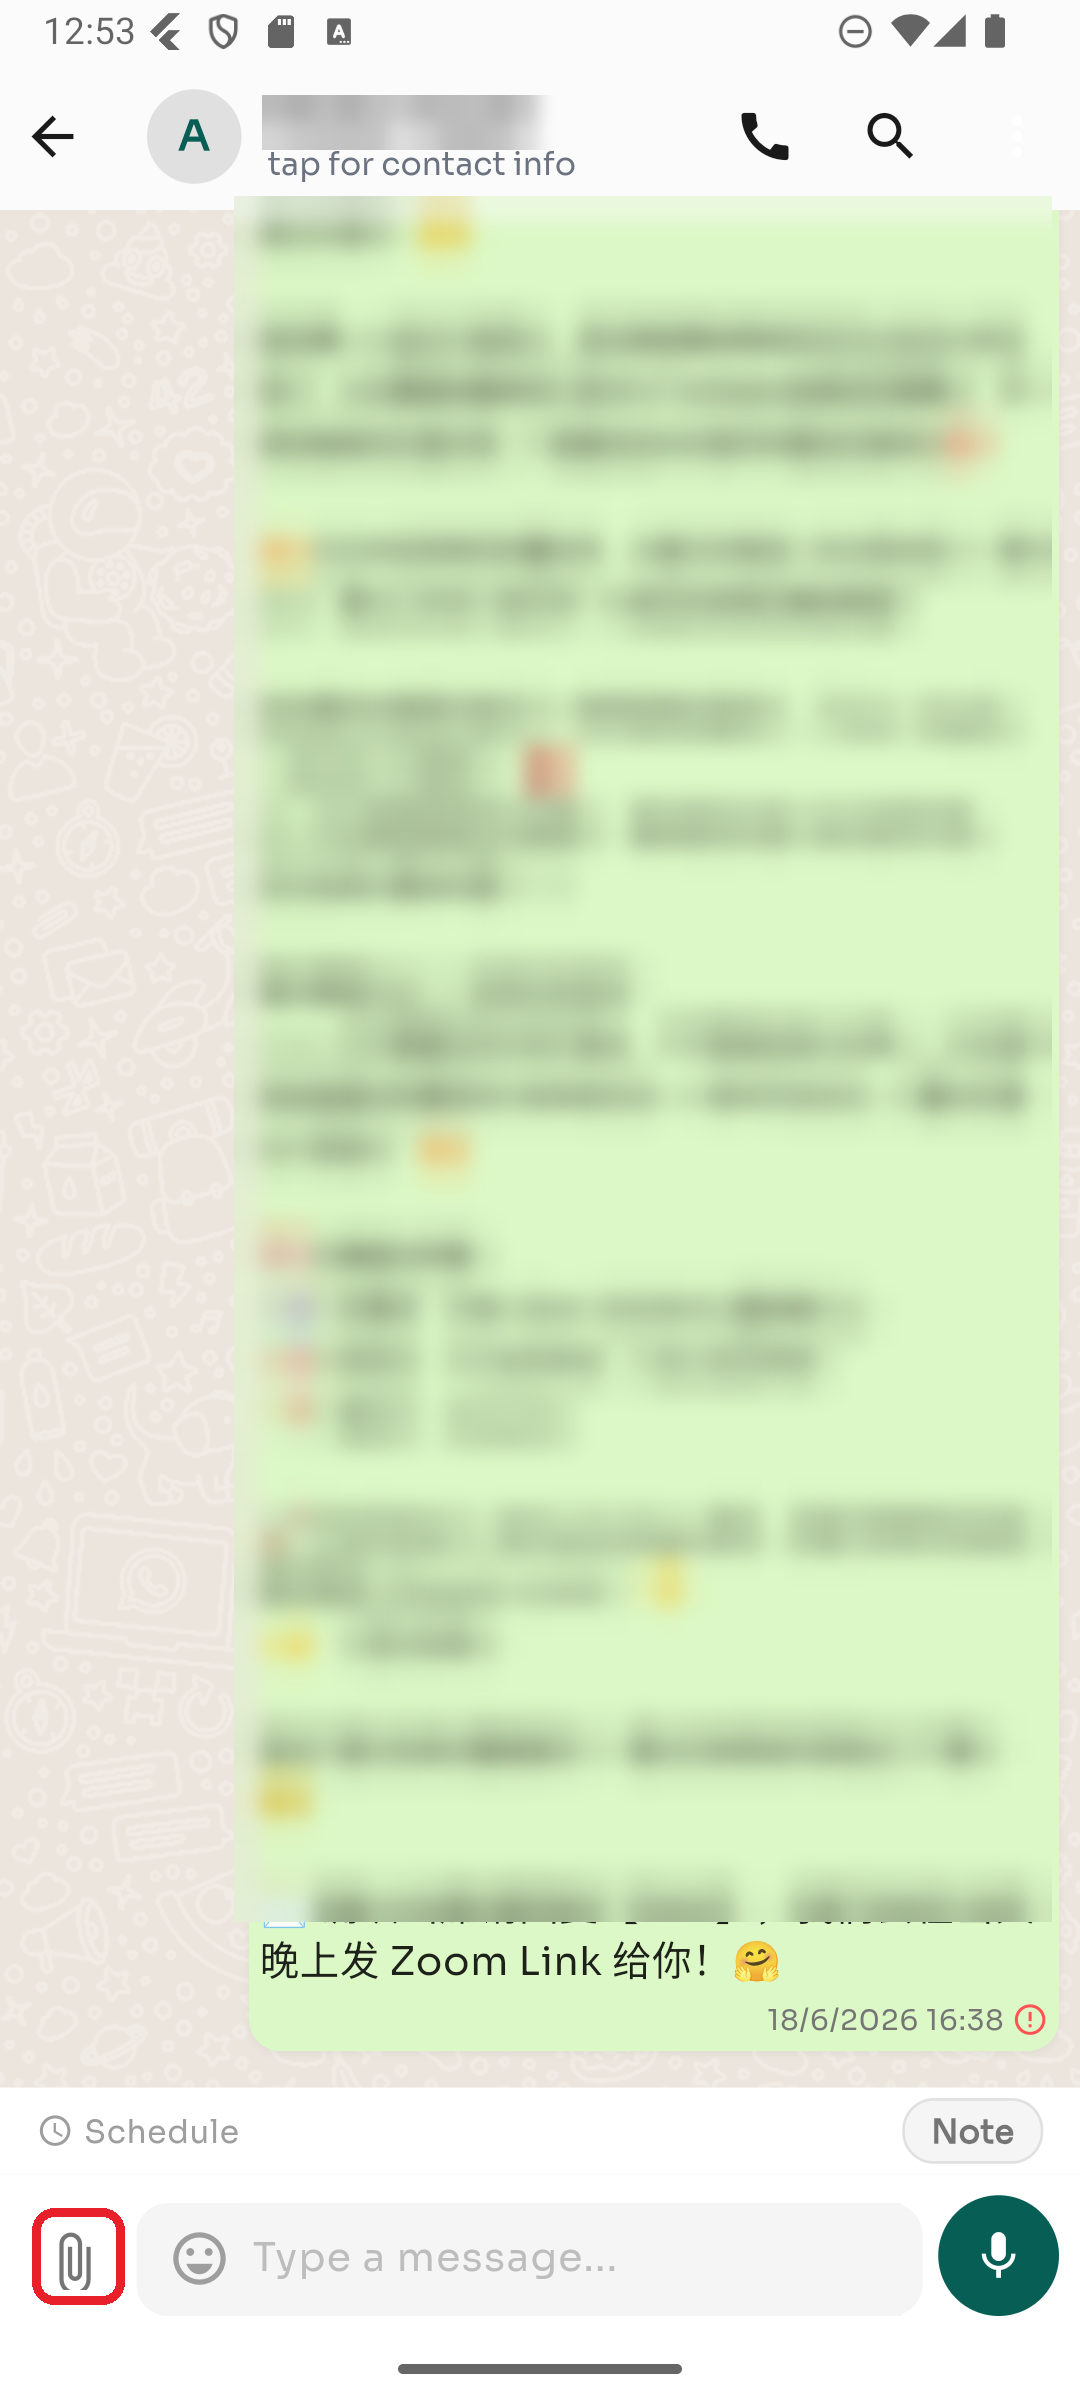
Step 1 — Tap the paperclip
In the conversation, tap the 📎 paperclip icon to the left of the message box.
Step 2 — Choose what to send
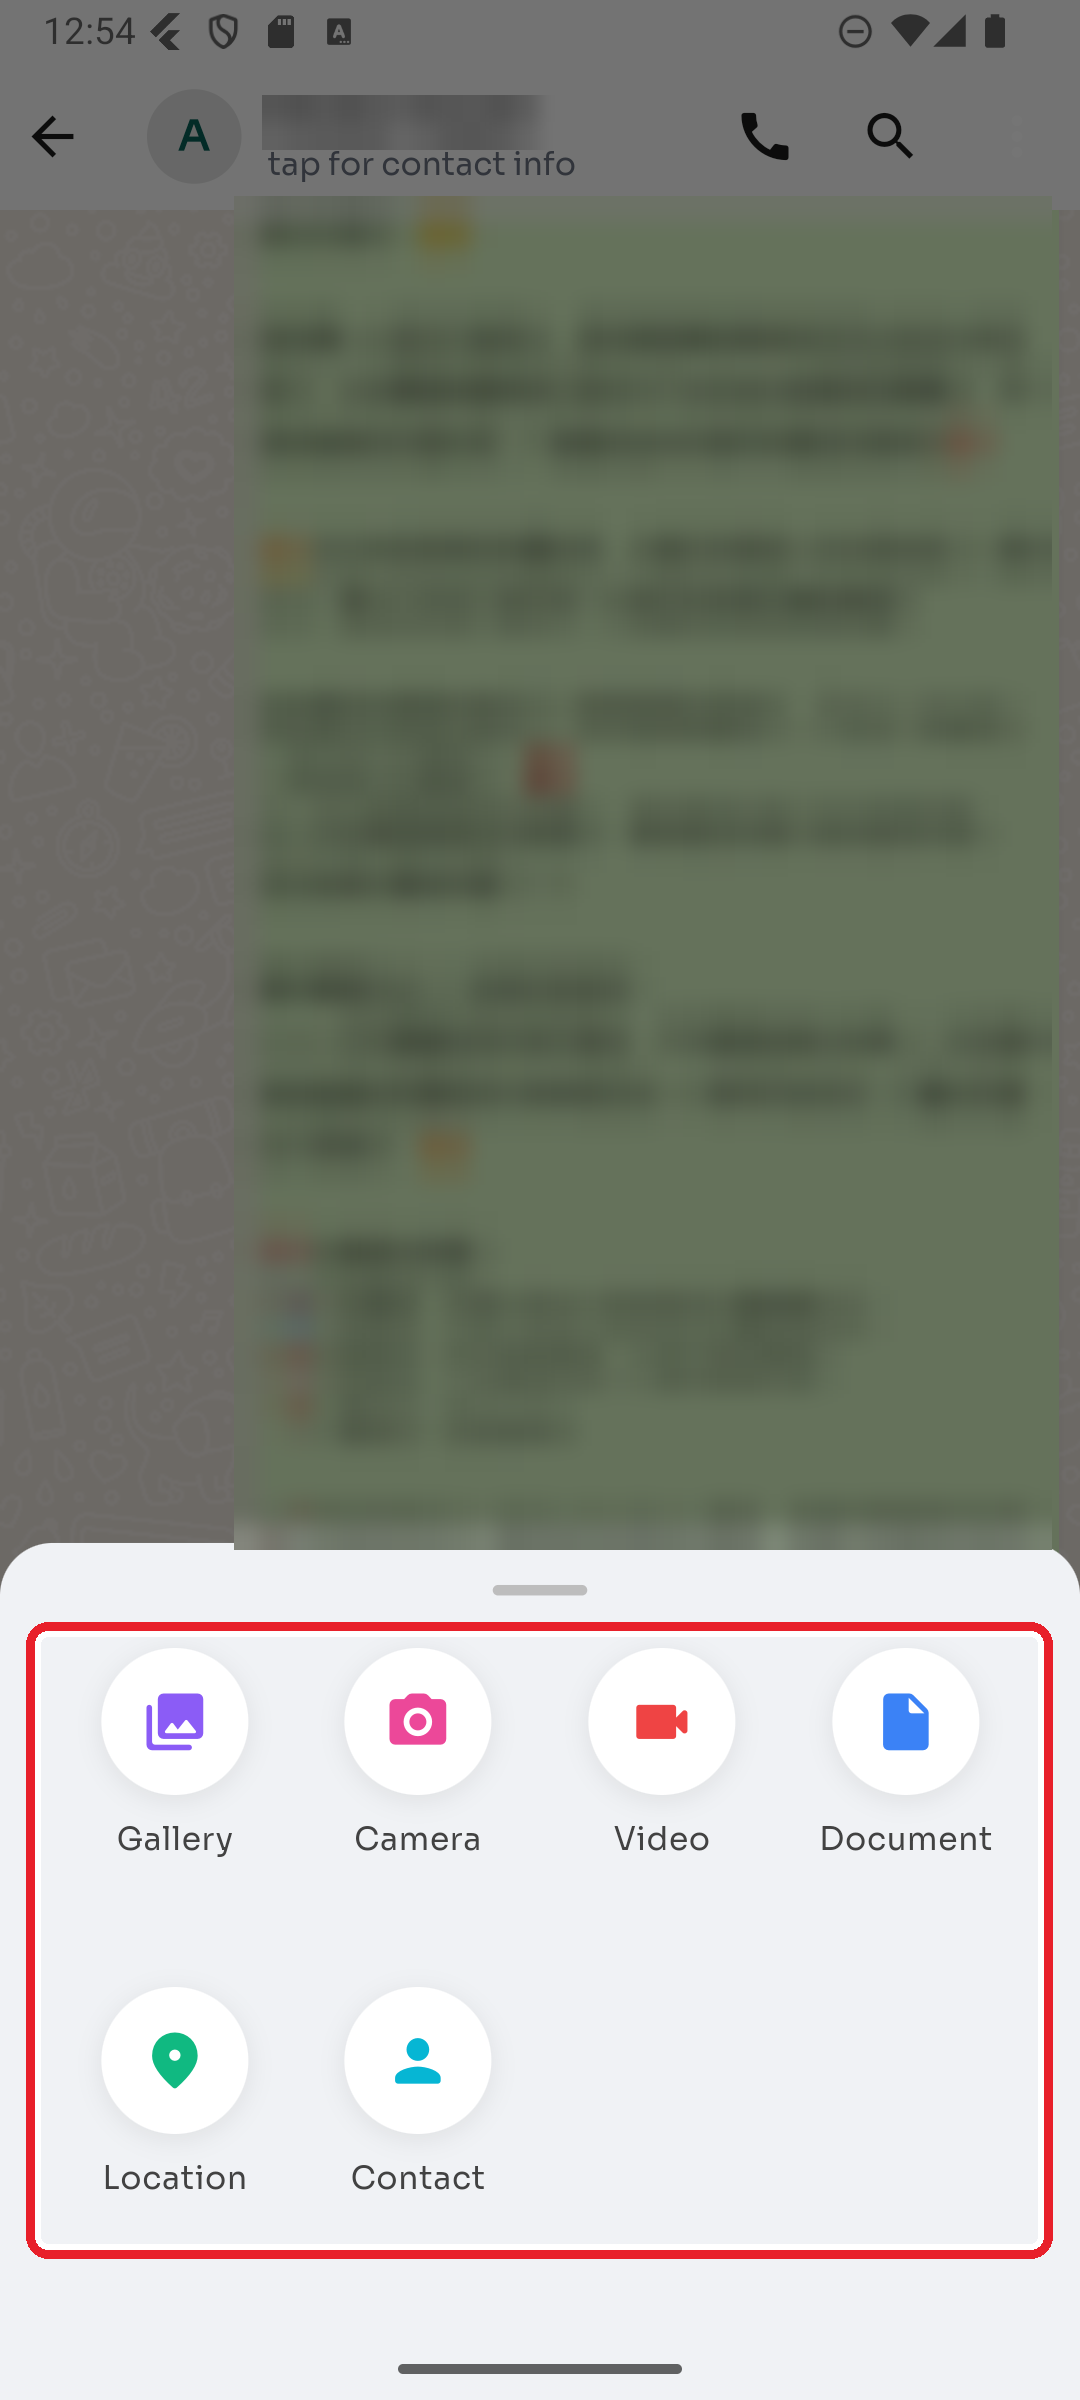
Pick from the attachment menu:
- Gallery — one or more photos from your device
- Camera — take a new photo
- Video — pick a video
- Document — PDF, Word, Excel, PowerPoint, text, CSV, or ZIP
- Location — share your current location
- Contact — send a saved contact as a card
Record and send a voice note without typing.
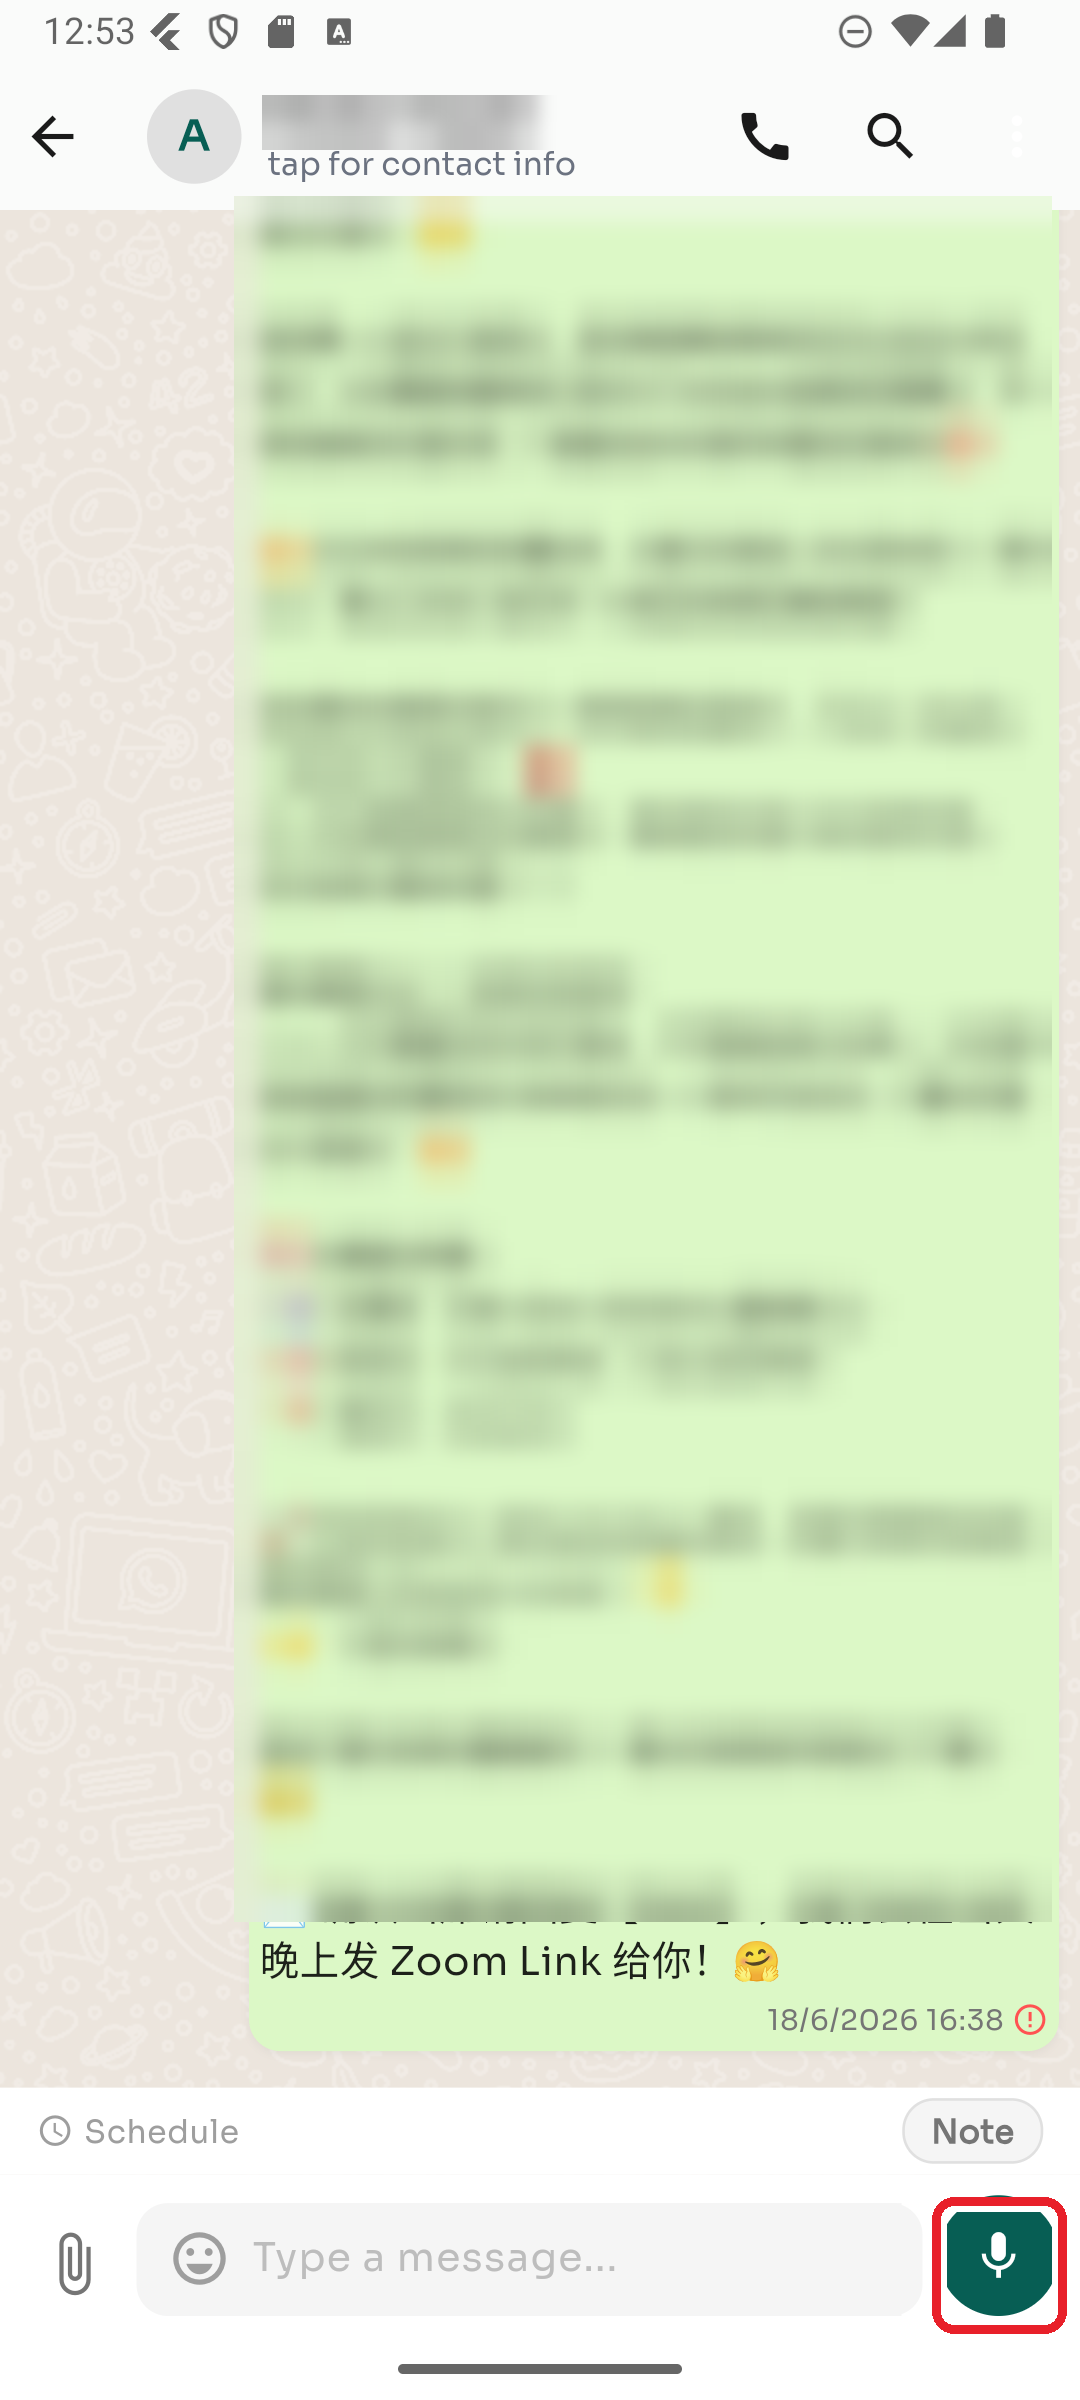
Step 1 — Press and hold the microphone
When the message box is empty, the button on the right is a 🎤 microphone. Press and hold it to start recording.
Step 2 — Release to send
Release to send the recording. To cancel, slide away while still holding.
Assigning a conversation makes clear who on your team is responsible for it.
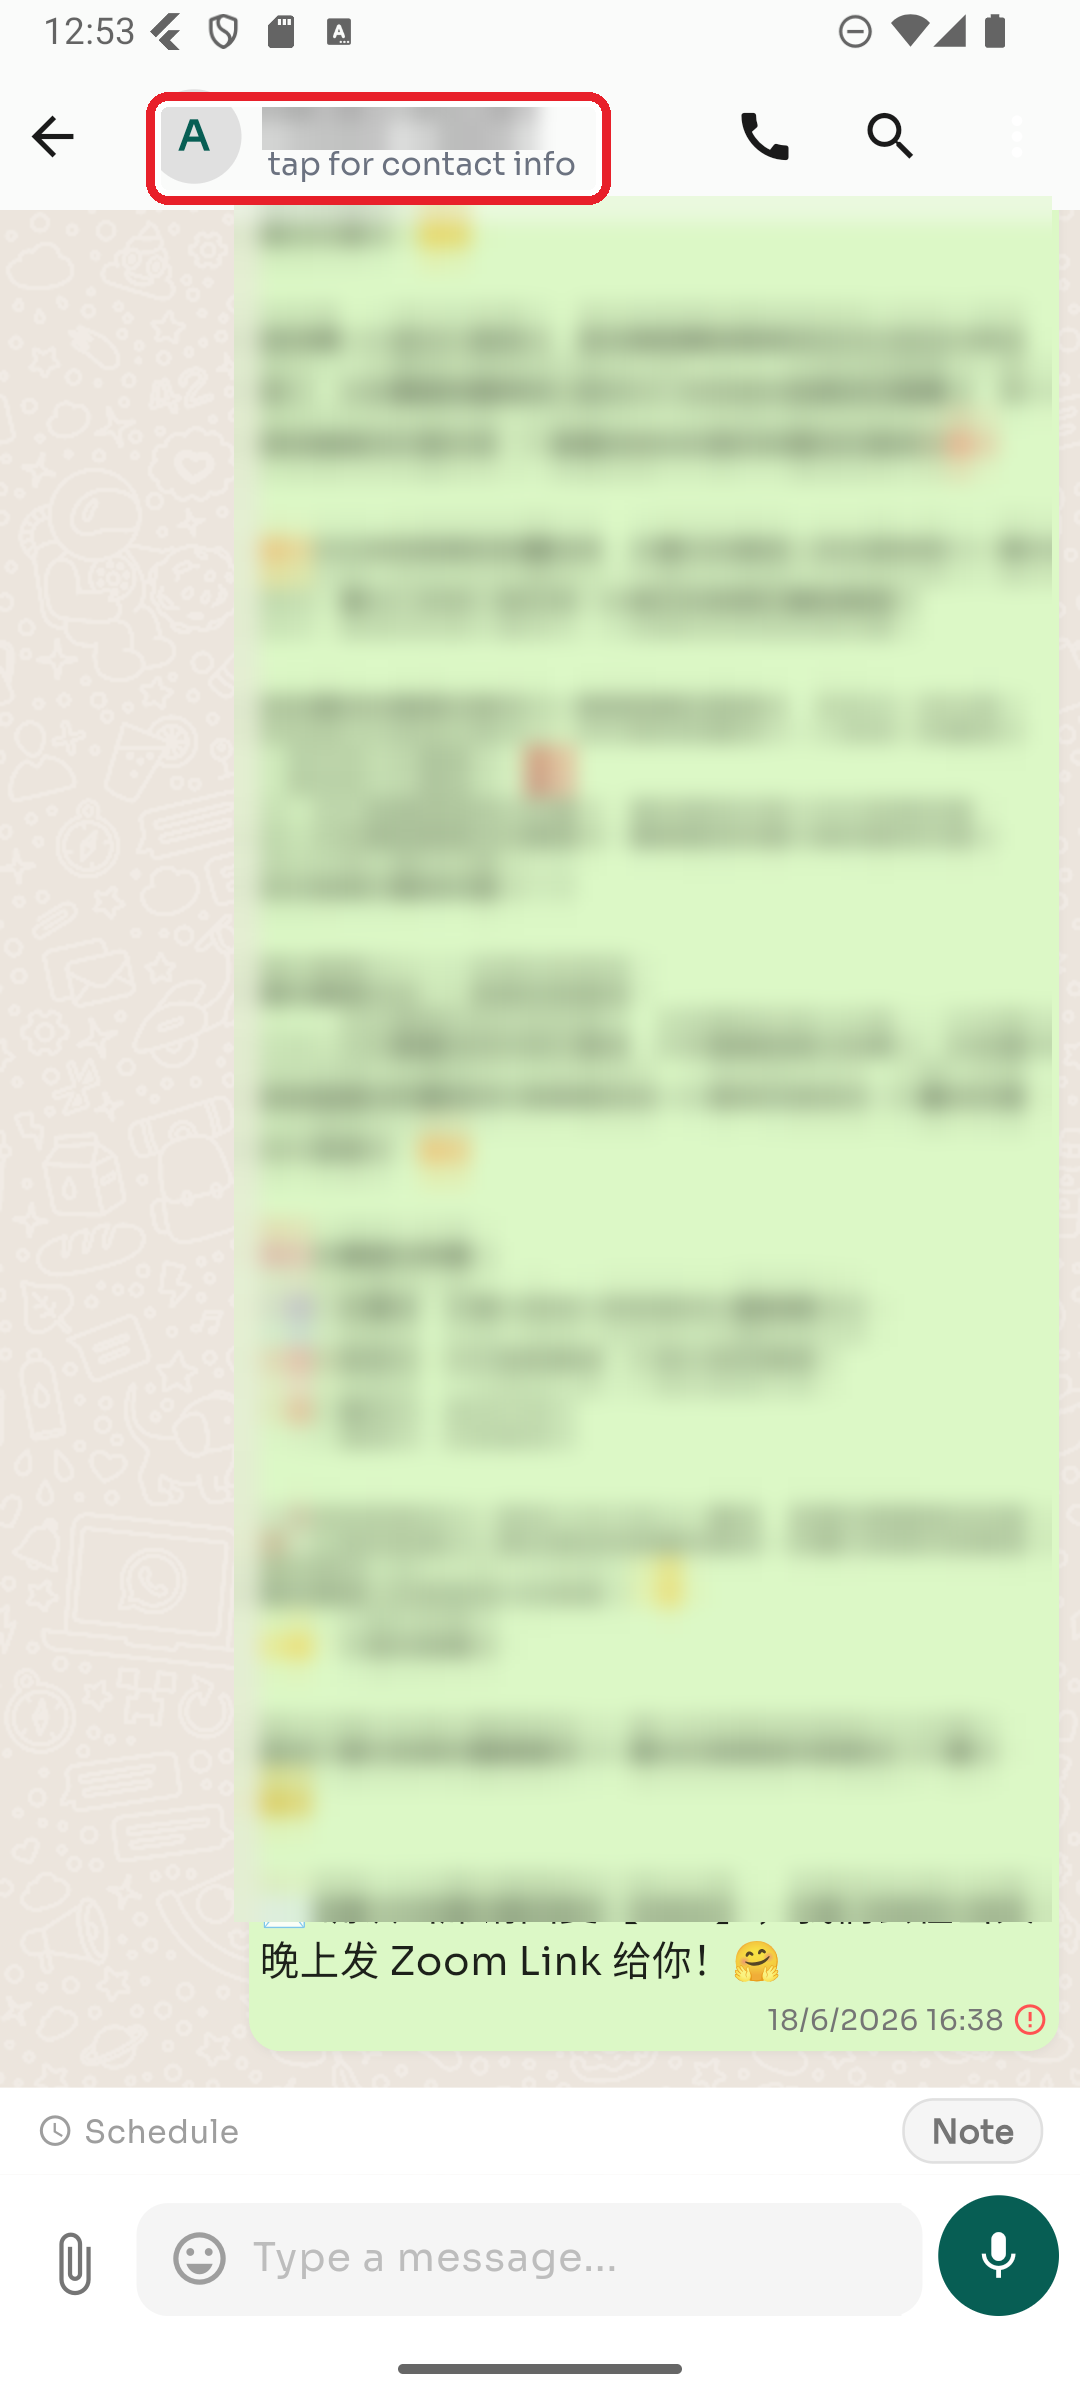
Step 1 — Open Contact Info
In the conversation, tap the contact's name at the top (it says "tap for contact info").
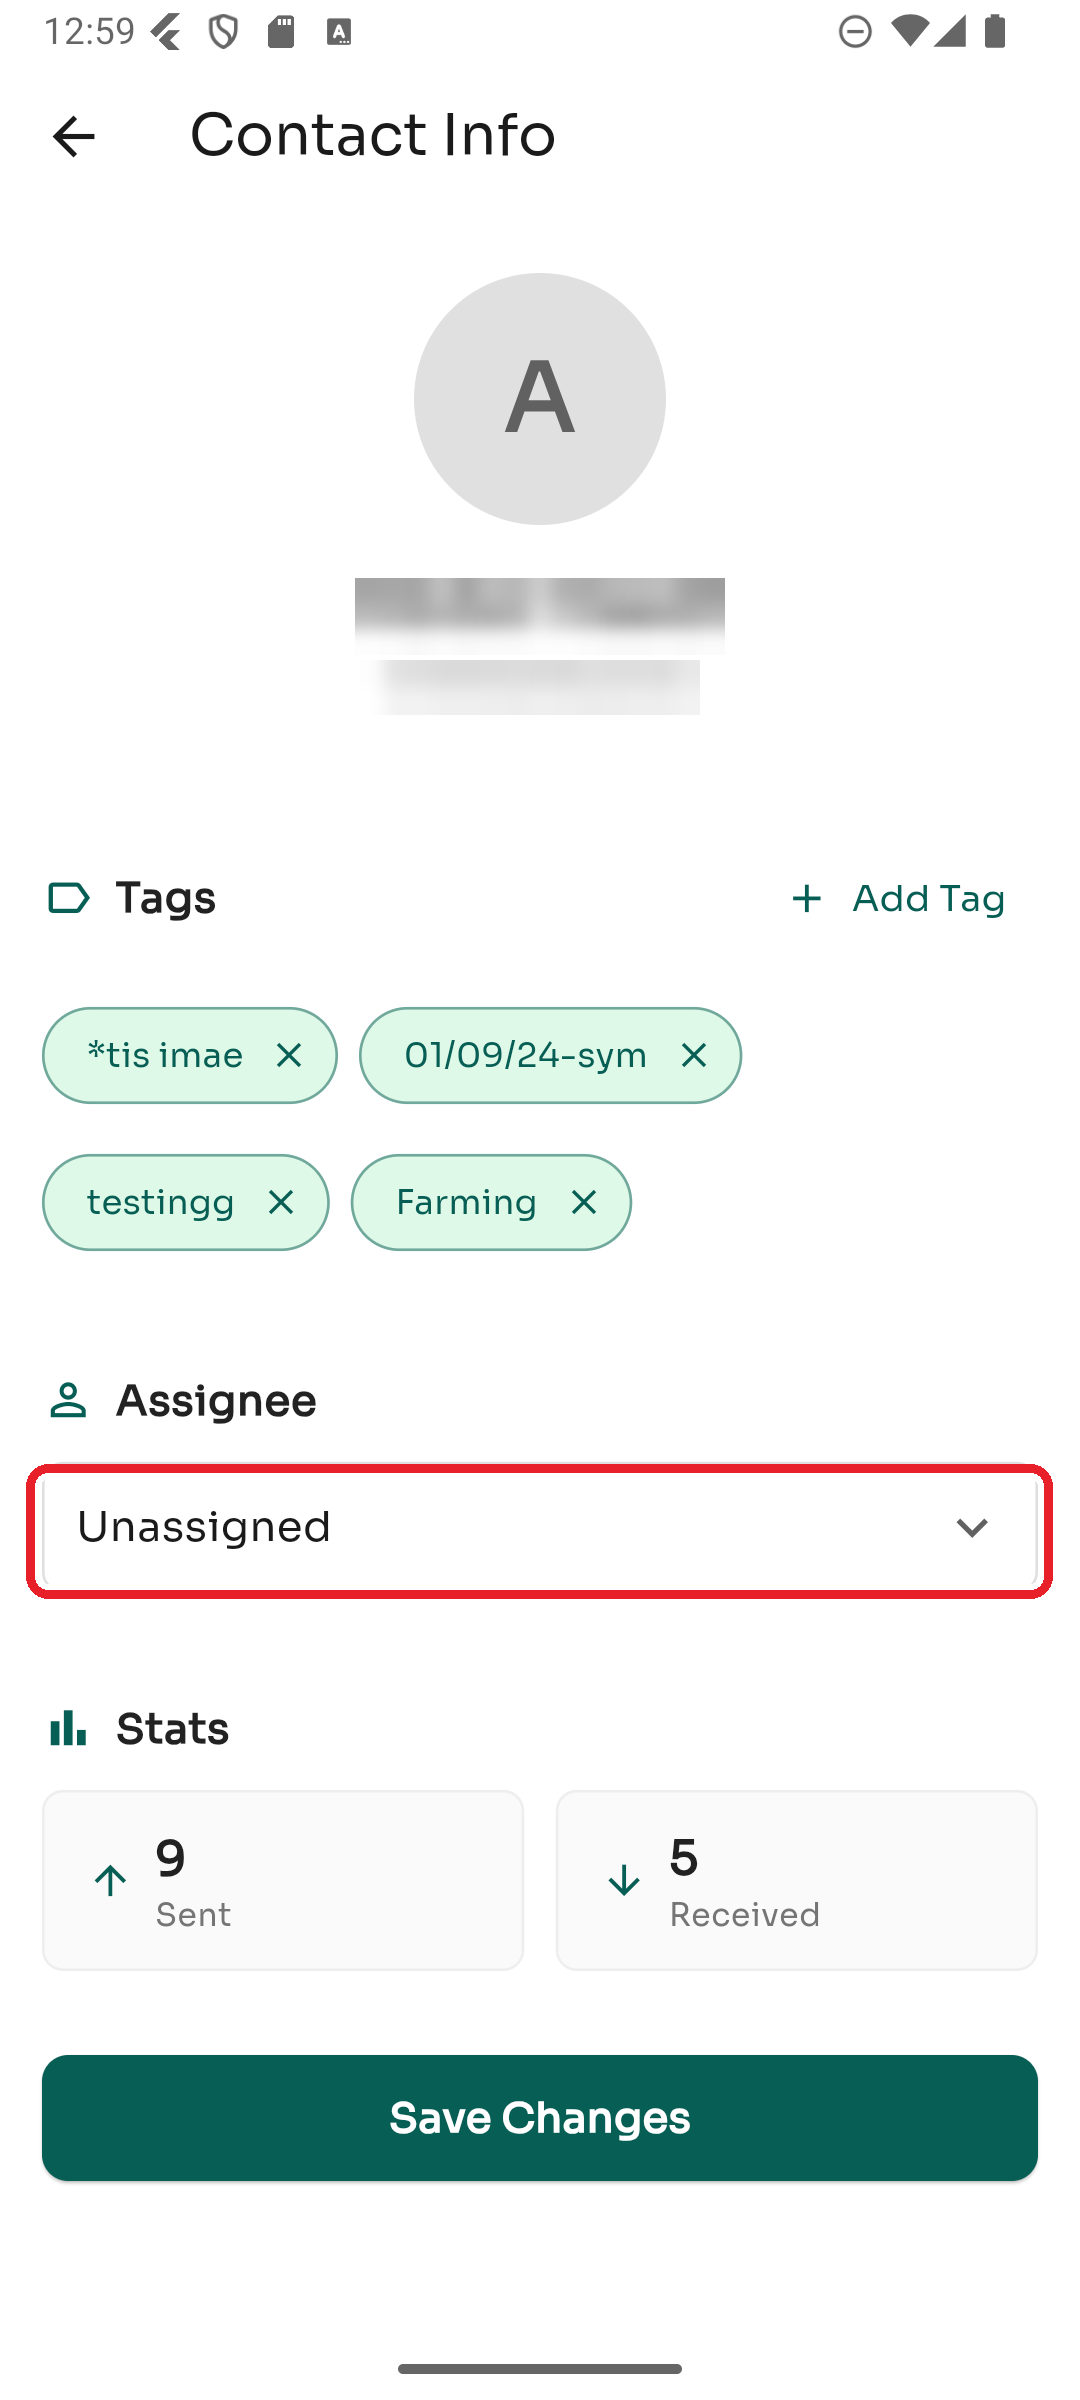
Step 2 — Choose an assignee
Under Assignee, tap the dropdown and pick a team member (or Unassigned to clear it).
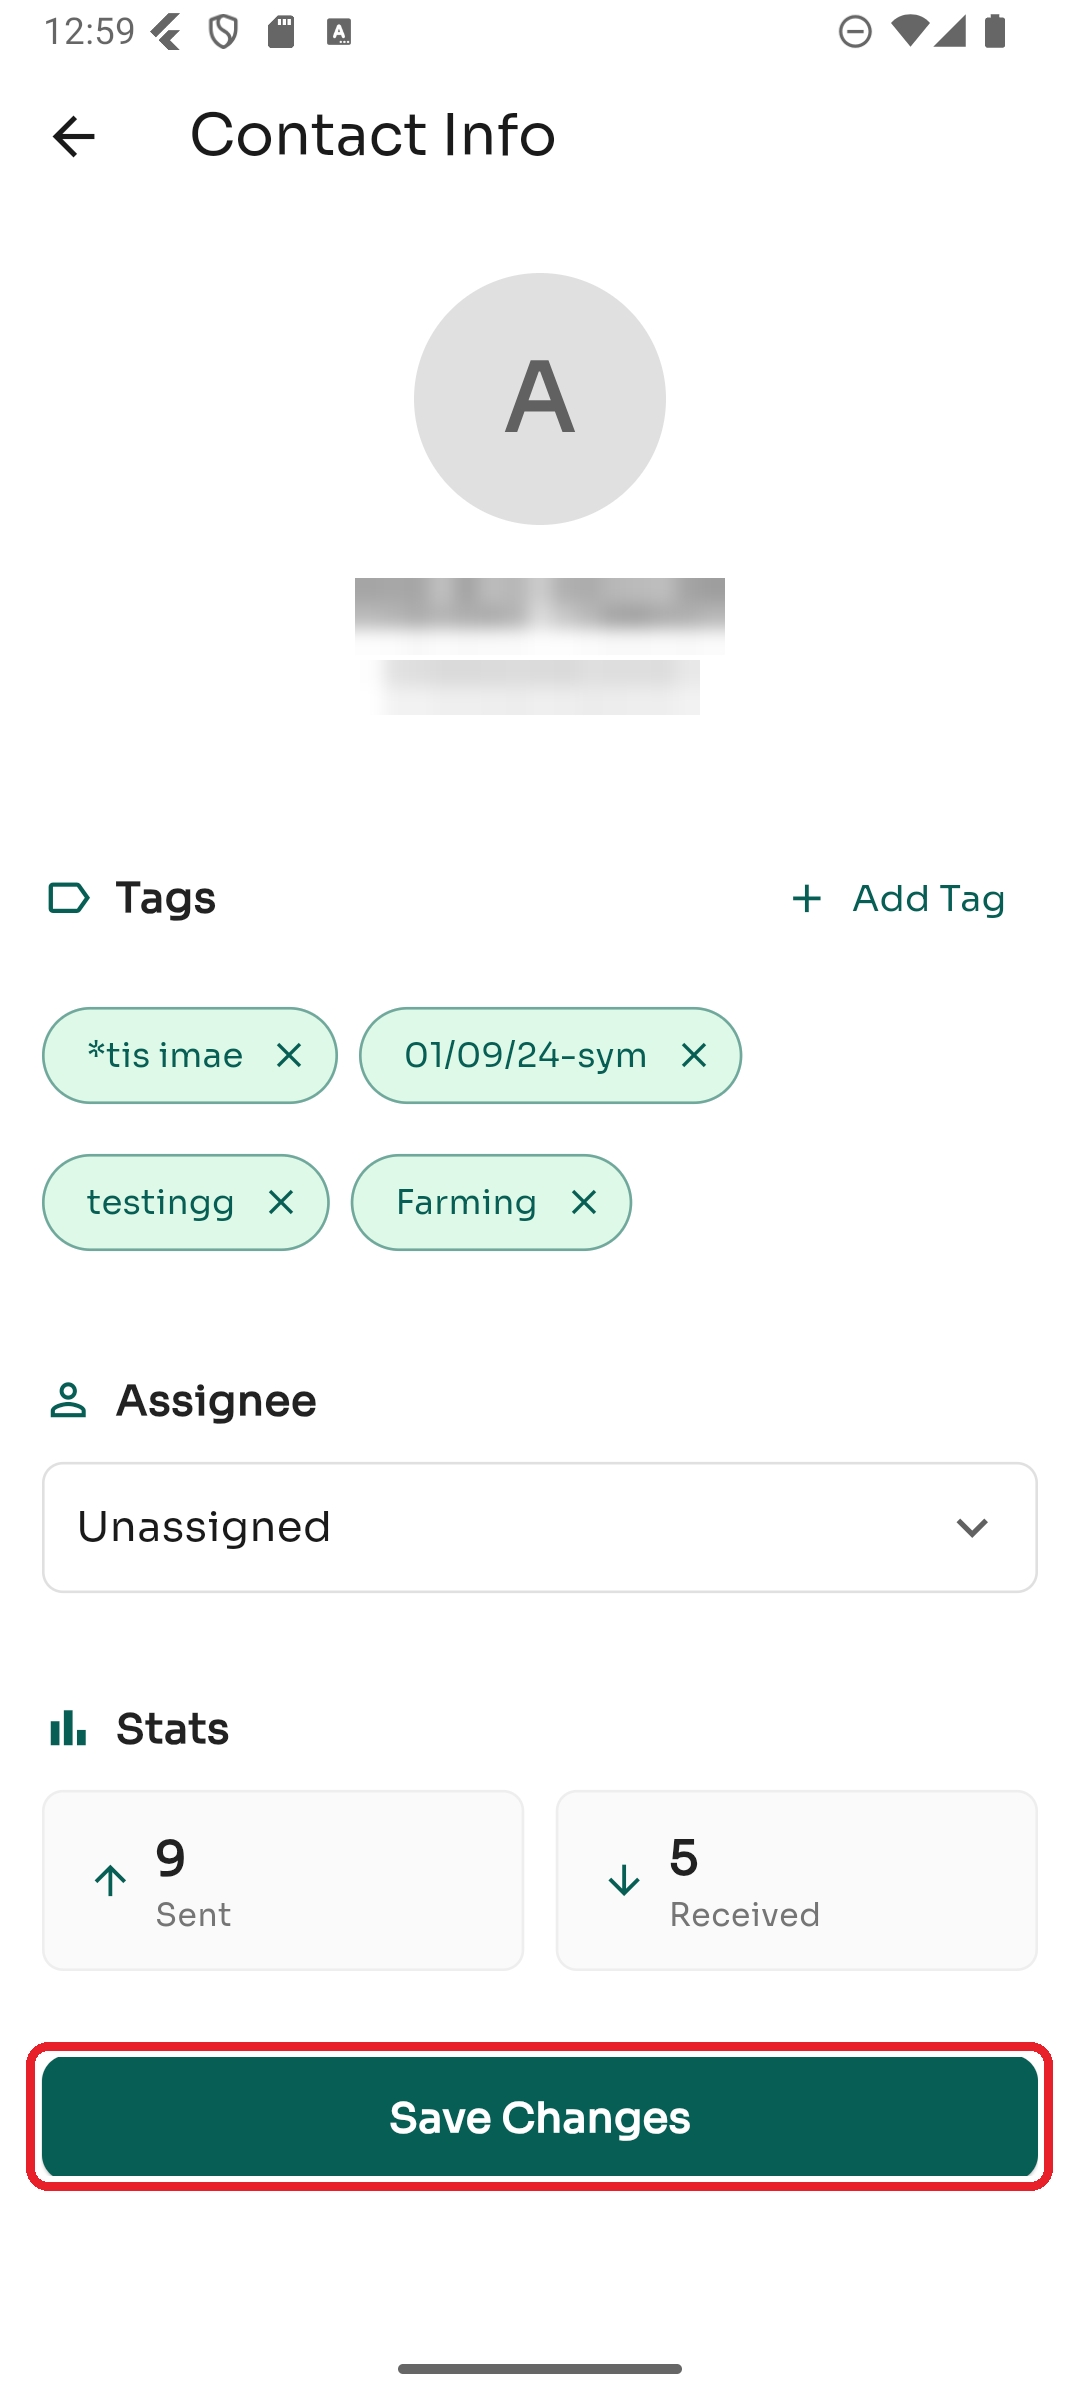
Step 3 — Save
Tap Save Changes to apply. Your teammates can then filter the inbox by assignee to find their chats.
Notes let you leave context for your team on a conversation. They're private — the customer never sees them.
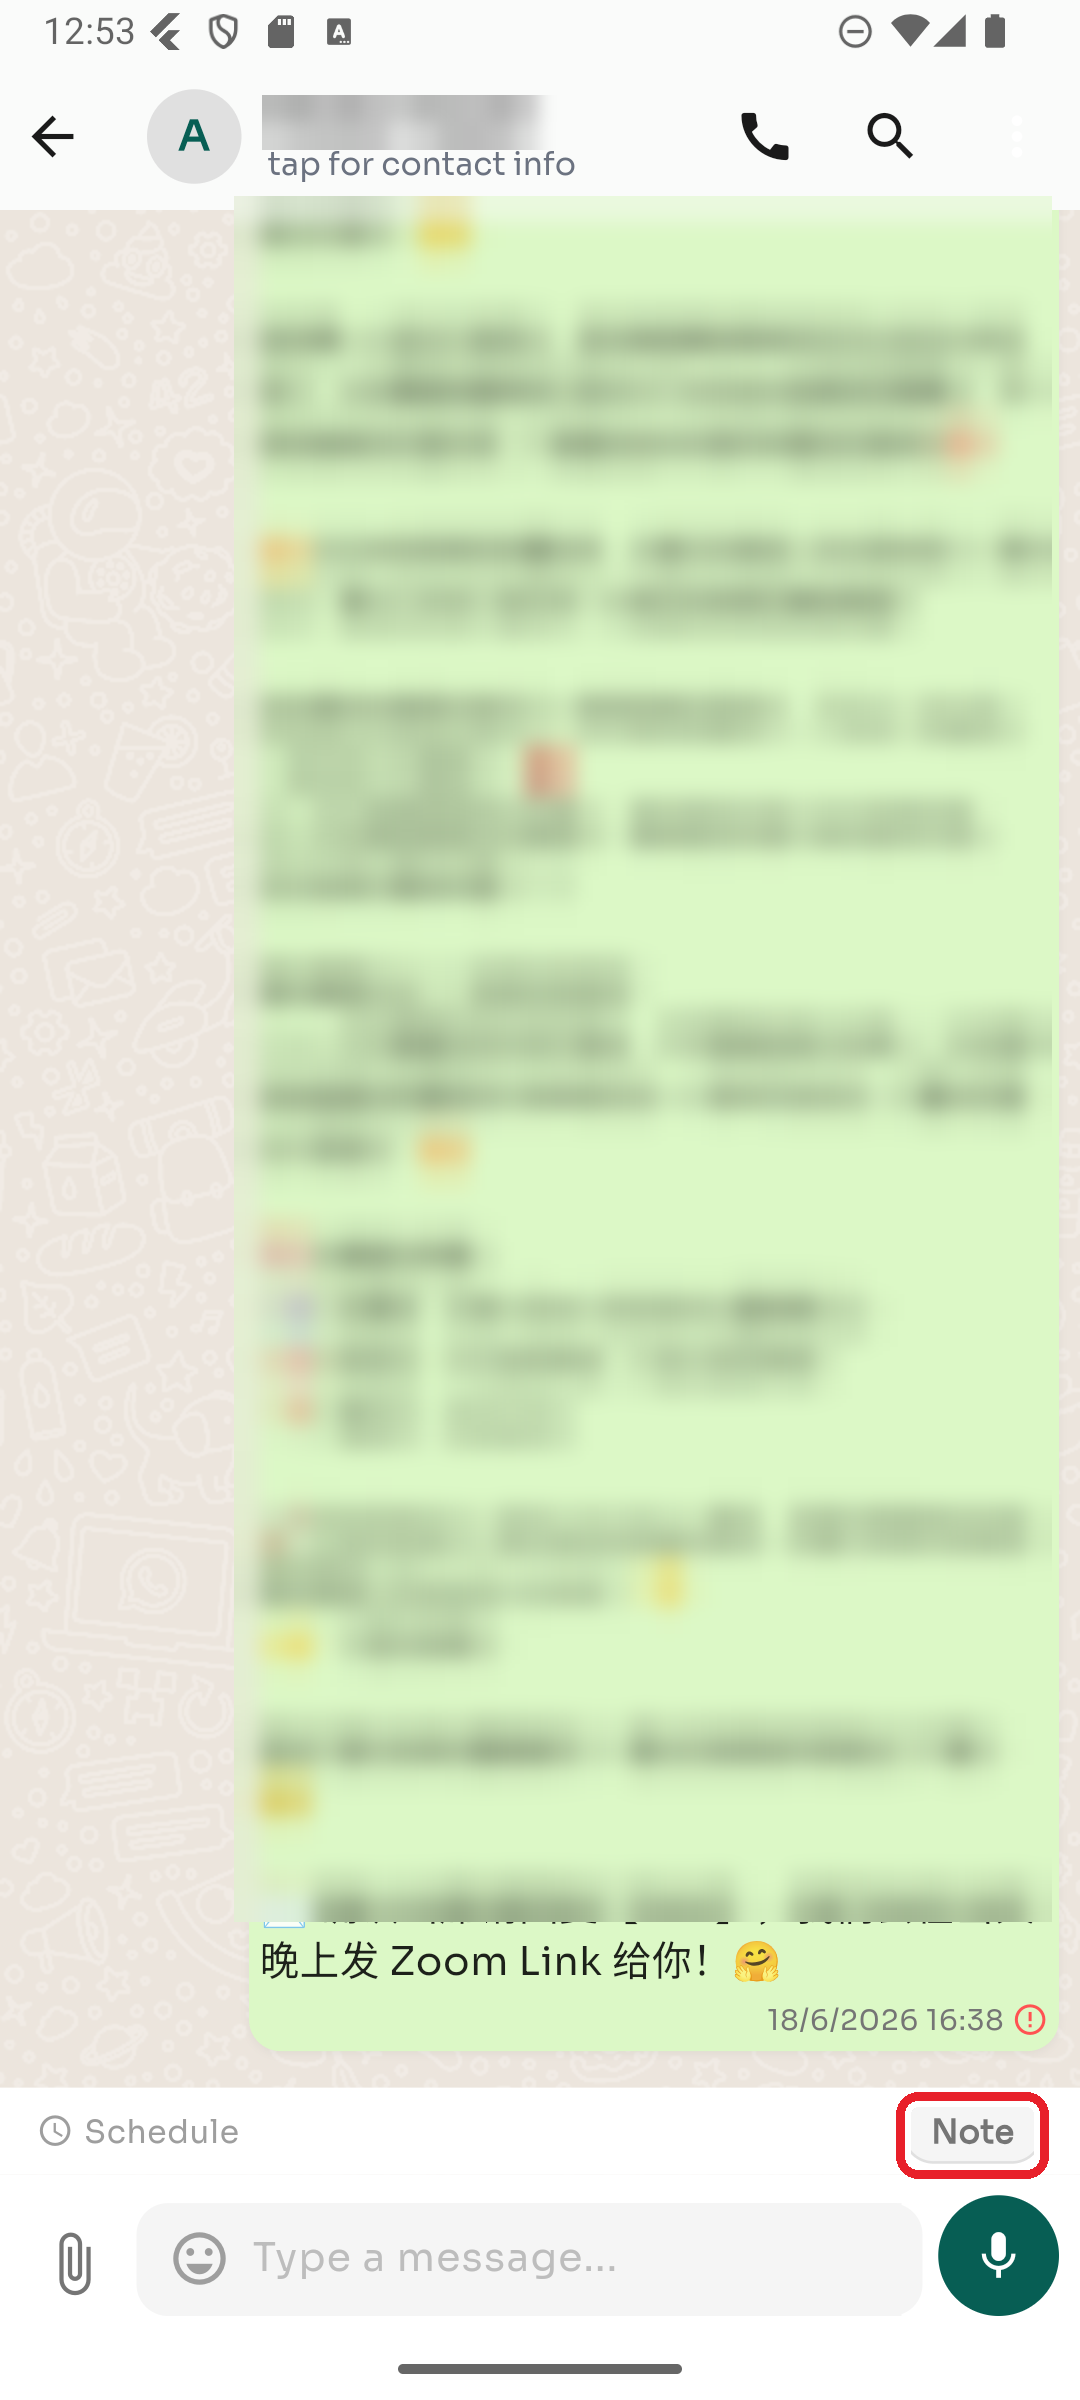
Step 1 — Turn on Note mode
In the conversation, tap the Note button above the message box. The composer switches to note mode.
Step 2 — Write and send
Type your note and send it — it appears in the thread for your team only. Tap Note again to switch back to sending normal messages.
Archiving hides a conversation from your main list without deleting it.
Step 1 — Archive a chat
In the Chats list, long-press the conversation, then choose Archive chat.
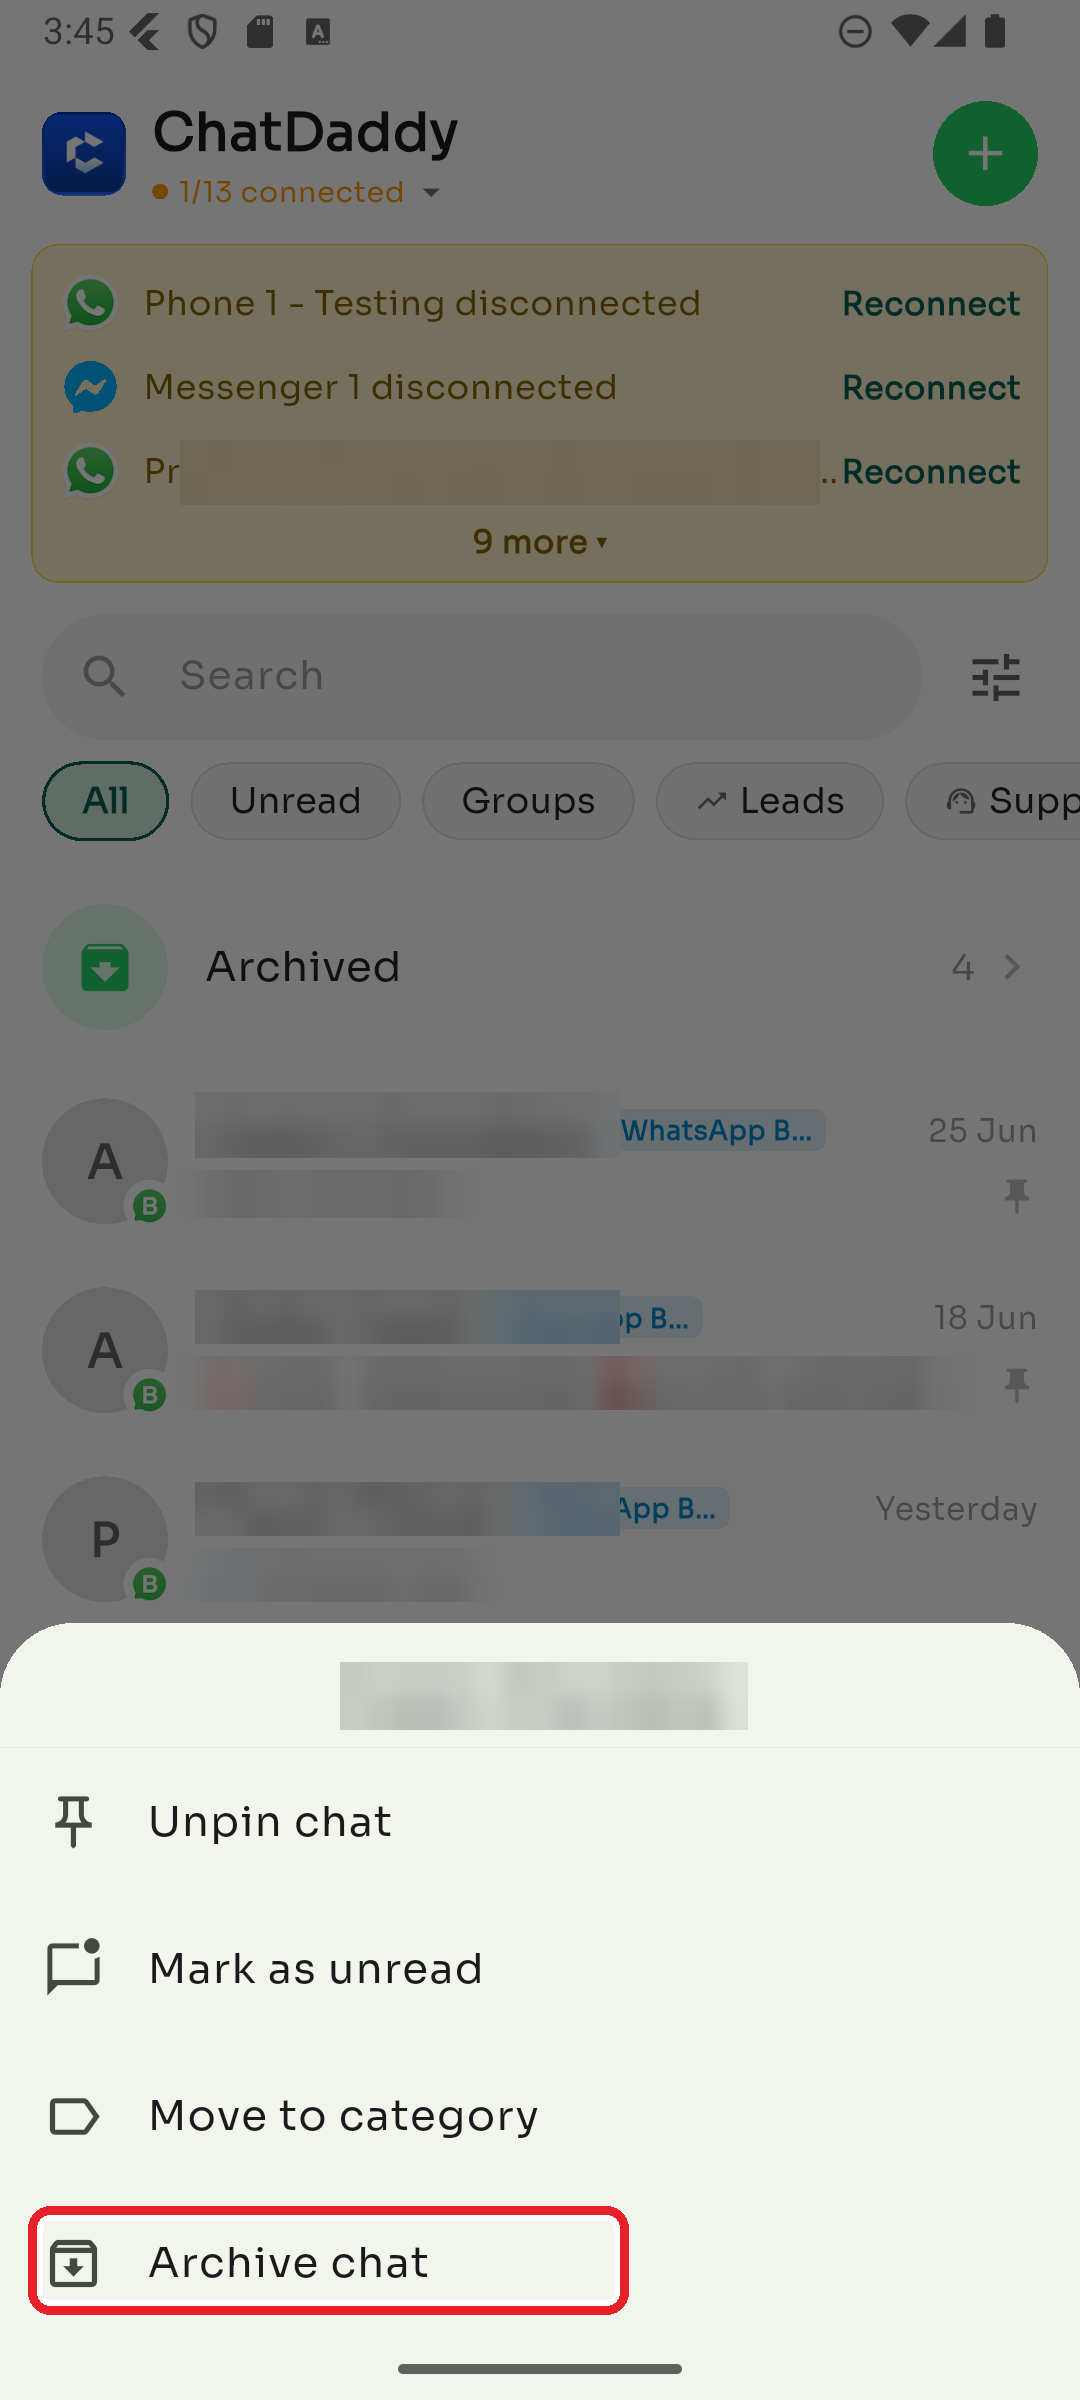
The same menu also lets you Pin/Unpin, Mark as unread, or Move to category.
Step 2 — Find and unarchive
Tap Archived near the top of the Chats list to see archived conversations. To bring one back, long-press it and choose Unarchive.
Three quick ways to find the conversation you're looking for.
Option 1 — Search
Tap the Search bar at the top of the Chats list and type a name, number, or words from a message.
Option 2 — Quick filters
Tap a chip below the search bar — All, Unread, Groups, Leads, Support, and more — to narrow the list instantly.
Option 3 — Advanced filters
Tap the filter icon to filter by Tags, Assignee, or other conditions, then tap Apply Filters.
Still can't find a chat? It may be archived, or hidden by a channel filter — see Some of my chats are missing.
If you belong to more than one team, you can move between them in the app.
Step 1 — Open Switch Team
Go to Settings → Switch Team.
Step 2 — Pick a team
Search for a team or tap one in the list. The app reloads with that team's chats and channels.
Turn on Incognito Mode so contacts can't see when you've read their messages.
Turn it on
Go to the Settings tab and toggle Incognito Mode on.
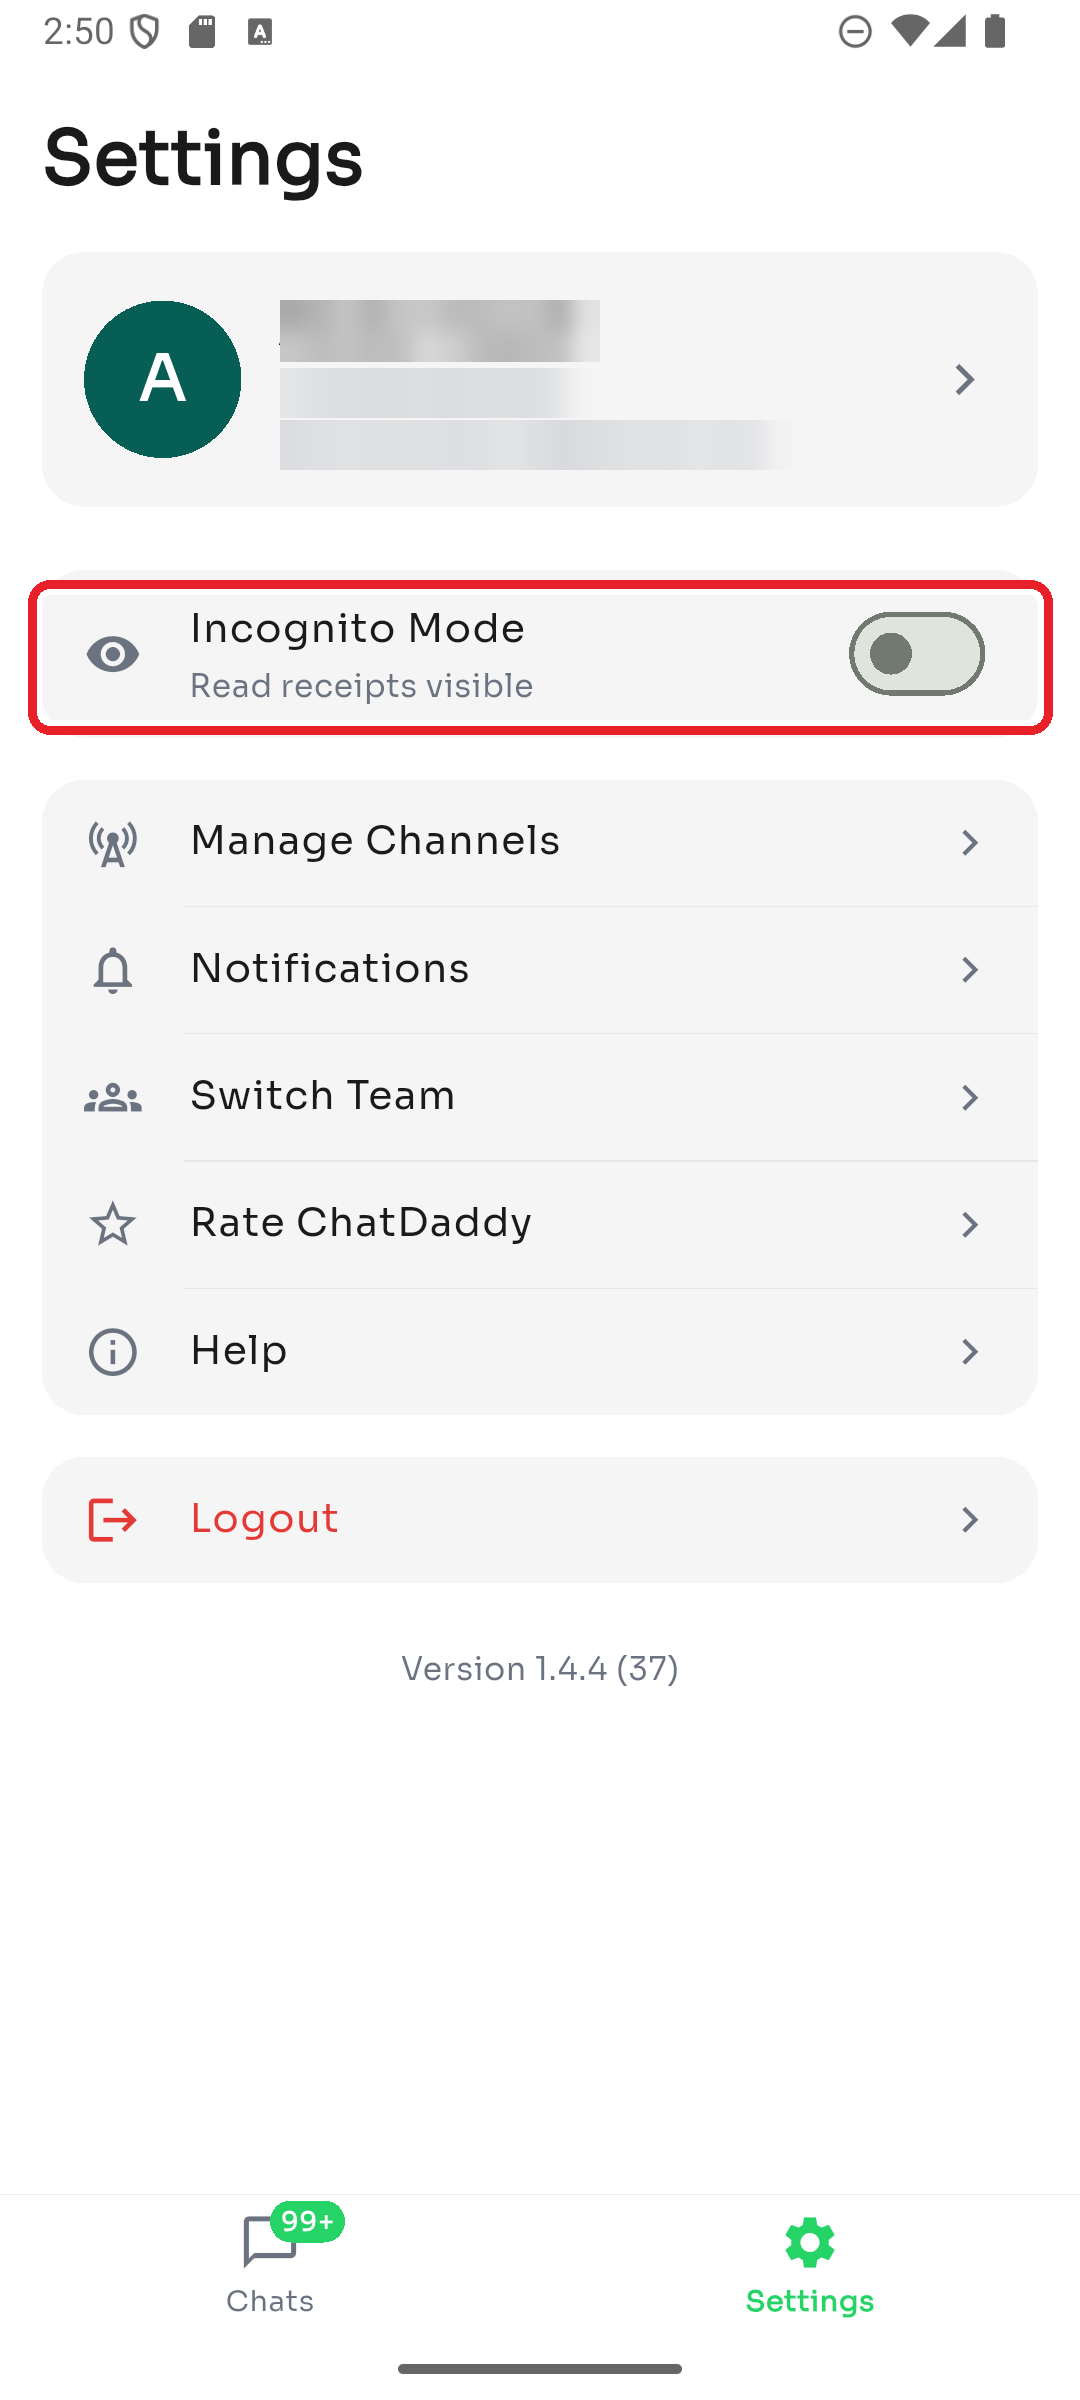
The subtitle tells you the current state:
- Read receipts hidden — Incognito is on; contacts won't see your read status.
- Read receipts visible — Incognito is off (normal behavior). Toggle it off any time to go back to normal.
Cut down on notification noise by muting specific channels or silencing alerts during set hours. Open Settings → Notifications.
Mute a specific channel
Under Channel mute, switch off any channel you don't want alerts from. This applies to this device only.
Set quiet hours
Under Sound & quiet hours, turn on Quiet hours and choose a start and end time to silence notifications during that window. You can also toggle Sound and Vibration here.
Want to turn specific alert types off entirely? See I'm not receiving notifications and the Notifications guide.
A channel showing Disconnected means ChatDaddy has lost its link to that account, so you can't send or receive on it until it's reconnected.
Common causes
- The linked phone lost internet or was turned off for a long time.
- WhatsApp was opened on too many linked devices and dropped the oldest one.
- The number was logged out of Linked Devices on the phone.
- The phone's WhatsApp app was reinstalled or the account was moved.
How to fix it
-
Go to Settings → Manage Channels.
-
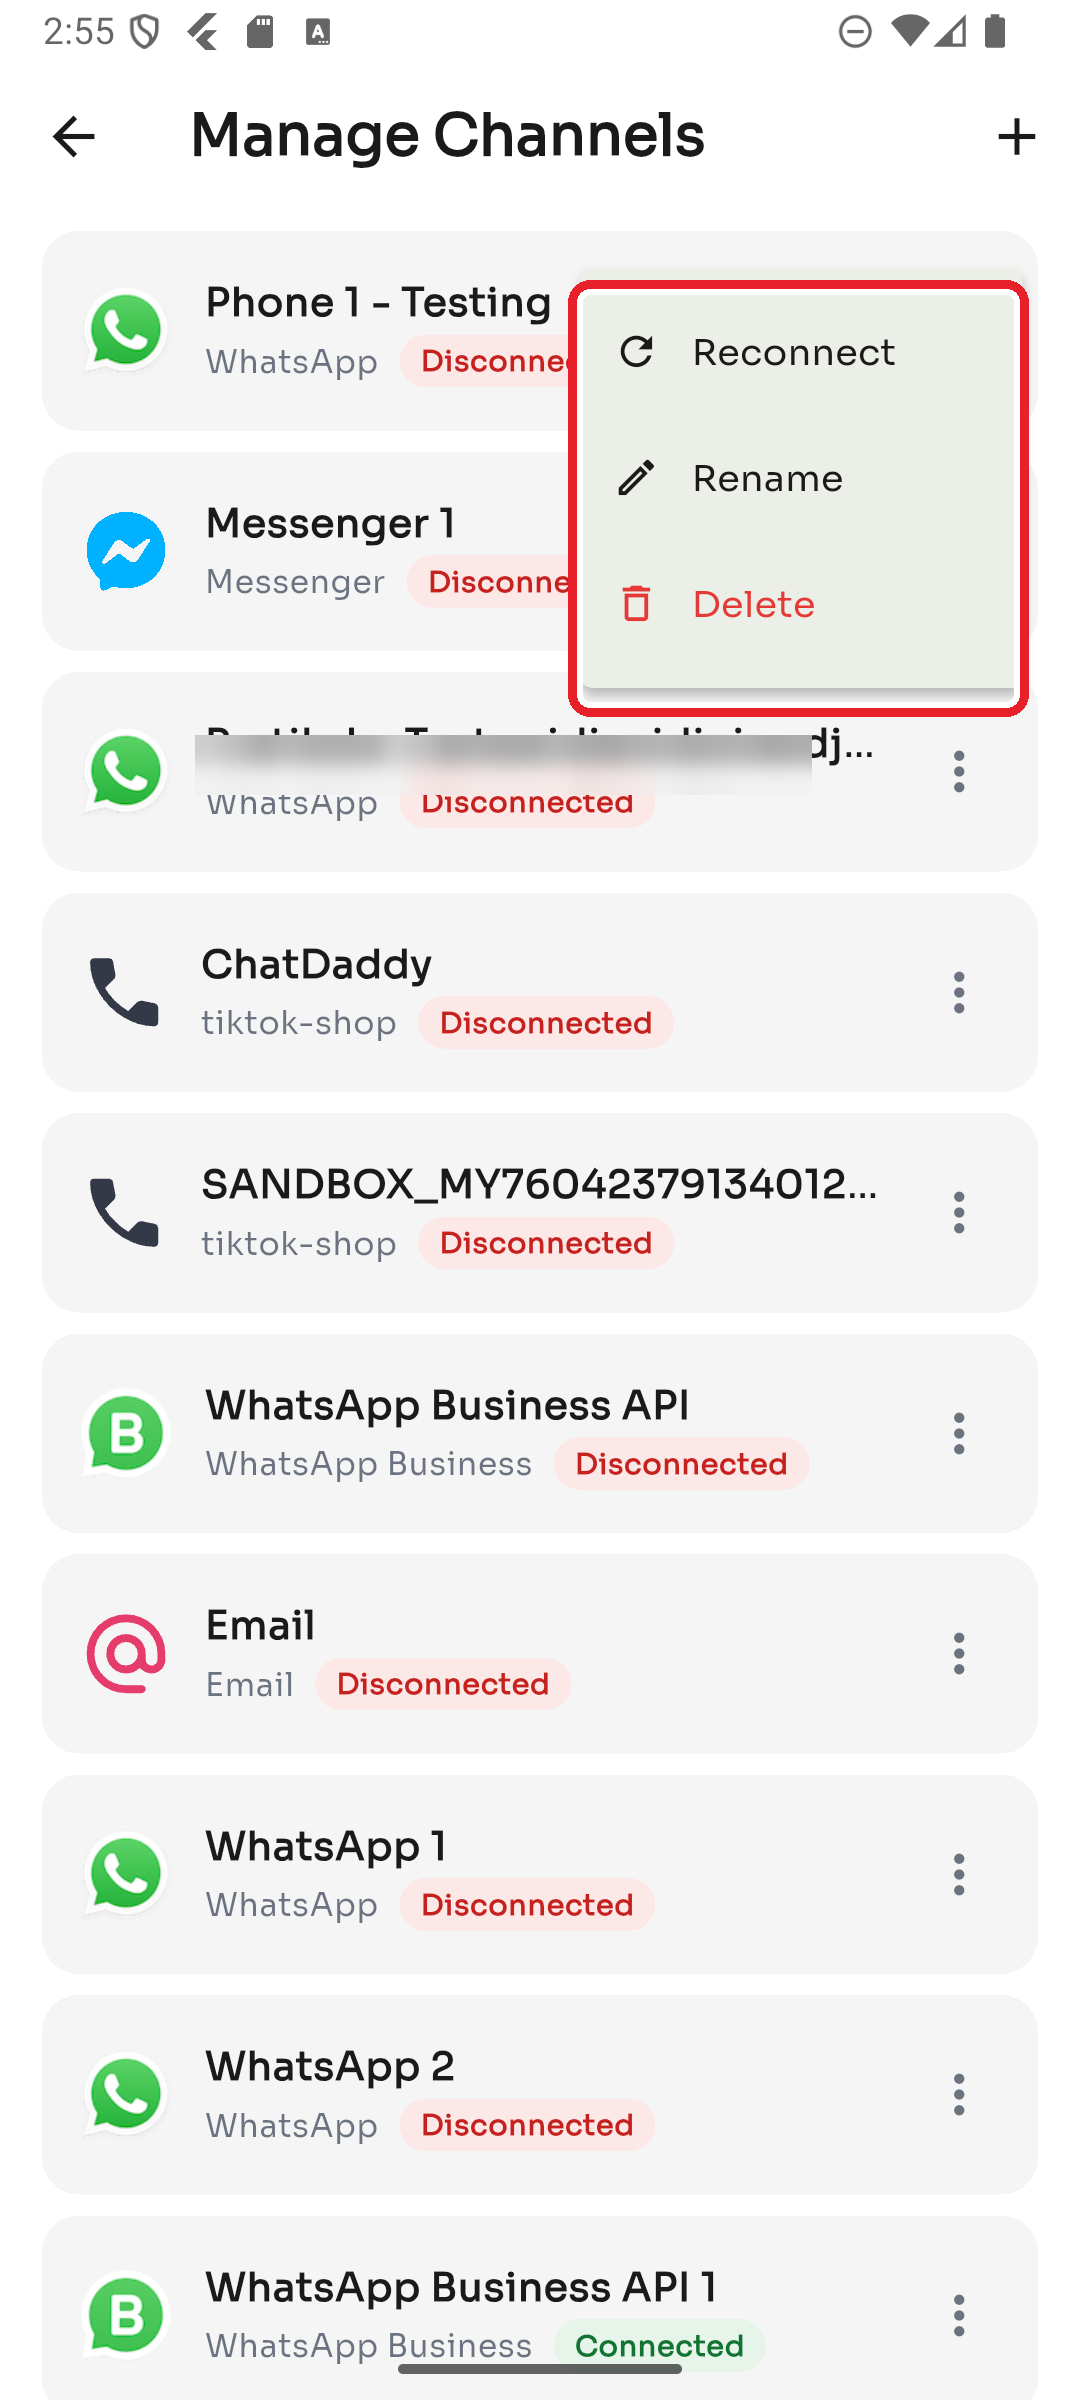
Tap the ⋮ menu on the disconnected channel and choose Reconnect.
-
For WhatsApp, link it again with the 8-digit pairing code (or QR) — make sure the phone with WhatsApp is nearby and online.
If it keeps happening
- Keep the linked phone online and charged — ChatDaddy relies on it staying connected.
- Don't exceed WhatsApp's linked-device limit; remove old/unused linked devices in WhatsApp → Linked Devices.
- If a channel disconnects repeatedly right after reconnecting, contact support with the channel name and time it dropped. If new messages aren't alerting you, work through this checklist. Most cases are one of the settings below.
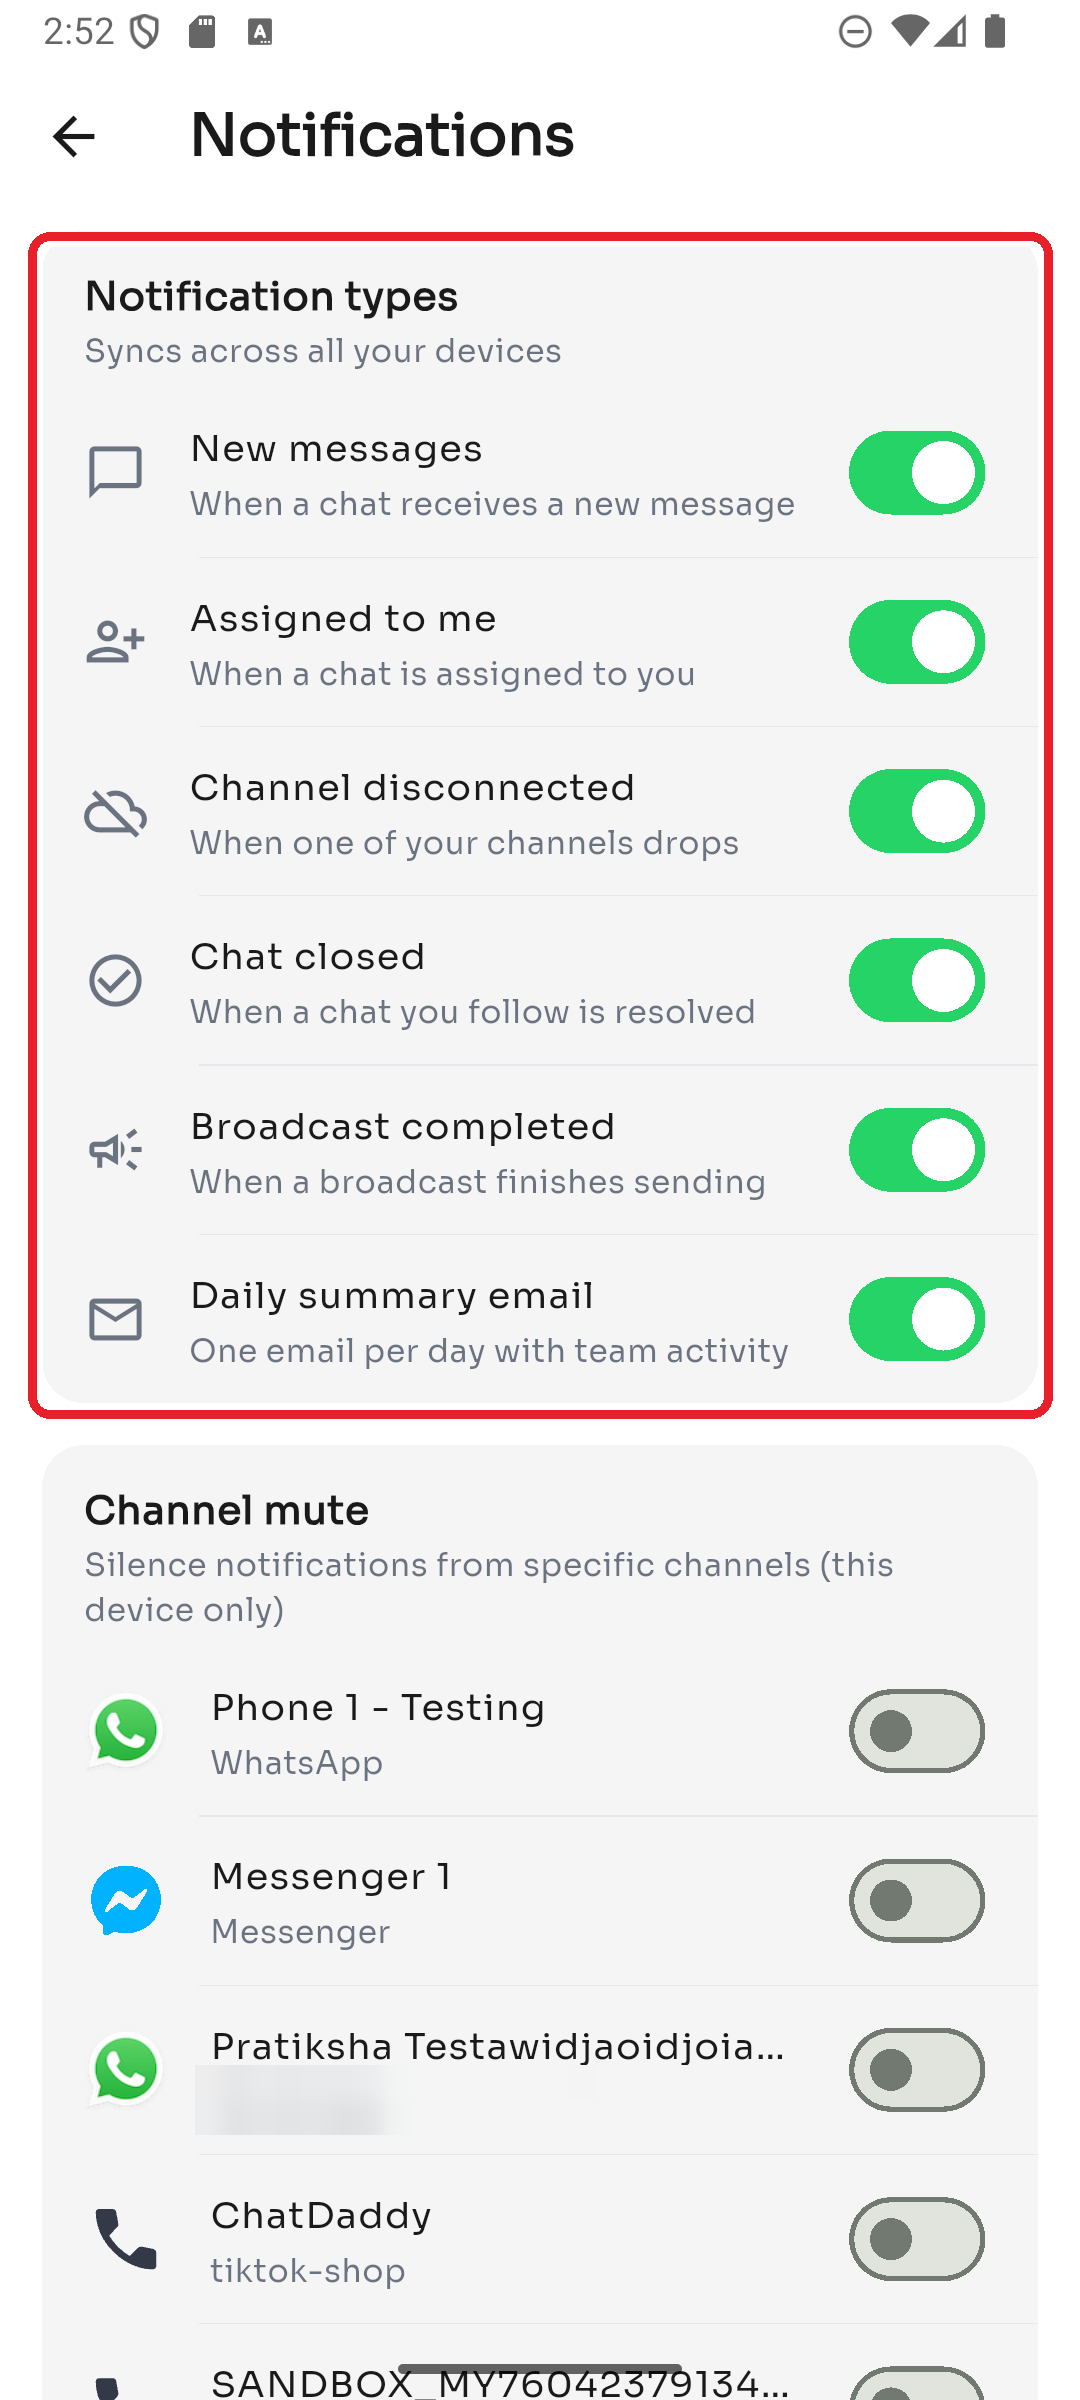
1. Check your notification types
Go to Settings → Notifications and make sure the alerts you expect are switched on (for example, New messages and Assigned to me). These sync across all your devices.
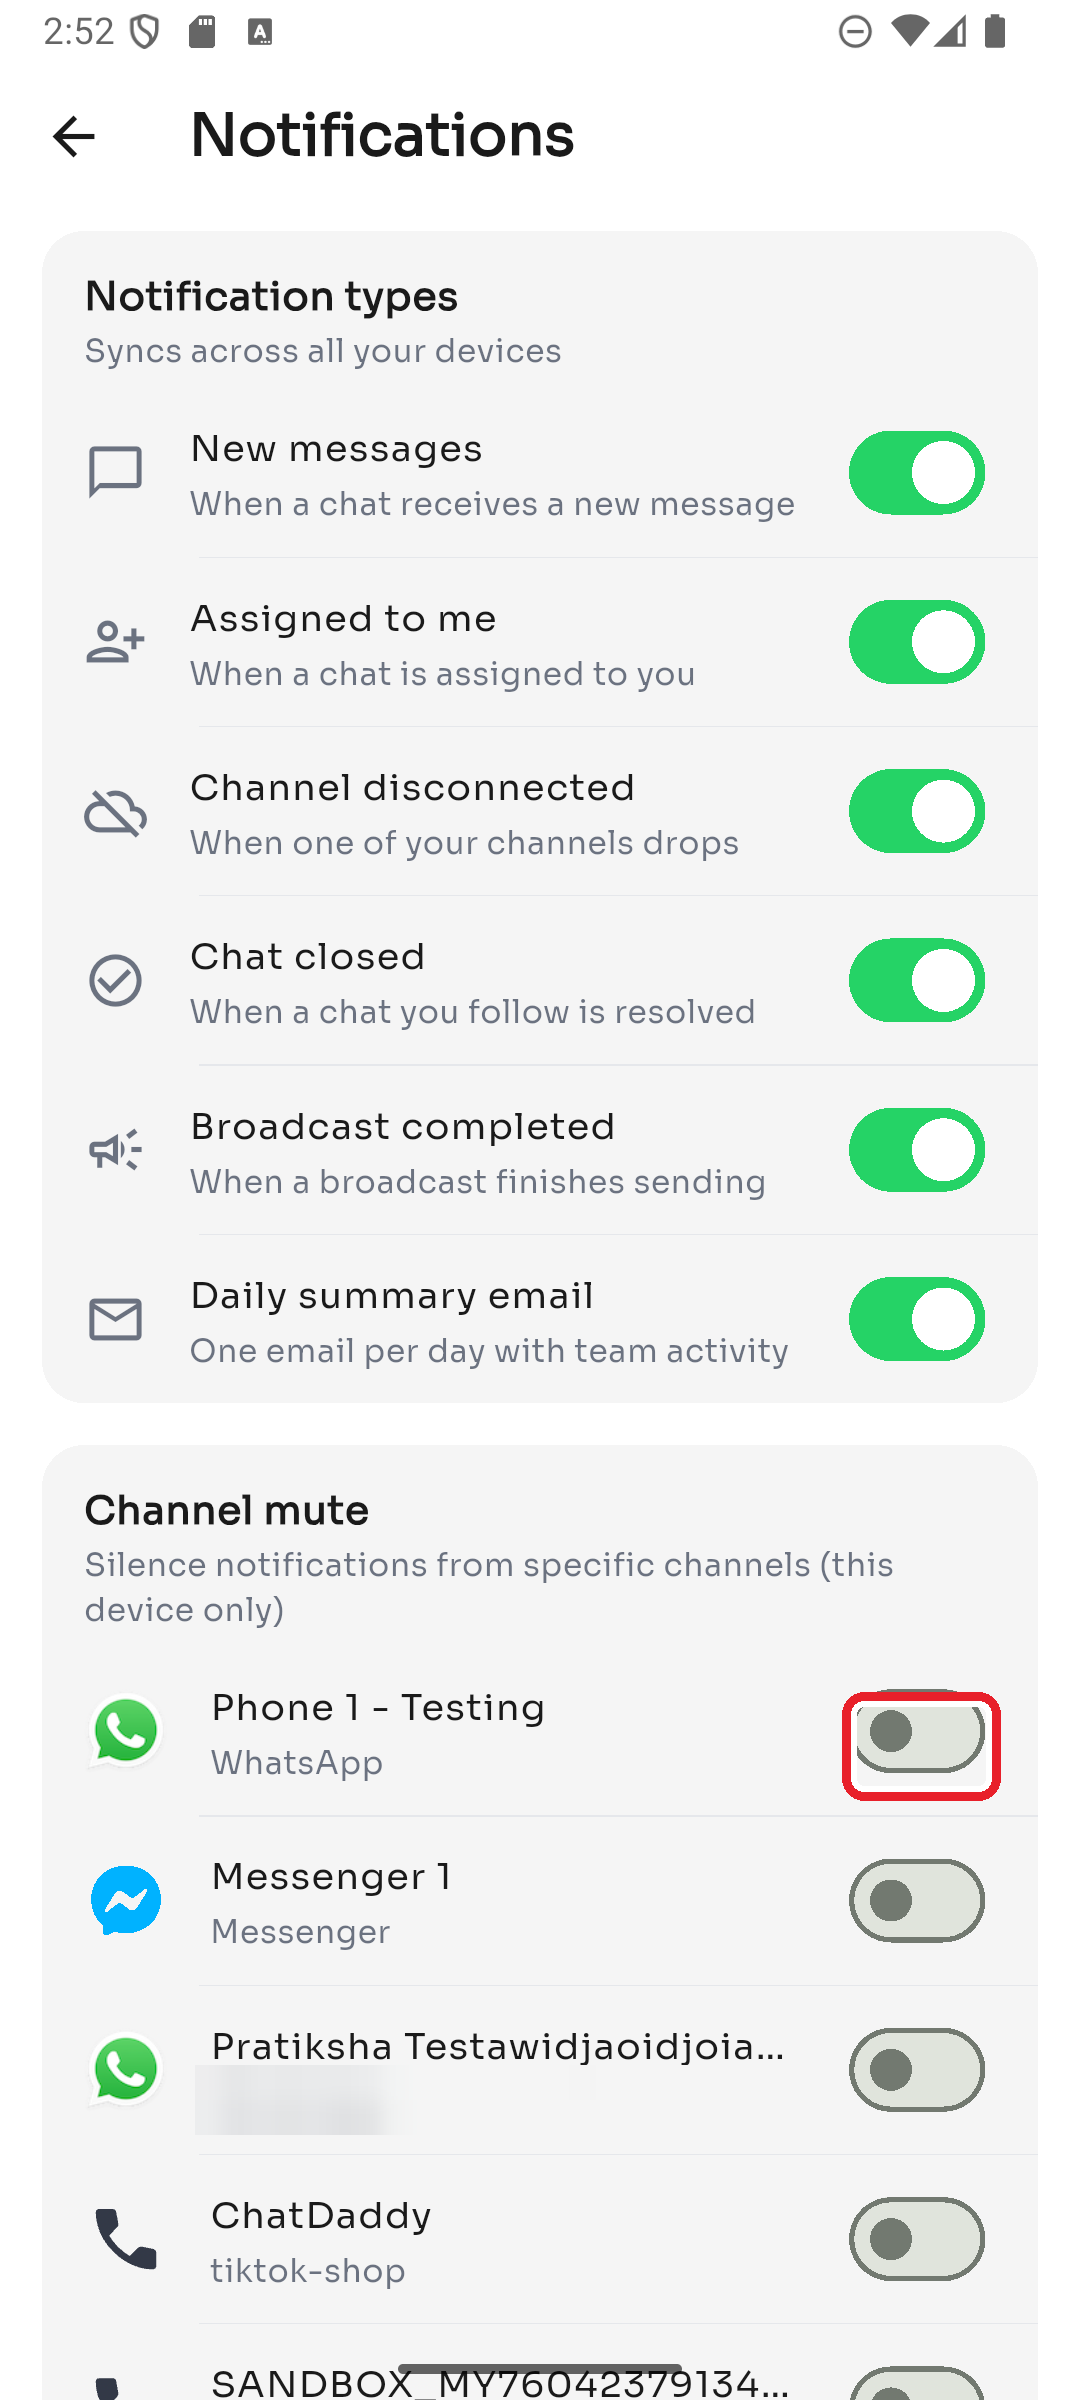
2. Check whether the channel is muted
Still in Notifications, scroll to Channel mute and confirm the channel isn't switched off. Channel mute applies to this device only.
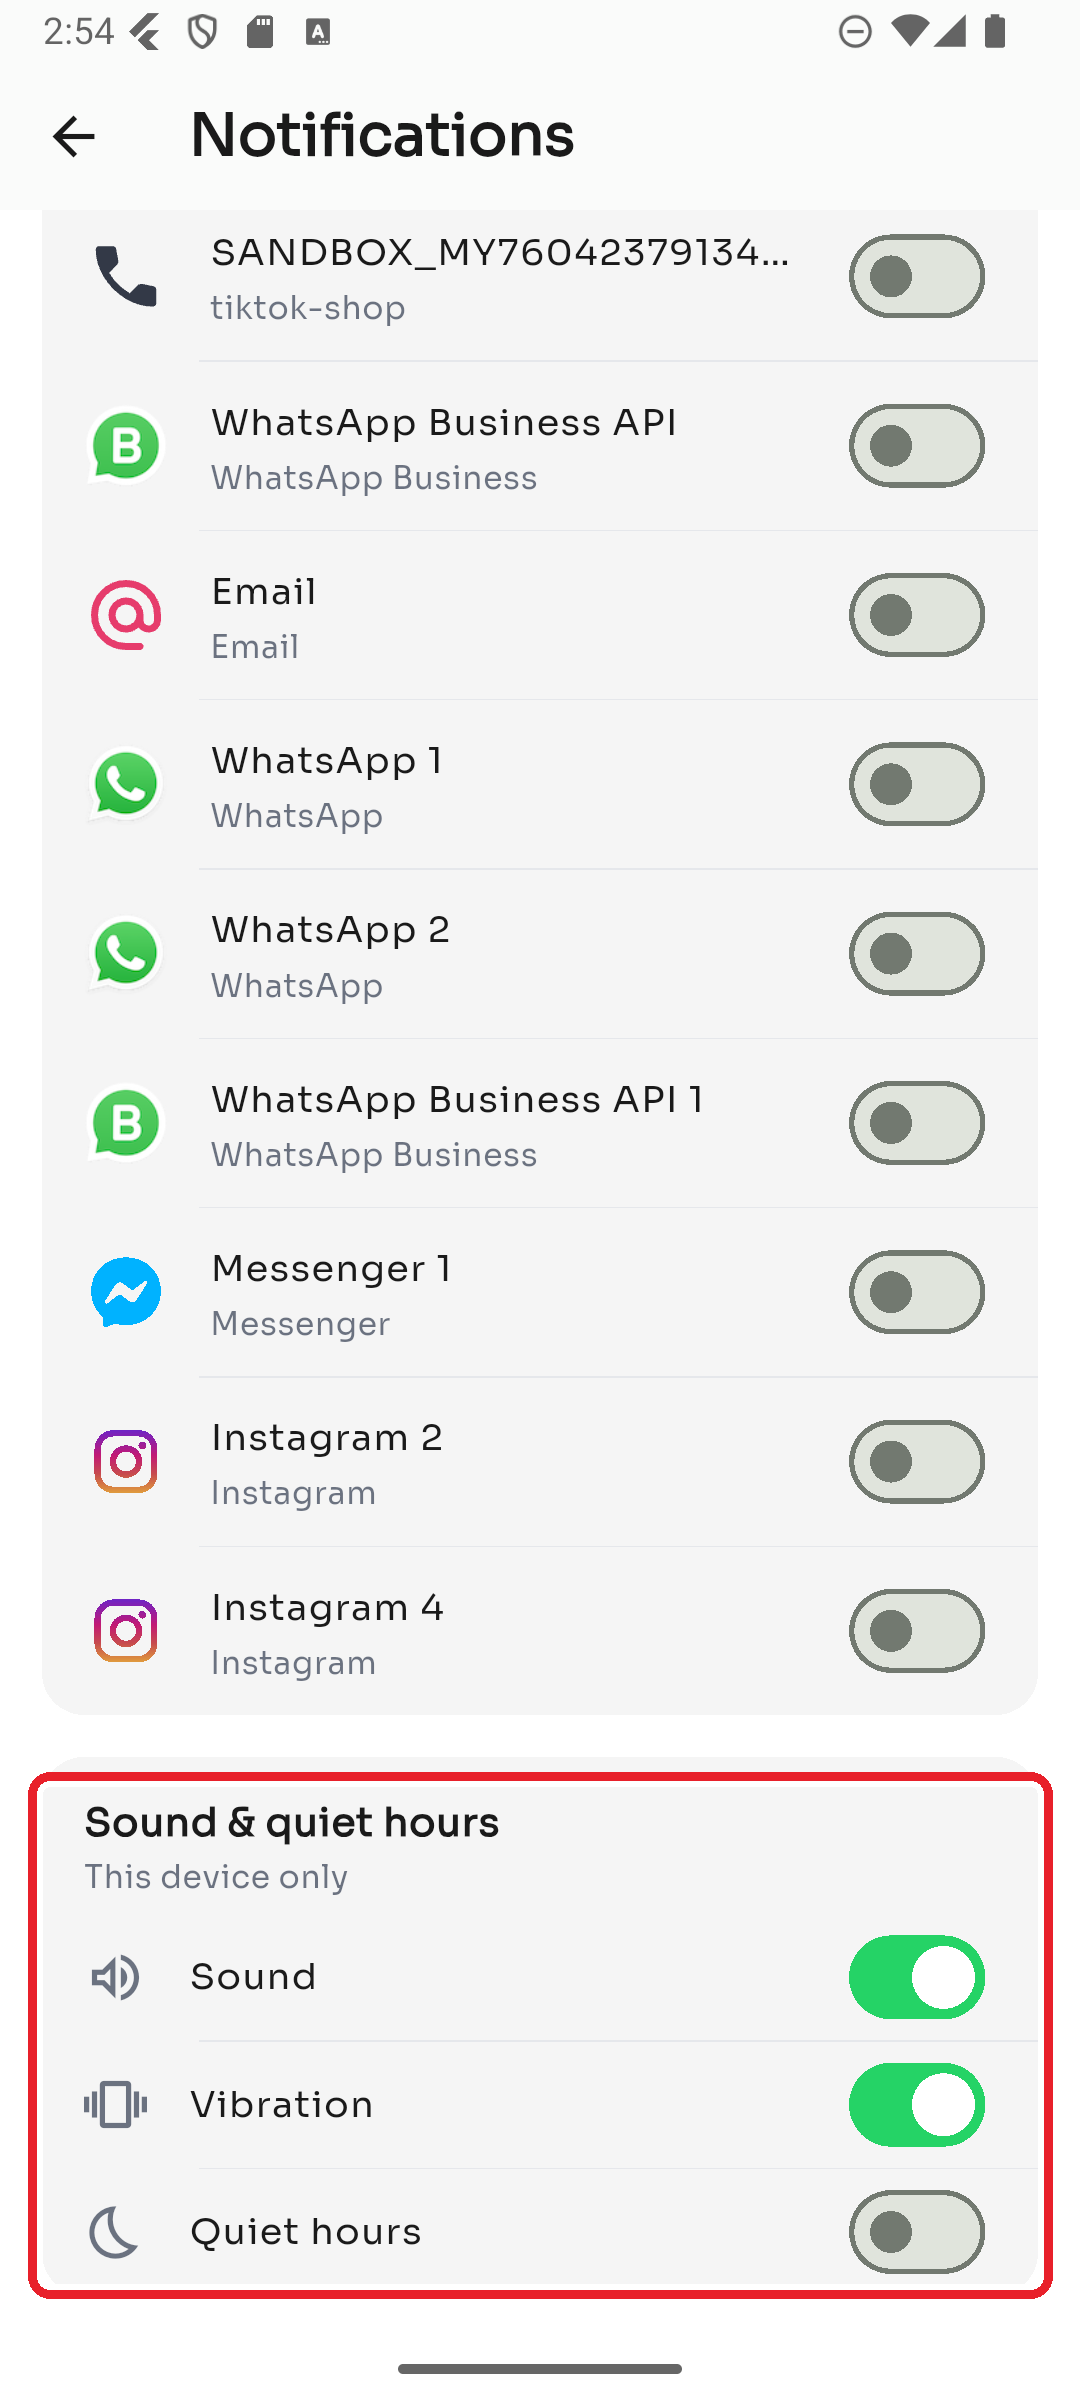
3. Check quiet hours, sound & vibration
Under Sound & quiet hours, make sure Quiet hours isn't silencing you right now, and that Sound/Vibration are on if you want them.
4. Check your phone's system settings
- Make sure notifications are allowed for ChatDaddy in your phone's Settings → Apps.
- Turn off Do Not Disturb / focus modes.
- Disable battery optimization / background restrictions for ChatDaddy so it can receive alerts.
5. Still nothing?
Confirm the channel is connected (a disconnected channel won't receive new messages), and that you're on the right team. If all of the above look correct, reopen the app and contact support.
If a message is stuck or failed, the status icon next to it tells you what's happening.
Read the status icons
- Clock — the message is pending (sending) or scheduled for later.
- Single check — sent.
- Double check — delivered.
- Blue double check — read.
- Red error icon — the message failed to send.
How to fix a failed message
- Check your internet — make sure your device is online.
- Check the channel is connected. If it shows Disconnected in Settings → Manage Channels, reconnect it first — messages can't send on an offline channel.
- Retry the message (long-press it for options, or resend).
- For WhatsApp template/automation sends, confirm the flow is Approved — unapproved templates won't go out.
Other things to check
- The recipient's number is valid and in the correct international format.
- You haven't hit a messaging window or rate limit on that channel.
- If it still fails on a connected channel with good internet, note the time and contact support. Trouble signing in to the app? Here's how to get back in.
Check the basics
- Country code + phone number — make sure the correct country code is selected and the number matches the one your account uses.
- Password — tap the eye icon to reveal what you typed and check for typos or caps.
- Internet — confirm your device is online.
Common messages
- "Incorrect phone number or password" — the number or password doesn't match. Double-check both, or reset your password.
- "No internet connection" — you're offline; reconnect and try again.
- "Request timed out" — the network was slow; try again.
Reset your password
Tap Forgot password? on the login screen to reset it in your browser, then return to the app and sign in with the new password.
Still stuck?
- Make sure you're using the number tied to your ChatDaddy account (the one that receives your team's messages).
- If you don't have an account yet, tap Create a free account.
- If you're sure the details are right and still can't log in, contact support. If conversations you expect aren't showing in your list, one of these is usually why.
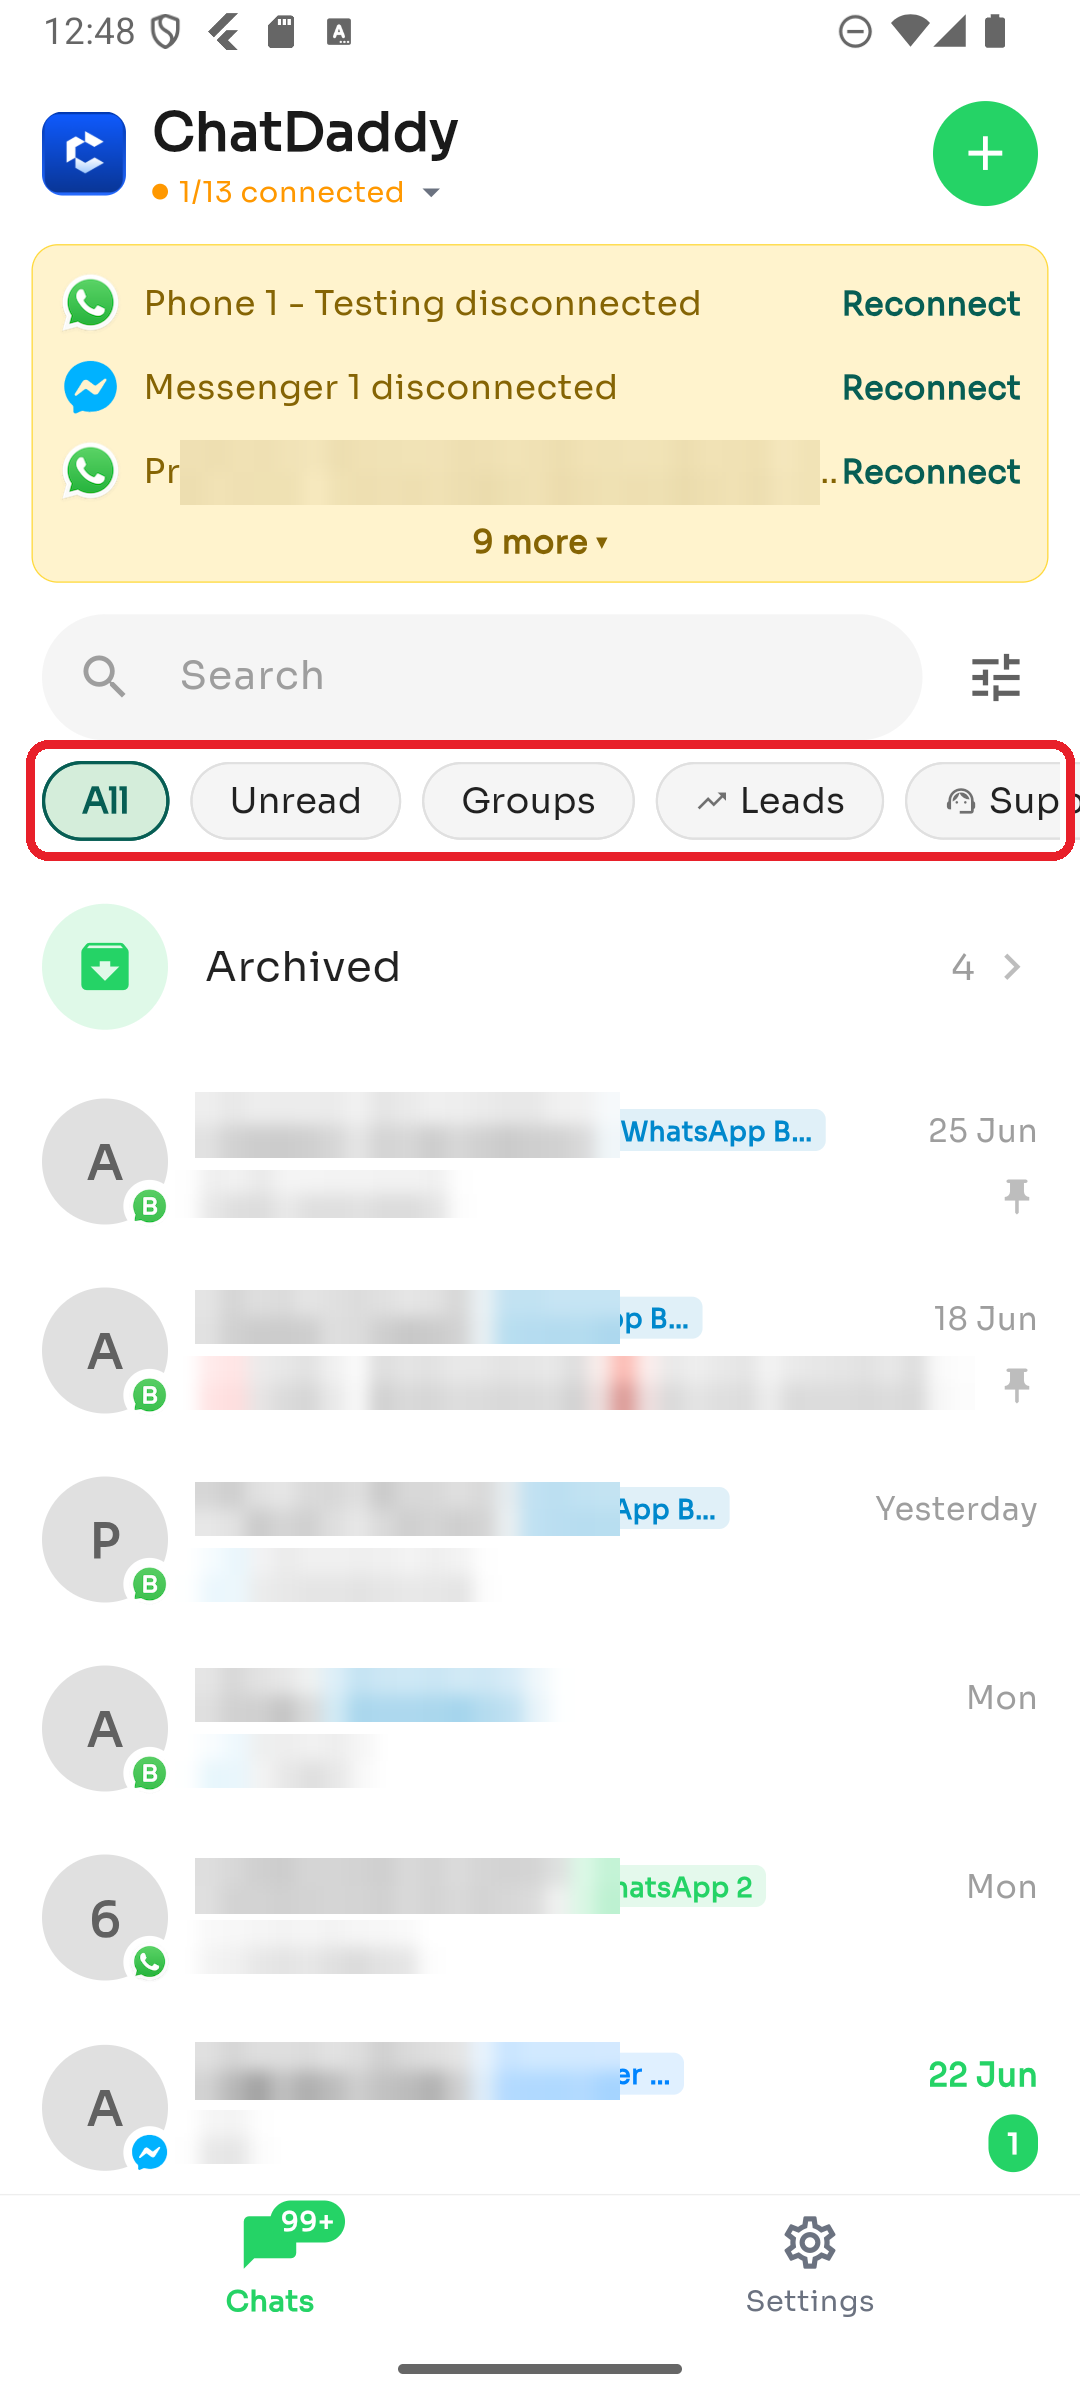
1. A filter is applied
A quick filter (like Unread or Groups) or an advanced filter (Tags/Assignee) may be hiding chats. Tap All and clear any active filters.
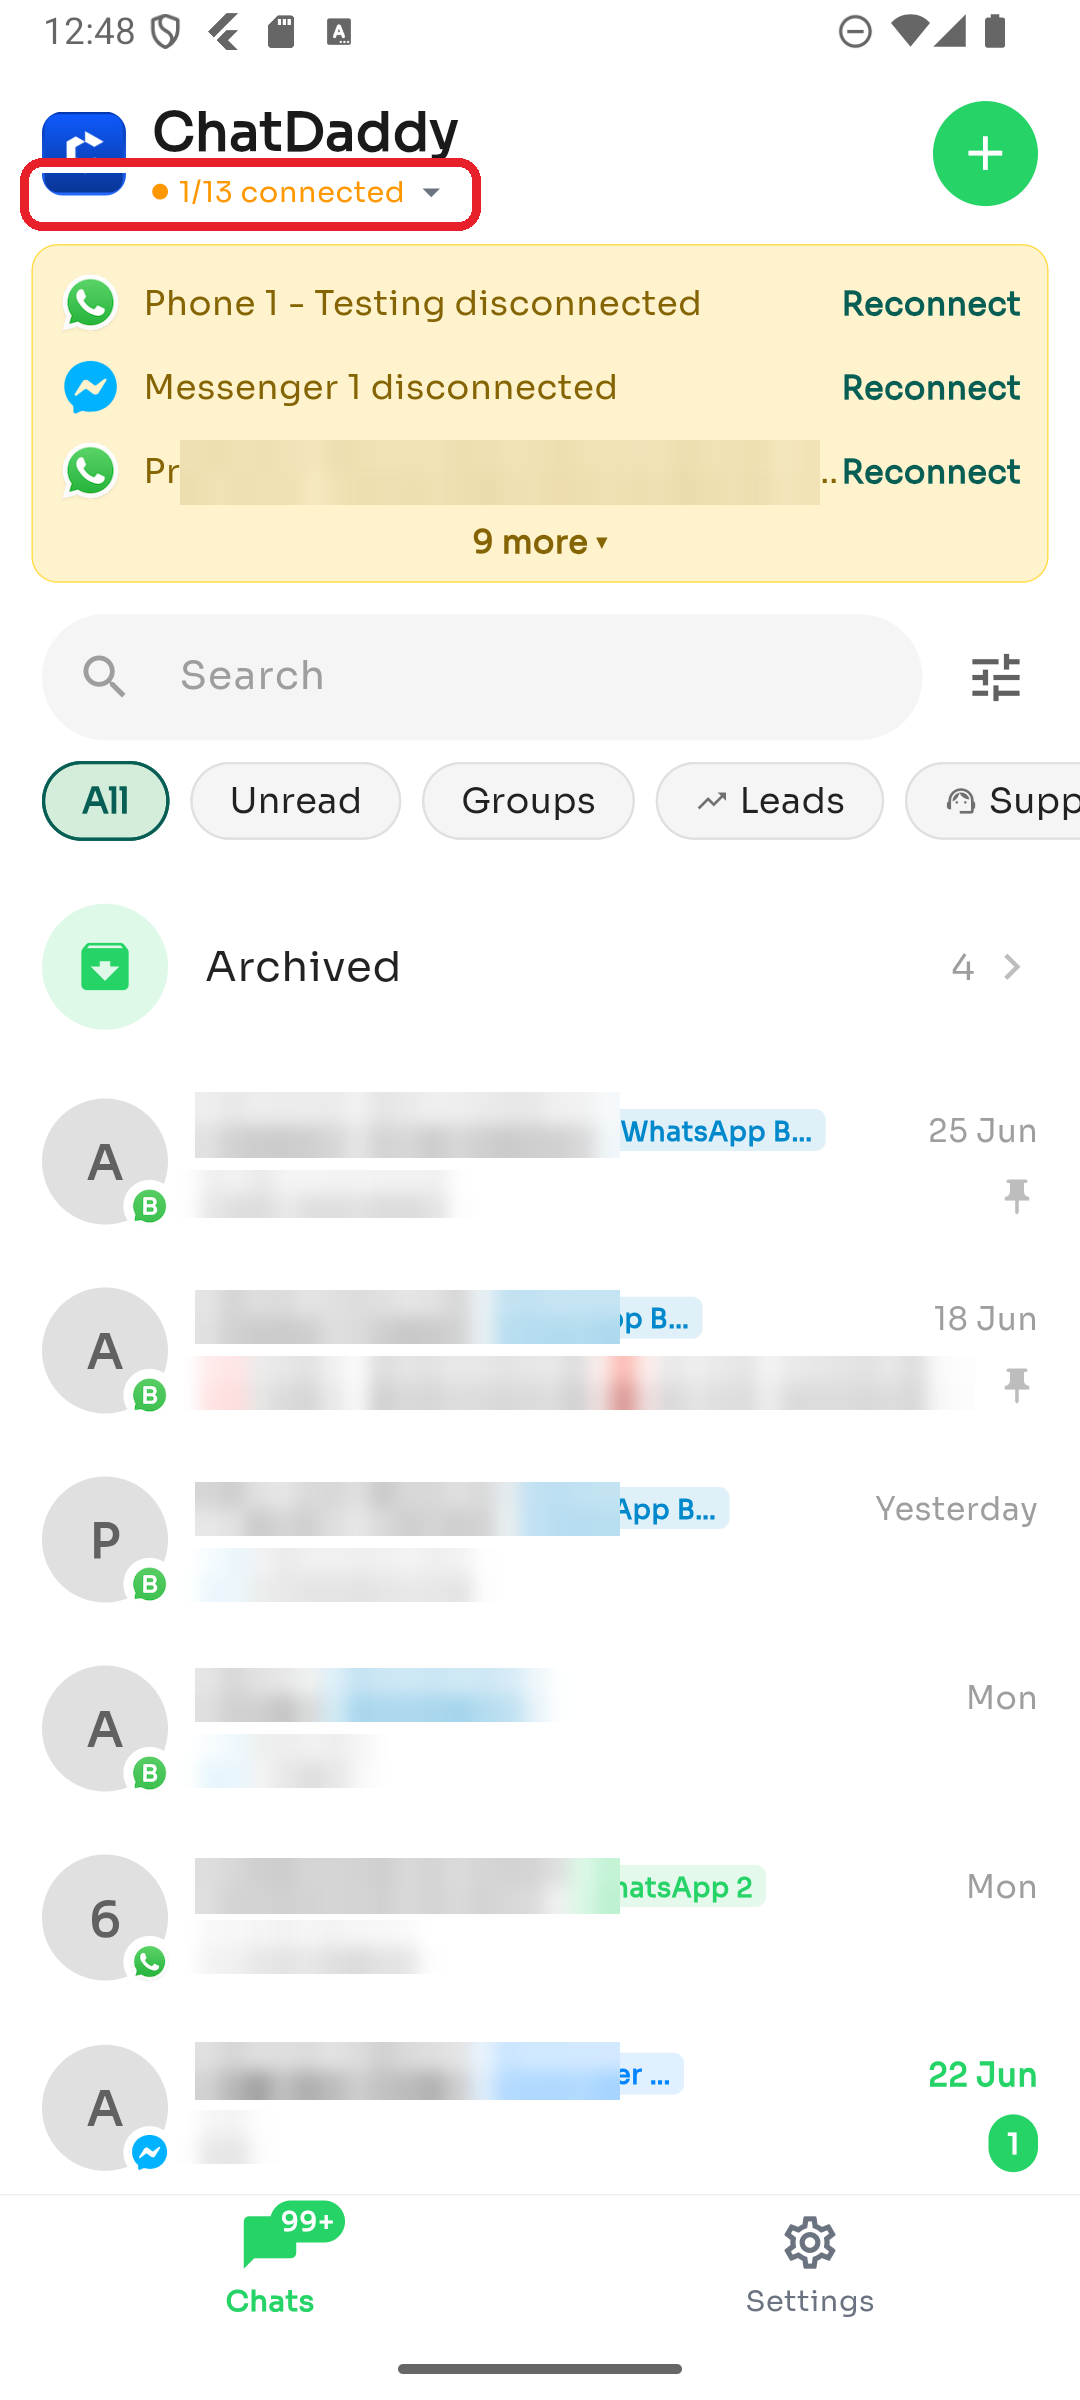
2. You're viewing a single channel
If you've selected one channel, you'll only see its chats. Tap the connection status at the top and choose All Channels.
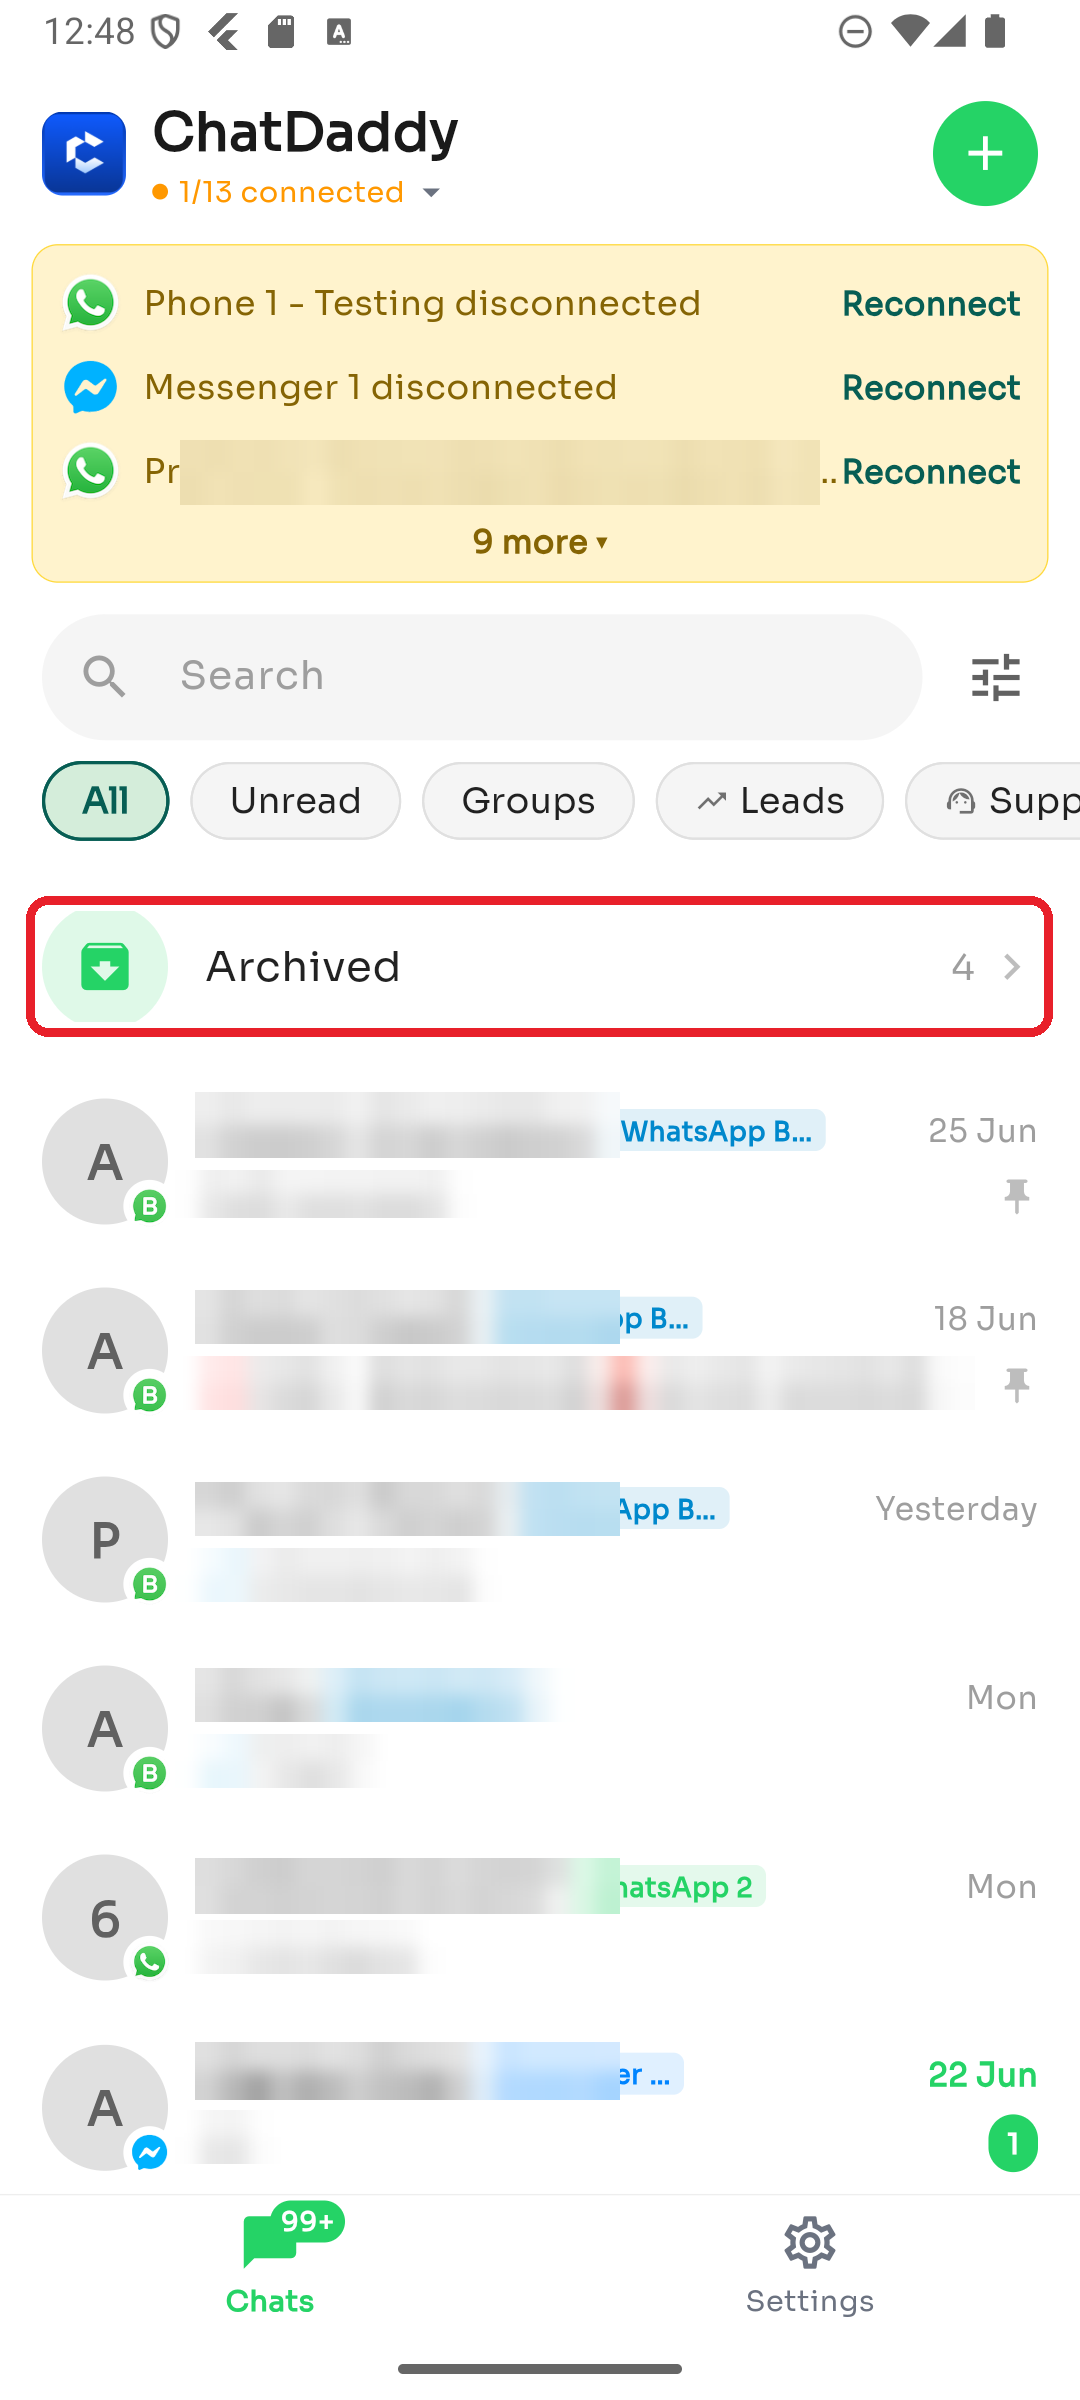
3. The chat is archived
Archived conversations don't appear in the main list. Tap Archived near the top to find them.
4. You're on a different team
If you belong to more than one team, the chat may live in another one. Use Settings → Switch Team to change teams.
5. The channel is disconnected
A disconnected channel won't pull in new messages. Check Settings → Manage Channels and reconnect it if needed.
When connecting WhatsApp, the pairing code is only valid for about 60 seconds. If it expires or the QR won't scan, here's what to do.
Get a fresh code
The code times out quickly, so have the phone ready before you start.
-
Go to Settings → Manage Channels → ➕ → WhatsApp.
-
Enter the number and tap Continue to generate a new code.
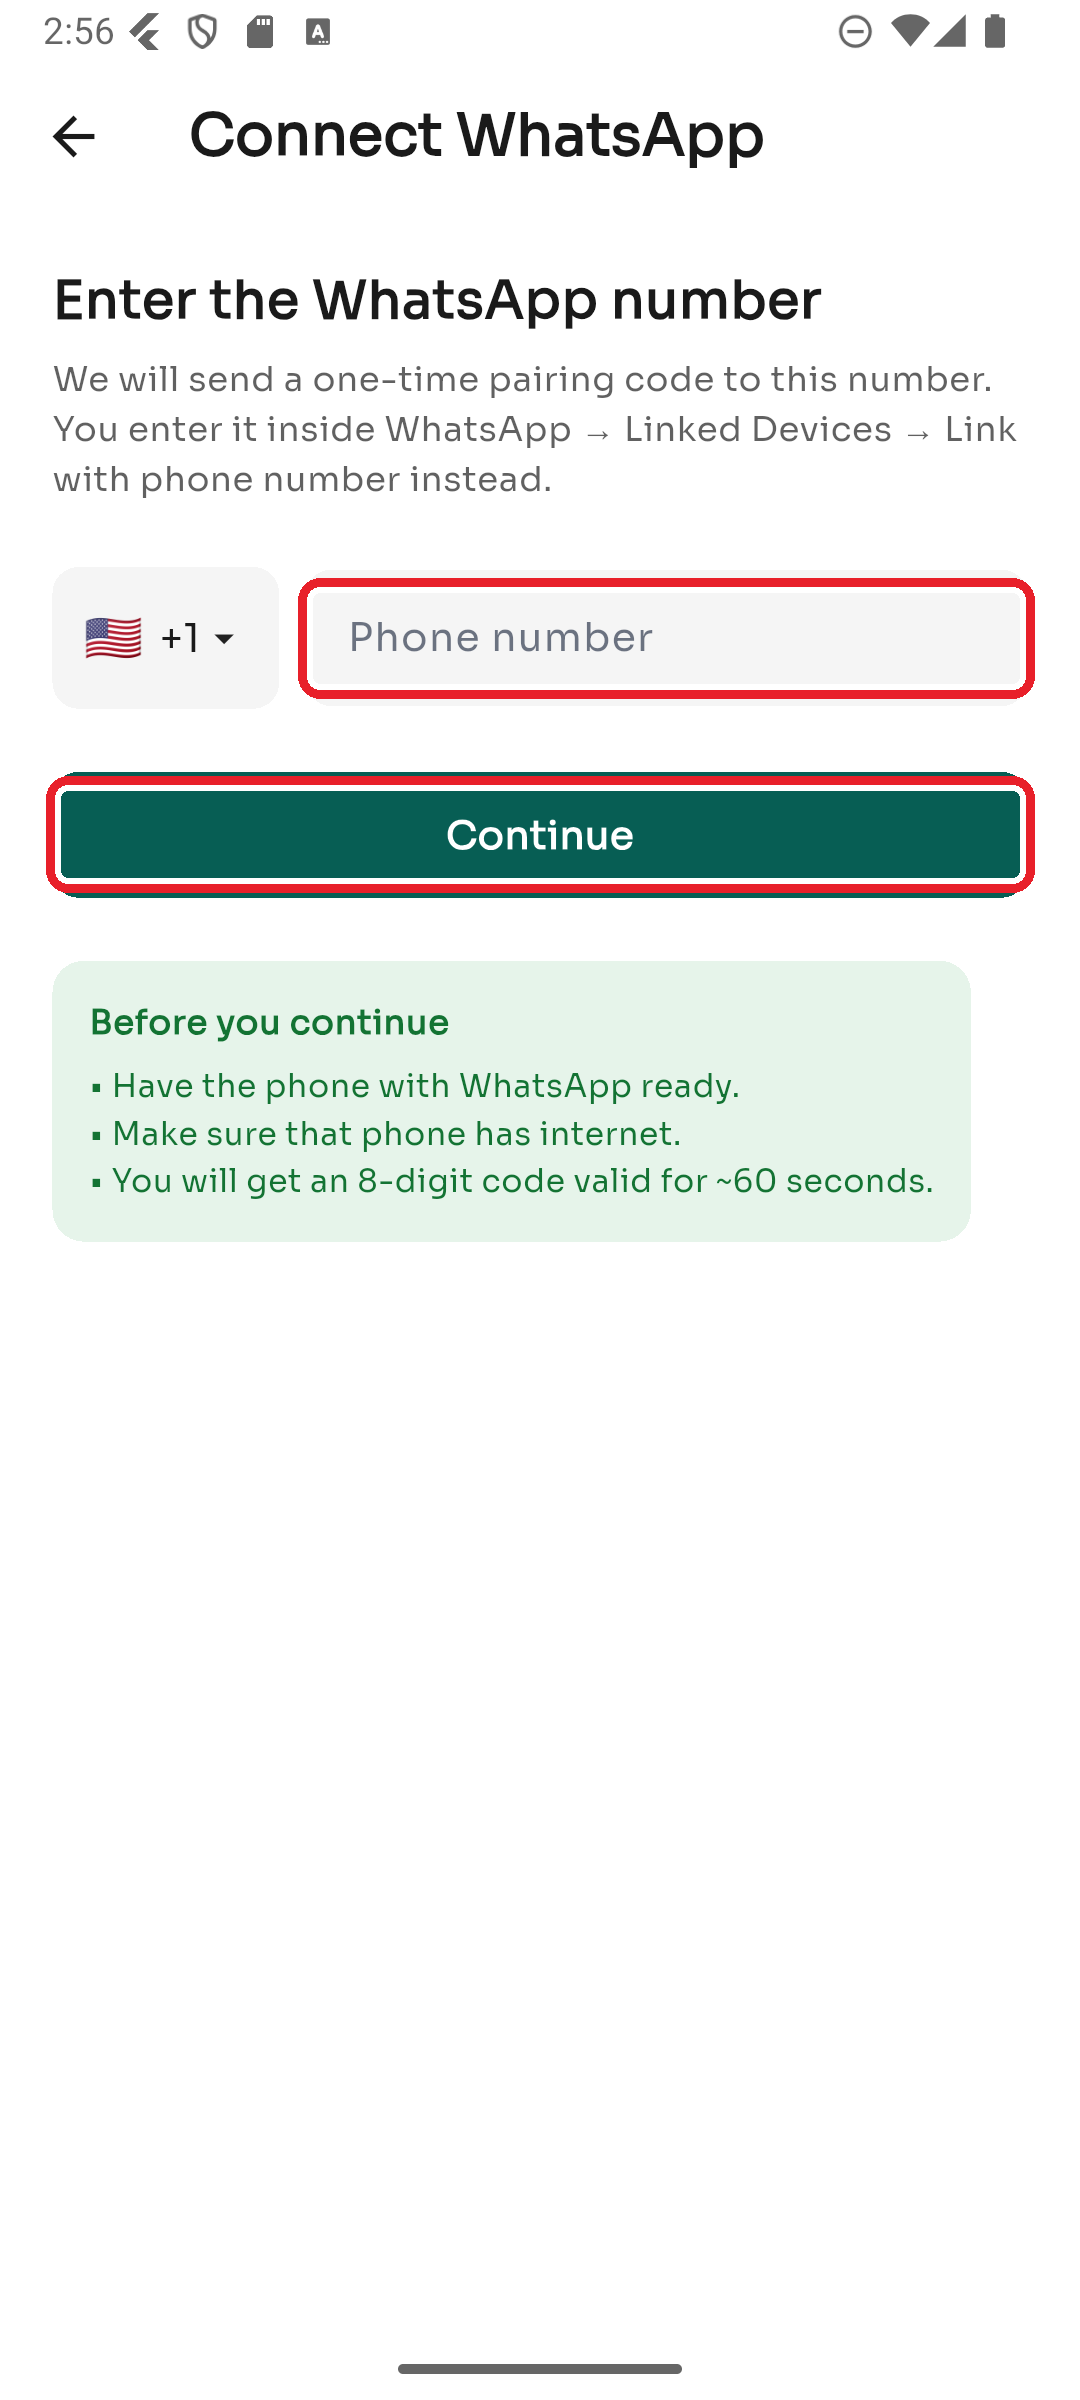
-
On the phone, open WhatsApp → Settings → Linked Devices → Link with phone number instead and enter the 8-digit code right away.
If the pairing code won't work
- Make sure you're entering it under Link with phone number instead, not scanning.
- Confirm the phone has a working internet connection.
- Tap Link with QR code instead and scan the QR from WhatsApp → Linked Devices → Link a device.
If the QR won't scan
- Increase your screen brightness and hold the phone steady.
- Make sure the whole QR is visible and not cut off.
- Switch back to the phone-code method instead.
Still failing
- Remove old entries in WhatsApp → Linked Devices (there's a device limit).
- Restart the connect flow from the beginning to get a brand-new code/QR.
- If it keeps timing out, contact support with the number and time you tried.