
ChatDaddy Mobile App: How to Organize Contacts & Tags
The Contact Info screen lets you organize a contact with tags, assign it to a teammate, and see messaging stats. This guide walks through it step by step…
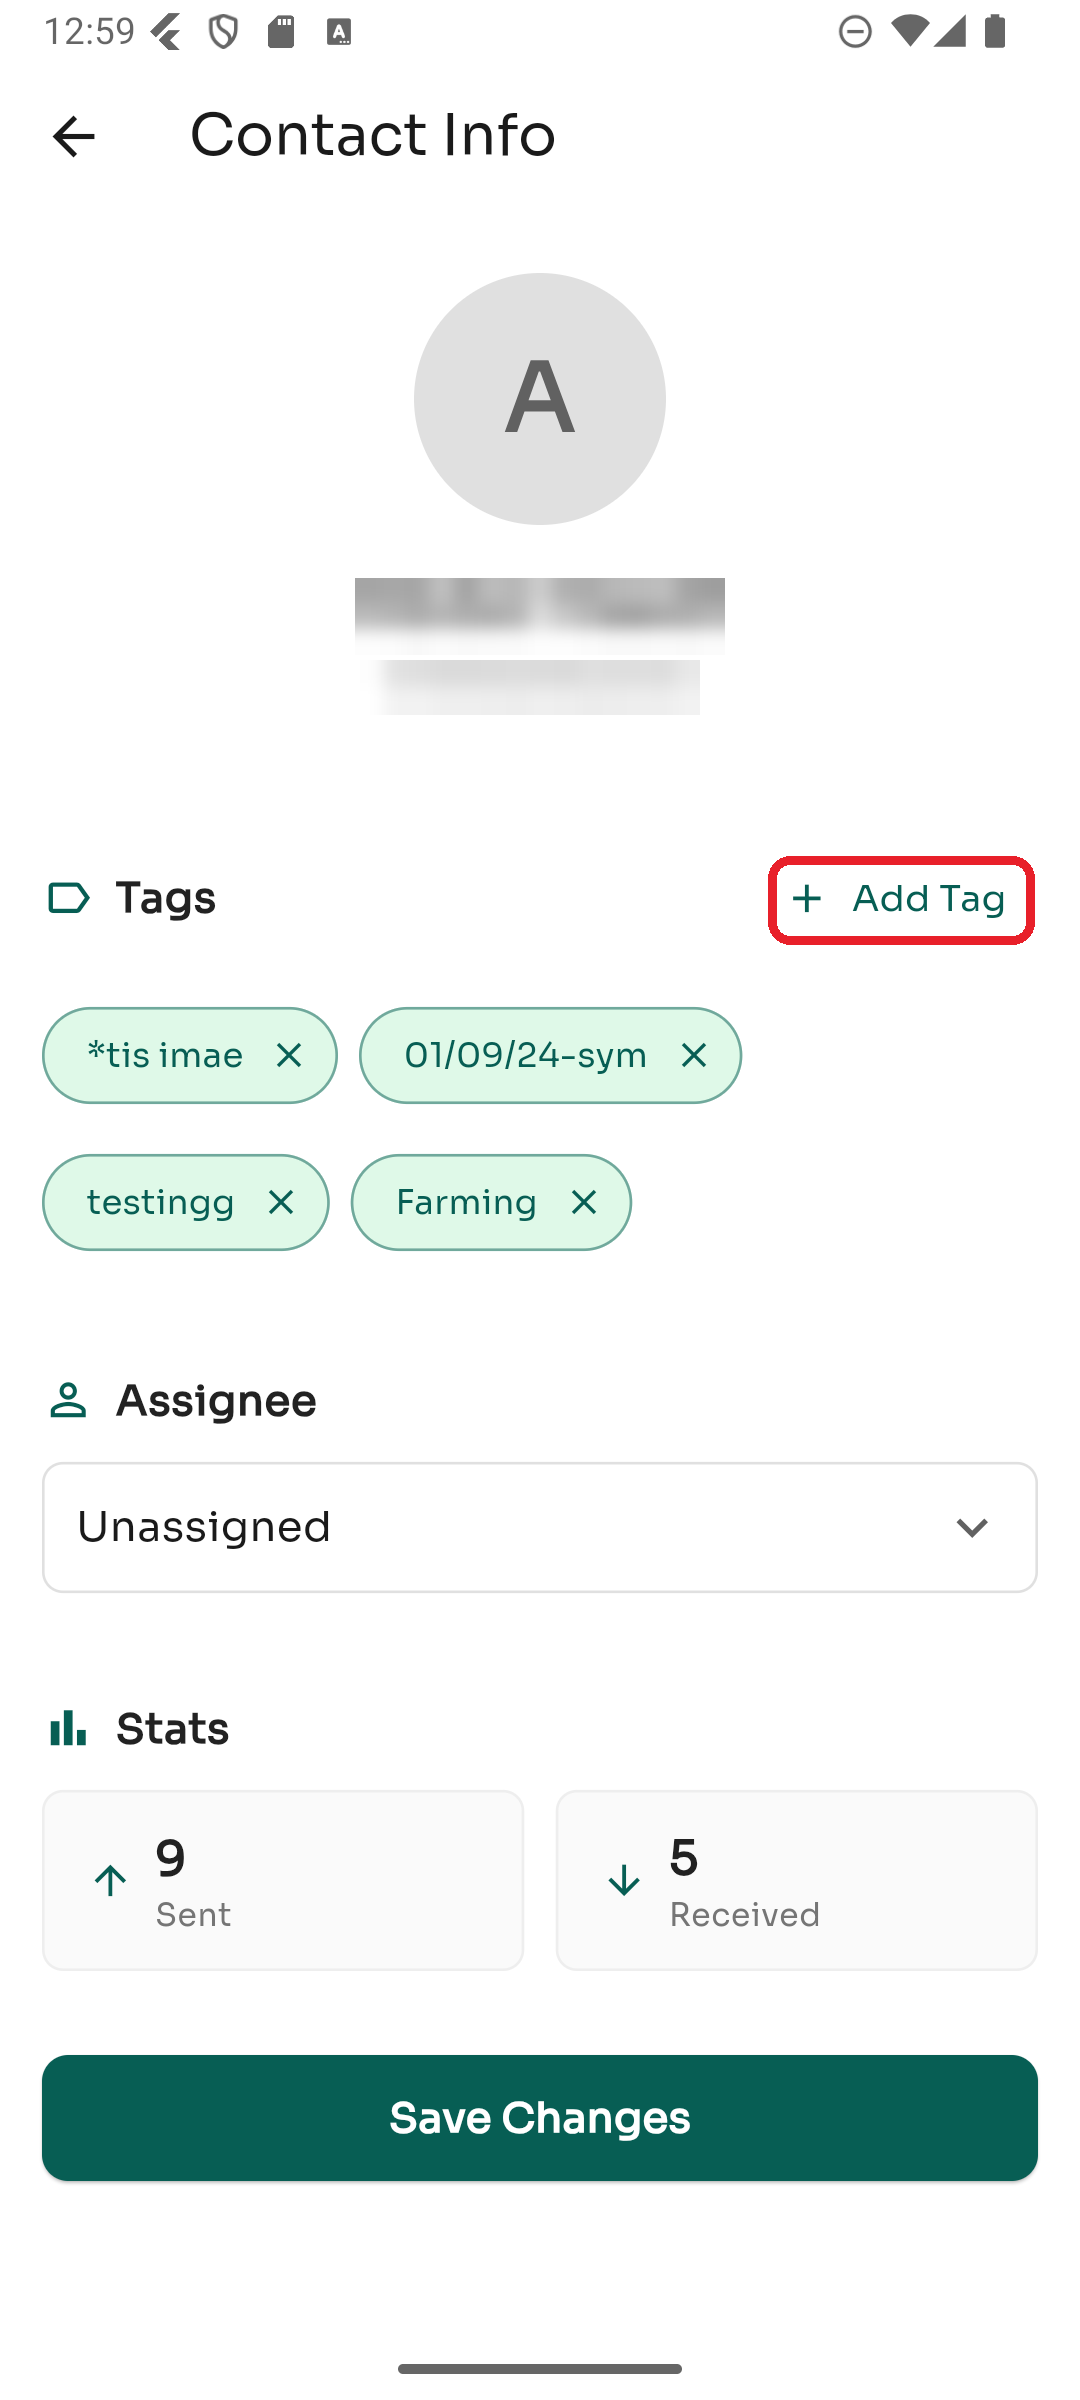
The Contact Info screen lets you organize a contact with tags, assign it to a teammate, and see messaging stats. This guide walks through it step by step. (In each screenshot, the red box shows where to tap.)
Step 1 — Open Contact Info
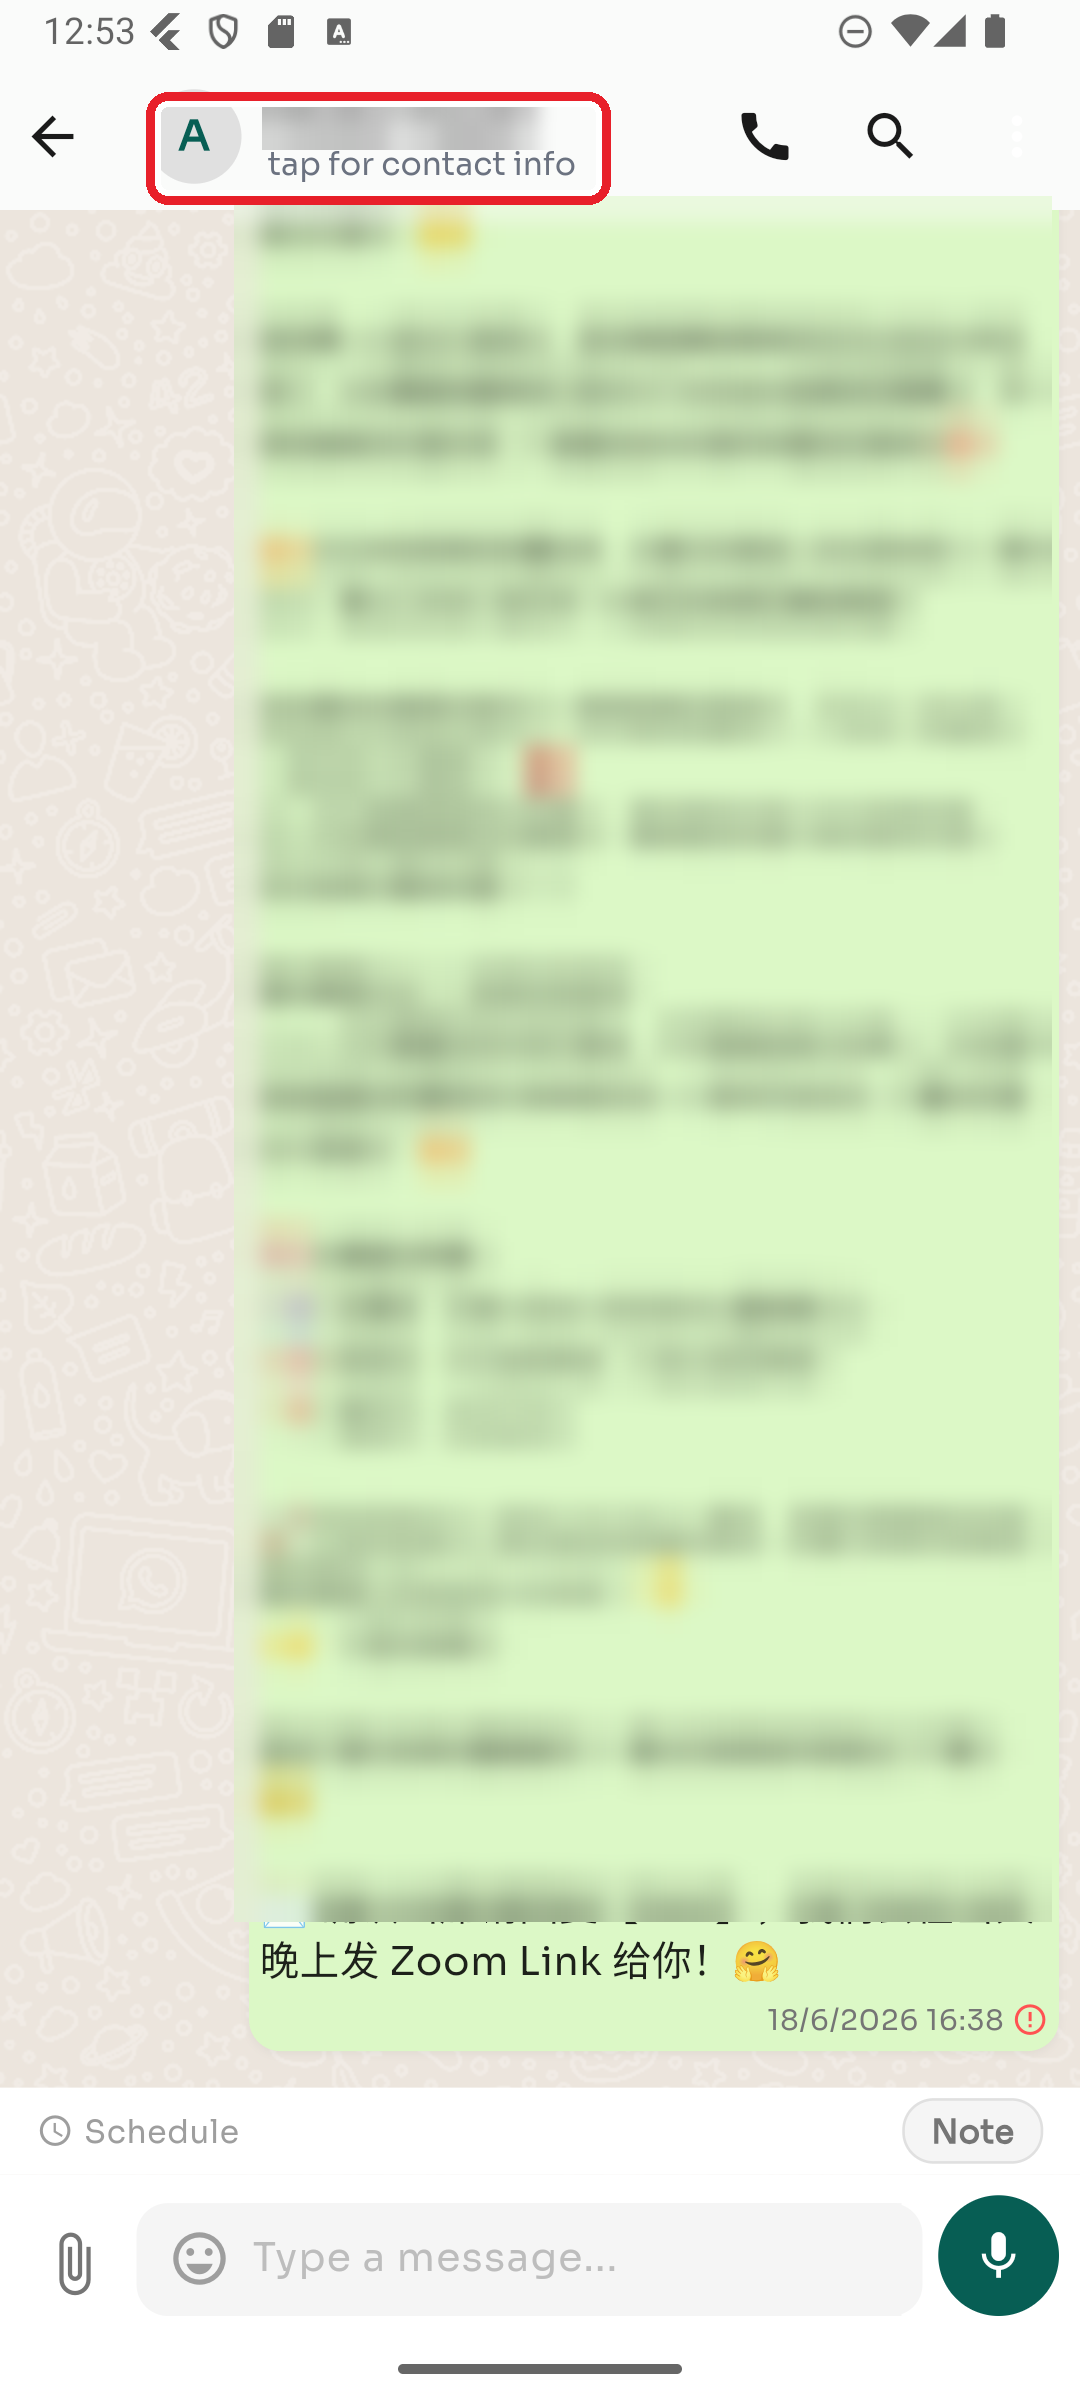
Open a conversation, then tap the contact's name at the top of the screen (it says "tap for contact info").
Step 2 — Add a tag
Tags help you categorize contacts (e.g. Lead, VIP, a campaign name). Tap ➕ Add Tag.
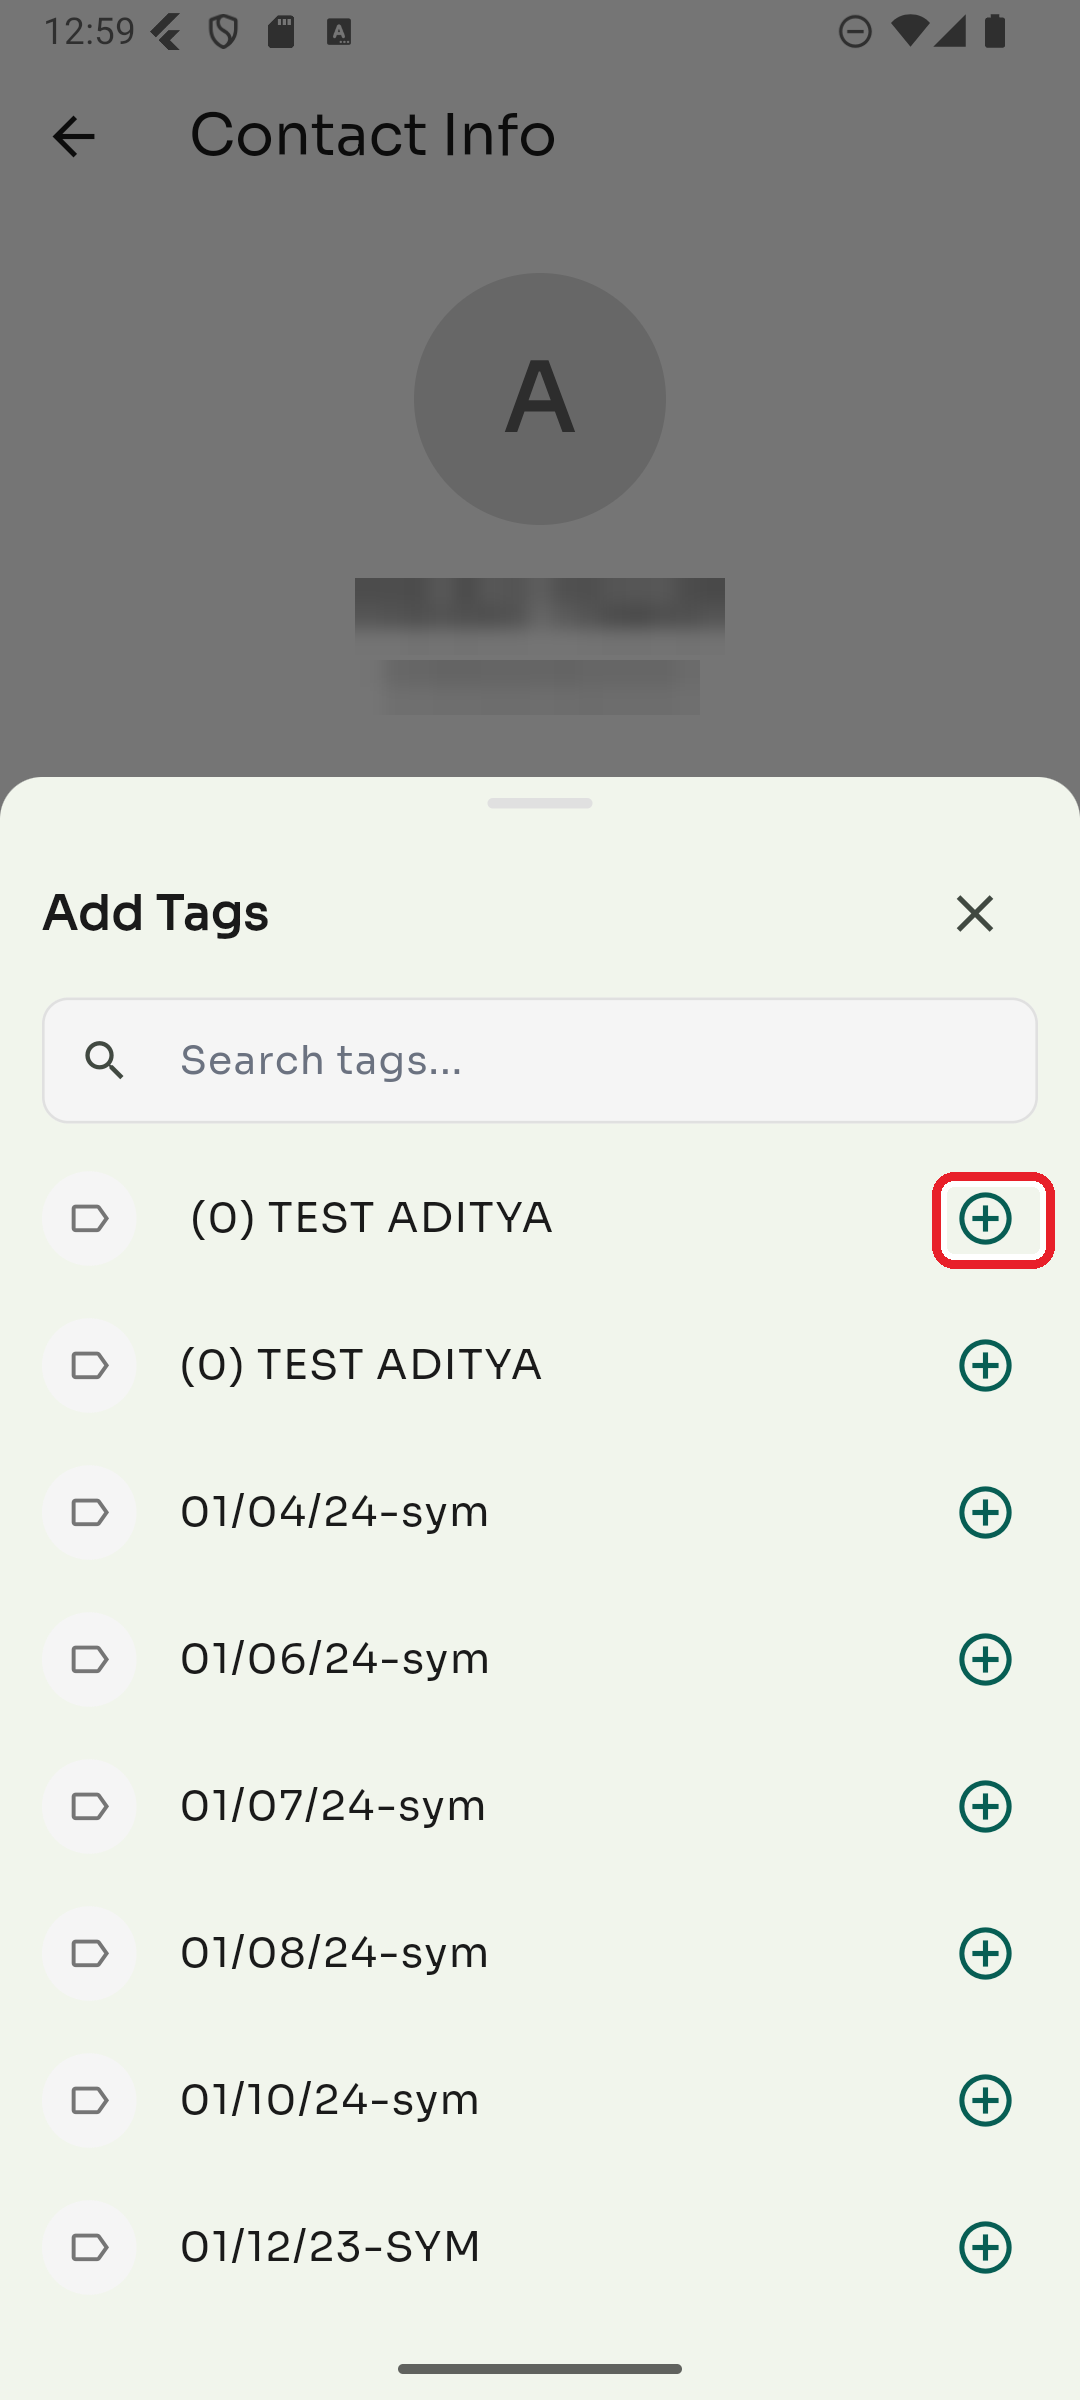
Search for a tag or scroll the list, then tap the ⊕ next to it to add it. If you search for a tag that doesn't exist, you'll get the option to create it.
Step 3 — Remove a tag
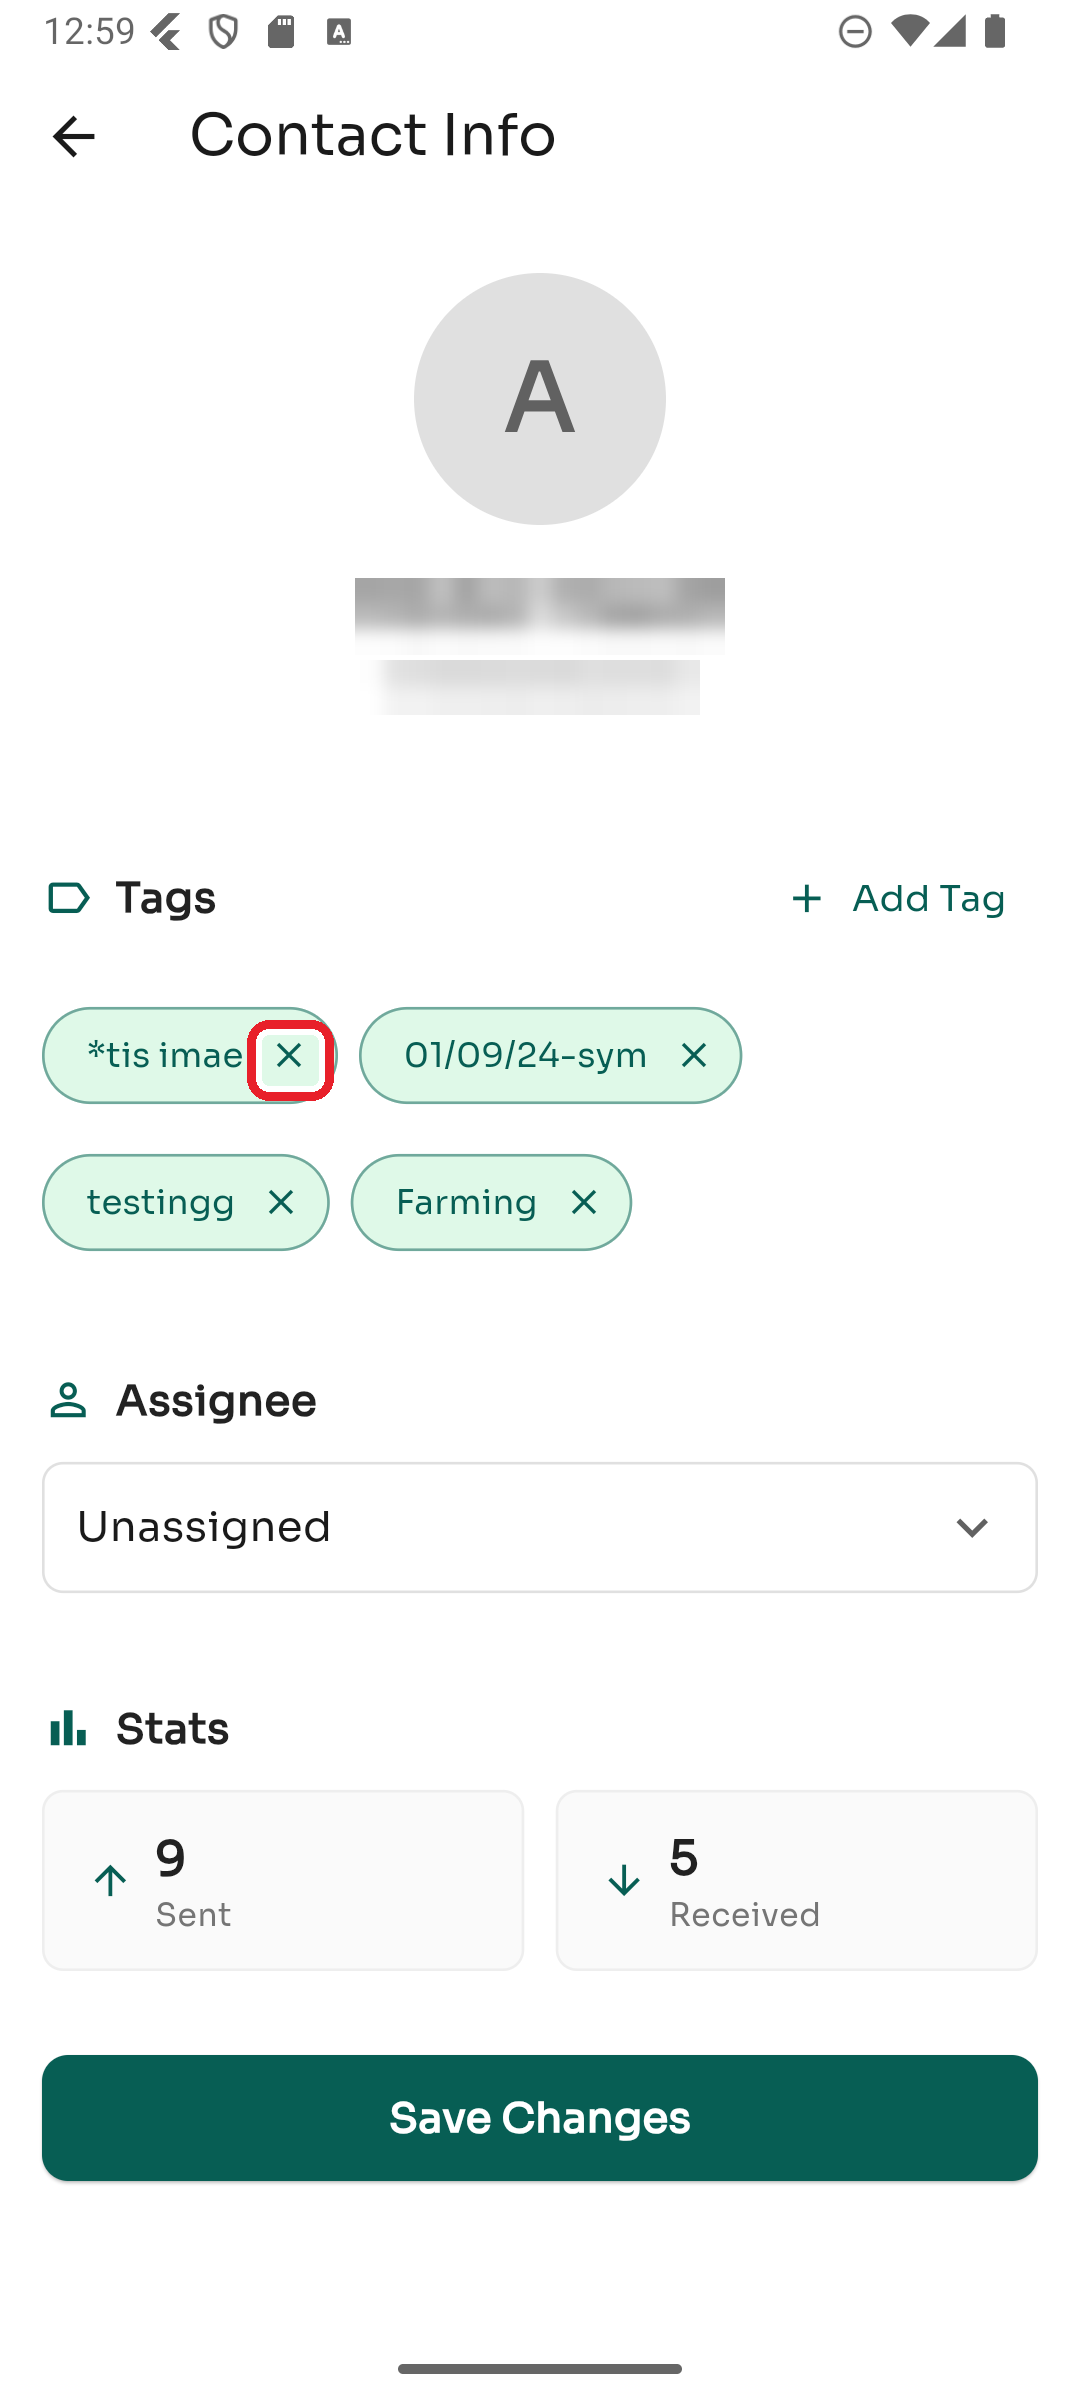
To remove a tag, tap the ✕ on its chip.
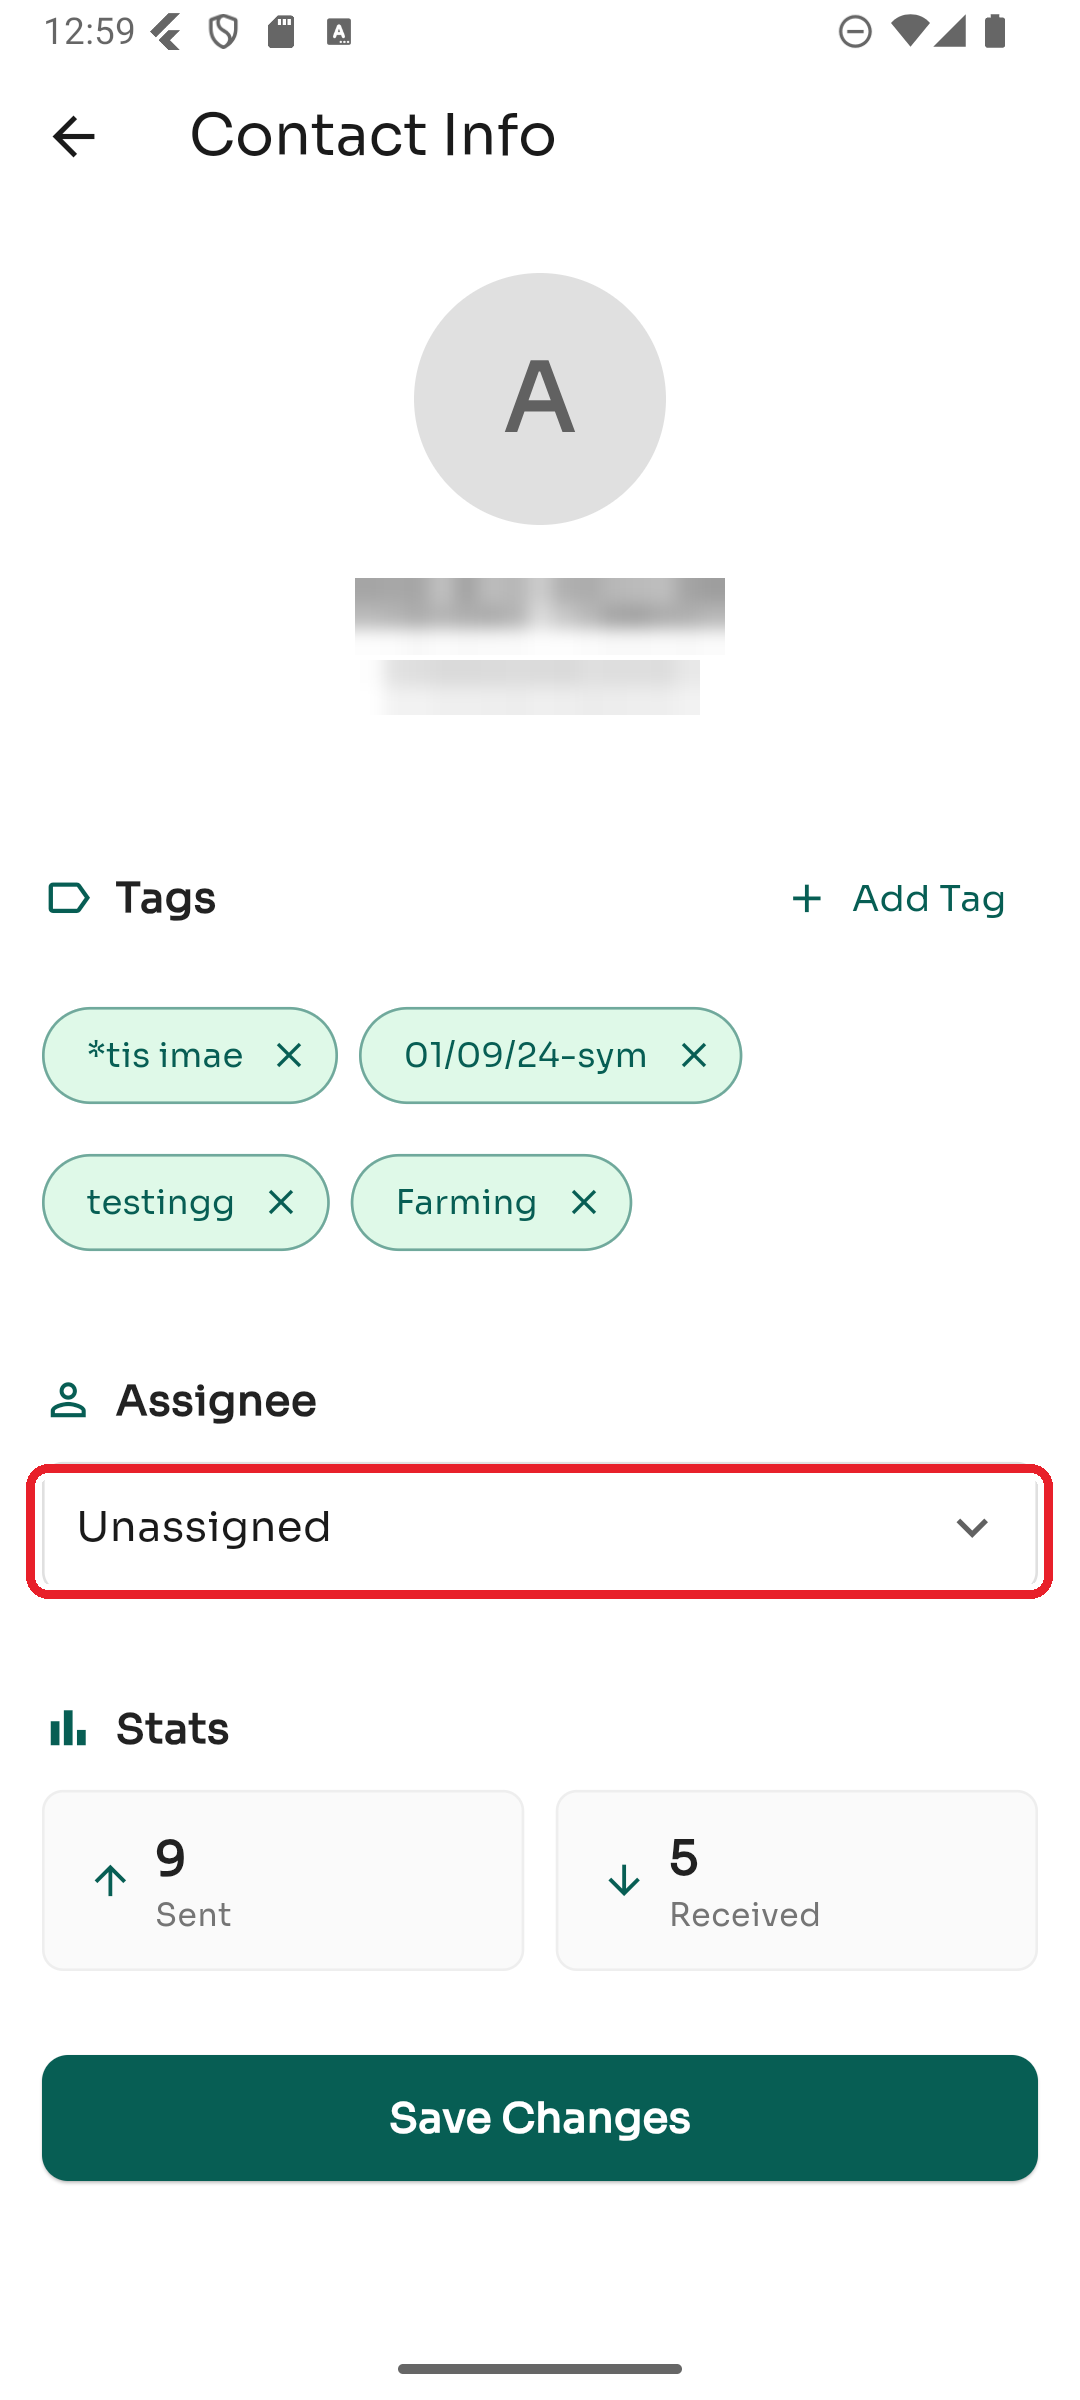
Step 4 — Assign the contact to a teammate
Under Assignee, tap the dropdown (it shows Unassigned by default) and pick a team member. This makes clear who's responsible for the conversation.
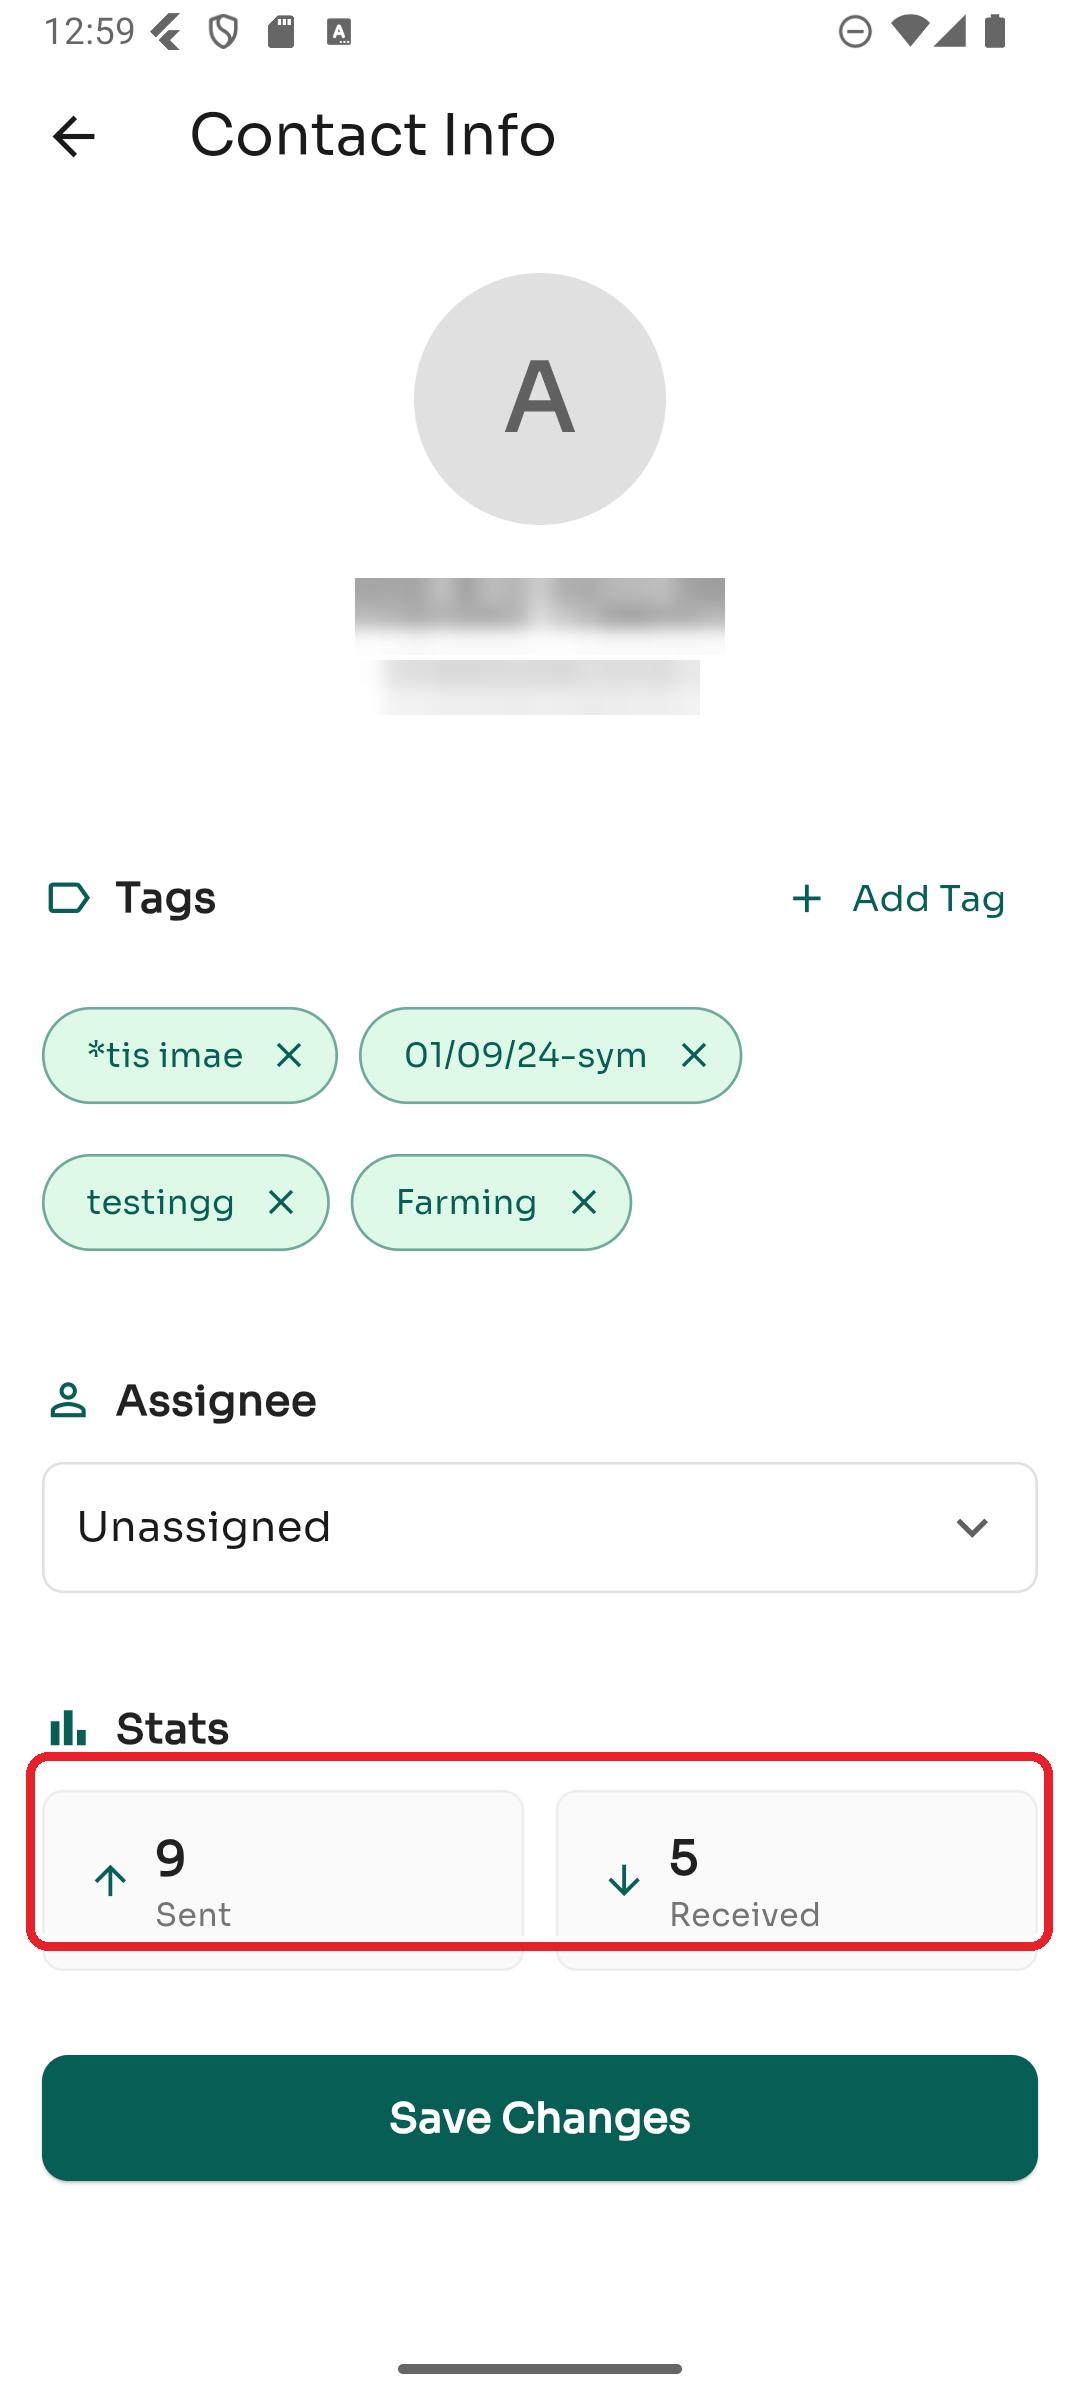
Step 5 — Check the stats
The Stats section shows how many messages you've Sent to and Received from this contact.
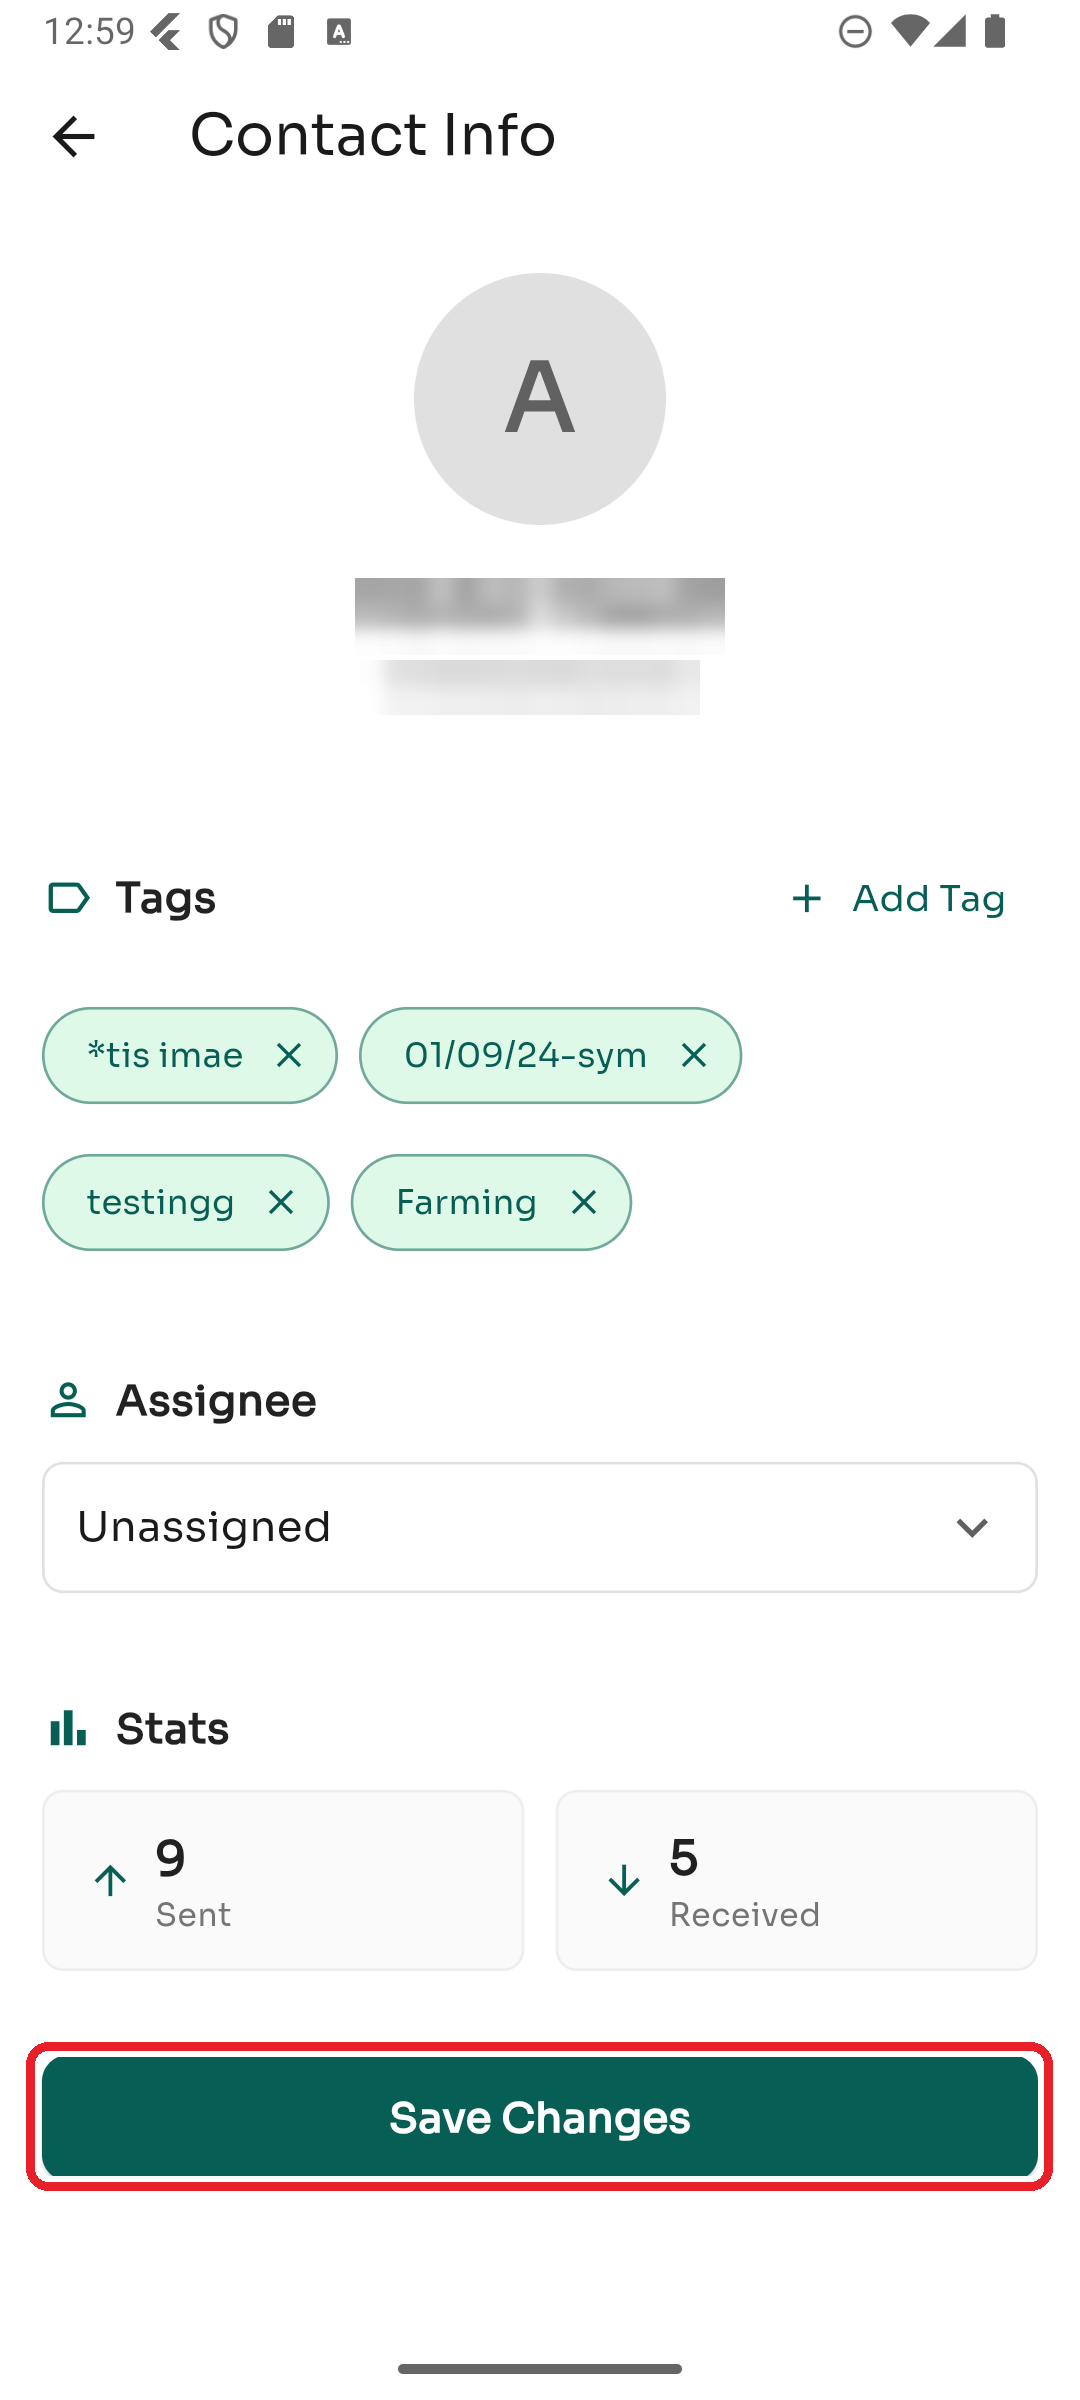
Step 6 — Save your changes
After adding tags or changing the assignee, tap Save Changes at the bottom to apply everything.
Tags you add here also power the inbox filters, so you can quickly find every contact with a given tag. See the Inbox guide.