
The Getting Started Checklist on the Web App
Getting Started is the home page of the ChatDaddy web app. Learn what its four summary numbers mean, where to find the setup checklist and how your progress is measured, and what the Channels and Start Exploring sections are for.
Also searched as: The Getting Started Checklist on the Web App, Open Getting Started, Read the four numbers at the top, Open What's New from the top bar, Open the Get started panel and read your progress, Work through the seven tasks, Use the Channels section to connect a channel, Try something from Start Exploring, Getting, Started, Checklist
Getting Started is the first page you land on in the ChatDaddy web app. It is a home page rather than a settings screen: it tells you how much of your workspace is set up, how many credits, channels and contacts you have, and gives you a one-click route into everything you have not tried yet.
It is most useful in your first week, but the numbers at the top stay accurate for as long as you use ChatDaddy, so it is worth knowing how to read them.
✅ The setup checklist tracks seven tasks. It lives in the Get started panel under What's New (the party-popper icon in the top bar), and it is always there — even after you finish. A shorter copy of the same list also appears on the Getting Started page itself under Onboarding Steps, but that one disappears once all seven tasks are done. If you cannot find it on the page, that is why.
Step-by-step
Step 1 — Open Getting Started
Click the house icon at the top of the left-hand sidebar. It is the first item in the sidebar and it is selected by default when you sign in, so you are usually already here.
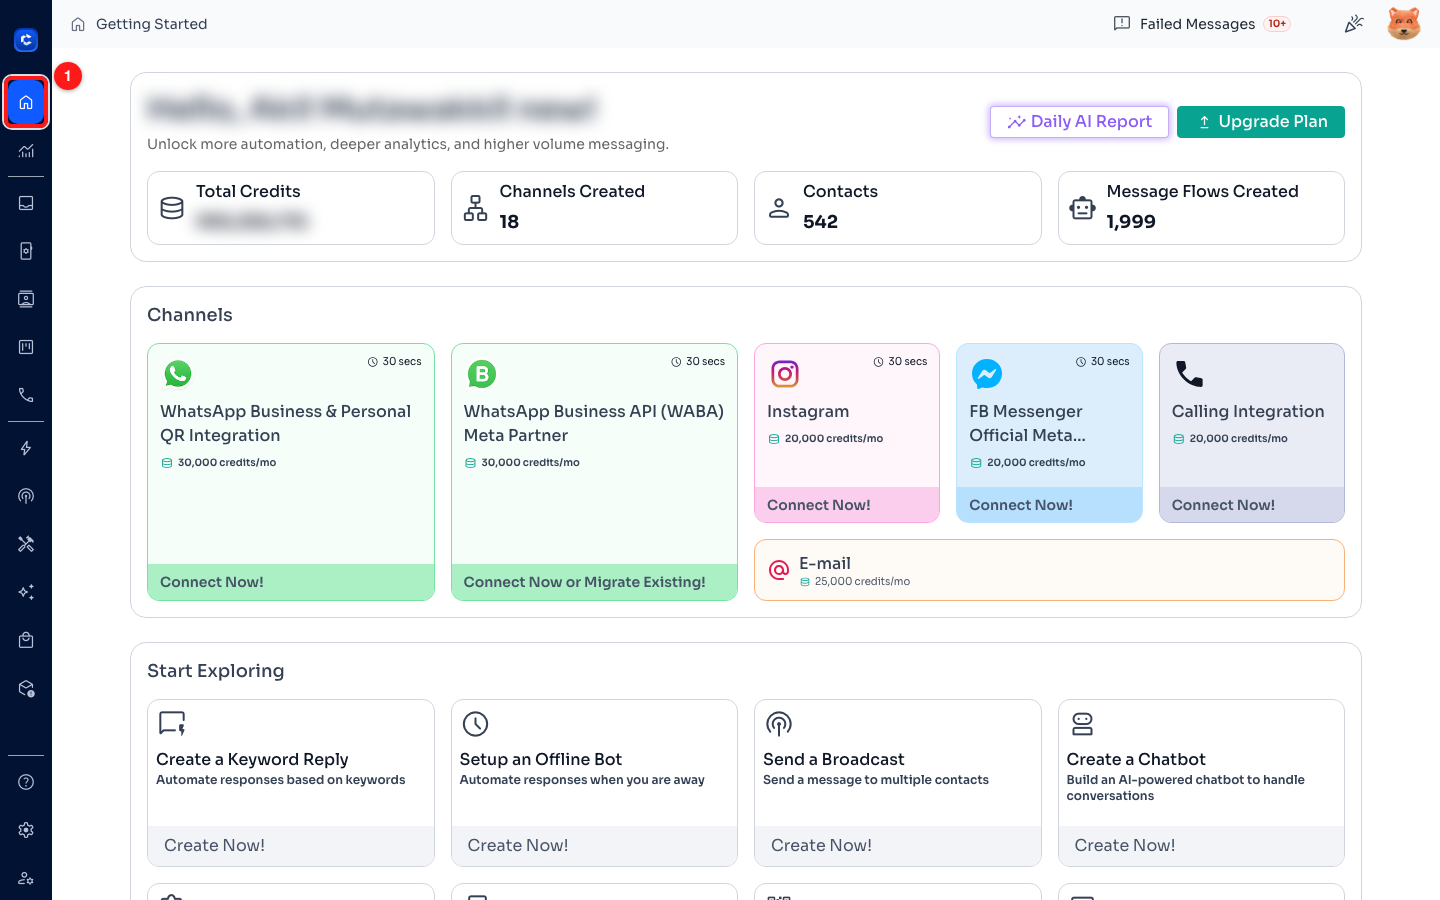
Step 1 — the Getting Started entry at the top of the sidebar (1). The page below it is what this article walks through.
Step 2 — Read the four numbers at the top
The card at the top of the page greets you by name and shows four running totals for your team. These are live figures pulled from your workspace, not targets to hit.

Step 2 — Total Credits (1), Channels Created (2), Contacts (3) and Message Flows Created (4).
- Total Credits — the credits left on your plan. Everything you send or connect draws from this balance, so it is the number to watch if messages stop going out.
- Channels Created — how many WhatsApp, Instagram, Messenger, e-mail or calling channels are connected to this team.
- Contacts — how many people are in your Contacts list.
- Message Flows Created — how many automations you have built, including drafts.
To the right of the greeting sit Daily AI Report, which opens your automated daily summary, and Upgrade Plan, which takes you straight to billing.
Step 3 — Open What's New from the top bar
The setup checklist lives inside the What's New window. Click the party-popper icon in the top-right corner of the app, next to your profile picture. A red badge on it means there are updates you have not read; the checklist is there either way.
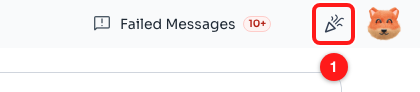
Step 3 — the What's New button in the top bar (1).
Step 4 — Open the Get started panel and read your progress
The window opens on Updates. Down the left-hand edge is a narrow strip of icons; click the rocket icon to switch to Get started. That is the checklist.
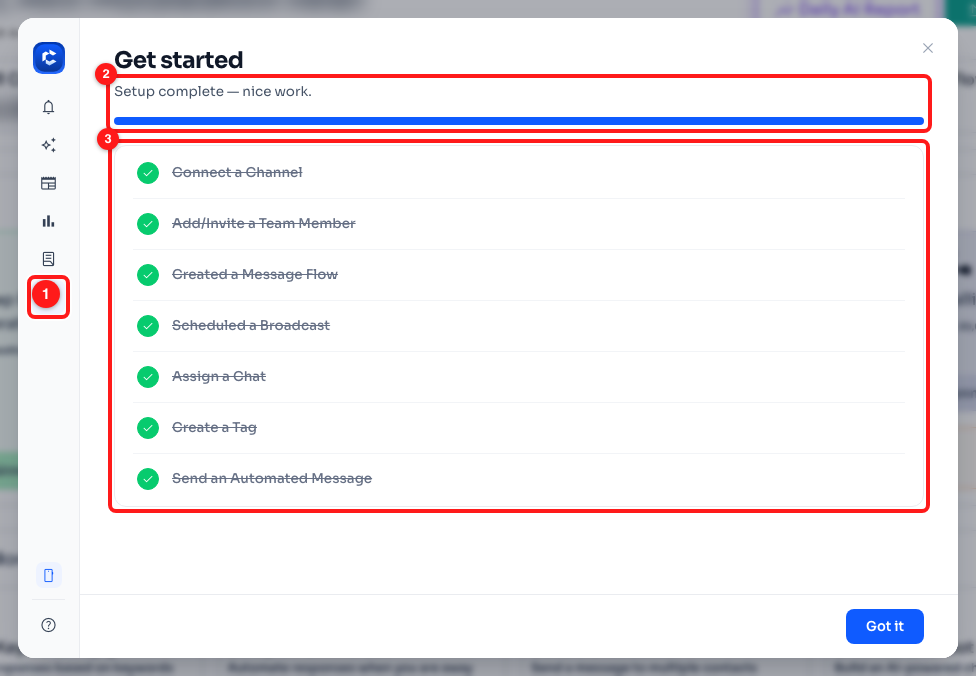
Step 4 — the rocket icon opens the panel (1); the progress line reports how far you are (2); the seven tasks sit below it (3).
Progress is measured in whole tasks, not part-marks. The line under the heading reads “N of 7 done — finish setup to unlock everything” while there is work left, and the bar underneath fills to match. When everything is ticked it changes to “Setup complete — nice work.”, which is the state shown above.
Each row is one task. A task you have finished gets a green tick and its name is struck through. A task you have not started yet shows an empty circle, a one-line description of what it involves, and a Set up button that takes you to the page where you do it.
Step 5 — Work through the seven tasks
These are the tasks the checklist tracks, in the order it lists them, and where each one is completed:
- Connect a Channel — connect WhatsApp, Instagram, Messenger or e-mail on the Channels page. Nothing else in ChatDaddy works until this one is done.
- Add/Invite a Team Member — invite a colleague from Settings → Members.
- Created a Message Flow — build your first automation in Automation → Message Flows.
- Scheduled a Broadcast — schedule a message to a group of contacts in Automation → Broadcasts.
- Assign a Chat — hand a conversation to a teammate from the Inbox.
- Create a Tag — add your first tag on the Contacts page.
- Send an Automated Message — send a message flow into a chat using a shortcut, from the Inbox.
🎁 Every task on the list carries a 1,000 credit reward, which is why the checklist is headed “Finish each step and get thousands of Credits!”. There is nothing to claim — the checklist marks a task off by itself once you have done it in the app.
The checklist marks tasks off on its own as you do them in the app. There is no way to tick a row by hand, and no way to reset one.
Step 6 — Use the Channels section to connect a channel
Back on the Getting Started page, the Channels section is the fastest route to the first task on the checklist. Each card names a channel type, shows how long connecting usually takes and what it costs per month in credits, and ends in a Connect Now! button.
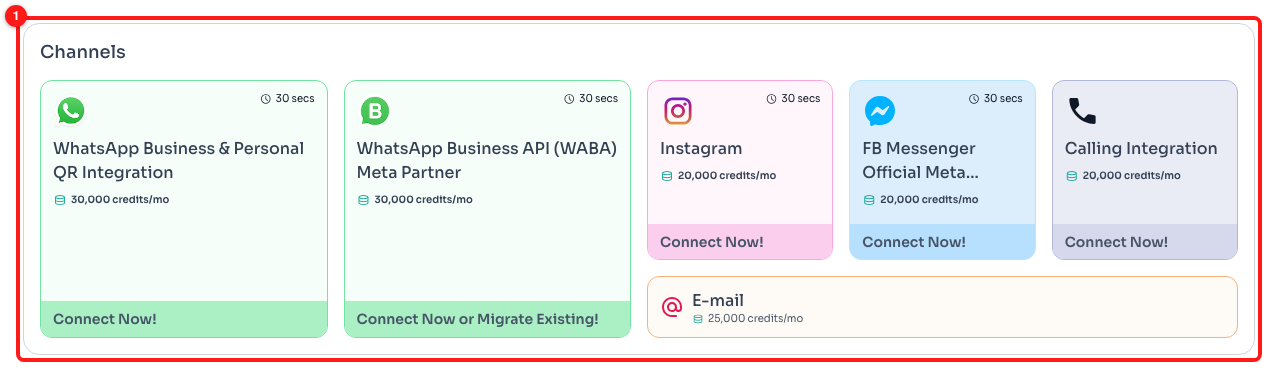
Step 6 — the Channels section (1). The monthly credit cost is printed on every card before you commit to anything.
💳 Connecting a channel is a recurring monthly credit charge, not a free trial action. Read the credits-per-month figure on the card first — WhatsApp is 30,000 credits a month, Instagram and Messenger 20,000, e-mail 25,000.
Step 7 — Try something from Start Exploring
Below Channels, Start Exploring is a set of shortcuts into the features most teams set up first. Each card opens the relevant builder with a starter template already loaded, so you are not staring at a blank screen.
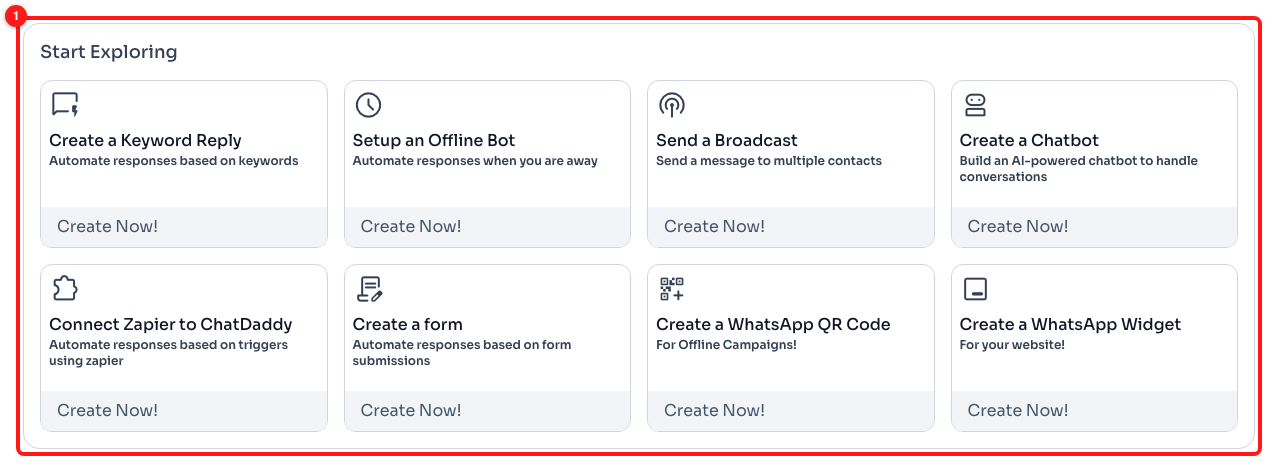
Step 7 — the eight Start Exploring shortcuts (1).
Create a Keyword Reply and Setup an Offline Bot both open the message-flow builder on a ready-made template, so either one will tick off Created a Message Flow on the checklist. The rest lead to chatbots, forms, QR codes, website widgets and the Zapier connection.
Further down the page, an Analytics section shows your message volumes for the last month once you have started sending.
Frequently asked questions
The Onboarding Steps checklist has vanished from the Getting Started page.
That section removes itself once every task is complete, so a workspace that is fully set up will not see it at all. It is not a fault and nothing has been lost. The same list, finished or not, is always available under What's New → Get started.
I have done a task but the checklist still shows it as unfinished.
The checklist is updated by the server, not by your browser, so it can lag by a few moments. Refresh the page, or close and reopen the What's New window. If it still has not moved, check that you completed the action on the team you are currently signed in to — progress is tracked per team, not per person.
Do the 1,000 credits per task apply to every team?
The reward is granted once per team, per task, the first time that task is completed. Doing the same thing again — inviting a second teammate, creating a second tag — does not add more credits.
Can I hide or skip the checklist?
There is no dismiss button. On the Getting Started page you can collapse the Onboarding Steps section with the Show Onboarding Steps arrow, and the section removes itself for good once the last task is ticked.
The page just says “Connect your first Channel!” and nothing else.
That is the view for a workspace with no channel connected yet. Pick a channel card to connect one; the full page, with its summary numbers and sections, appears as soon as a channel exists.
Where is all this on the mobile app?
The mobile app has its own getting-started flow with a different set of steps. This article covers the web app at app.chatdaddy.tech only.