
How to Use the HTTP Request Action (Step-by-Step with Screenshots)
The HTTP Request step lets a message flow call any web address directly — your own system or any API, with no middleman or extra subscription. Two ways to add it, with the full request setup.
Also searched as: http request, API call, webhook, action node, call API, send data, custom integration, http node, request headers, POST request, developer integration
The HTTP Request step lets a message flow call any web address directly — your own system, an internal API, or any service that offers one. There is no middleman and no extra subscription. There are two places to add it, and they behave slightly differently.
Option A: as an App node
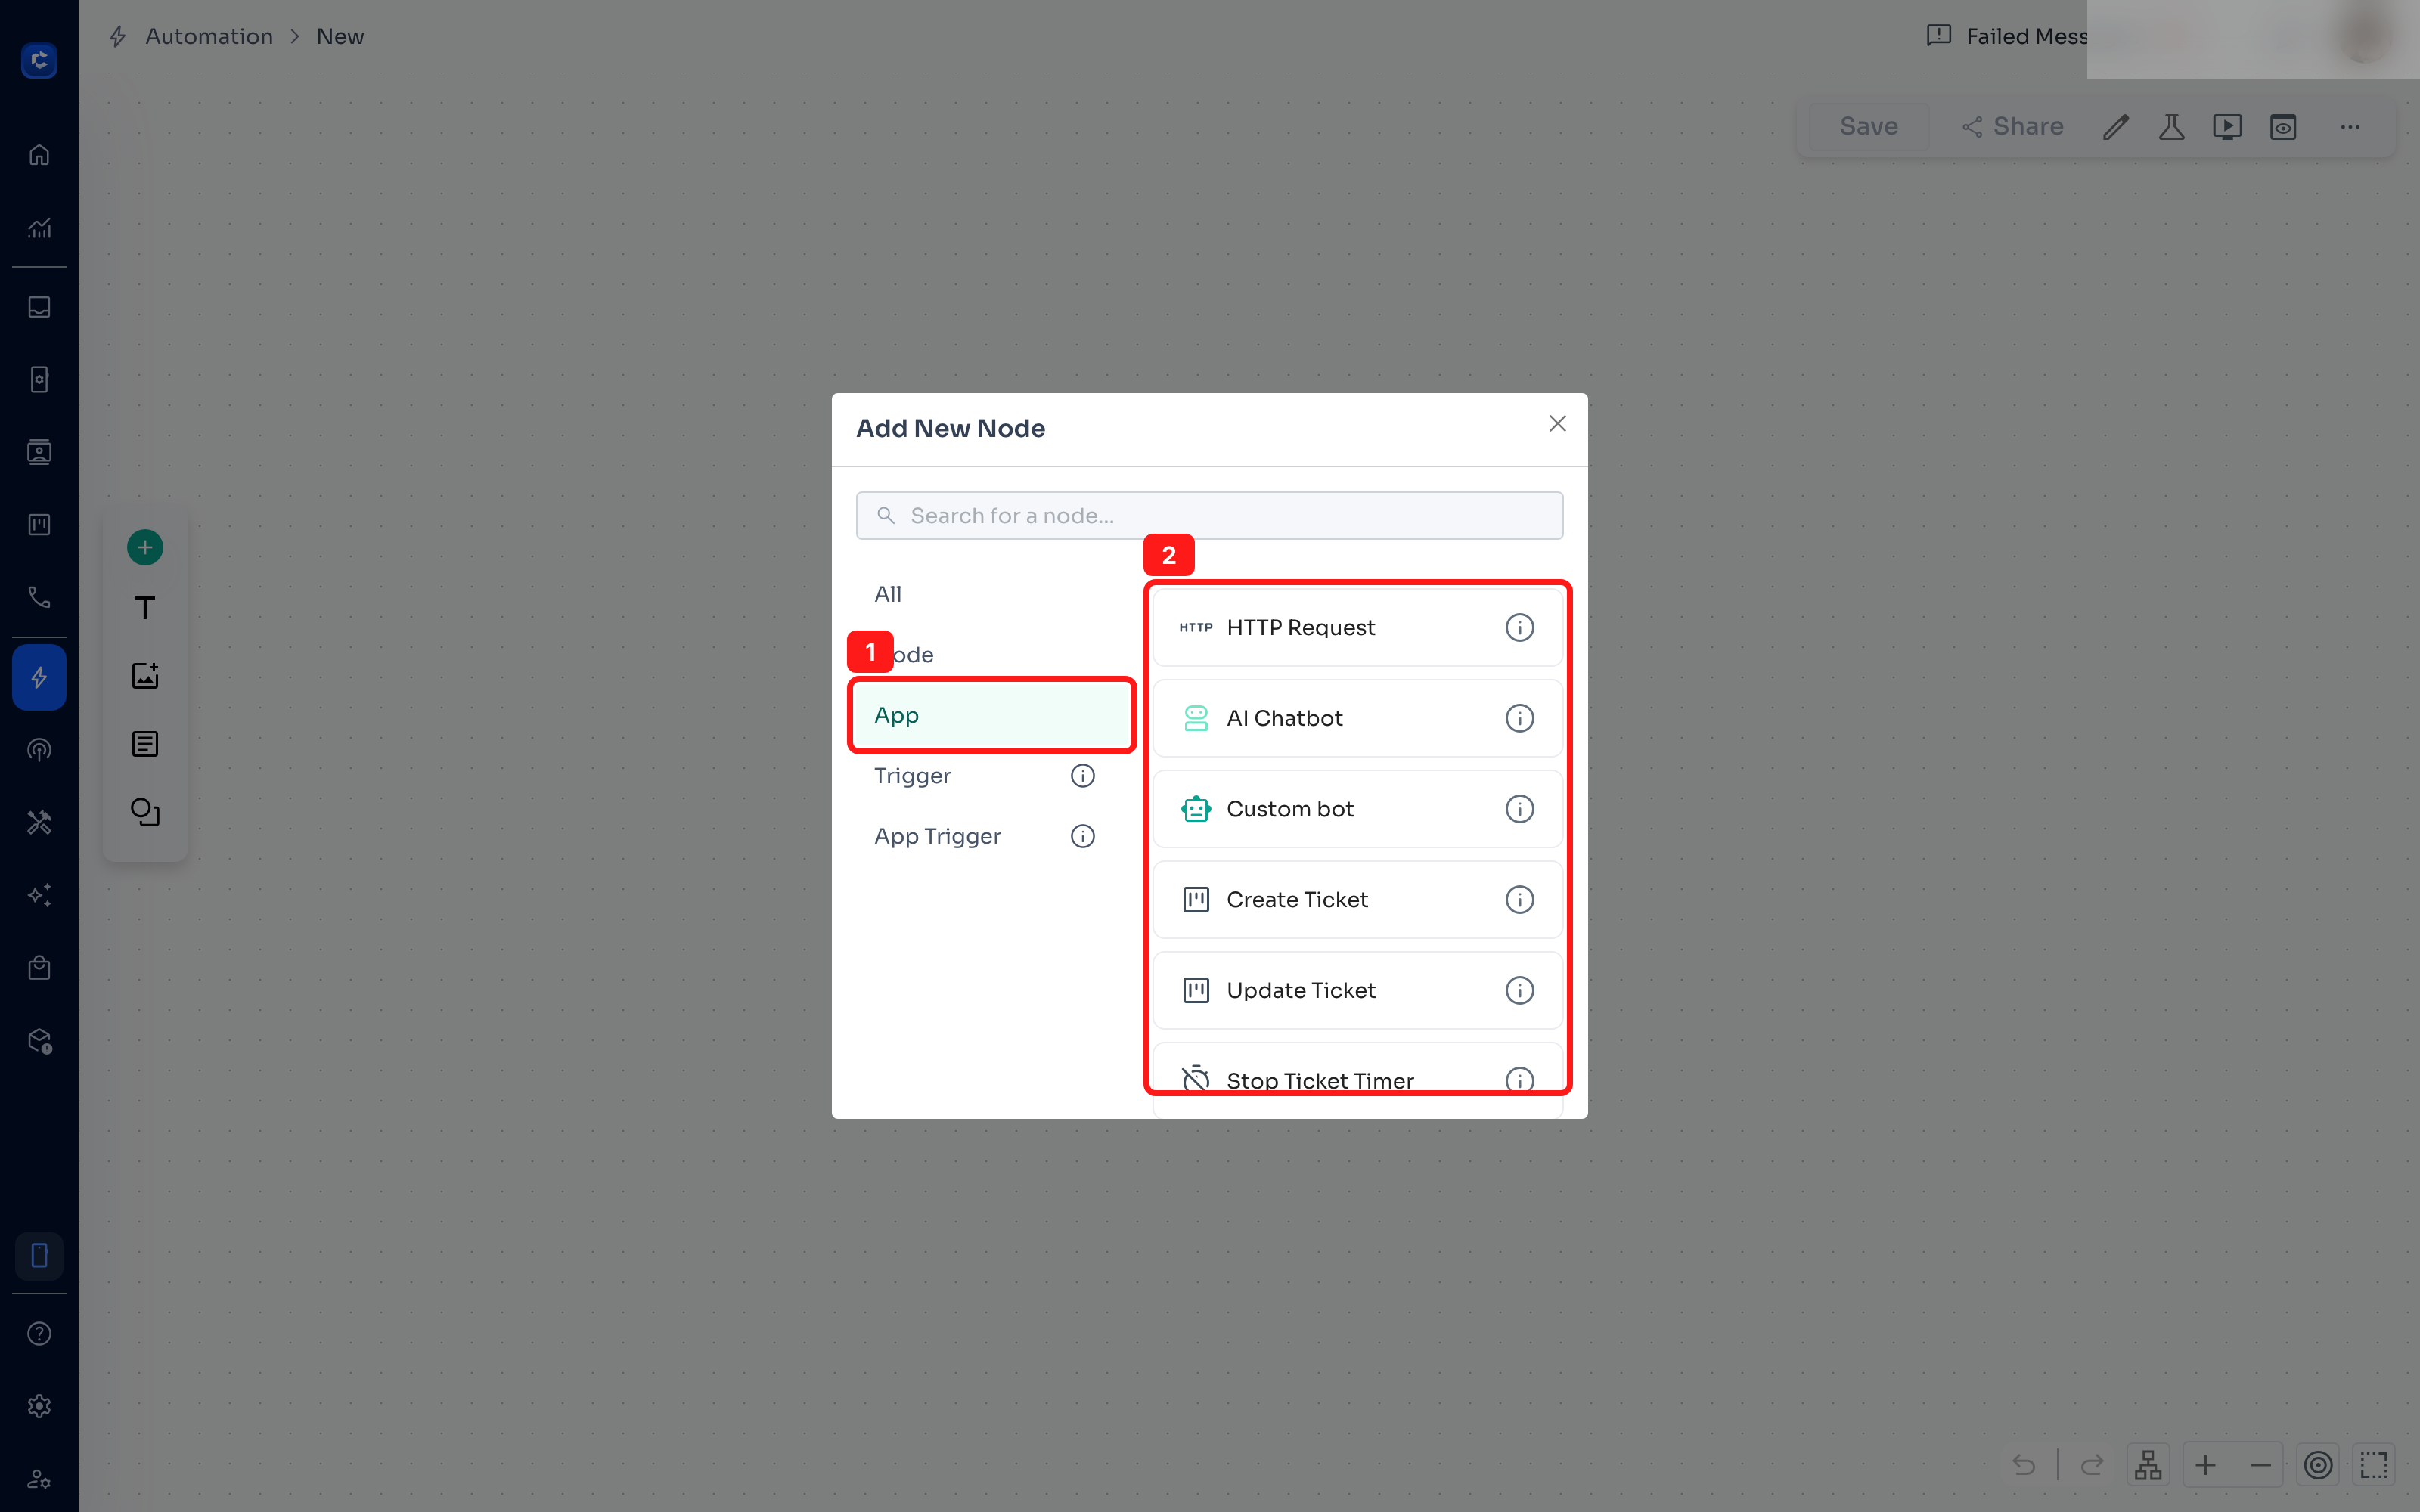
Open your flow, click the green + on the canvas, choose the App tab, and pick HTTP Request.
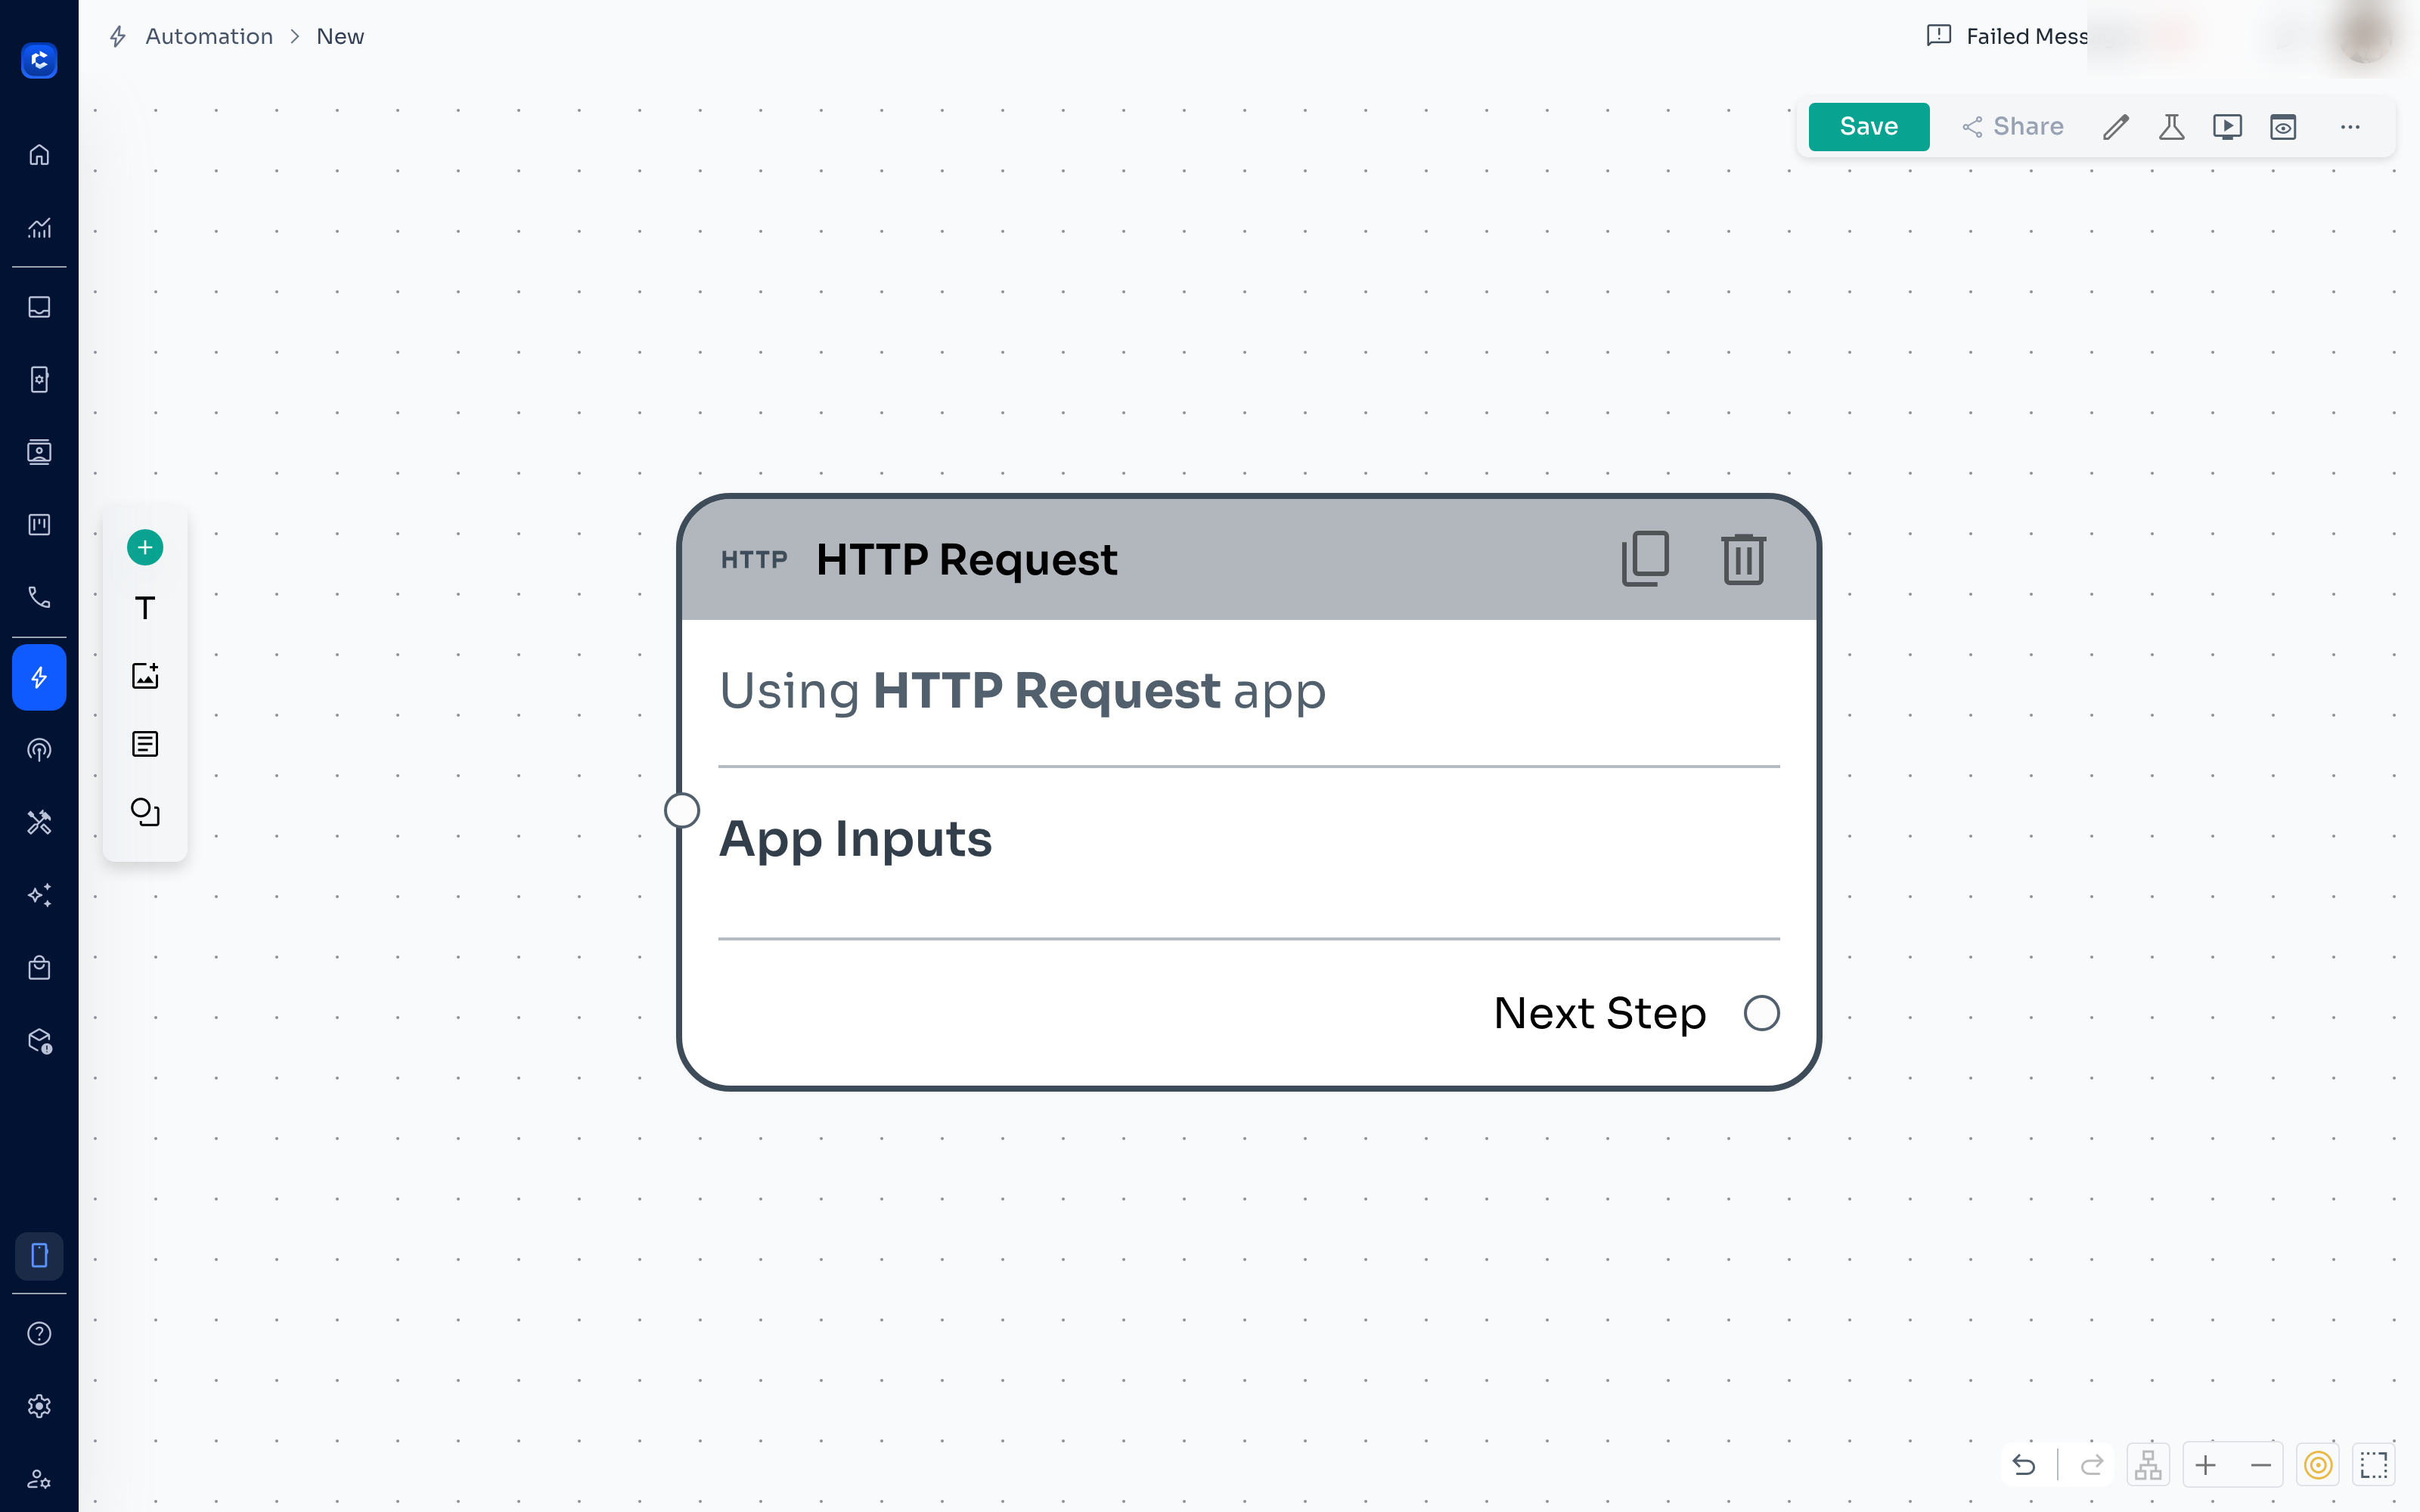
 It is added to the canvas as its own node with an App Inputs section. Click the node to fill in the request details.
Option B: inside an Action node
Add an Action node to your flow and click it. The settings panel lists everything an Action can do.
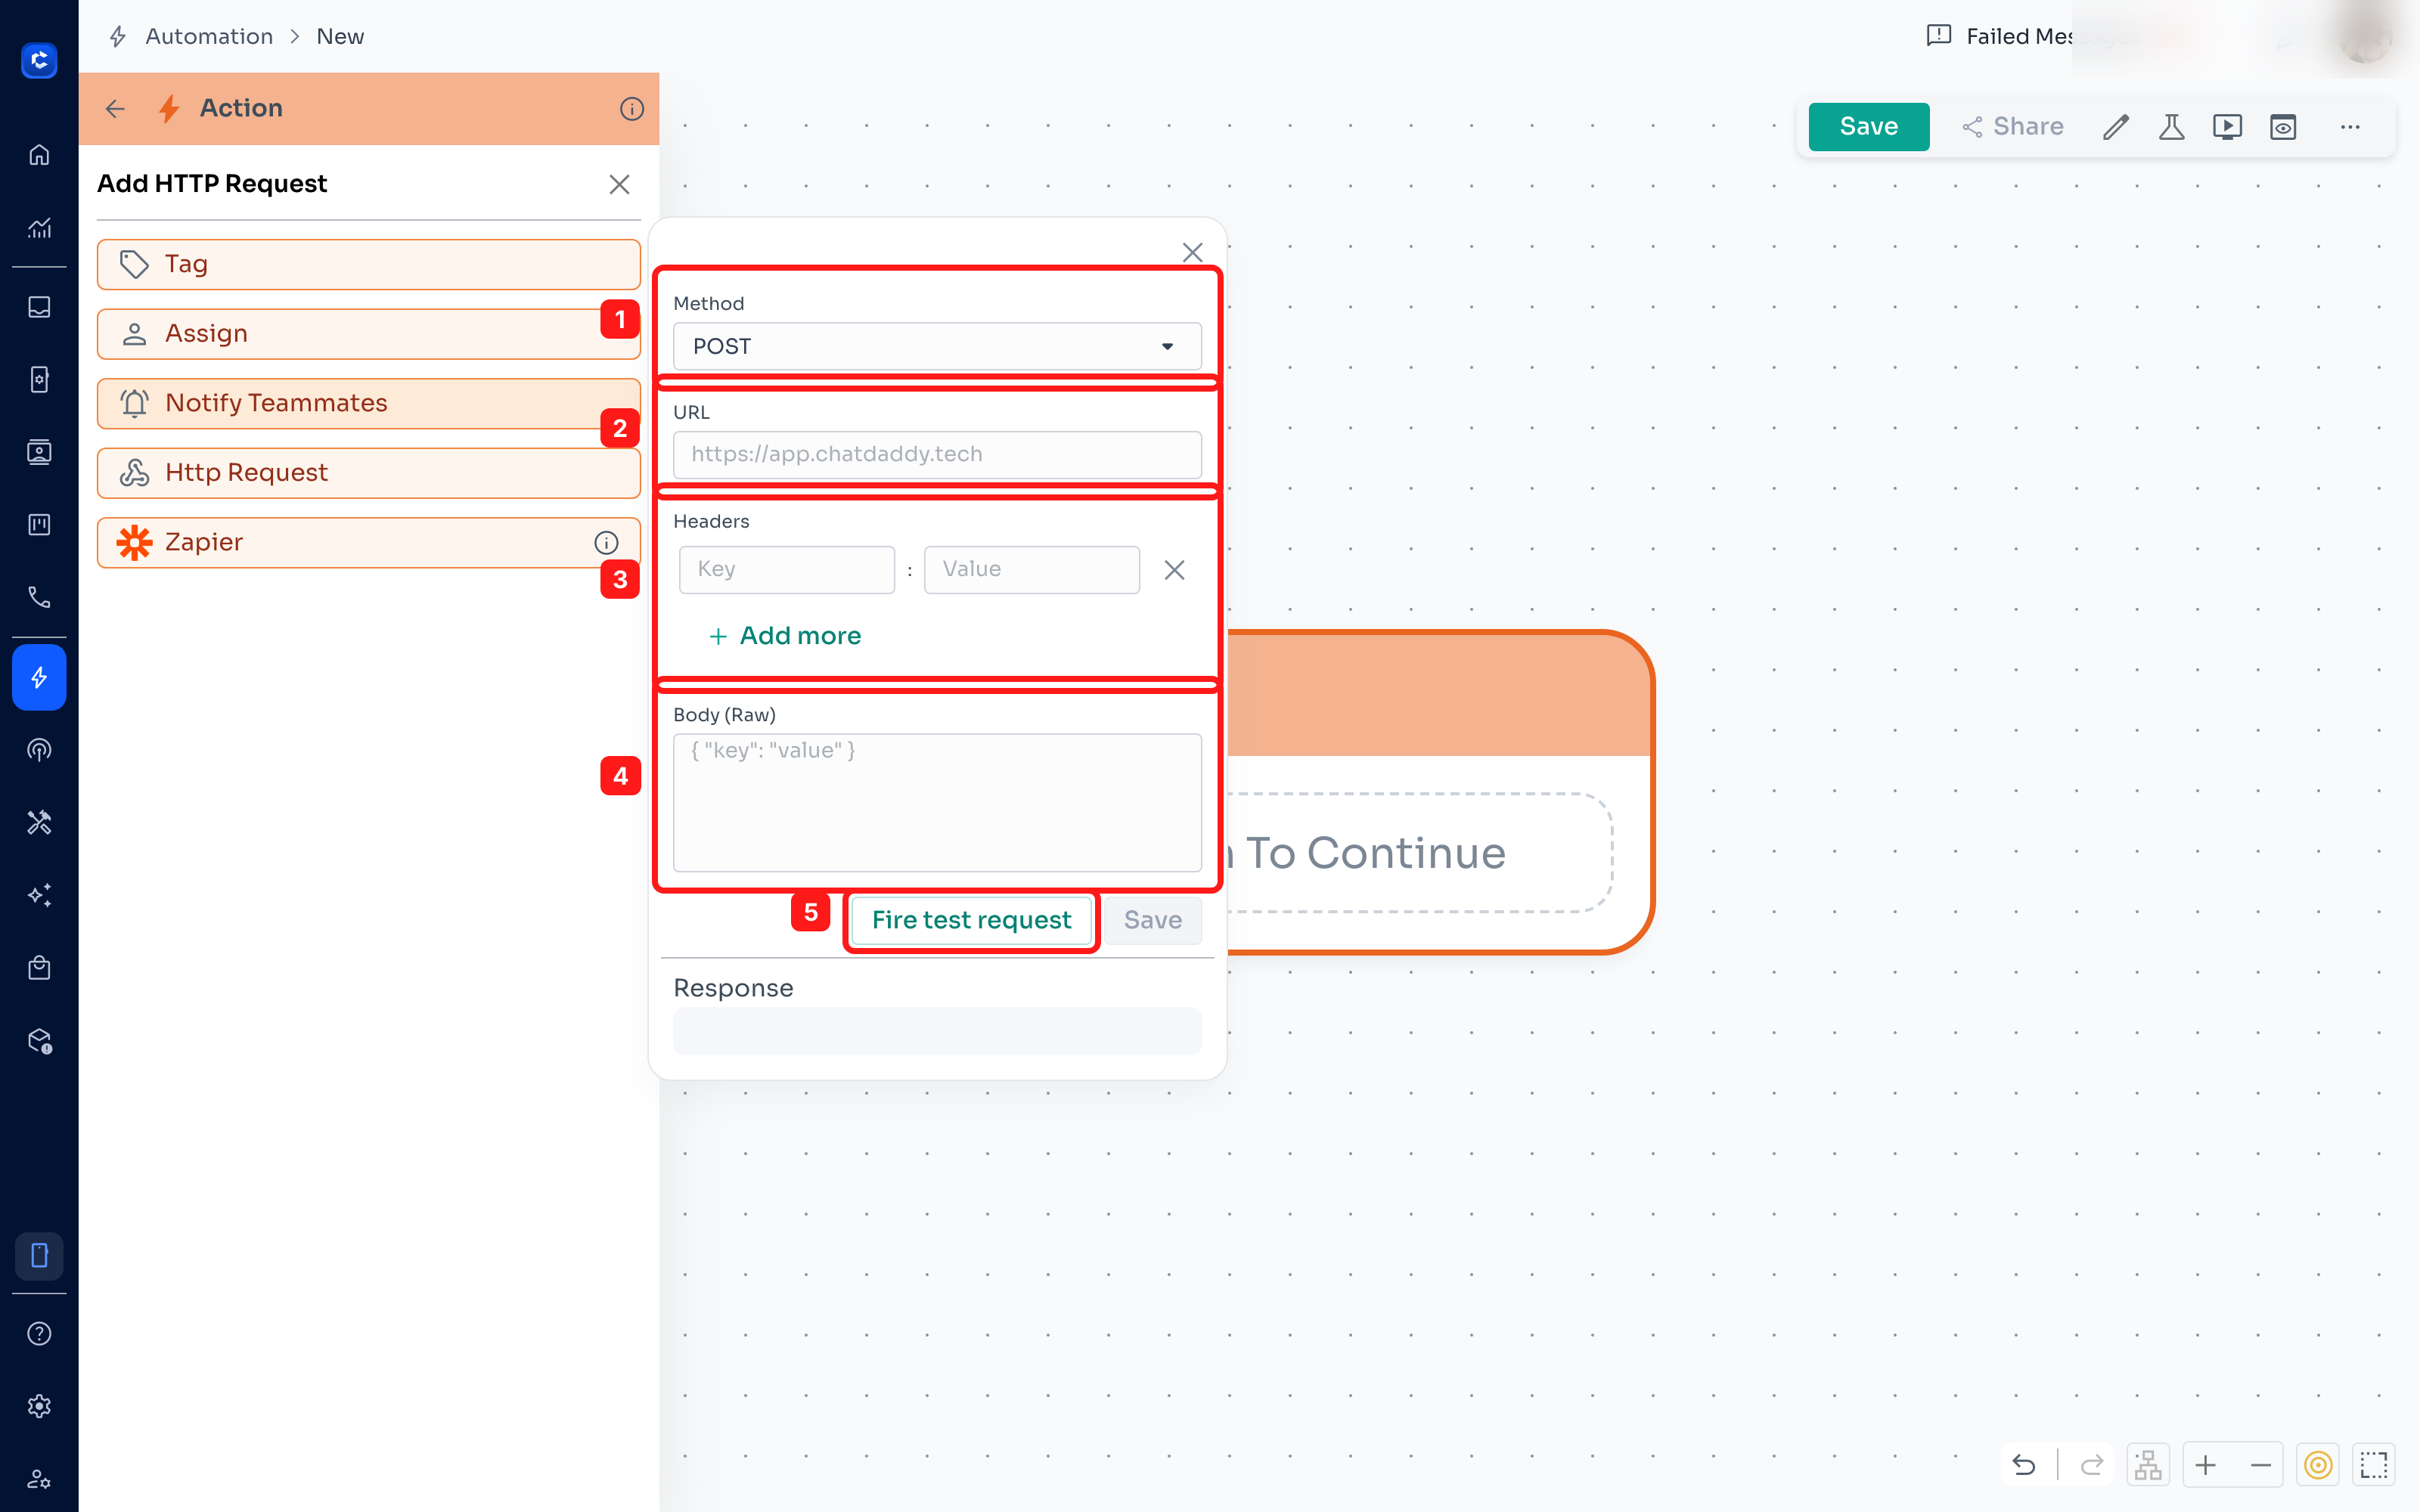
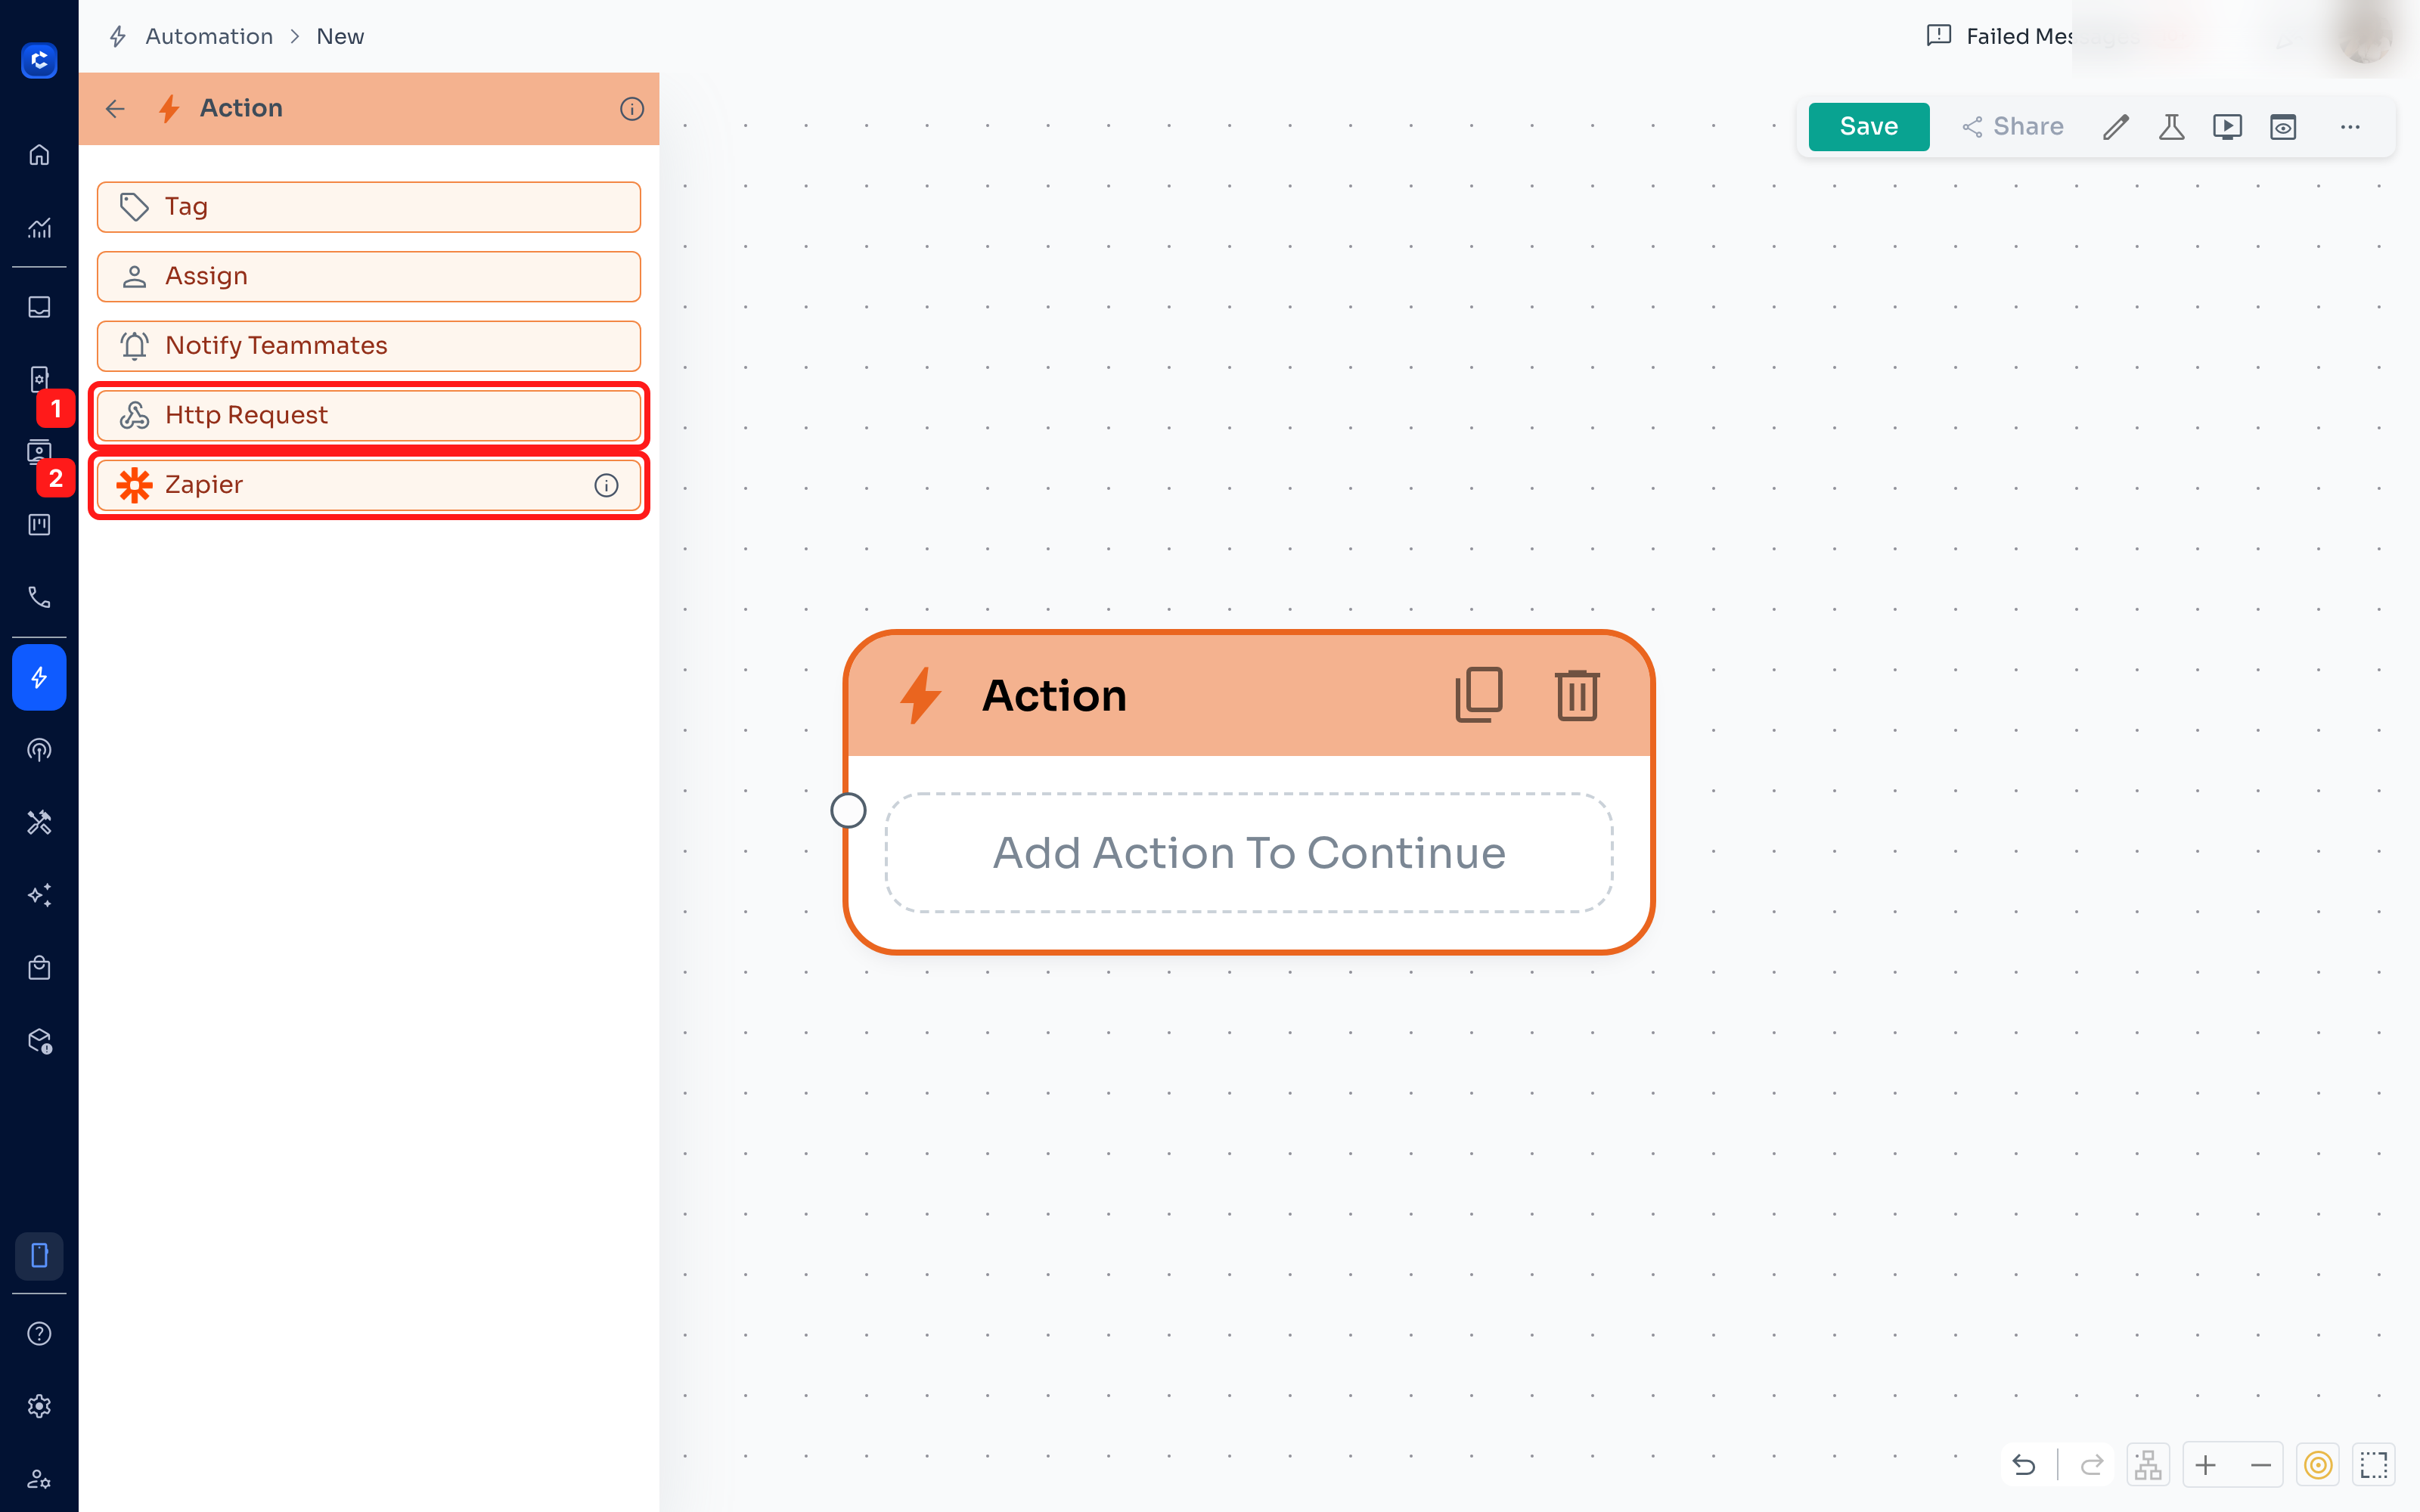 Click Http Request and the request editor opens.
Filling in the request
| Field | What to enter |
|---|---|
| Method | GET or POST. These are the only two methods supported. |
| URL | The full address you want to call, for example https://example.com/api/orders |
| Headers | Key and value pairs. This is where API keys and Content-Type go. Click Add more for extra rows. |
| Body (Raw) | The request body, typed by hand. Usually JSON, following the other service's documentation. |
ChatDaddy does not add any headers for you. If the service you are calling needs Content-Type: application/json or an Accept header, add them yourself in the Headers section.
Test before you can save
In the Action node version, the Save button stays greyed out until you click Fire test request and get a successful response. The response appears underneath so you can check it.
Good to know: the test request is sent from your own browser, not from ChatDaddy's servers. Some APIs block requests made from a browser (a CORS restriction), so the test can fail even though the request would work perfectly when the flow runs. If you are confident the endpoint is correct and the test still fails for that reason, add the HTTP Request as an App node instead — see Option A above.
Using the response later in the flow
Steps placed after an HTTP Request can read what came back, under a section called HTTP Request Output. The fields available are Text, Type and Channel ID. This means you cannot pull arbitrary values out of any JSON response — the service you call has to answer in the shape ChatDaddy expects. If you need to reshape a response, Zapier is usually the easier route.
Tips
- You can add more than one HTTP Request to the same Action node.
- You can insert flow variables into the URL and body so each contact gets their own values.
- Always click Save at the top right of the flow builder afterwards, or the step is not stored.
Frequently asked questions
Can I use PUT, PATCH or DELETE? No. Only GET and POST are supported today.
The test request fails but my API works elsewhere The most common cause is that the test runs from your browser and the API does not allow browser requests. Check the response message shown under the editor. Authentication headers and a missing Content-Type header are the other common causes.
Should I use HTTP Request or Zapier? Use HTTP Request when you have a developer and your own API — it is free, direct and fast. Use Zapier when you want to connect a well-known app without writing code, or when something outside ChatDaddy needs to start the flow.